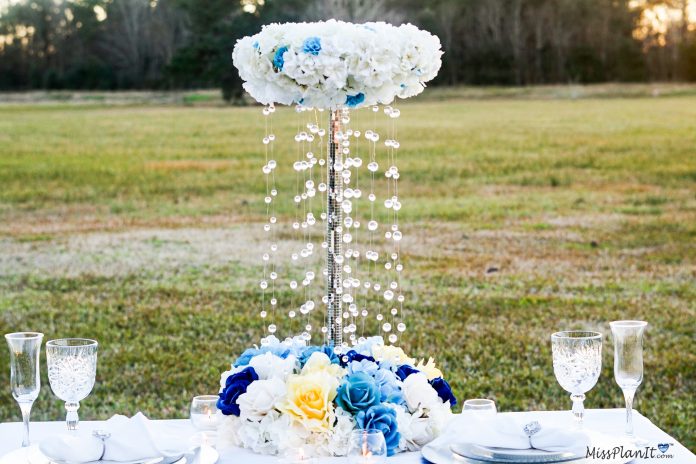
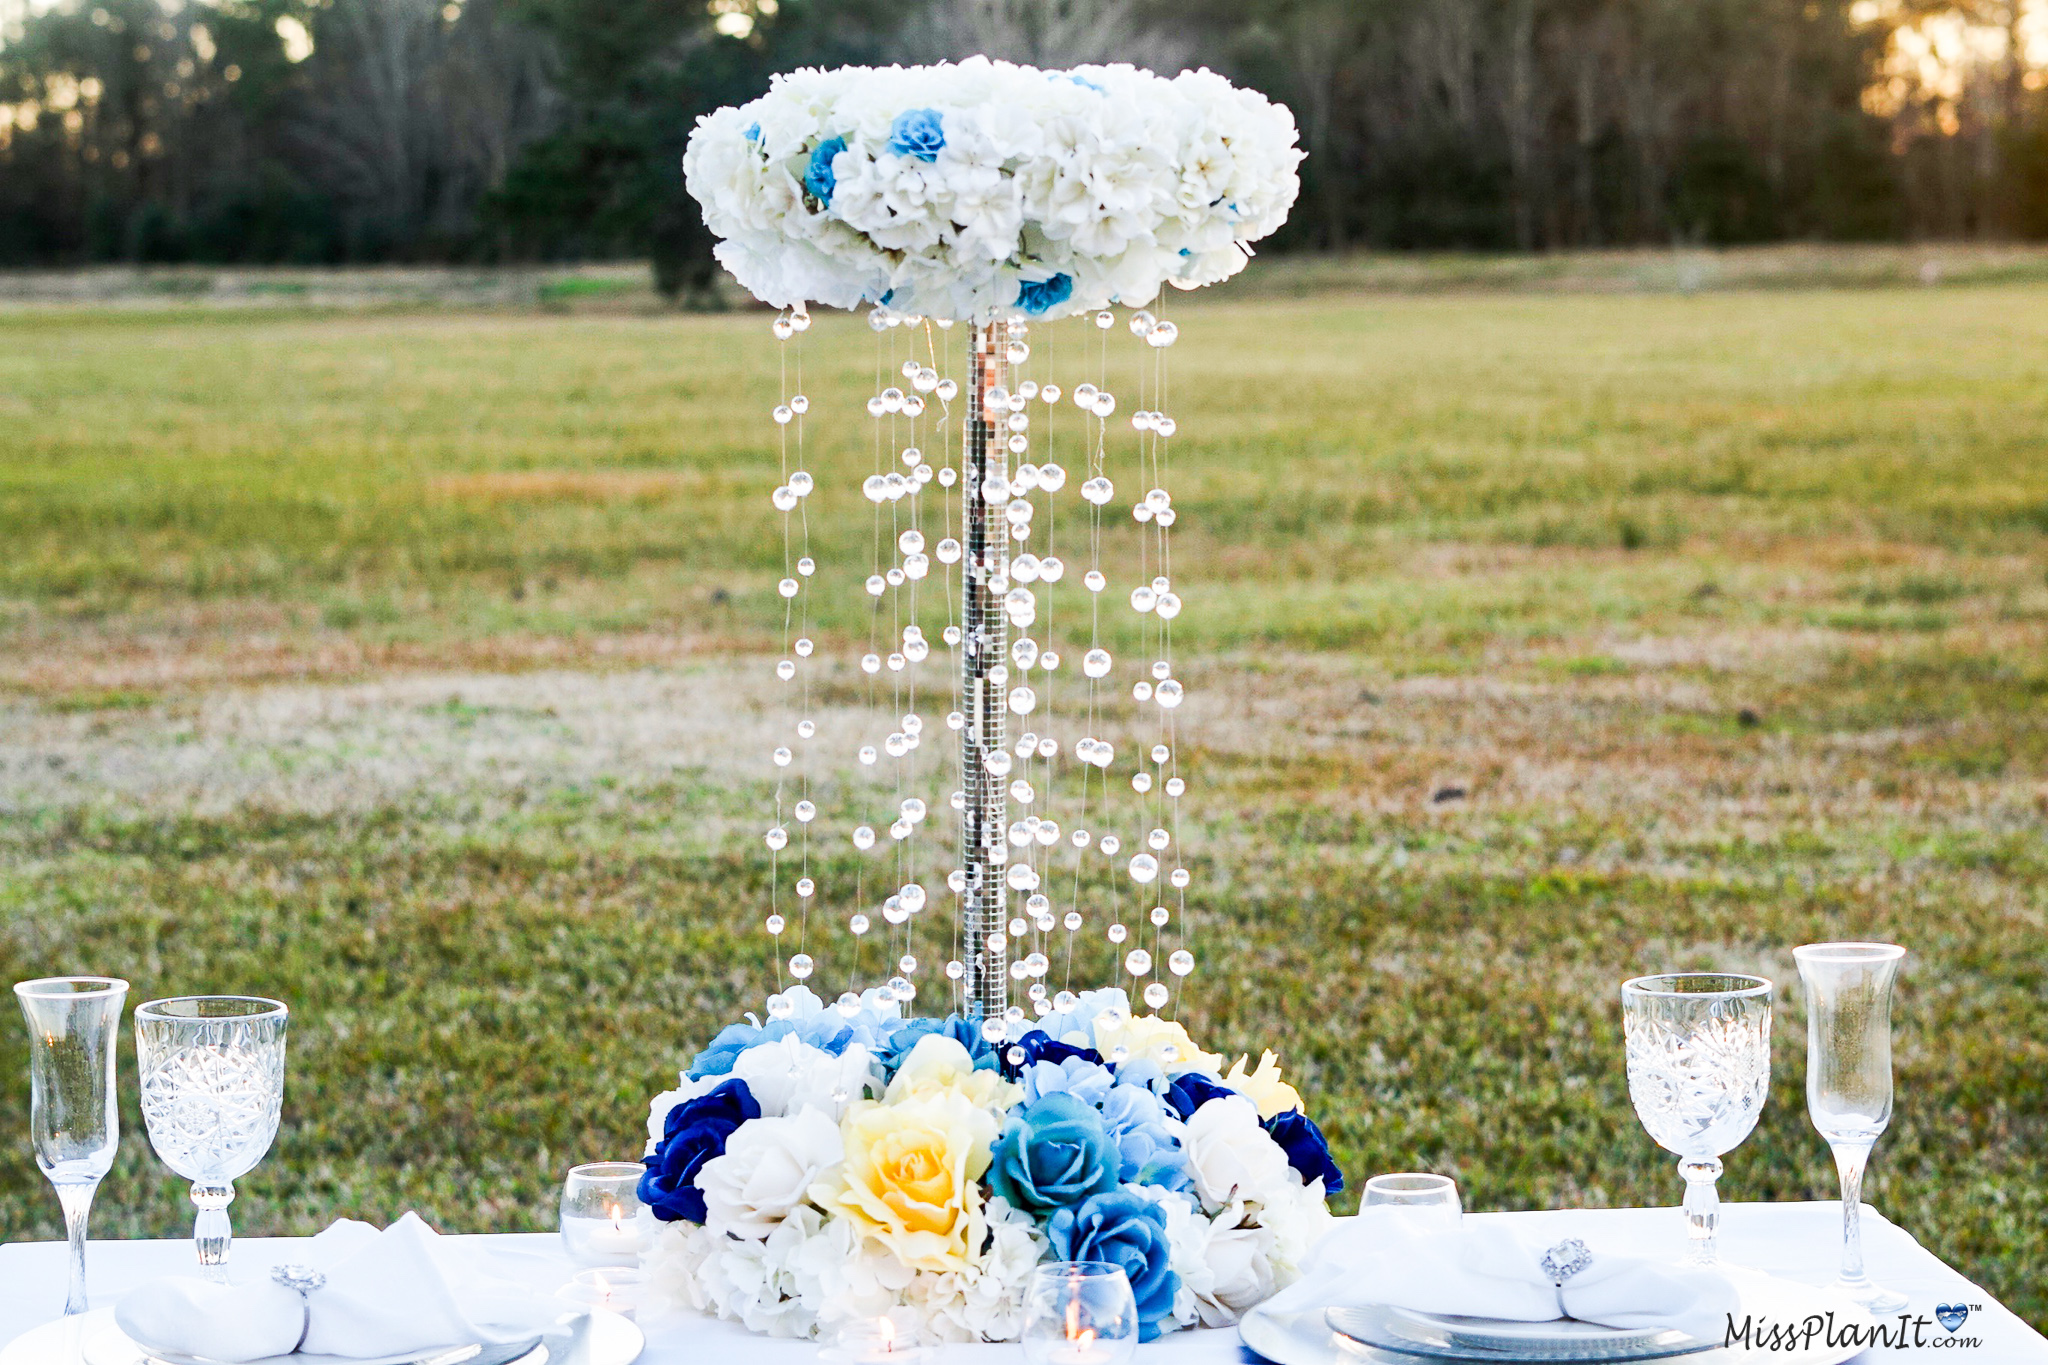
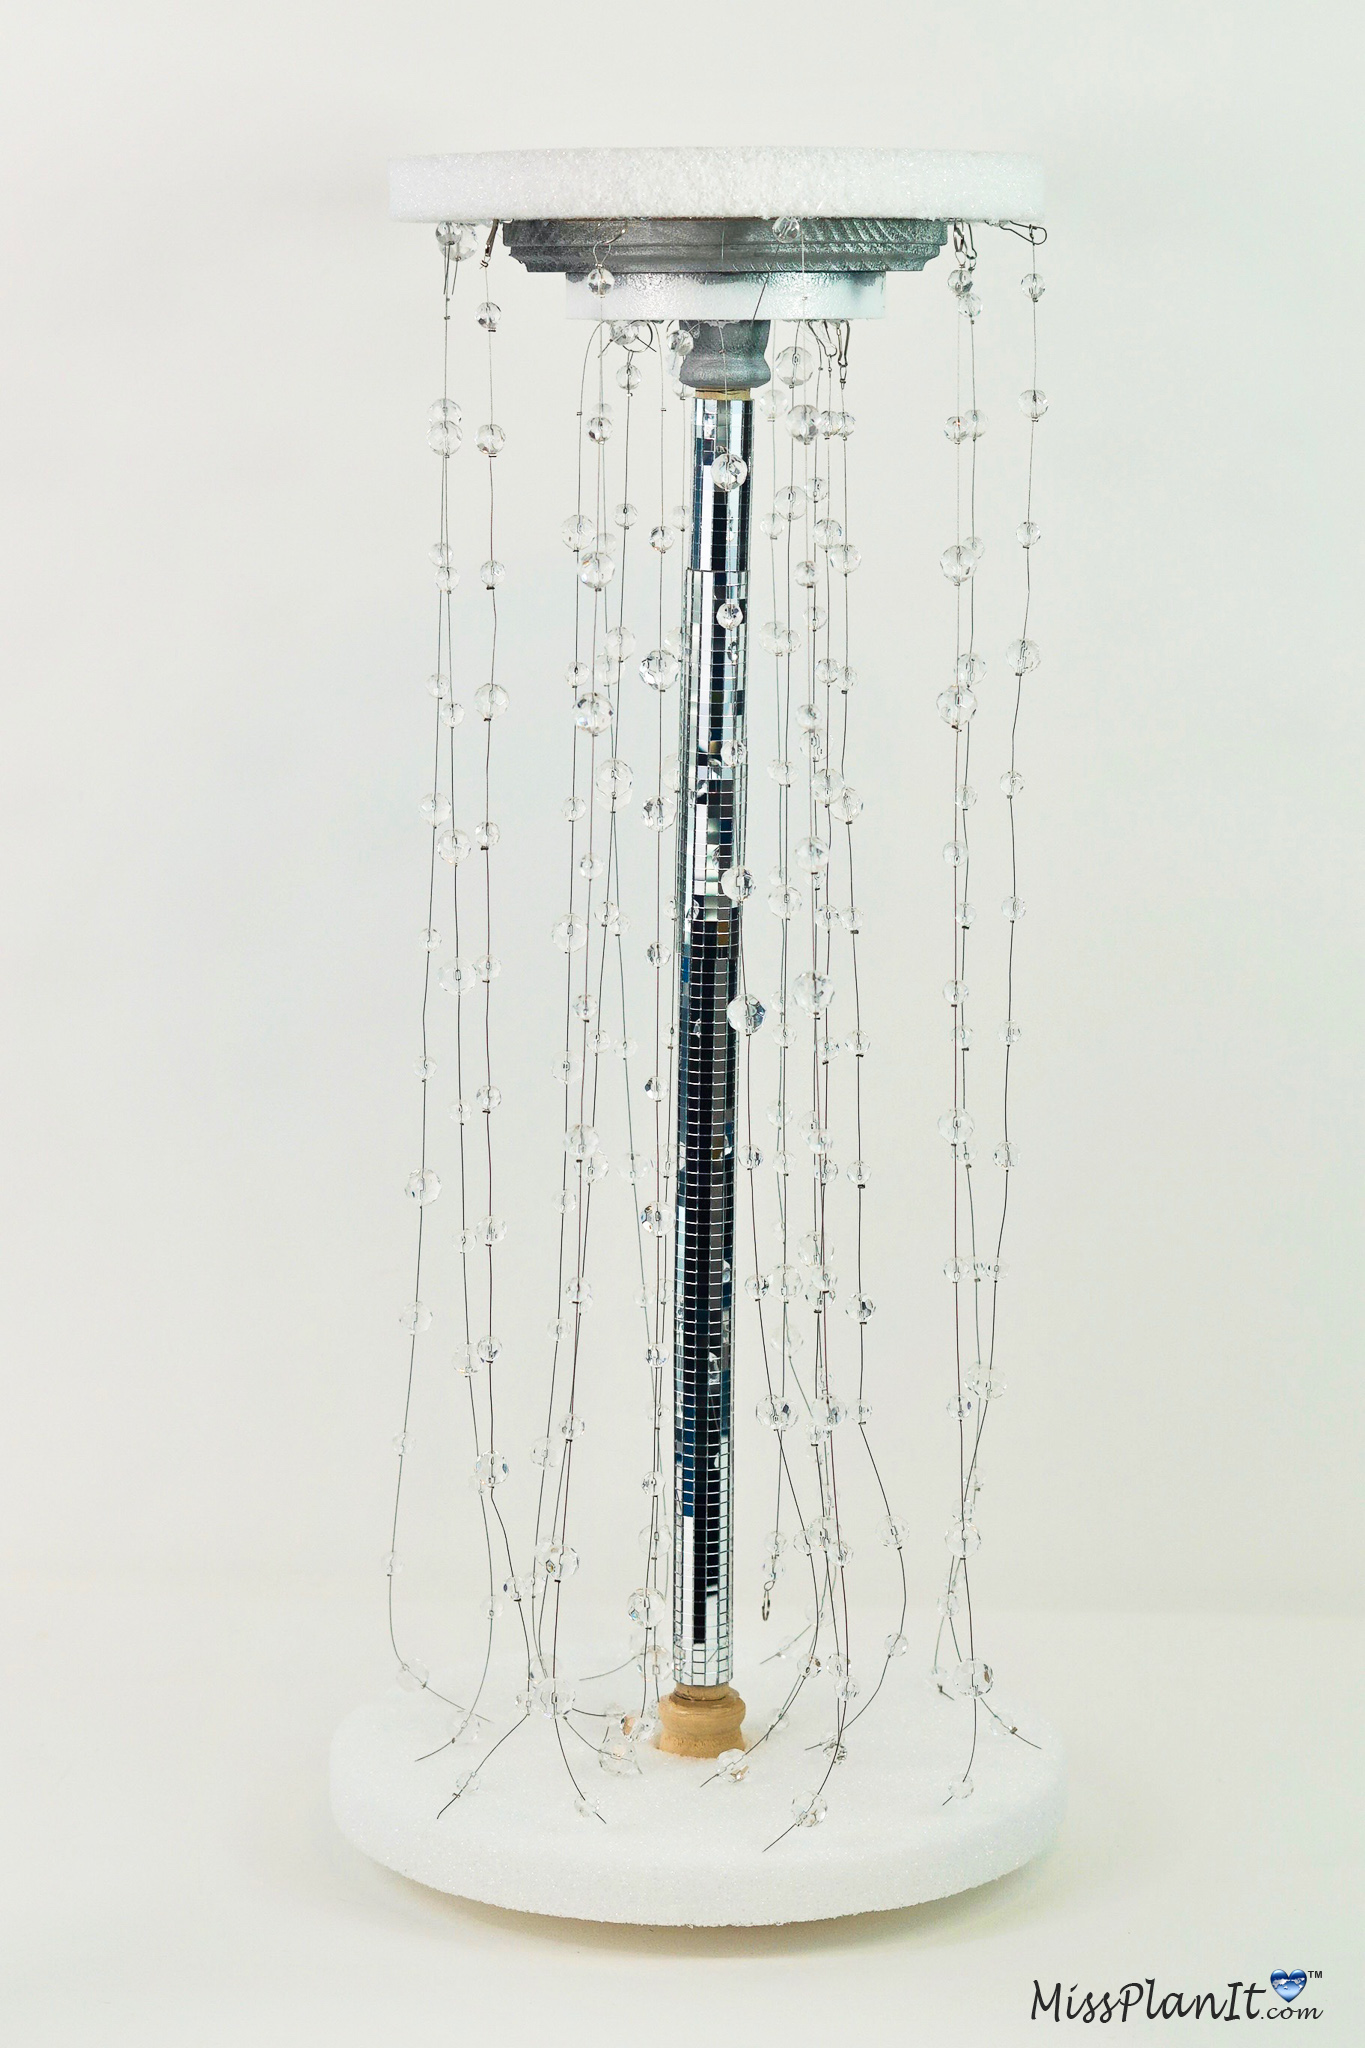
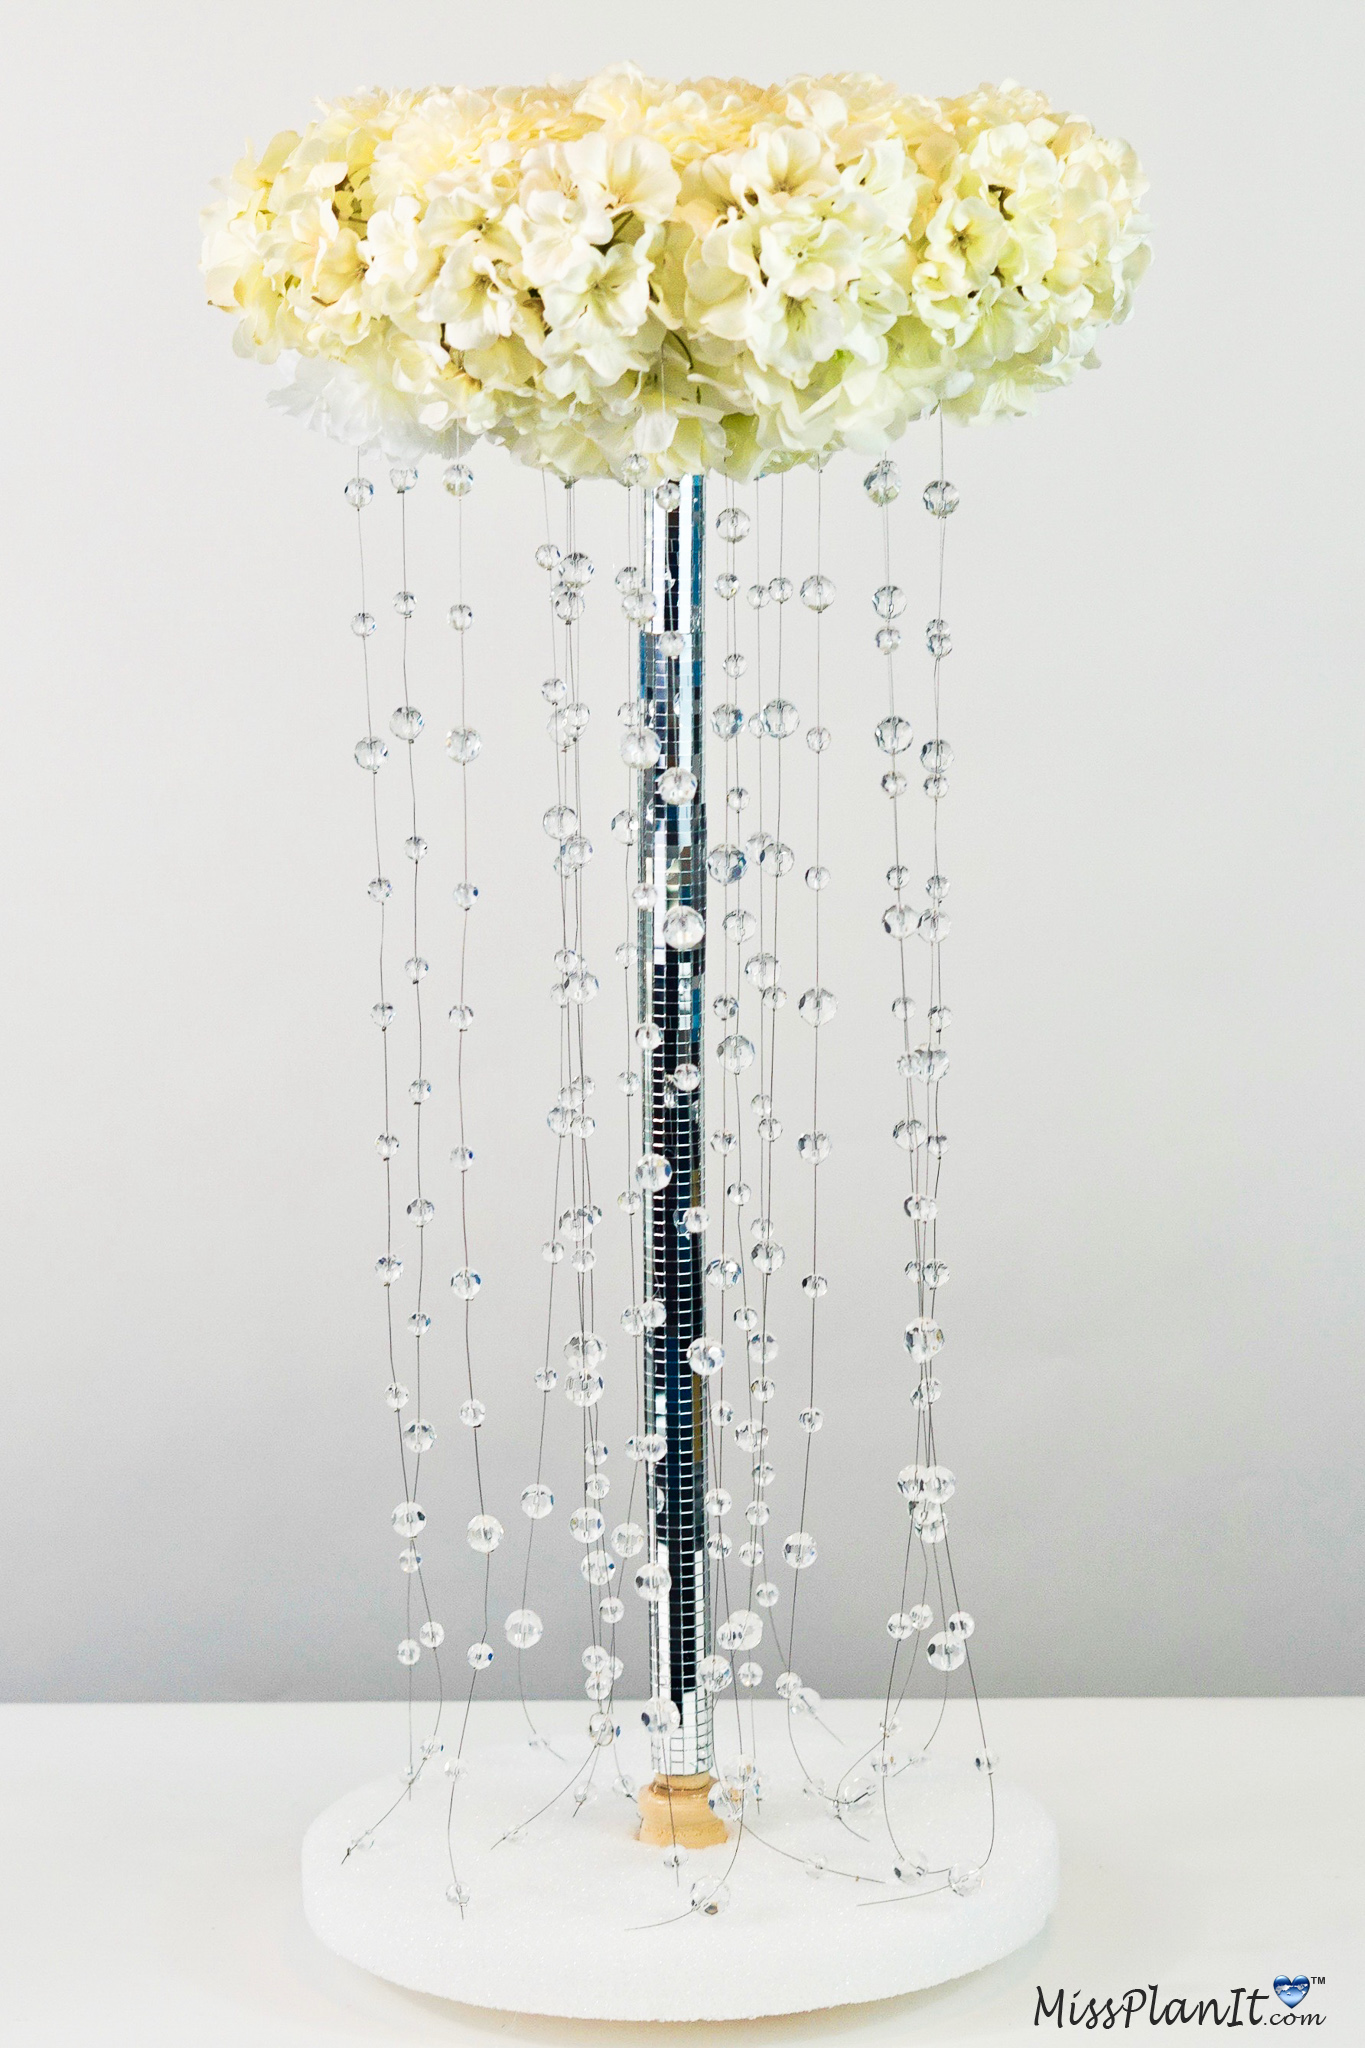
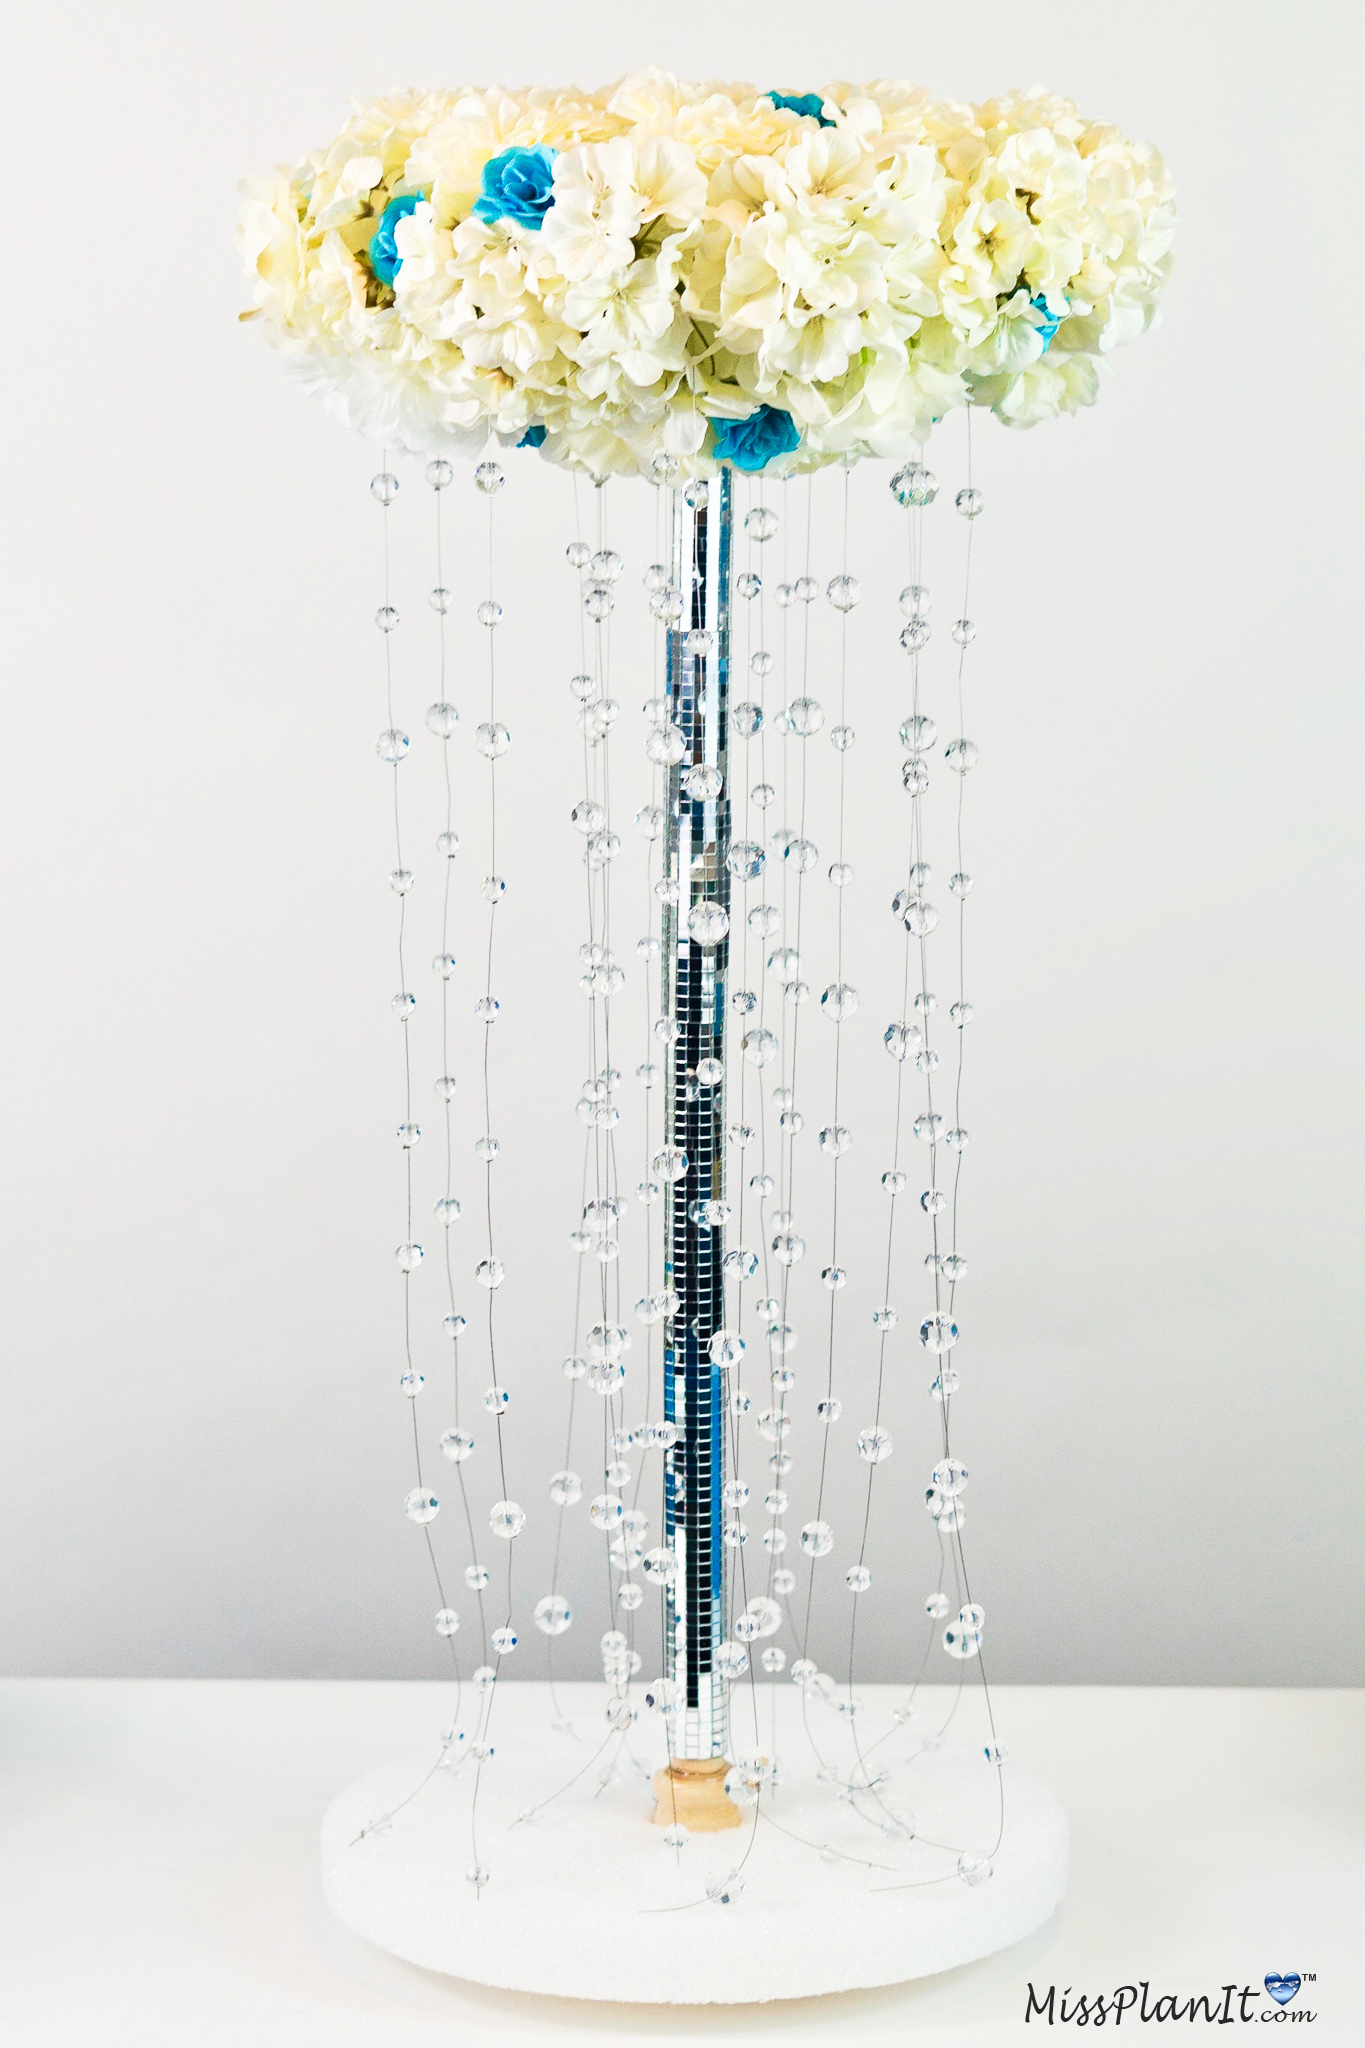
Are you planning a Spring Wedding? If so, have you decided what your wedding centerpieces will look like? I have the perfect wedding centerpiece idea for you this week that you can absolutely DIY yourself. It is a Tall Spring Bling Wedding Centerpiece with a Waterfall Flair. It is adorned with beautiful Spring colored flowers and crystal bead strands draped from top to bottom. The perfect illusion of a beautiful waterfall. Your guests will be captivated by this amazingly gorgeous wedding centerpiece. Also, I saved money making this DIY mixing in $1 flowers and using other $1 products from the Dollar Tree. The links are in the supply list below. So let’s get started! For video instructions, please check out the video tutorial below!
[convertkit form=917377]
VIDEO TUTORIAL:
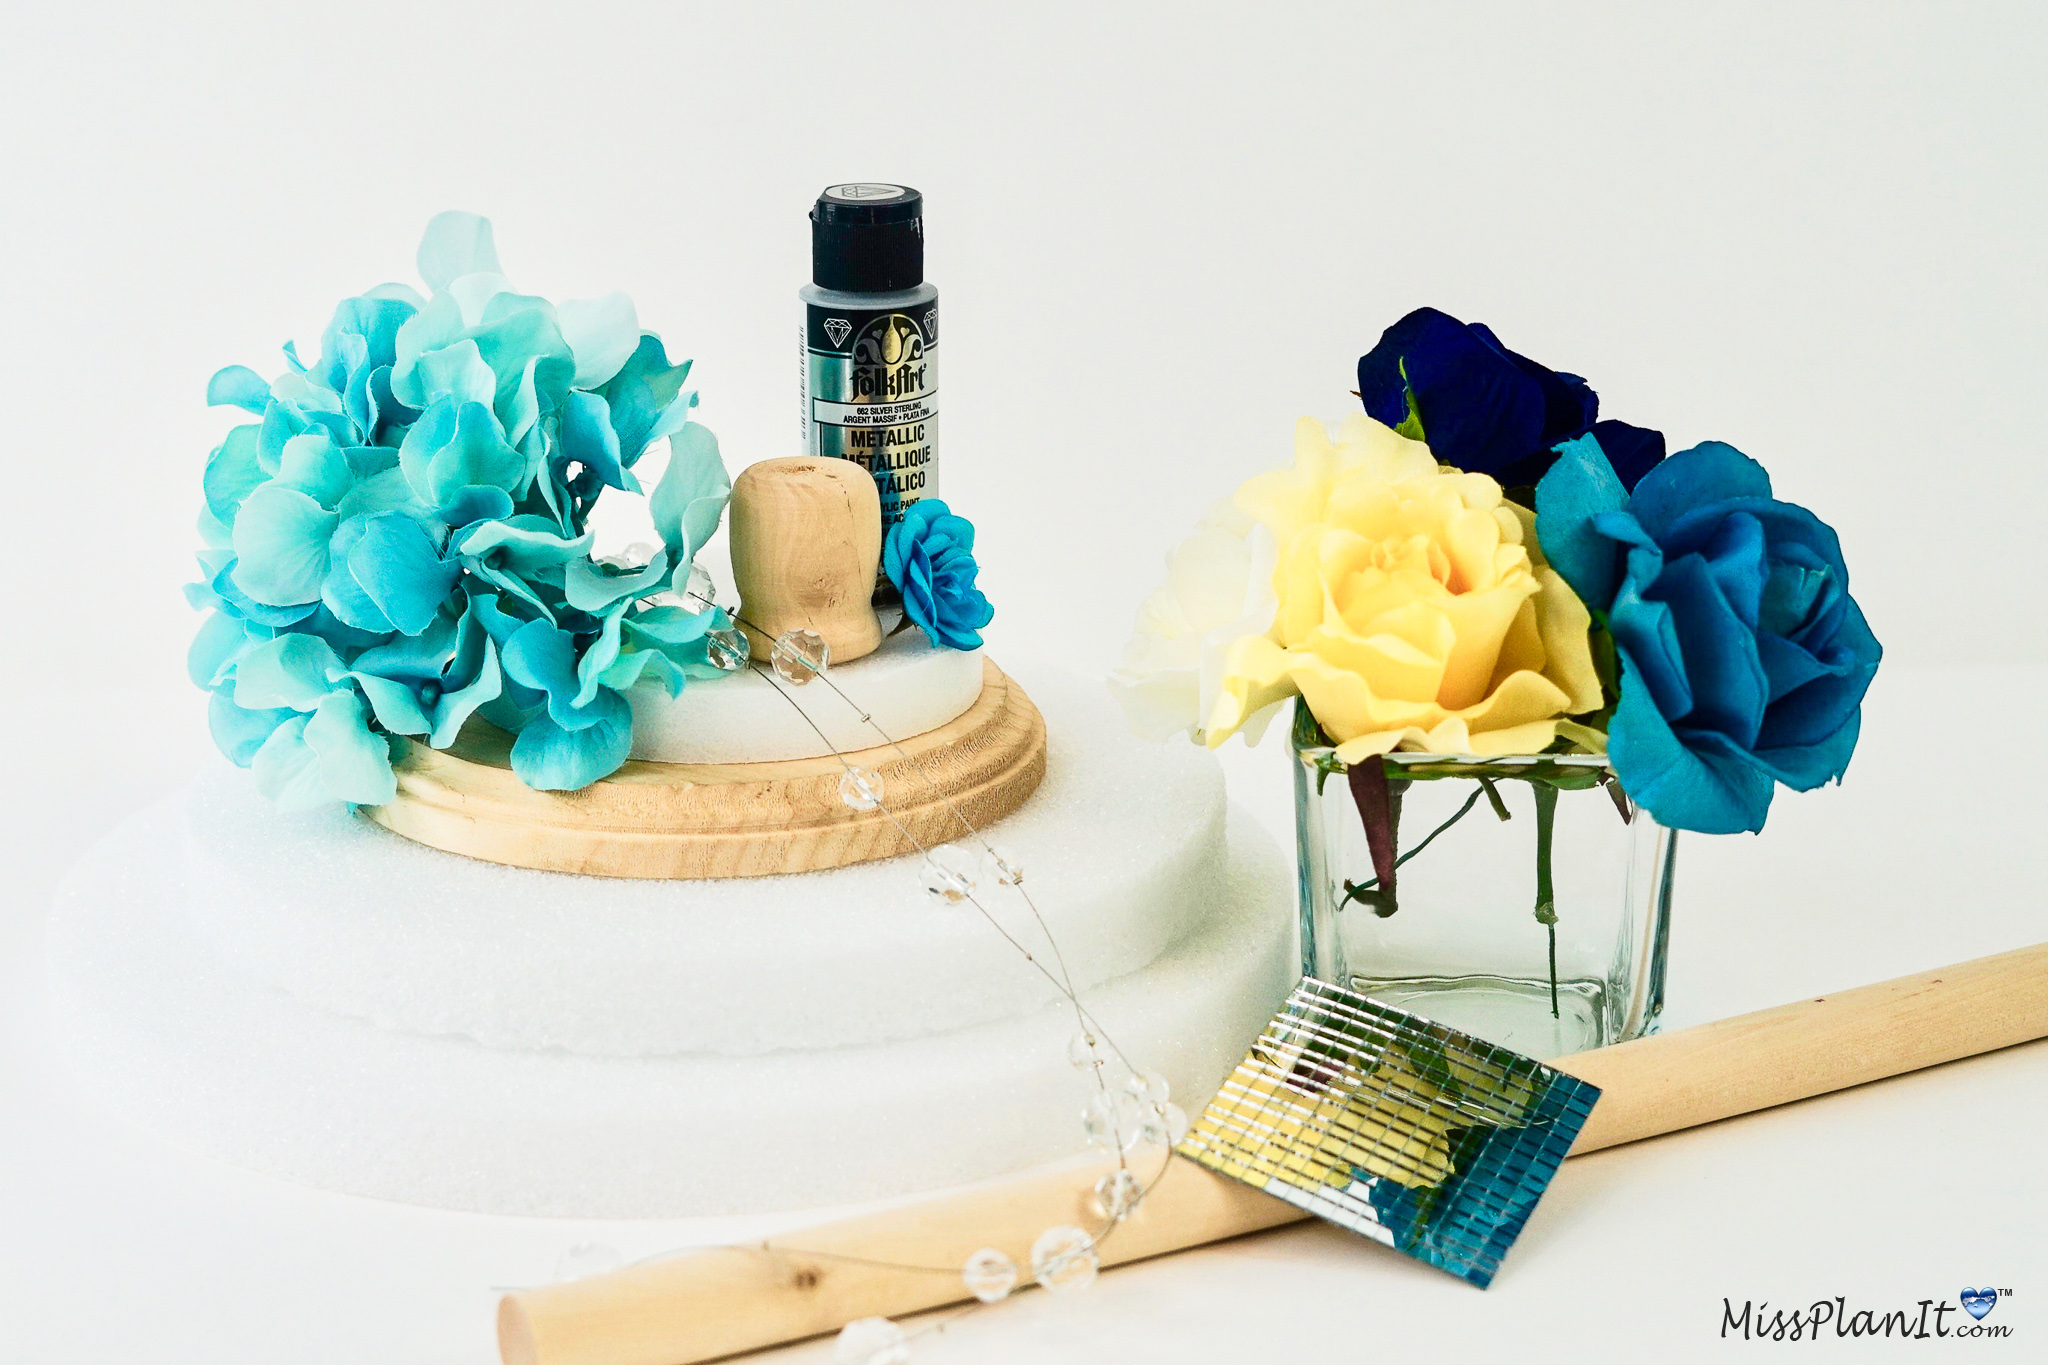
SUPPLIES:
White Foam Disks, 2-ct. Packs ($1.00)
5-Stem Cream Velvety Roses ($1.00)
Floral White Hydrangea Bushes ($1.00)
White Carnation Bushes ($1.00)
6-Stem Open and Closed Rose Bushes Yellow ($1.00)
Artificial Hydrangea Bushes Blue ($1.00)
Foam Disc – 10”
Styrofoam Disc – 12”
Birch Wood Candle Cups – 1 9/16”
Round Wood Plaque – 6 3/4”
Hardwood Dowel – 7/8”
Clear Blue Rose Bush
Yellow Alice Rose Bush
Turquoise Mini Rose Bush
Silver Anniversary FolkArt Metallic Acrylic Paint
SKY CANDYBAR 10 Meters Glass Crystal Beads Curtain
Charmly 7 Big Head Artificial Hydrangea Flowers
Silk Hydrangea Heads Pack of 10
Homeford Mirror Sheets Mosaic Sticker, 12″, Silver
Greening Pins 1.75″ 50/Pkg
For written instructions, please continue reading below:
How to Make a Tall Spring Bling Wedding Centerpiece
Directions:
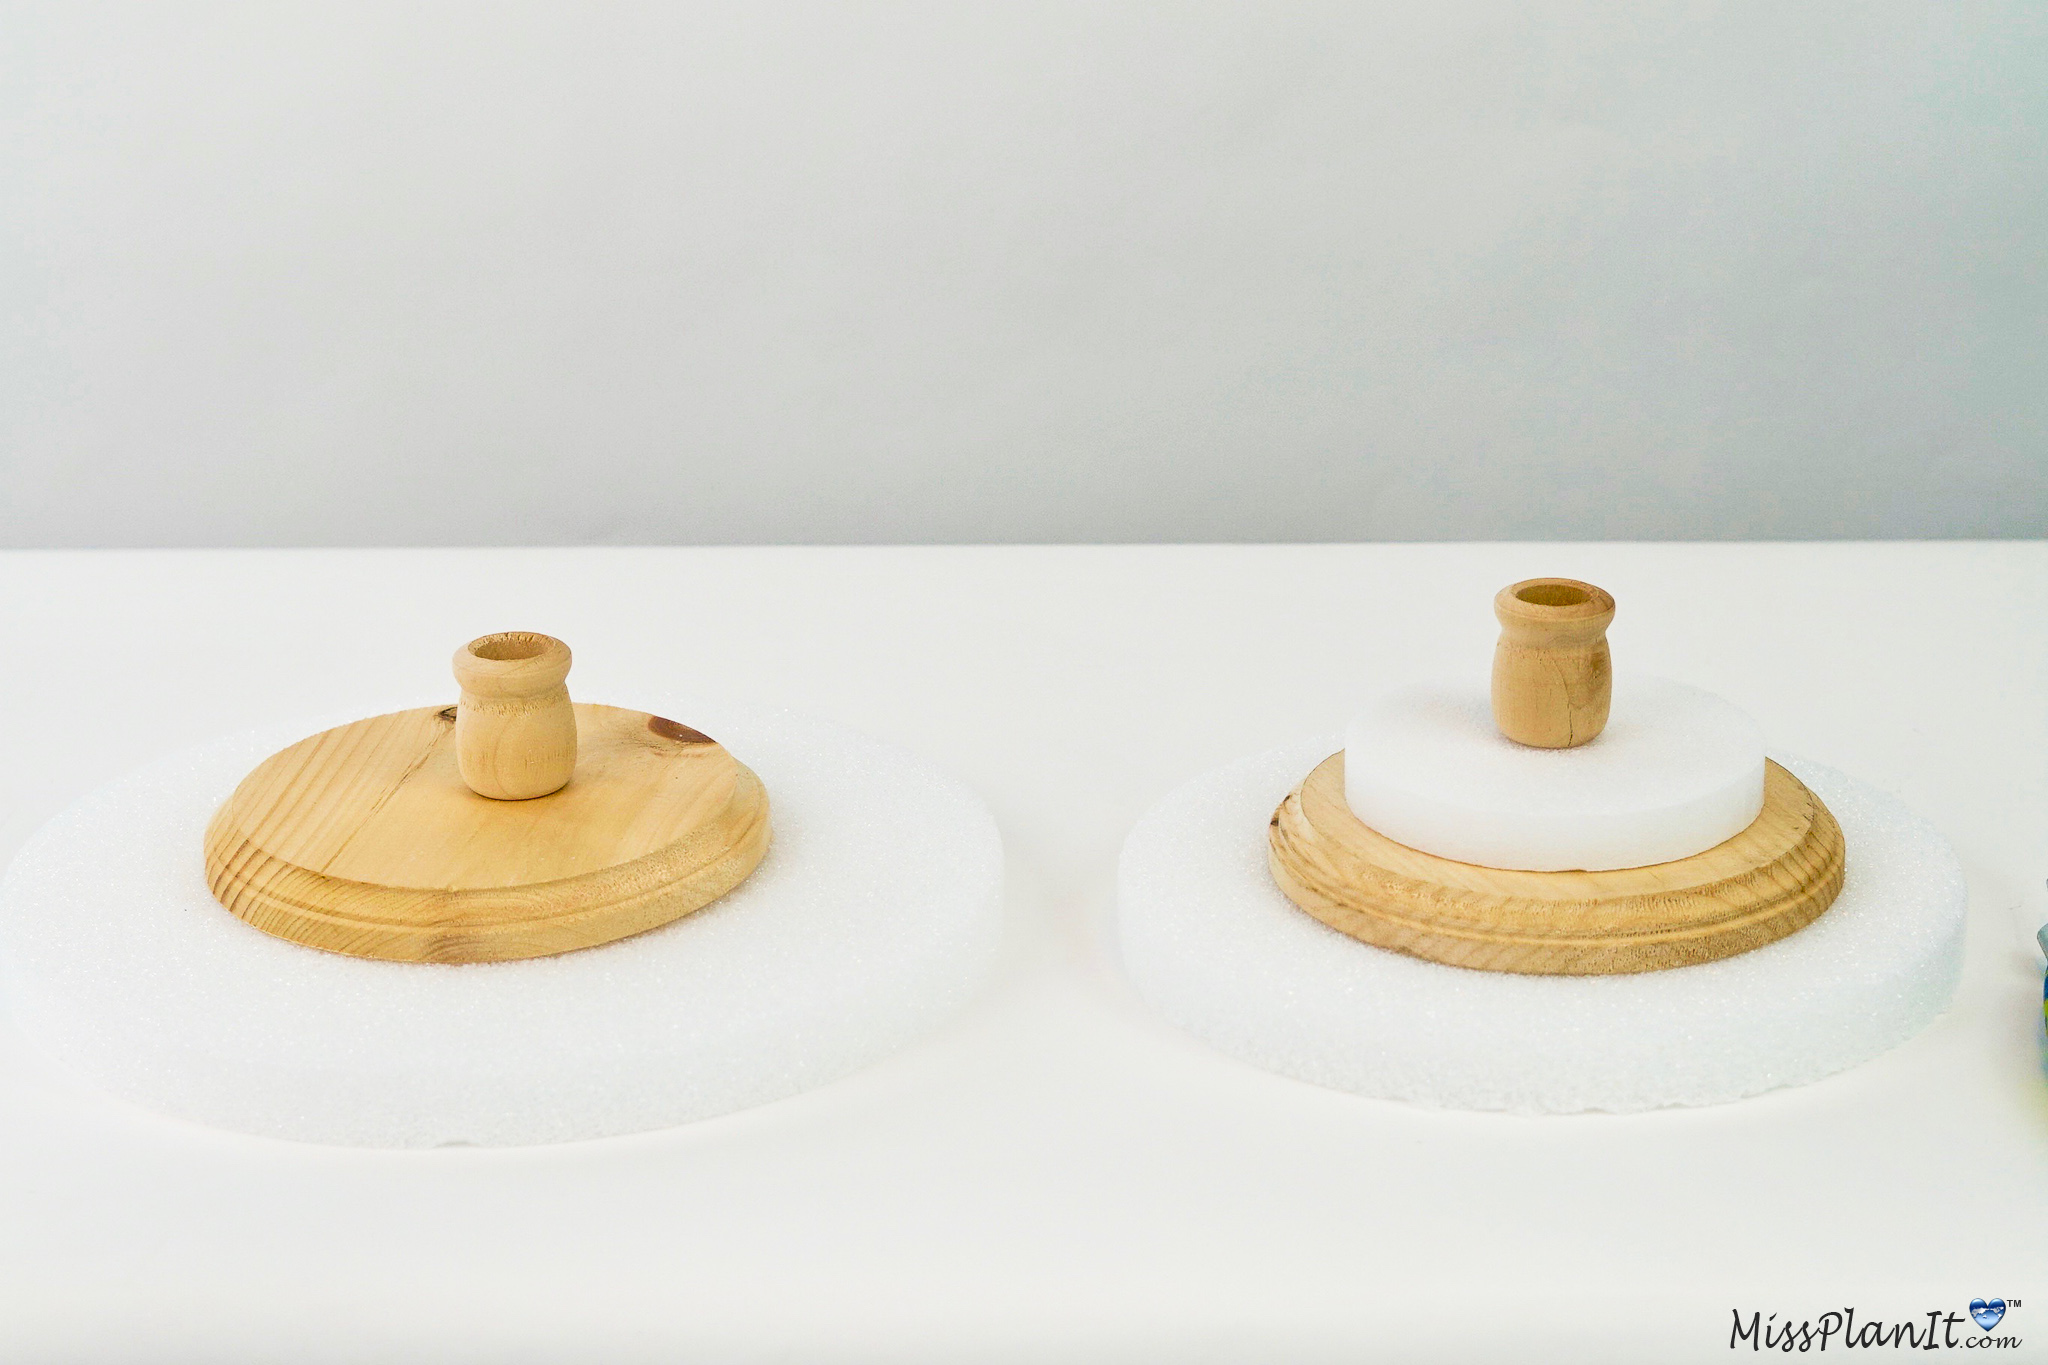
STEP 1: We are going to start by making the base. The first step is to take the birch wood candle cup and press it in the middle of the 12 inch foam disc to make an indention. Next cut the indented center area out with a foam cutter.
Place the candle cup in the cut out, making sure it is flush with the underside of the foam disc. Apply high heat hot glue to the top of the birch wood candle cup and then place the center of your wooden plaque right on top. Allow it to dry.
Now For The Top of the Wedding Centerpiece
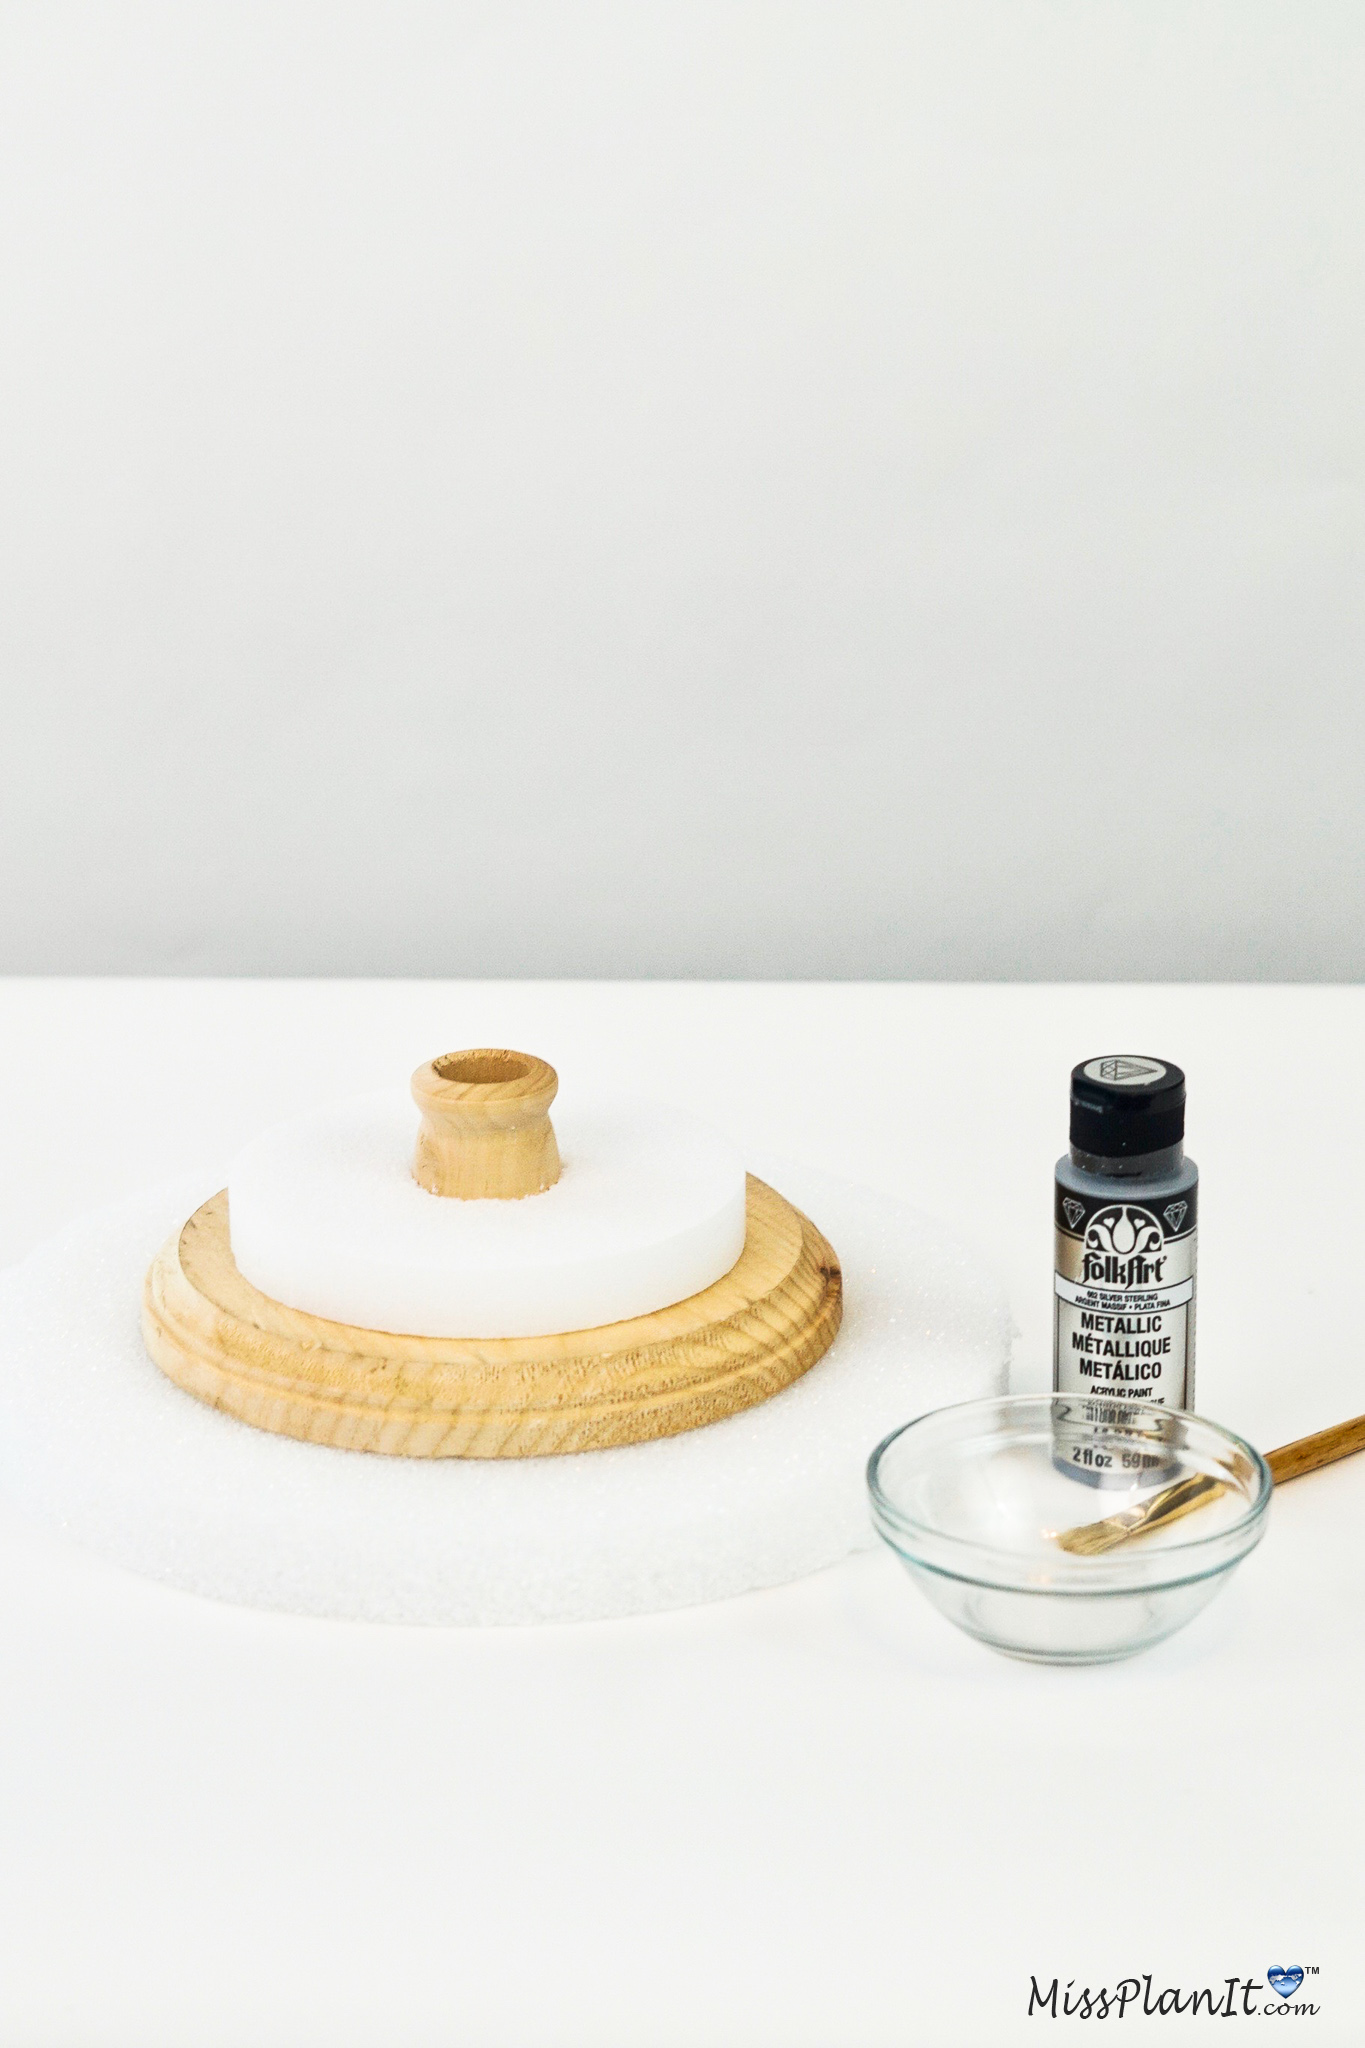
STEP 2: Repeat step 1 using a 5 inch foam disc with the candle cup. Put hot glue on the bottom of your candle cup and then set it on the 7 inch wooden plaque. Turn it over face down and then hot glue a 10 inch foam disc to it. Paint the wooden plaque and candle cup with silver paint.
While the Top Drys Let’s Go Back to the Base
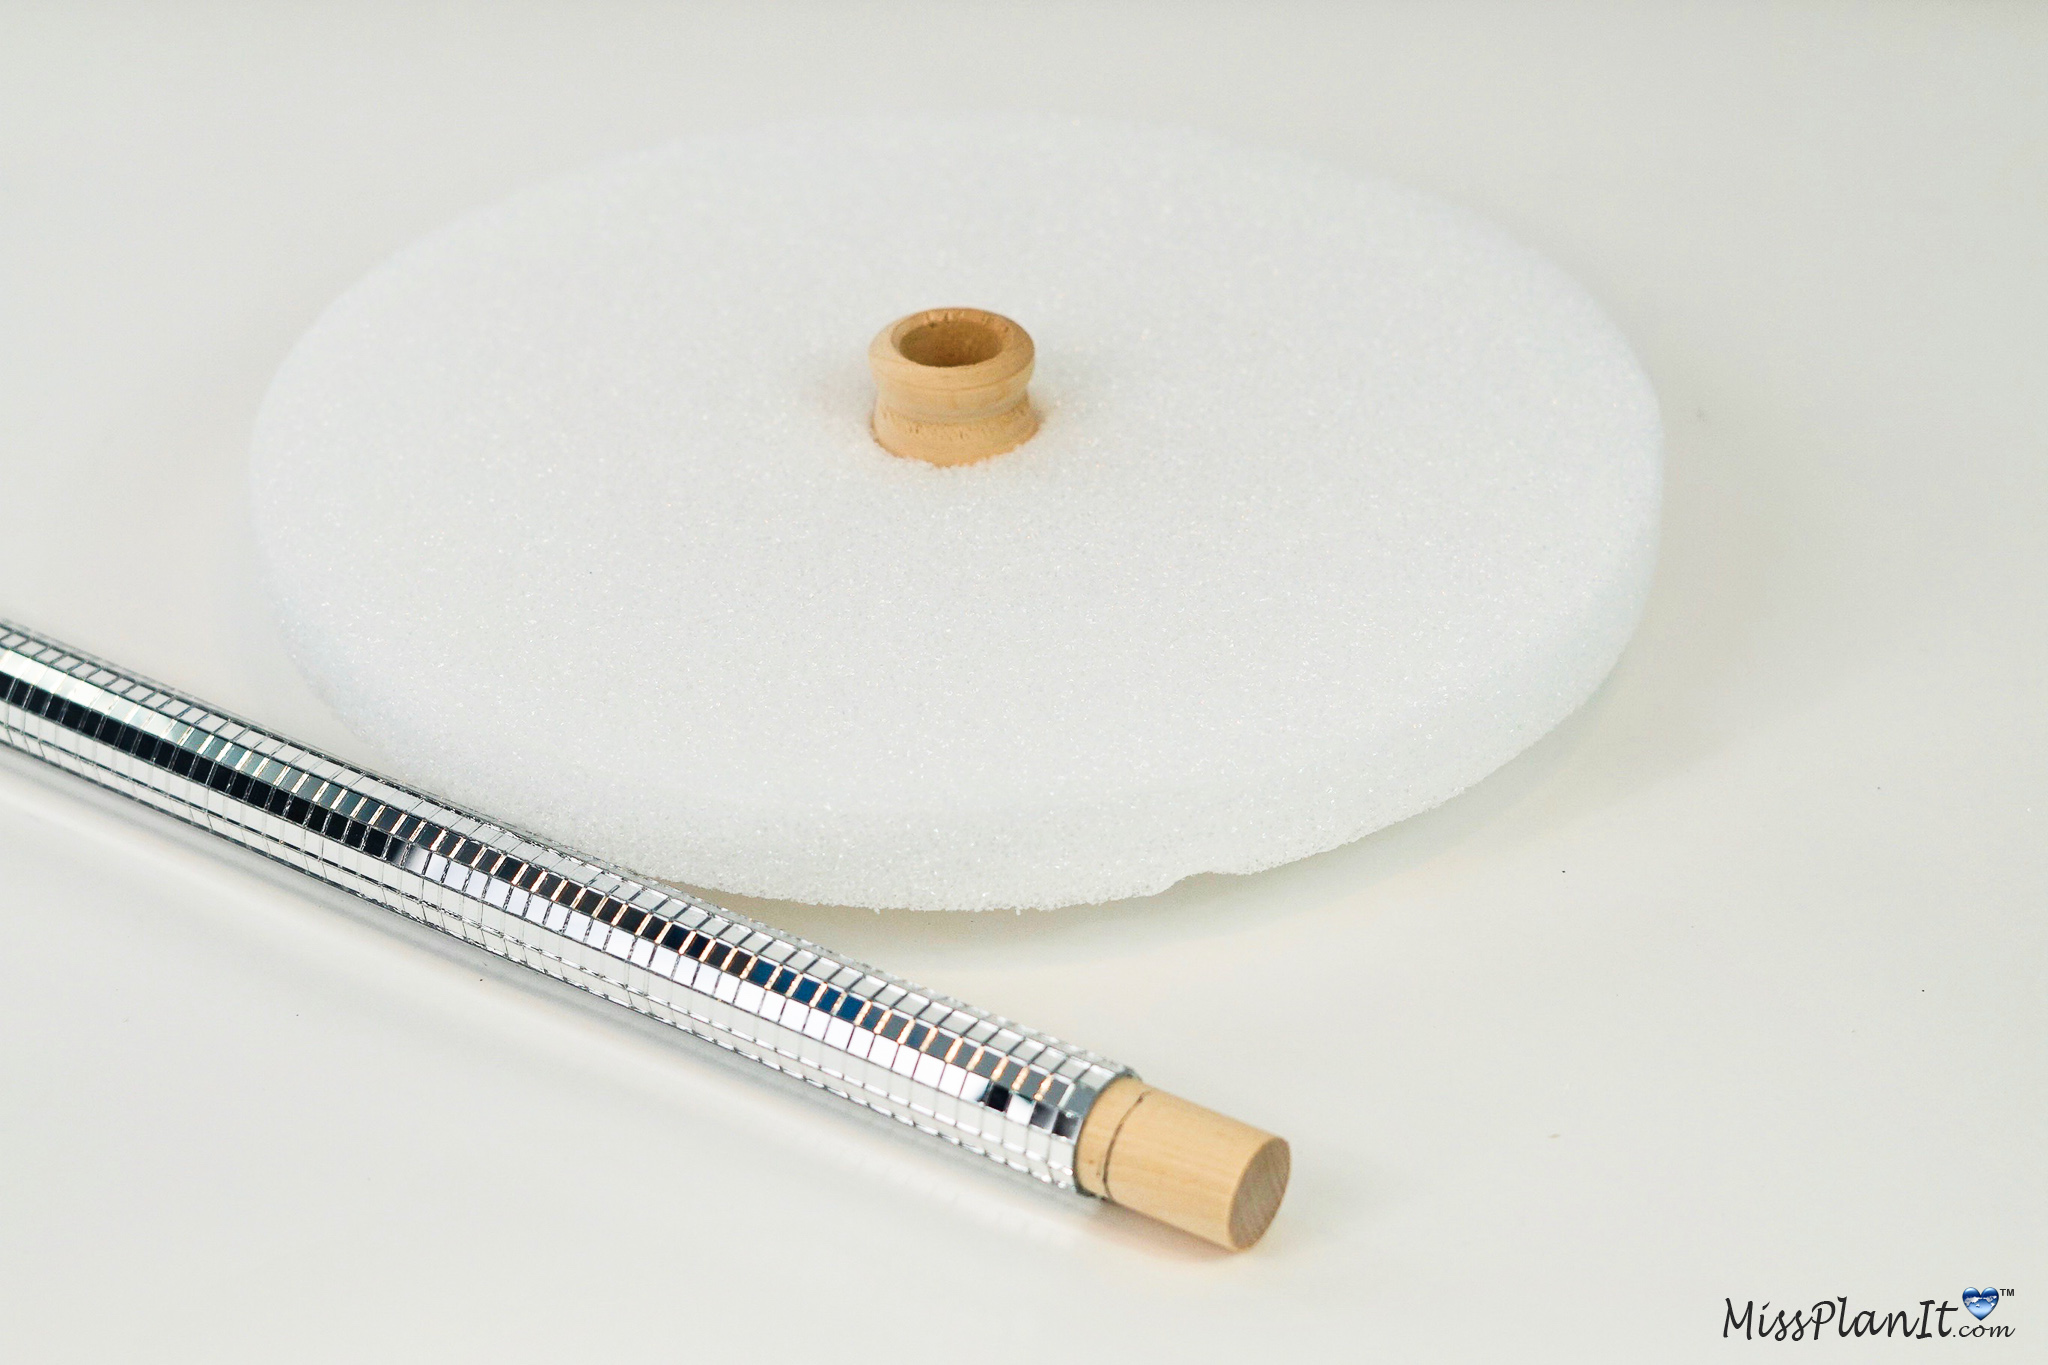
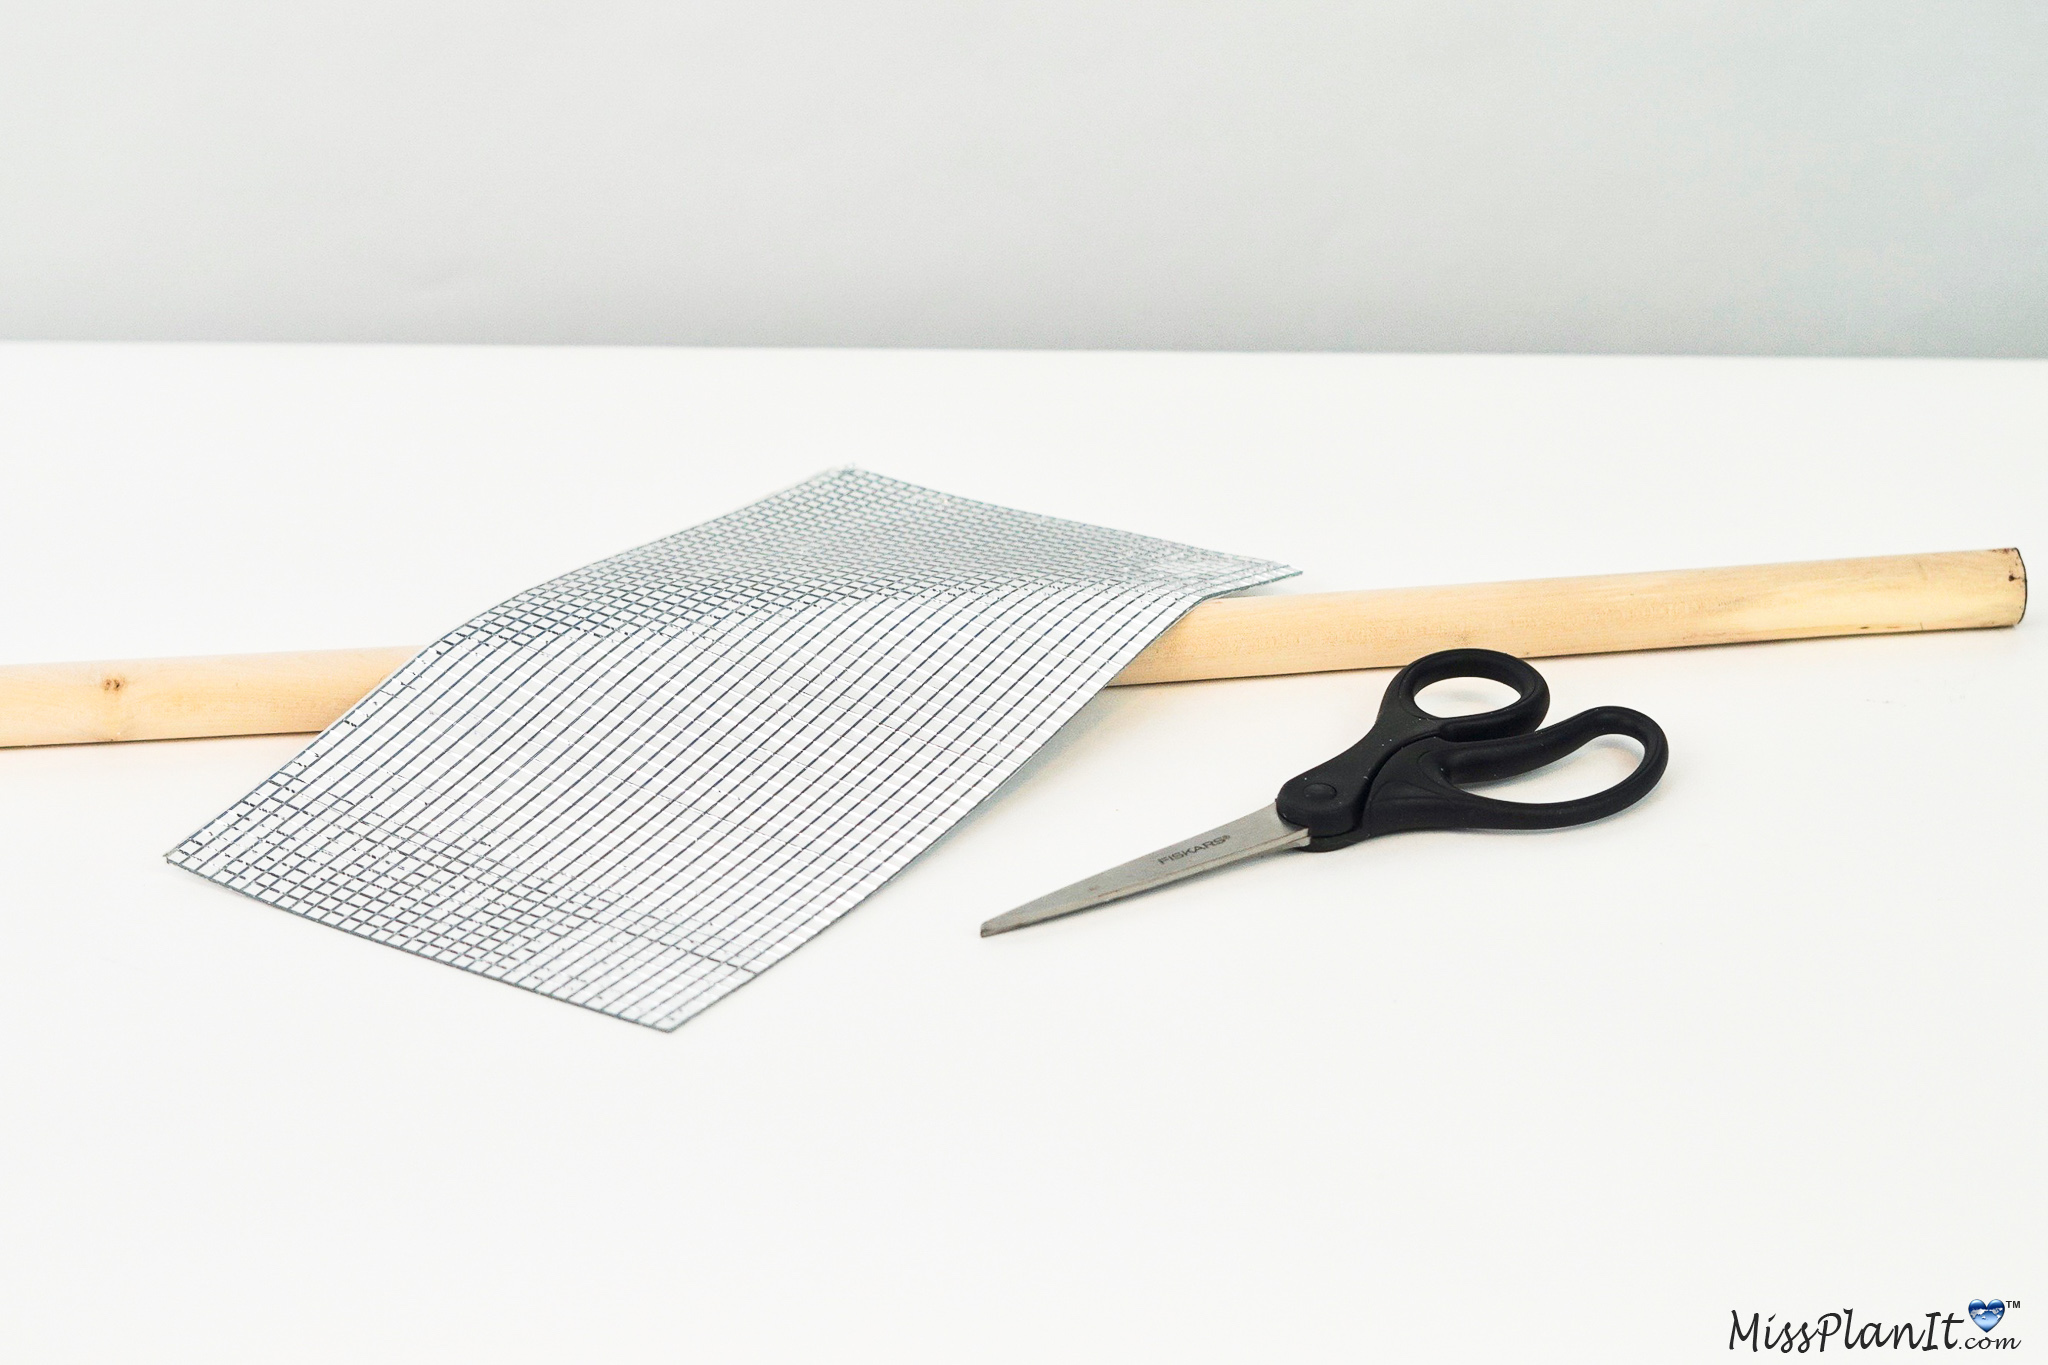
STEP 3: Take the base of your wedding centerpiece from step 1 and place the hardwood dowel in the candle cup. Use a pen or maker to mark how far down the dowel sits in the candle cup. Remove the dowel. Next measure the glass mosaic tile around the dowel.
Cut the access off with a box cutter. Remove the backing and then wrap it around the dowel. It is a sticky covering so no hot glue is needed. Do not cover the area you marked off with your pen.
TIP: Be very careful when handling the glass tile as it is actually glass and you do not want to cut your fingers or hand.
Hot Glue the Wooden Dowel Inside the Candle Cup
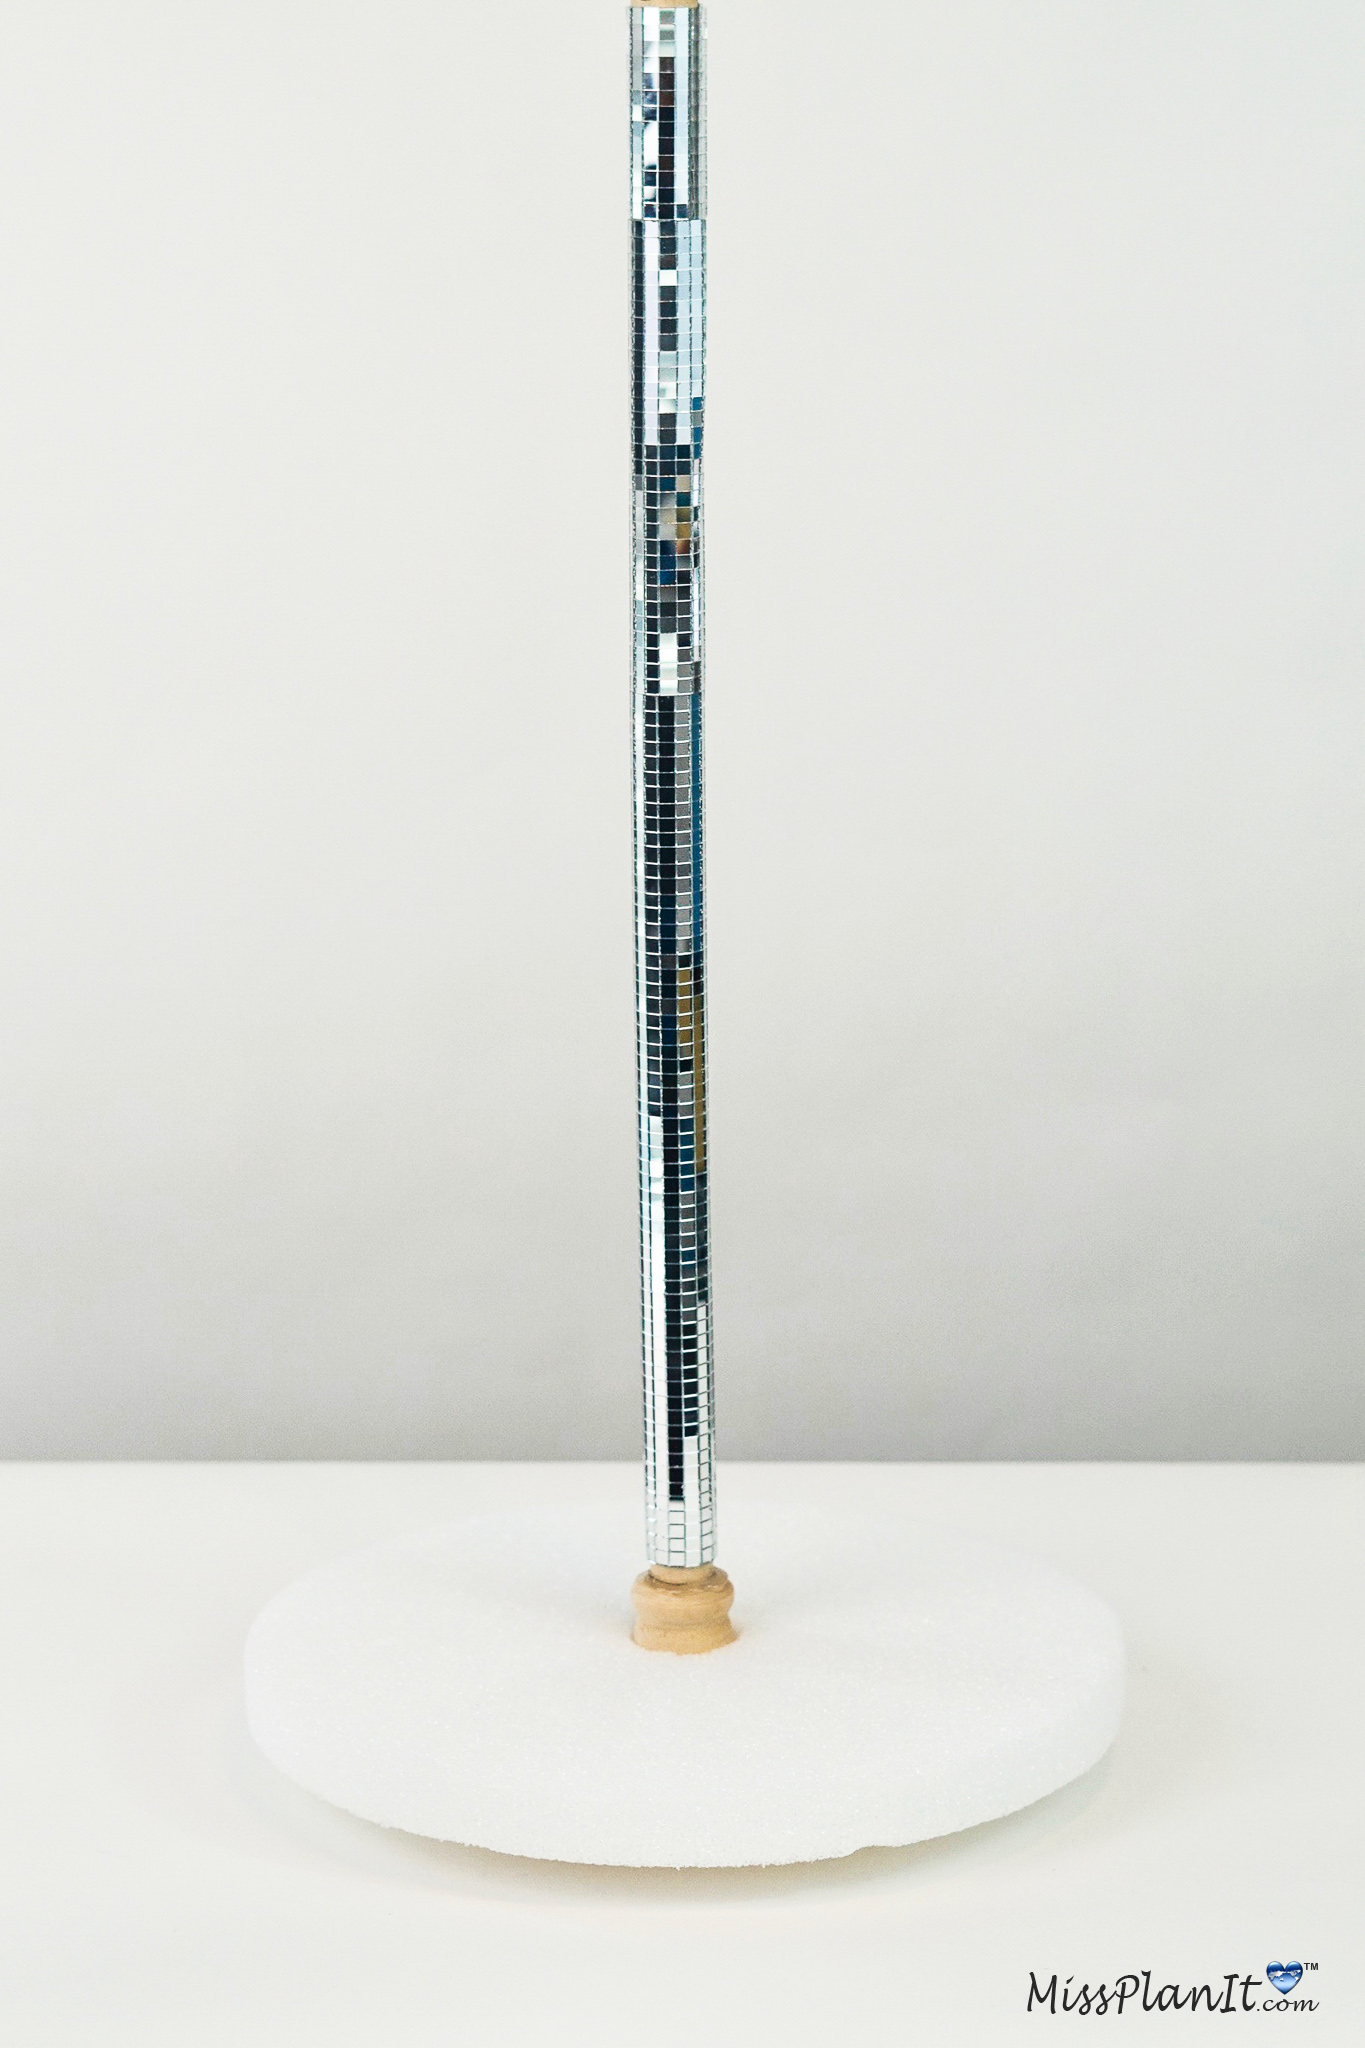
STEP 4: Put a liberal amount of hot glue in the candle cup base. Place your wooden dowel inside and then seal it around the edges with hot glue. Be sure to hold it in place for about 30 seconds to ensure it is dry and also check to see if it is level.
Attach the Bead Strands
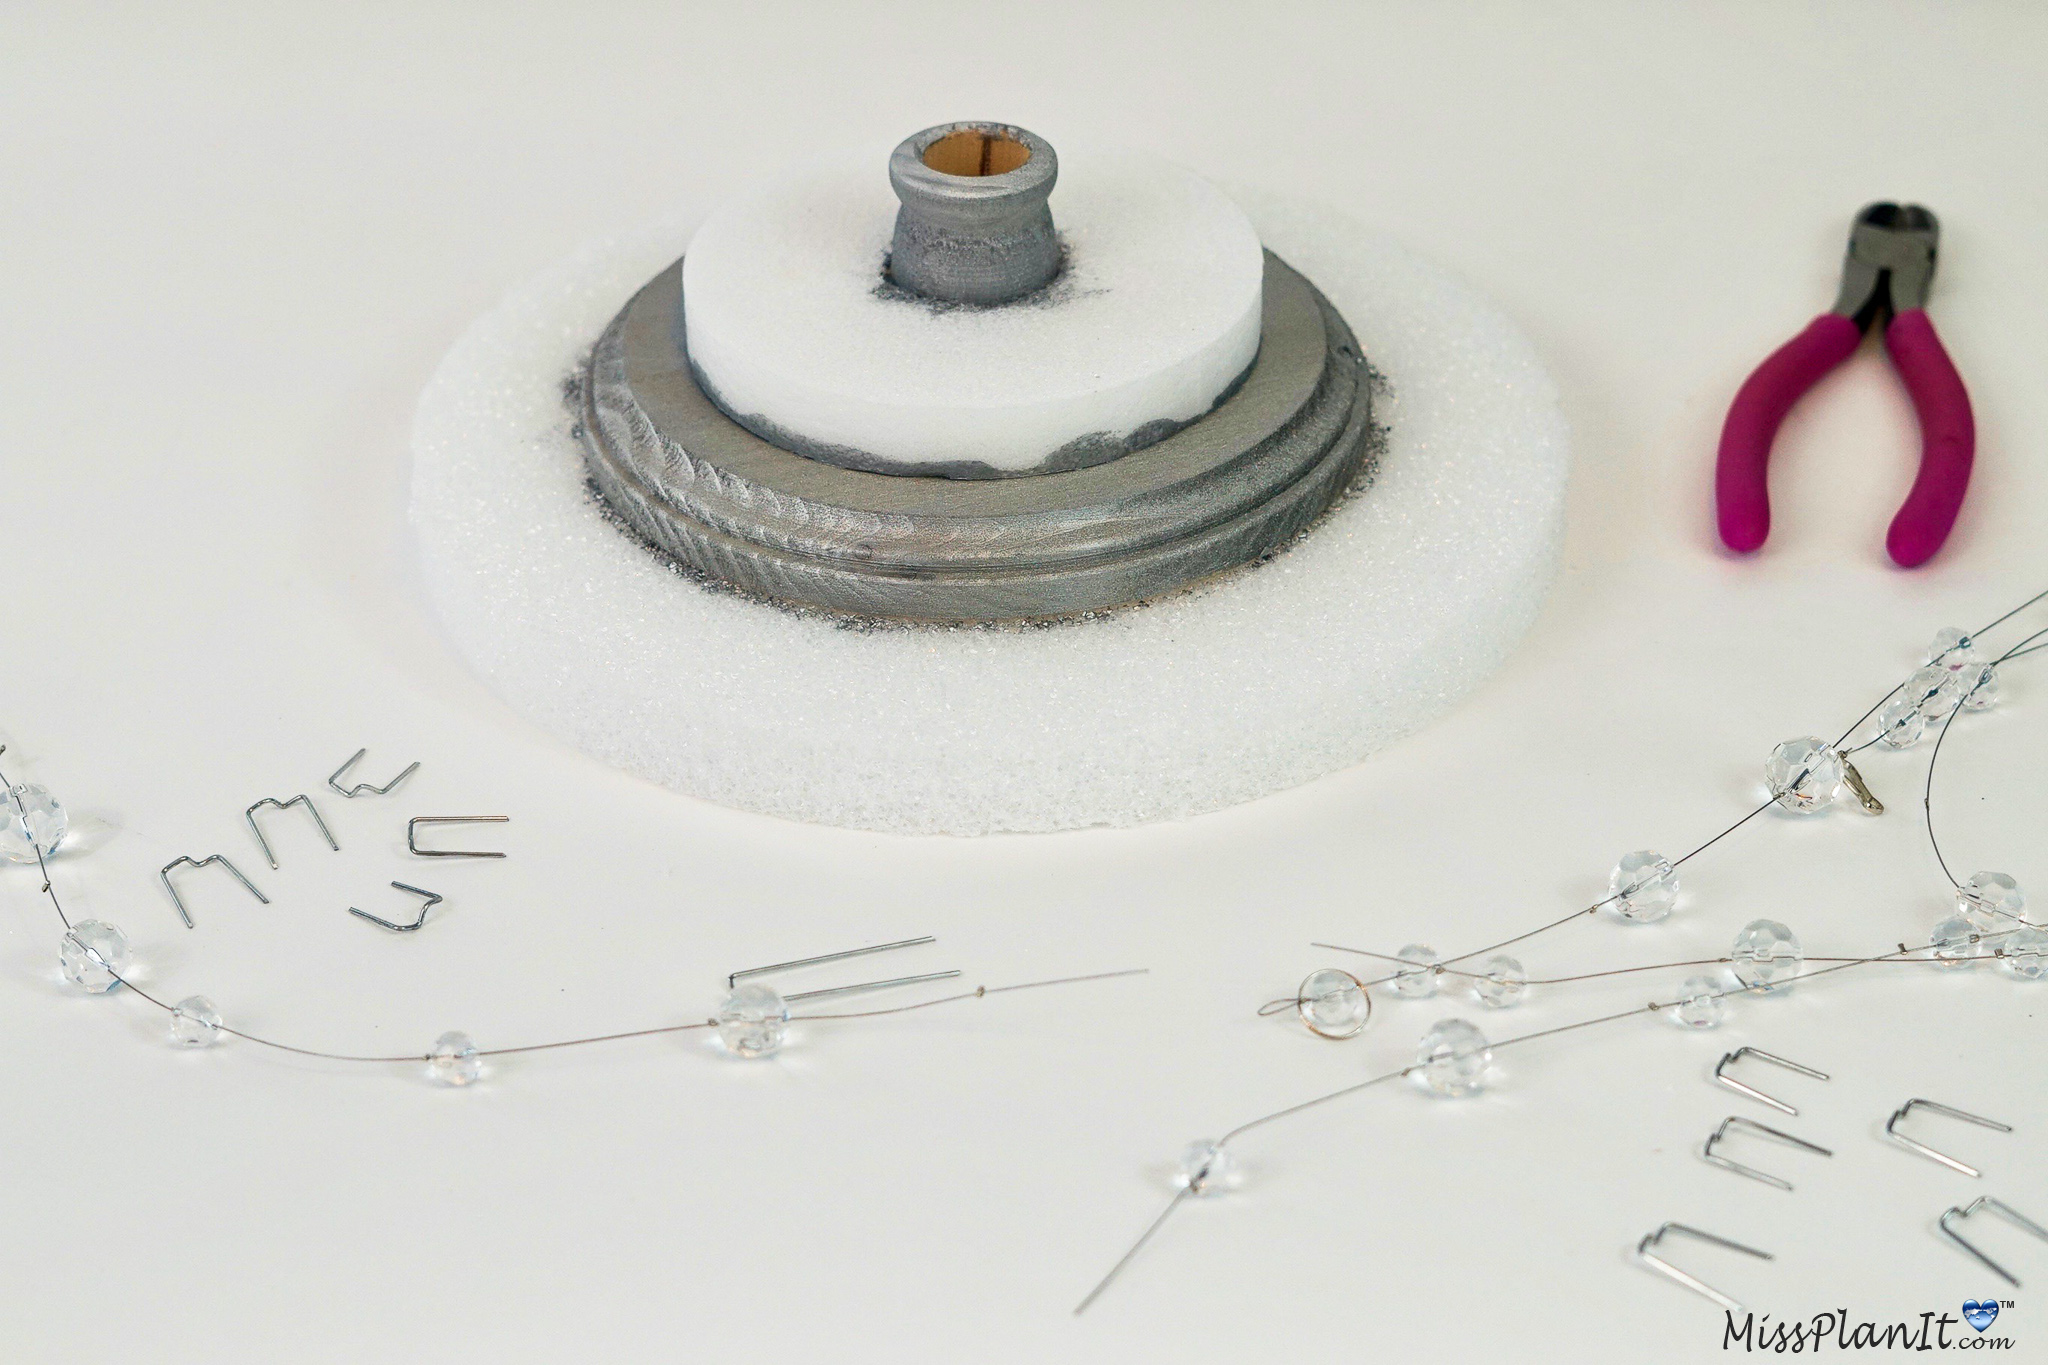
STEP 5: Now that the top of the wedding centerpiece is dry, let’s finish putting eveything together. It’s time to attach our bead strands. Trim the floral pins in half with wire cutters. Be sure to have your safety goggles on when doing this.
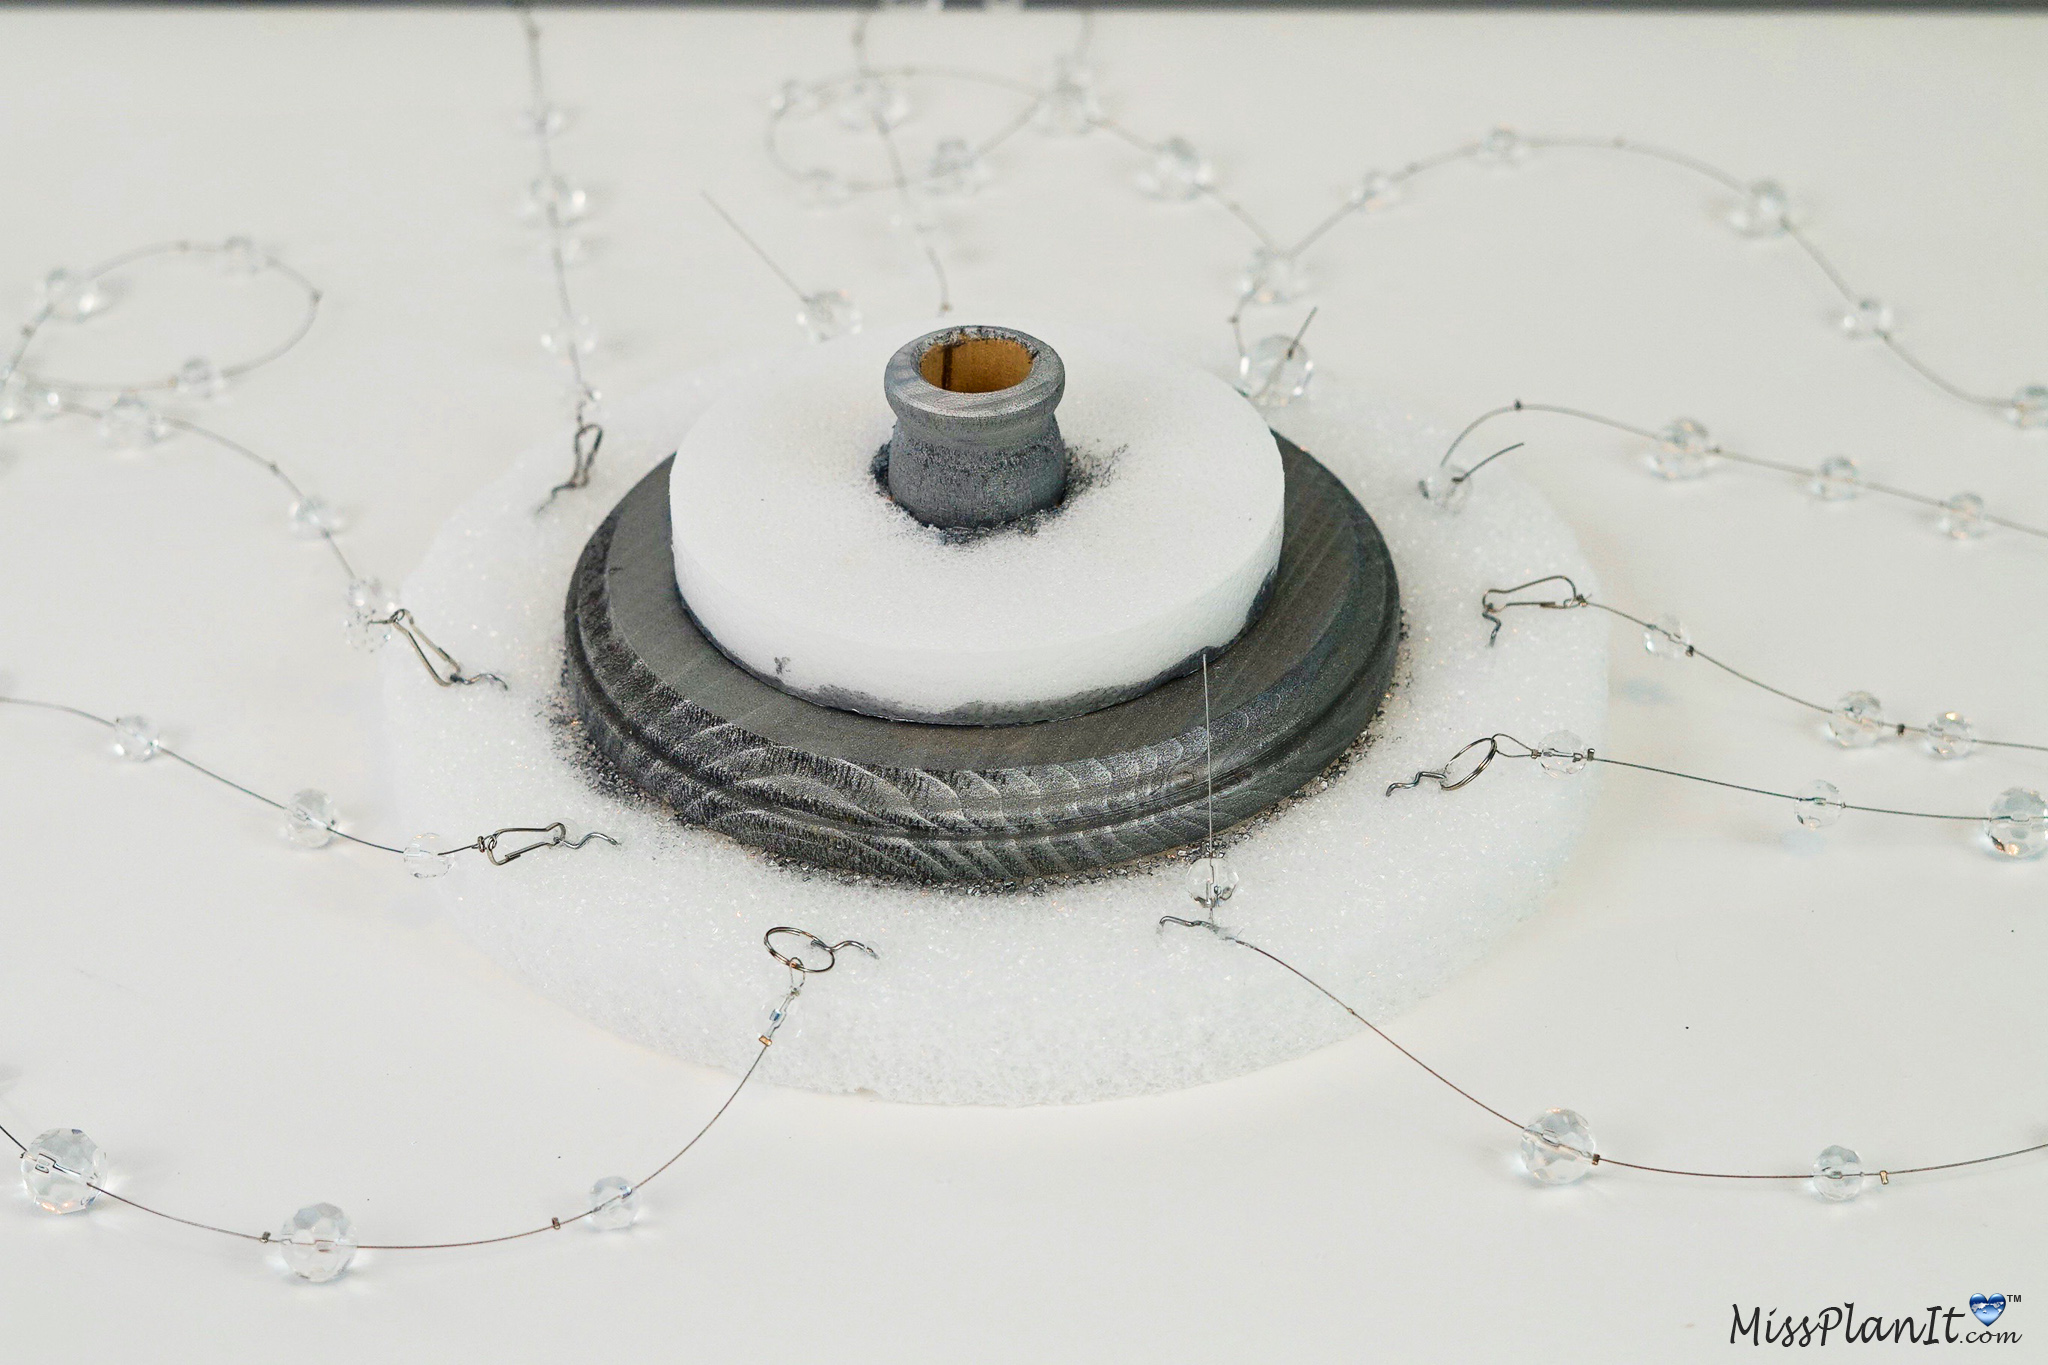
Add a little hot glue to the ends of the floral pins, place one of the beads between the floral pin and then insert the floral pin into the foam. This secures the bead strand. I attached a total of 10 bead strands to the outer disc and 8 strands to the smaller inner 5 inch foam disc.
Tip: Remember you can attach more or less bead strands. It totally depends on your preference. You can flip it over place it on top of the dowel to see if you like it or want to make any changes.
Remove the Topper to Begin Placing Your Flowers
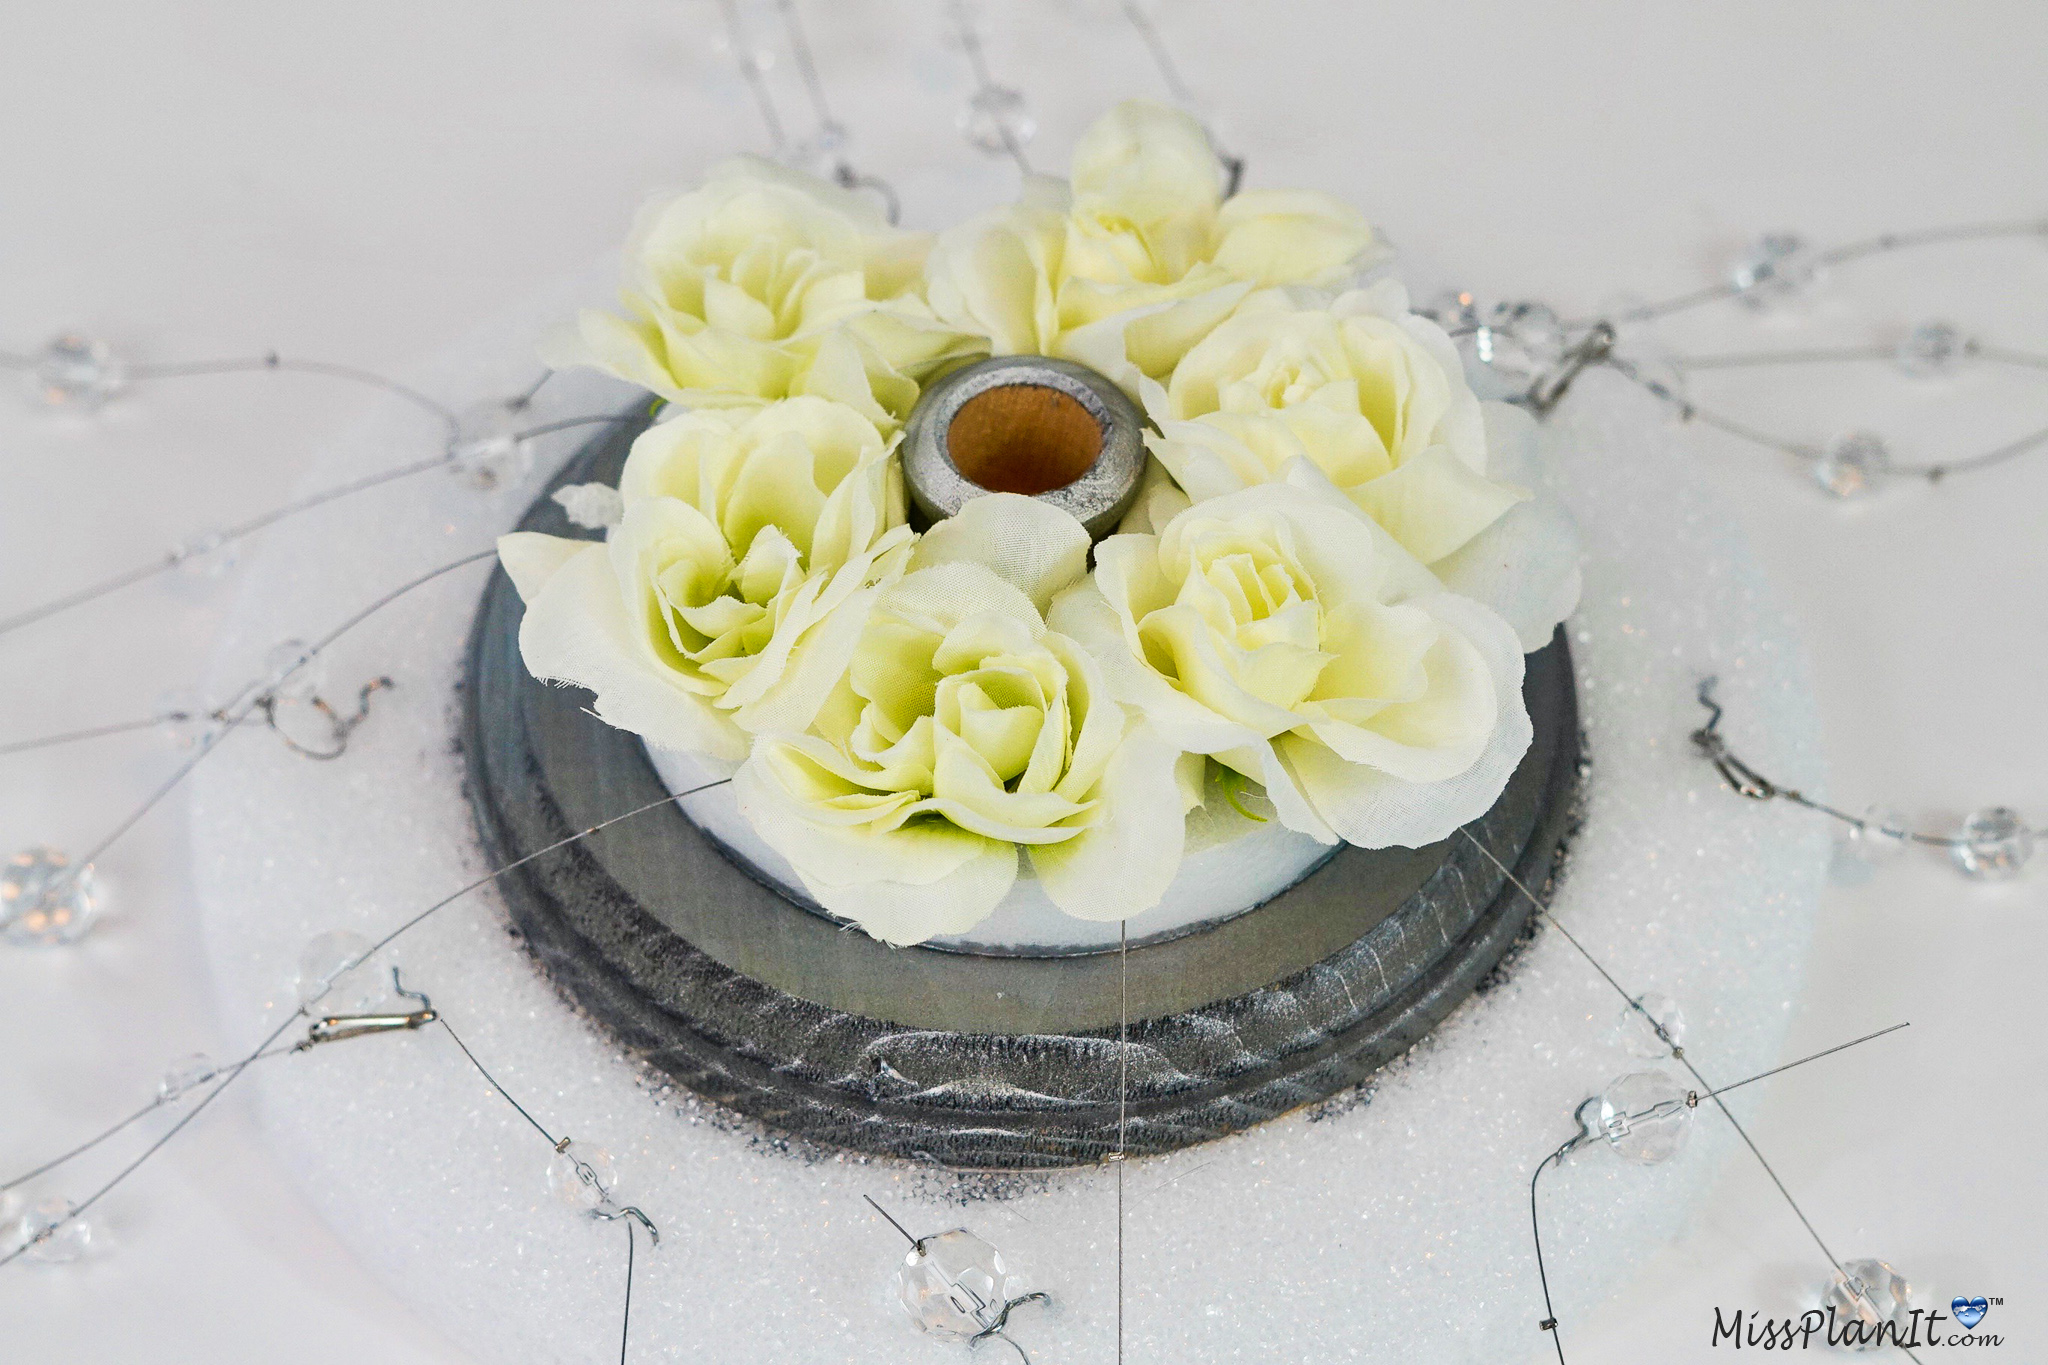
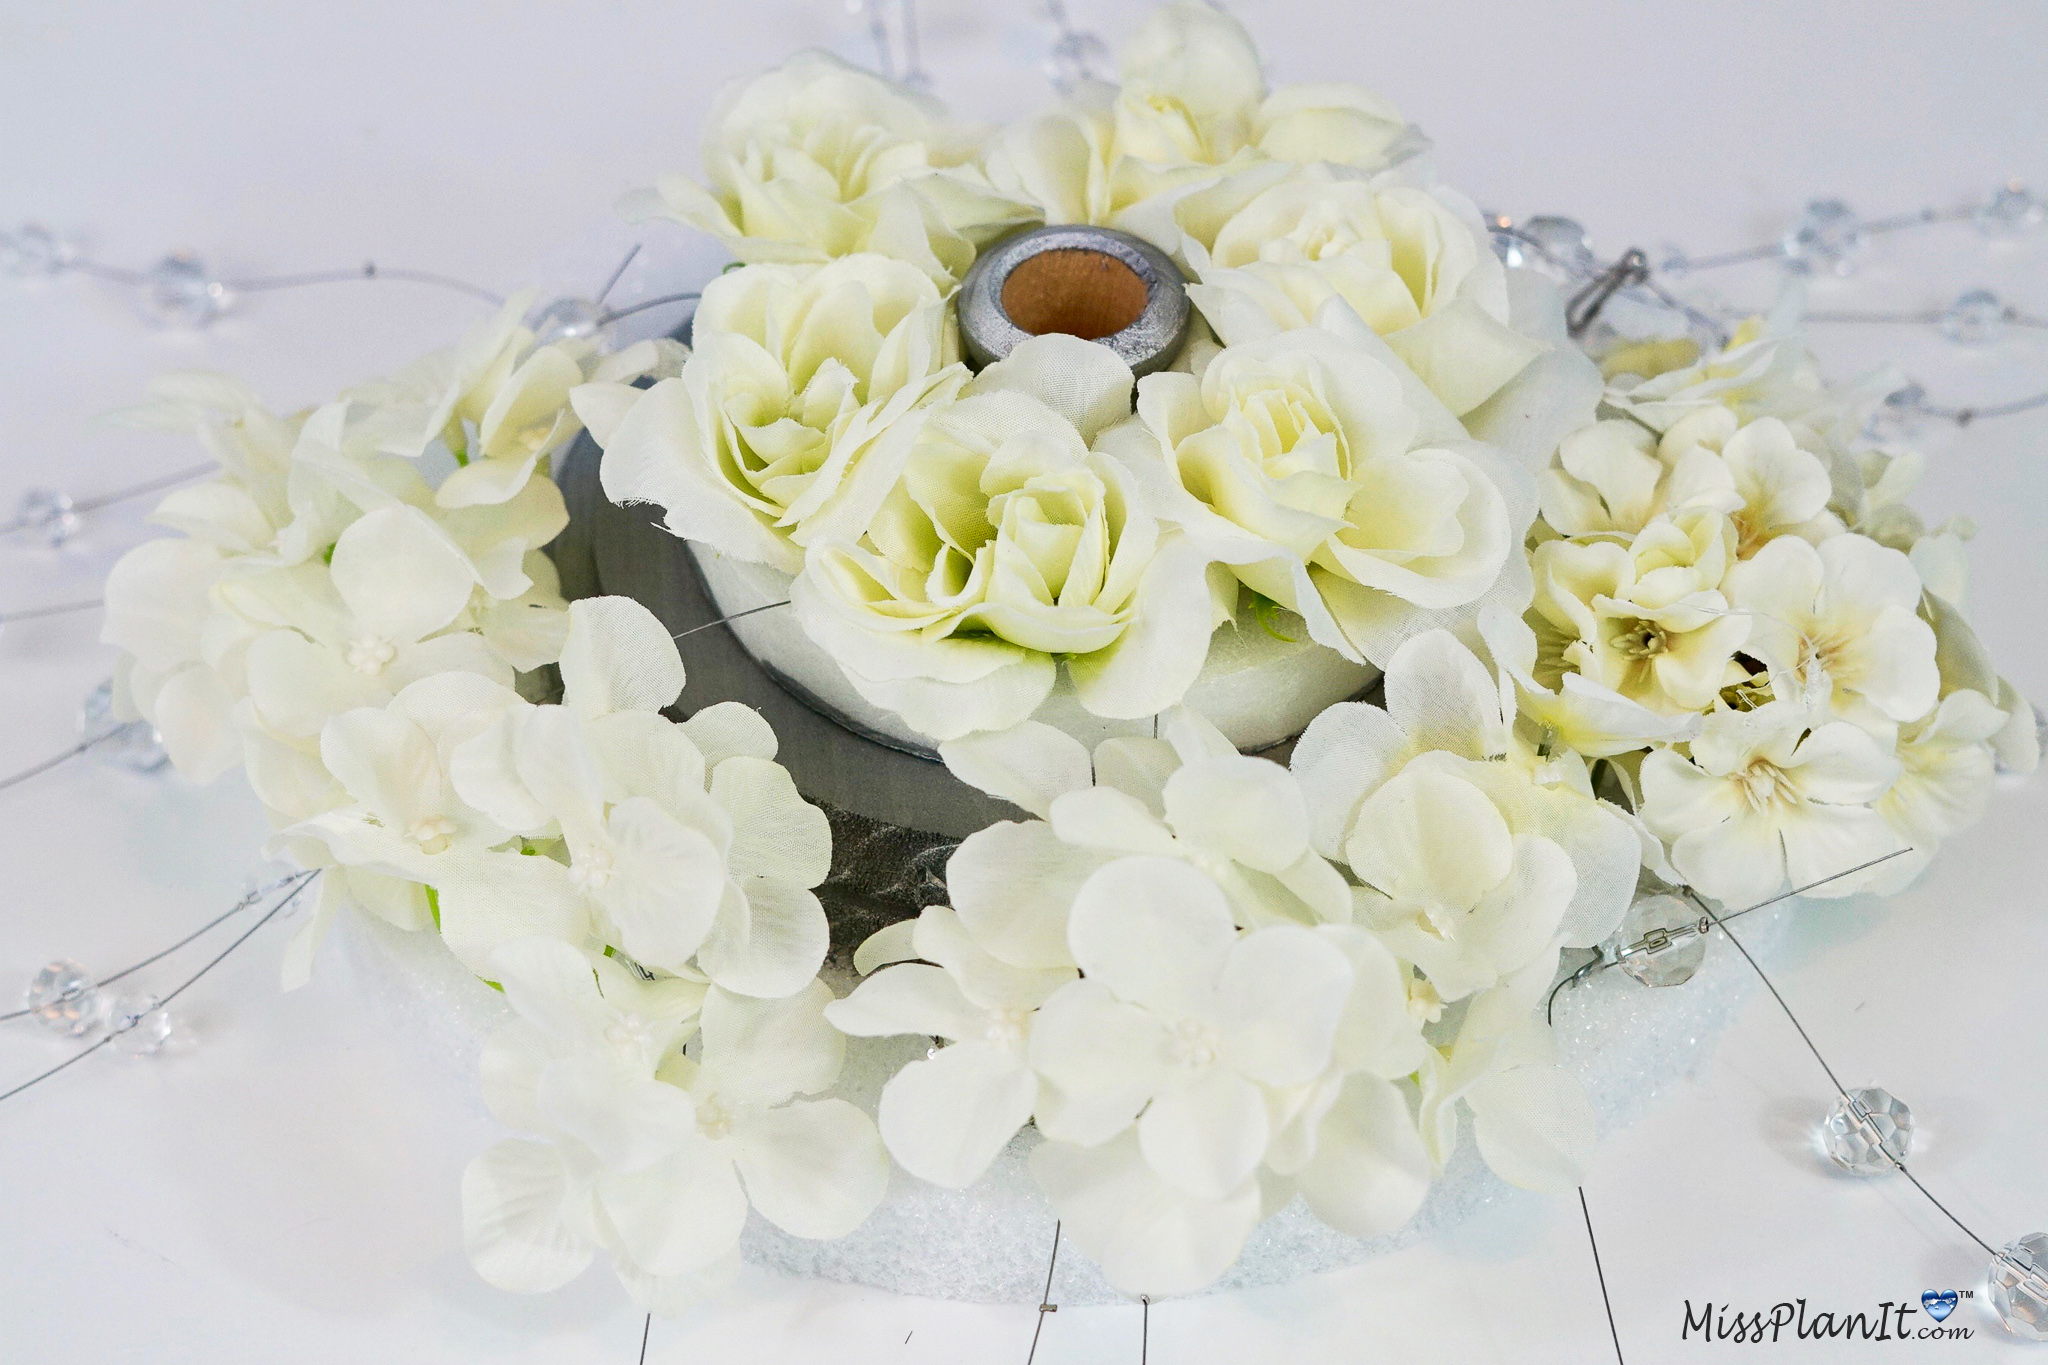
STEP 6: Attach 5-6 cream tea roses to the underside 5 inch foam disc. Next attach 12-16 hydrangeas to the 12 inch foam disc. The underside is now complete and ready to attach to the top of the wedding centerpiece.
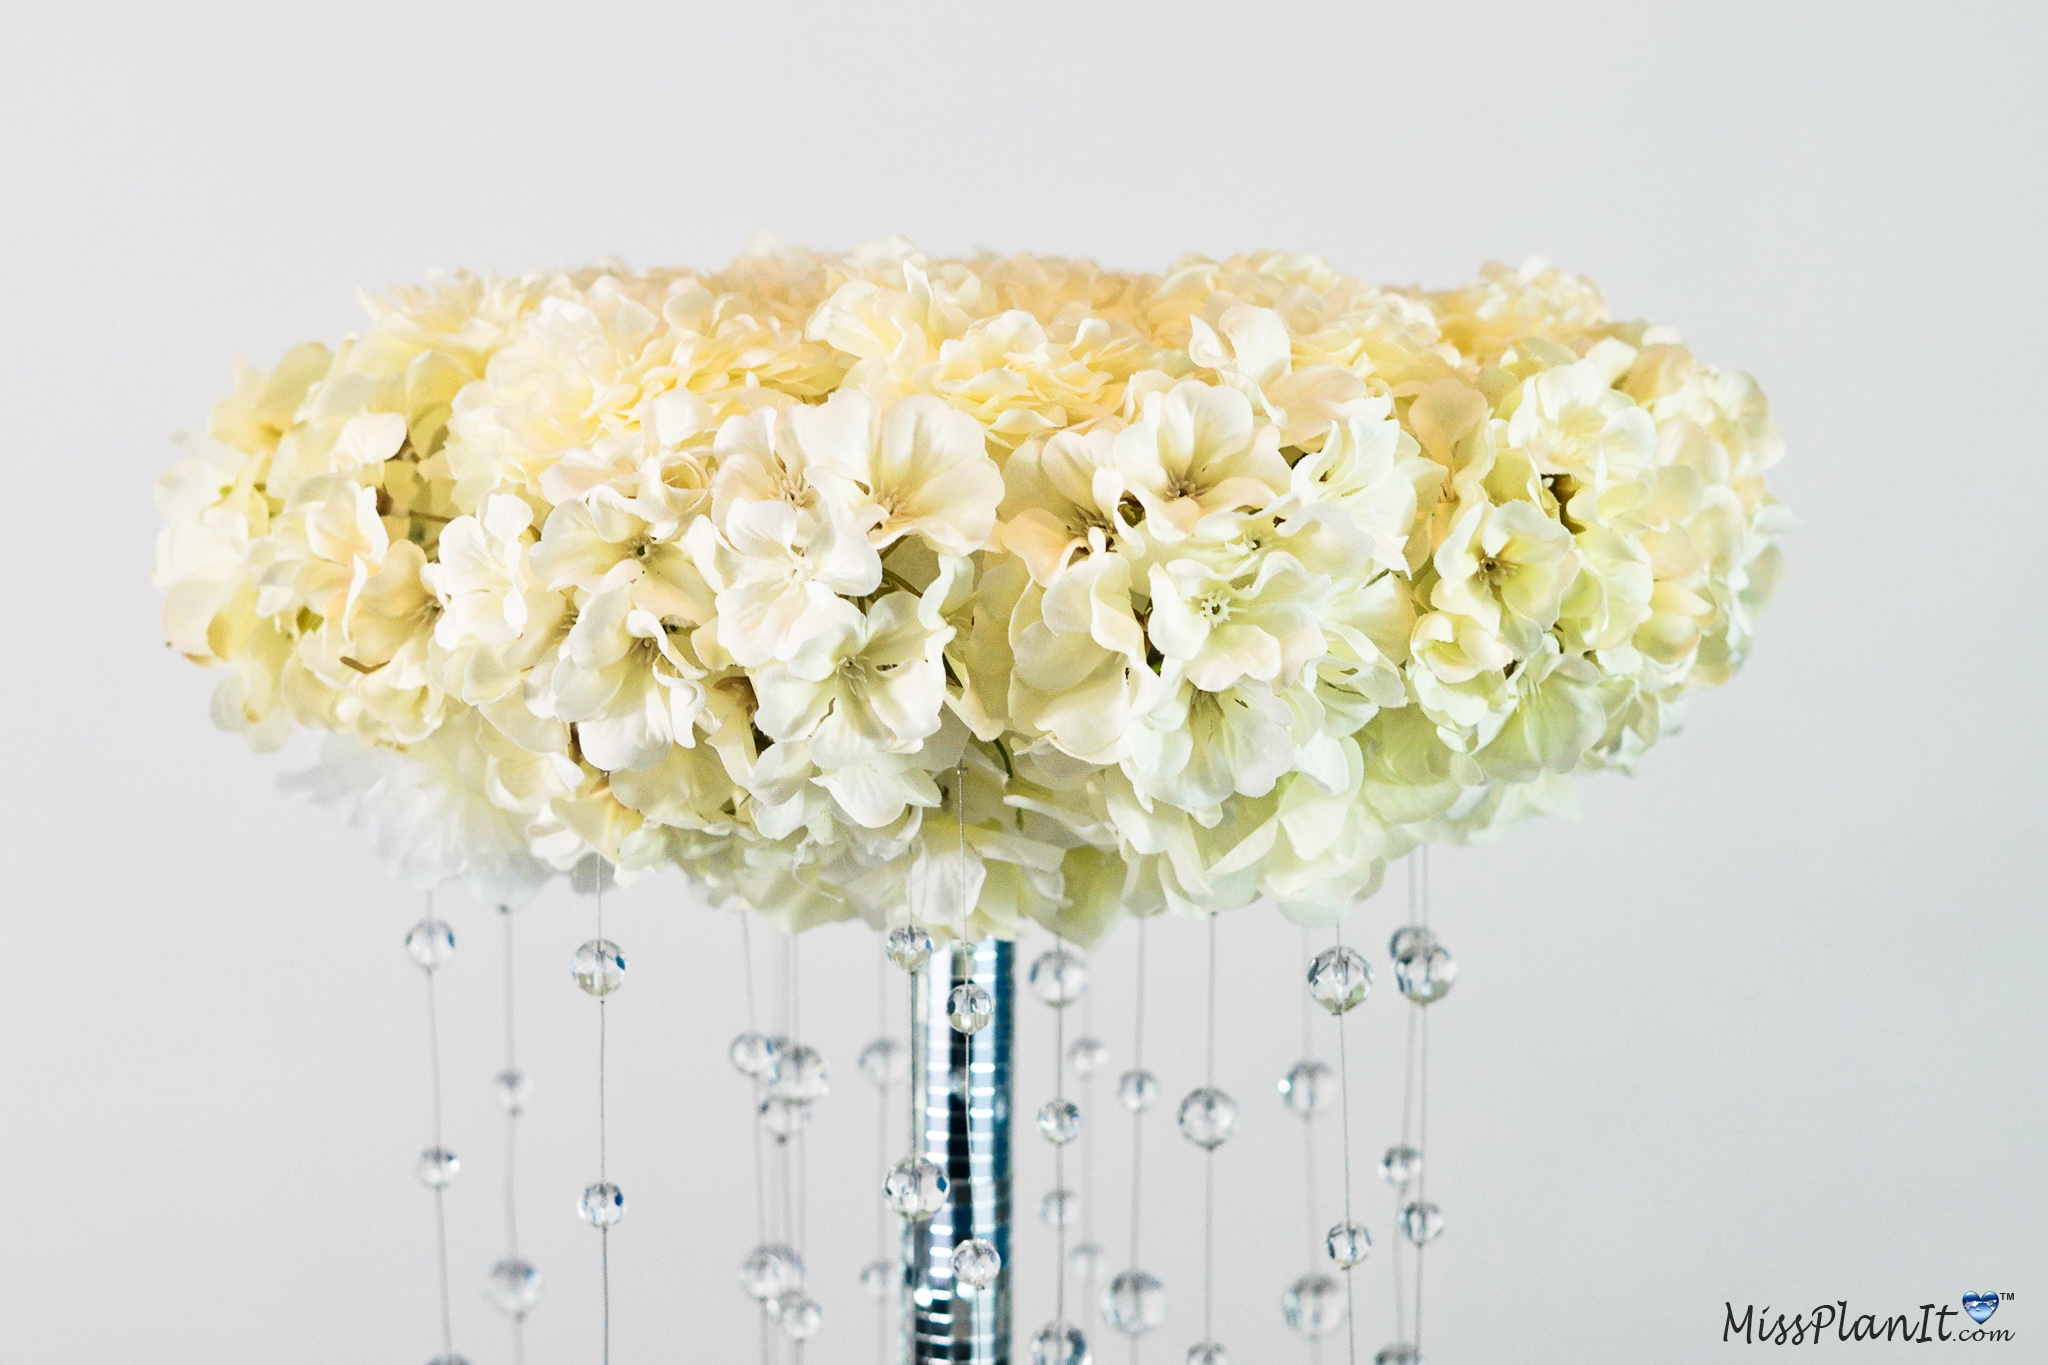
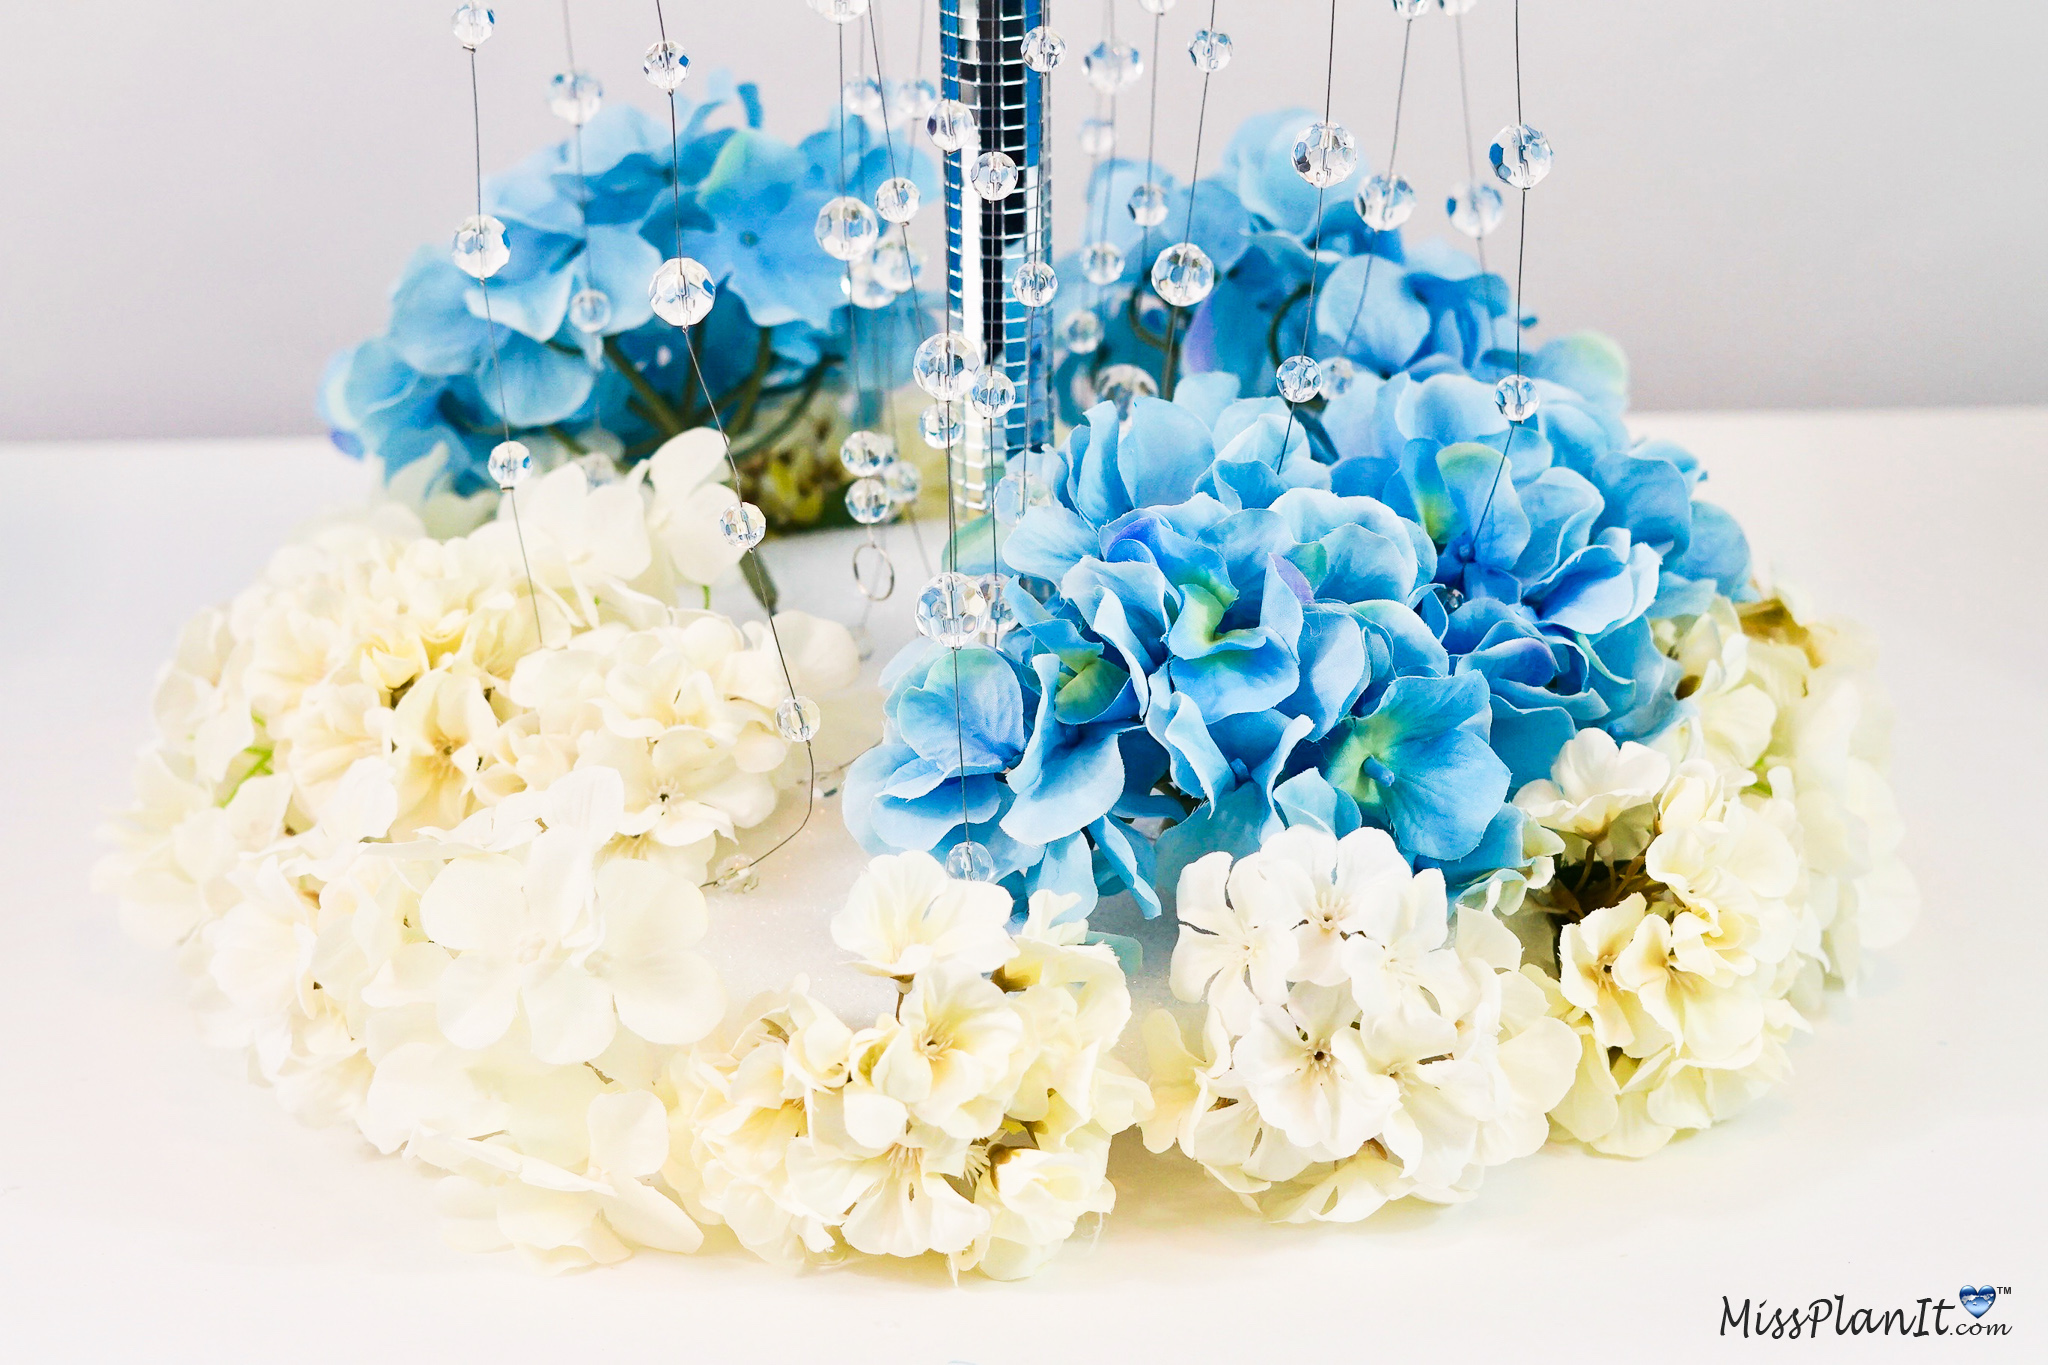
Add a liberal amount of hot glue to the top of the hardwood dowel. Place the candle cup directly on top of the dowel. Hold it in place for 30 seconds until it is dry and level. Attach 10-12 small hydrangea heads, 8-10 carnation blossoms, and 6-8 tea roses to the top of the 12 inch foam disc.
Continue Adding Flowers to the Base
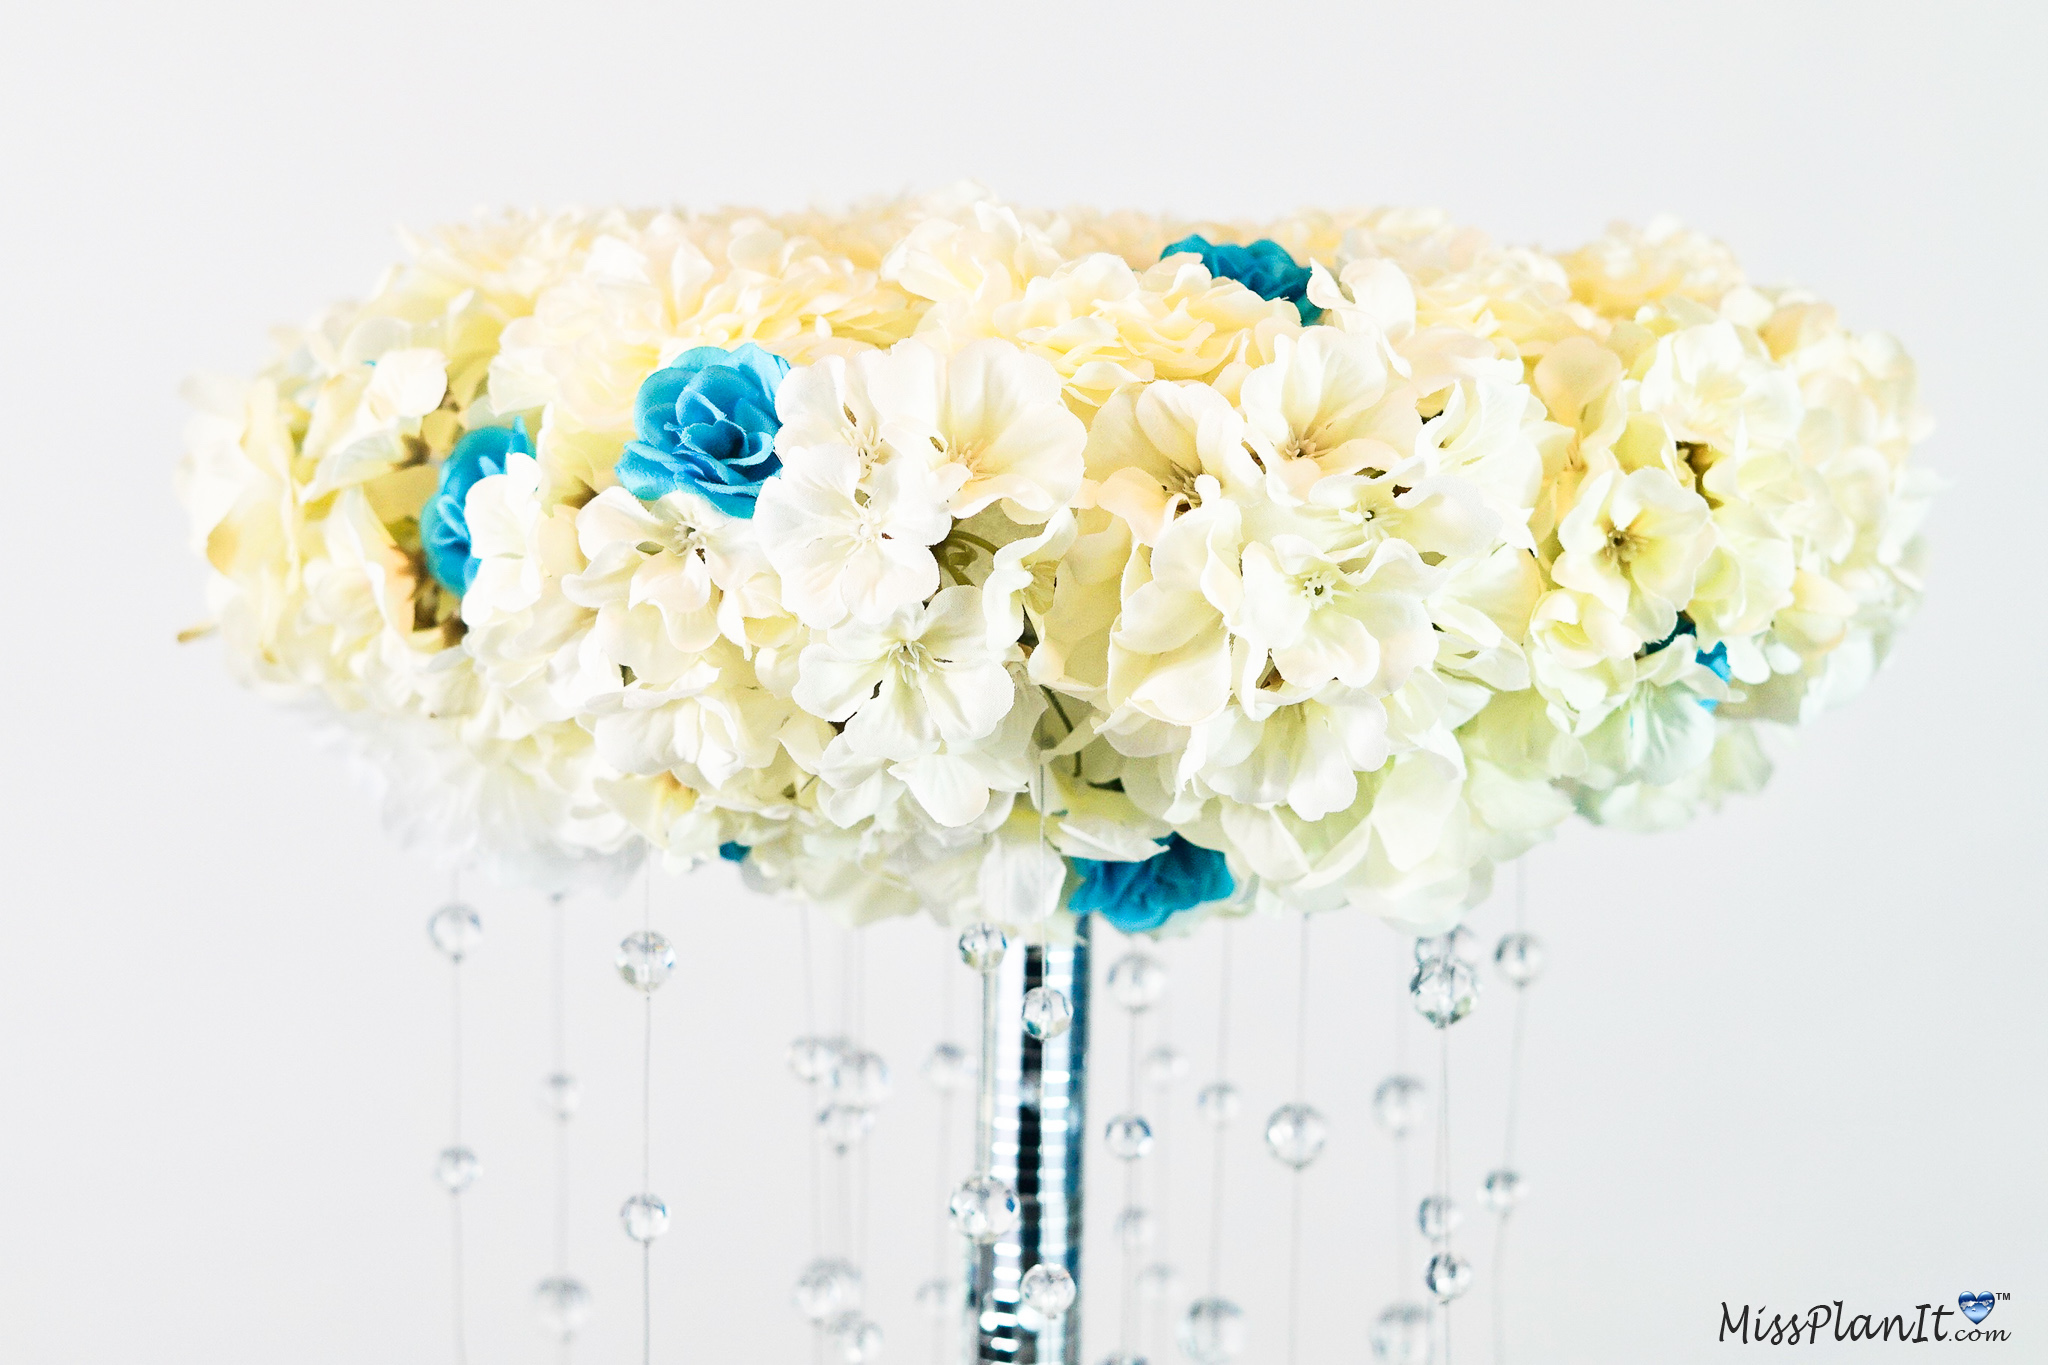
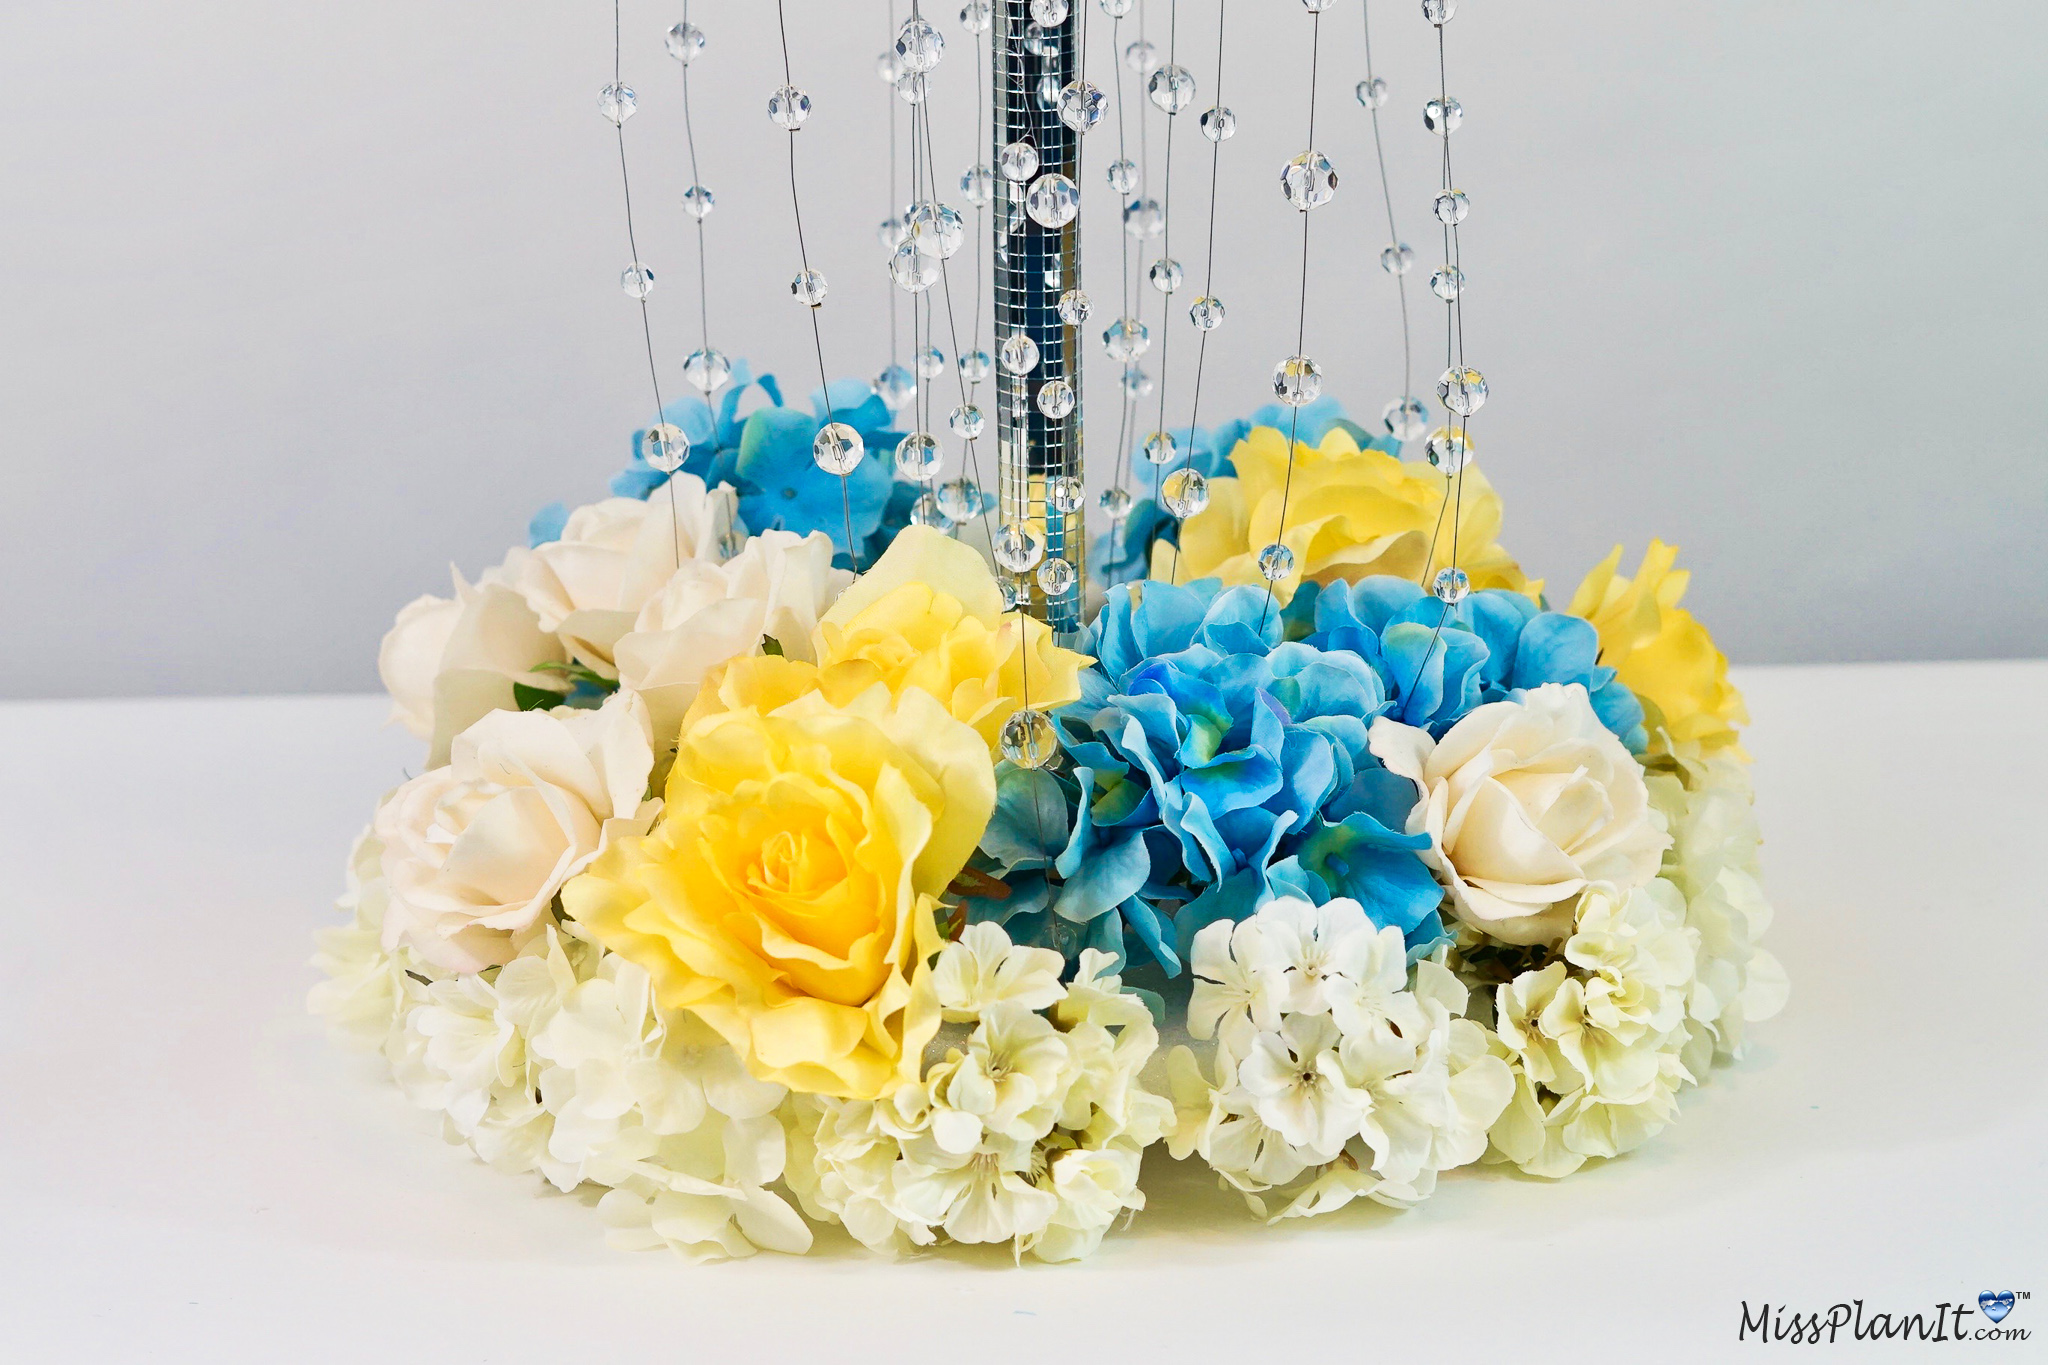
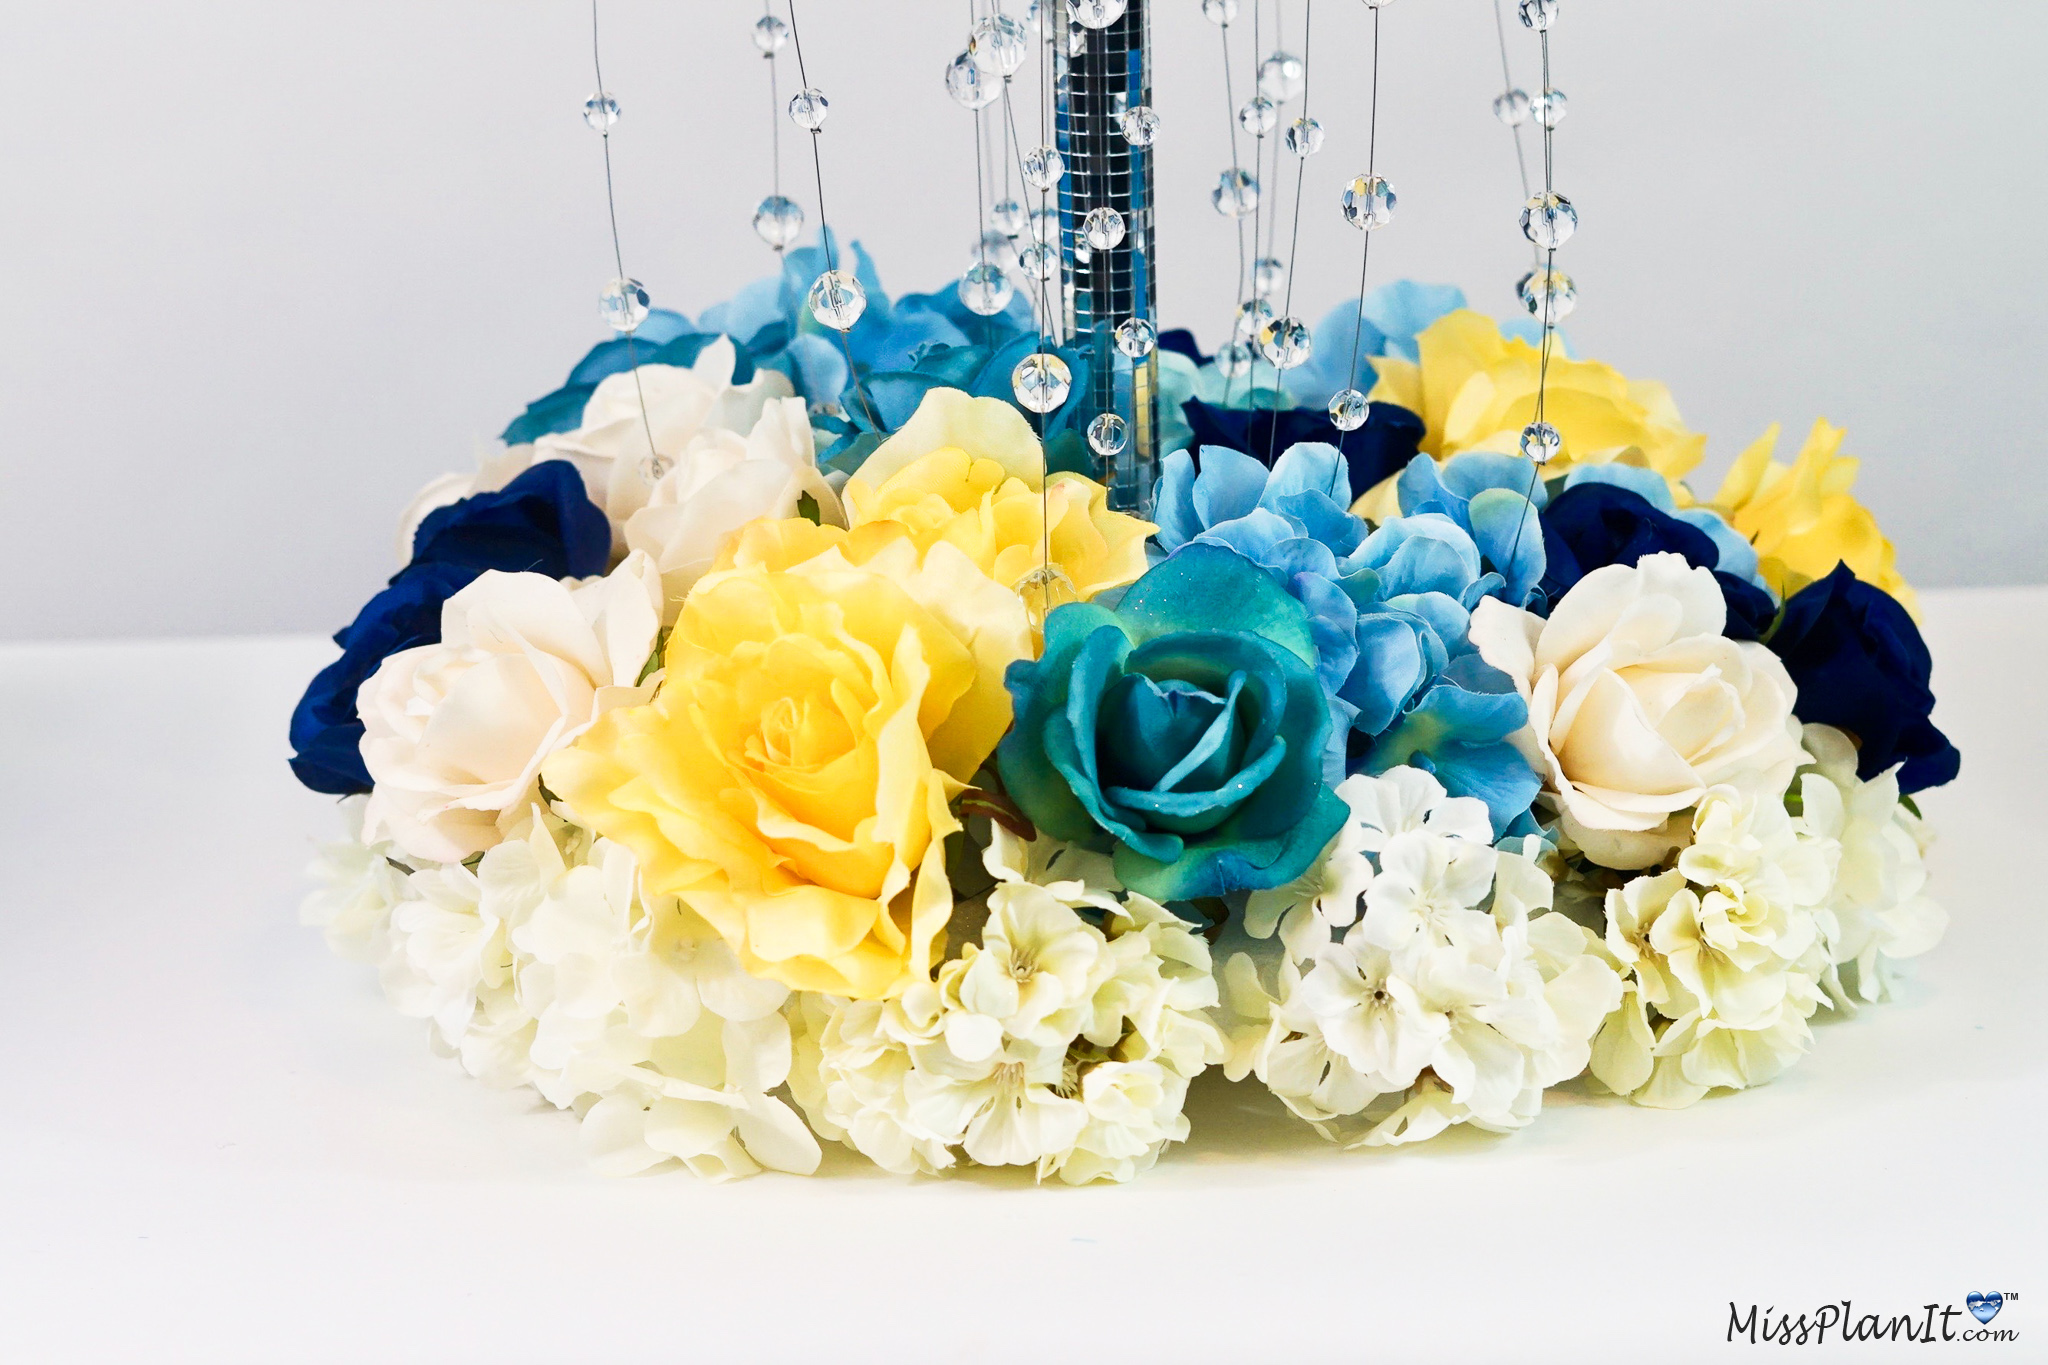
STEP 7: Lastly, attach 14-18 small hydrangea heads, 4-6 large blue steel hydrangea heads, 4-6 yellow rose blossoms, 6-8 velvety cream roses, 4-6 steel blue rose blossoms, and 4-6 navy blue rose blossoms to the foam disc.
Tip: Adjust your bead strands as needed as you place the flowers.
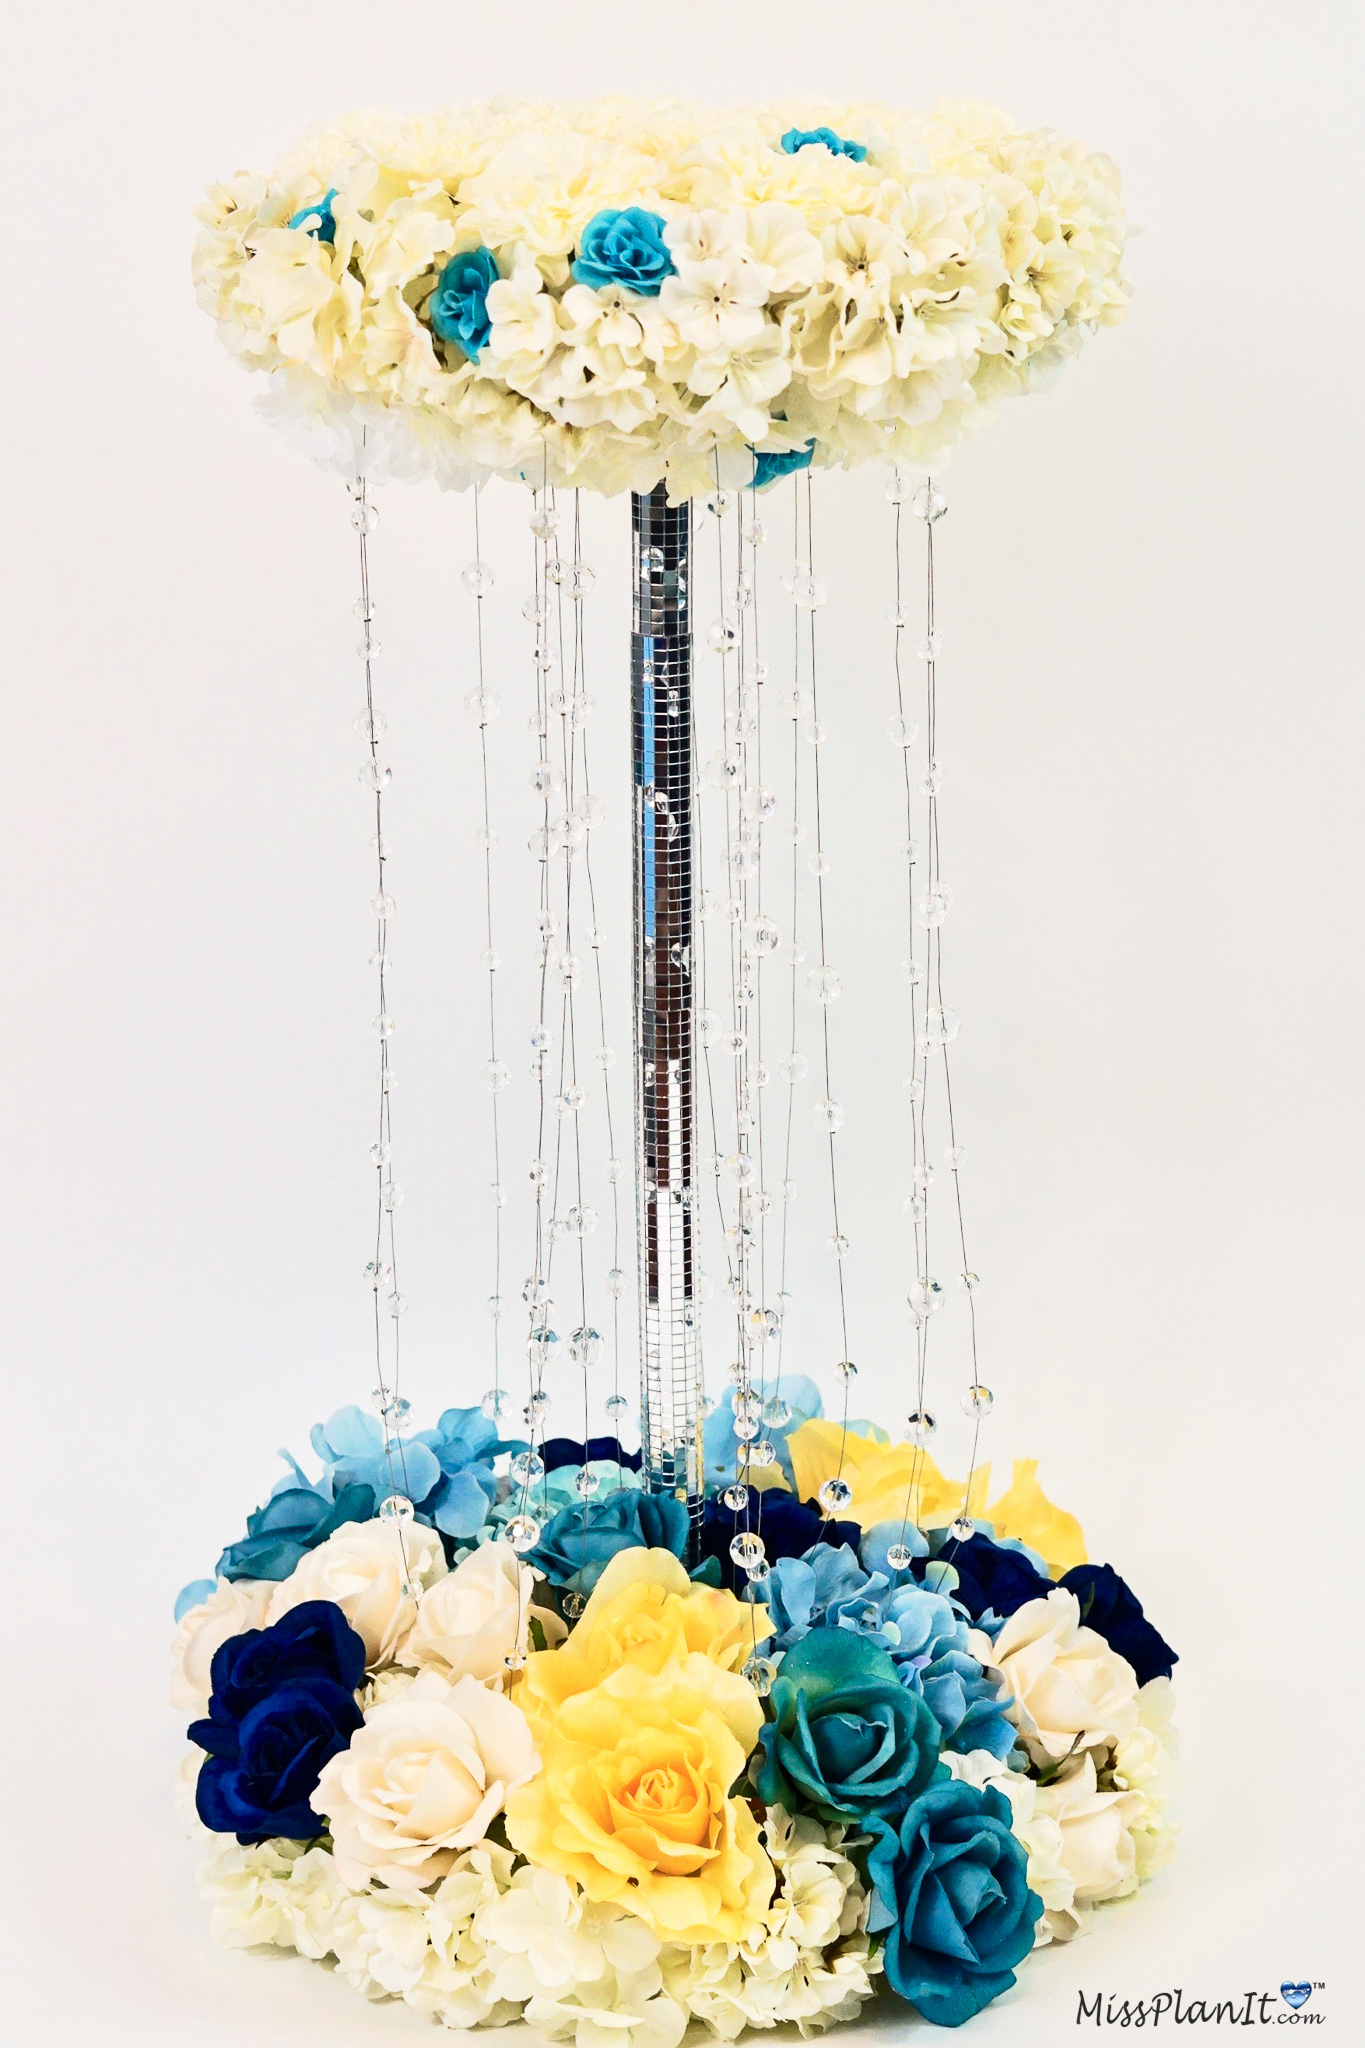
THE FINAL STEP
STEP 8: Set the table!

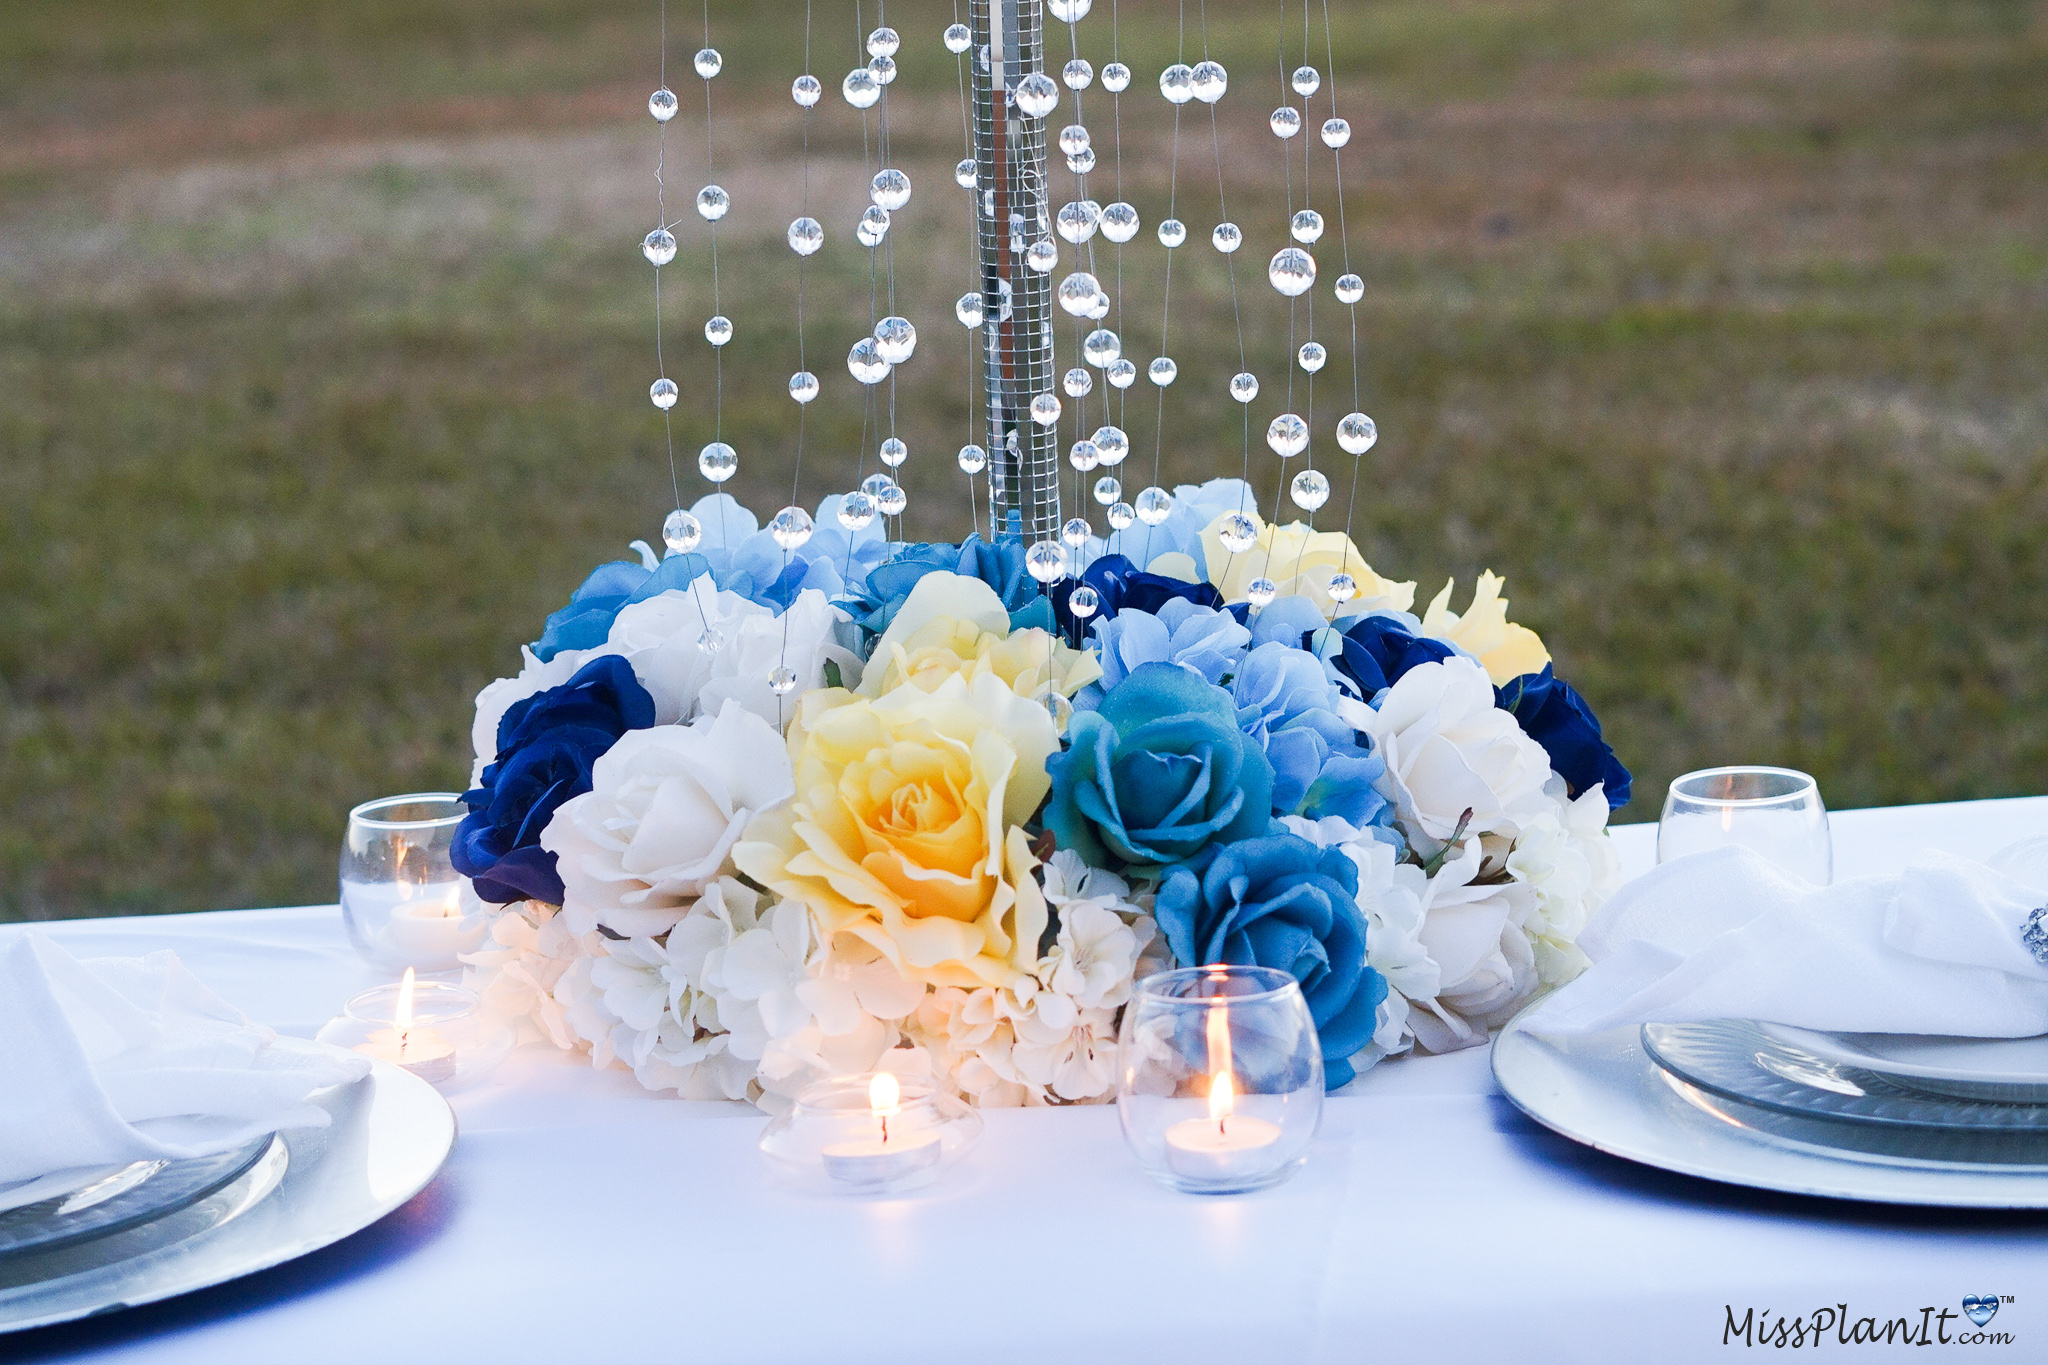
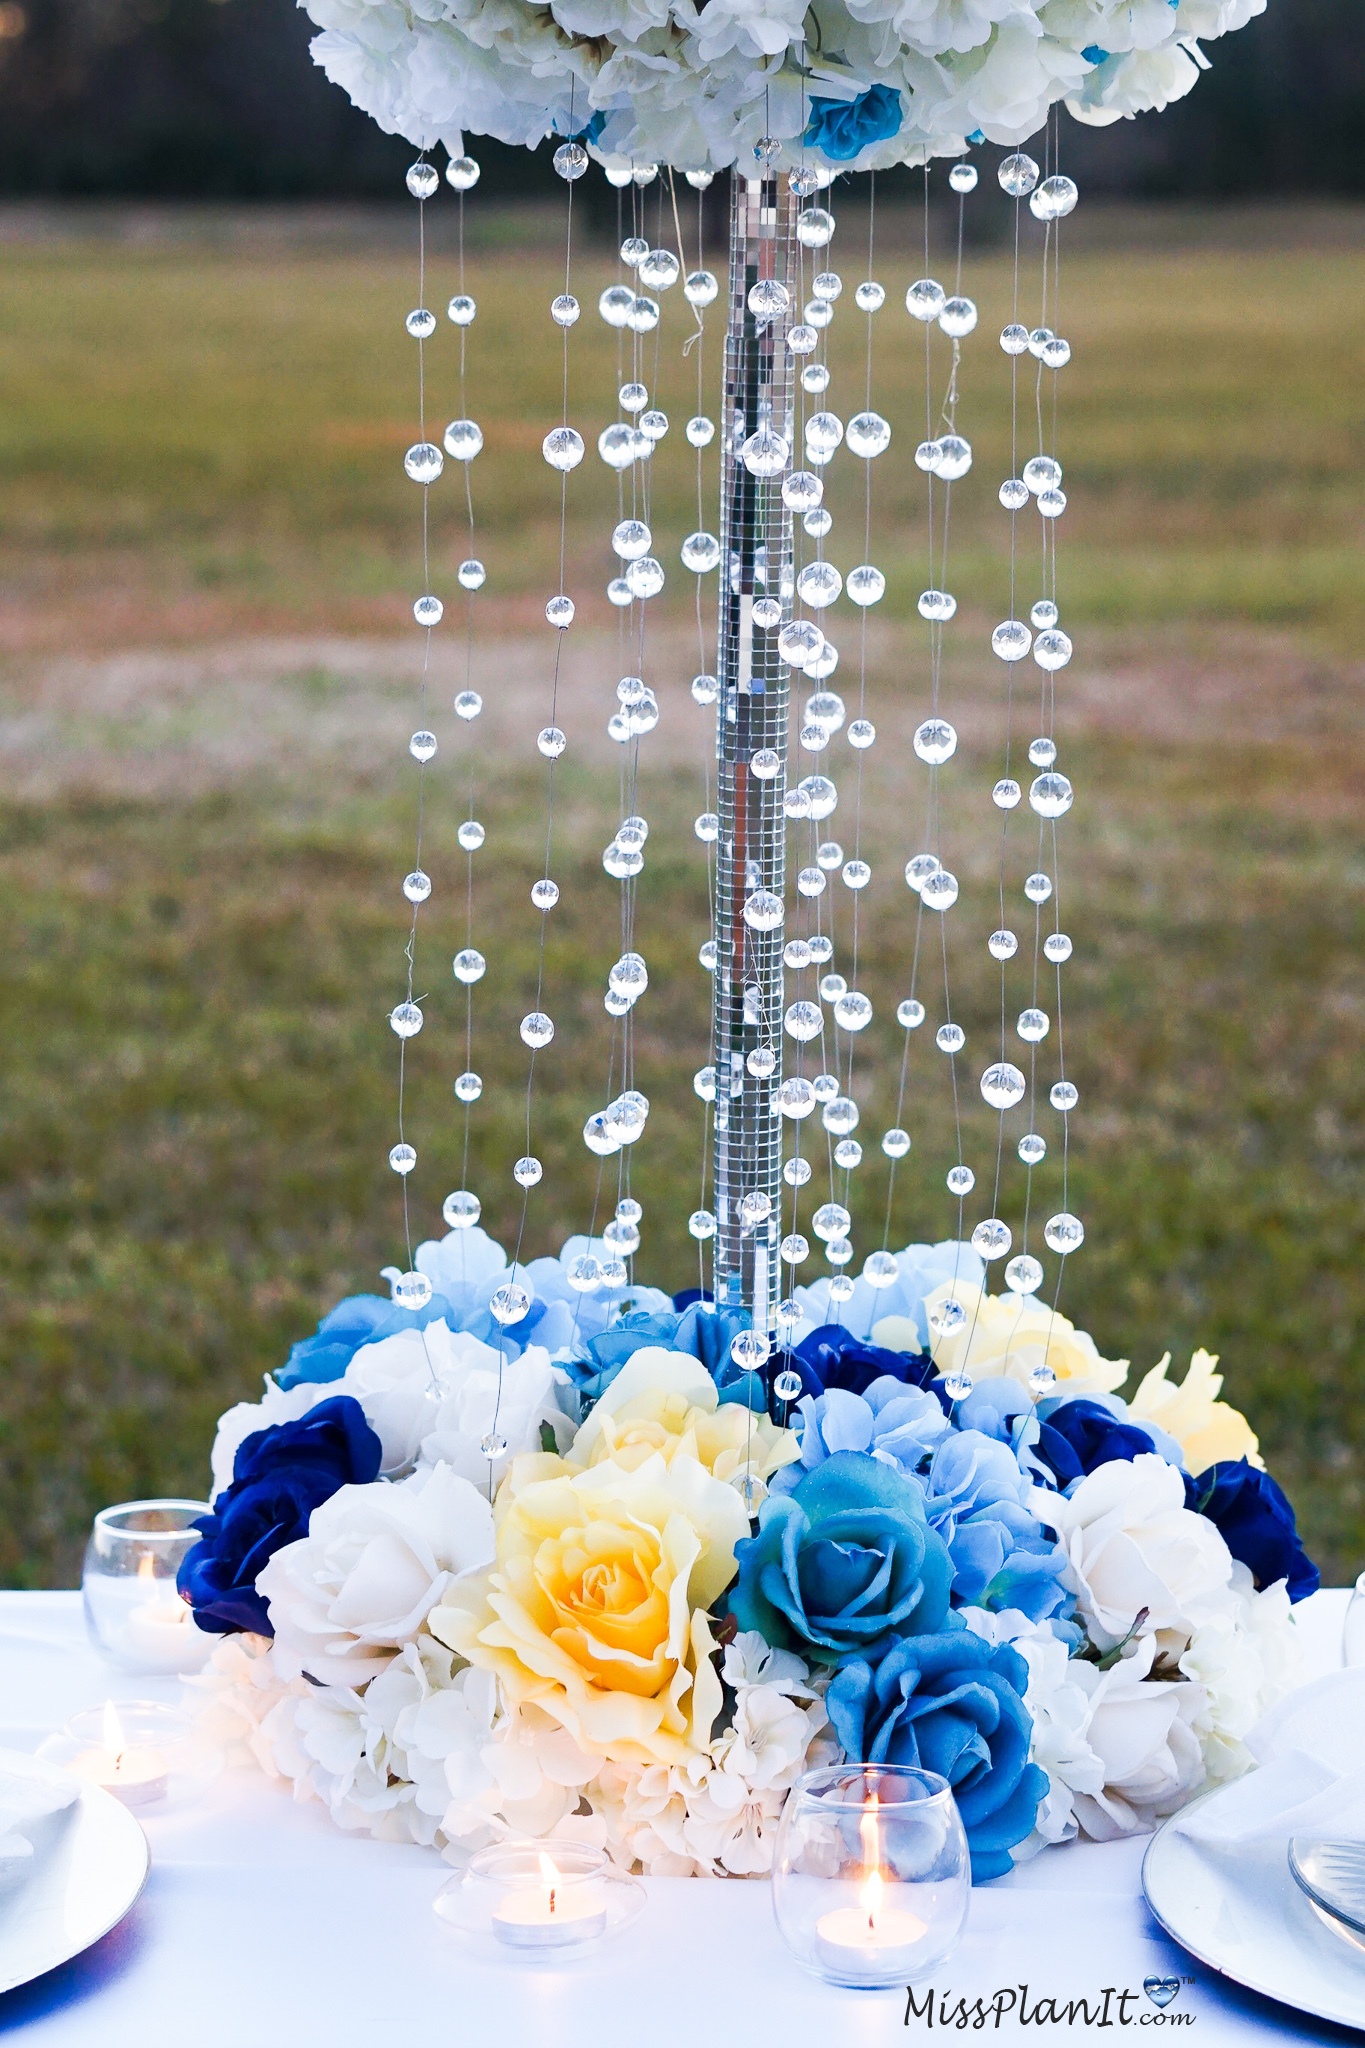
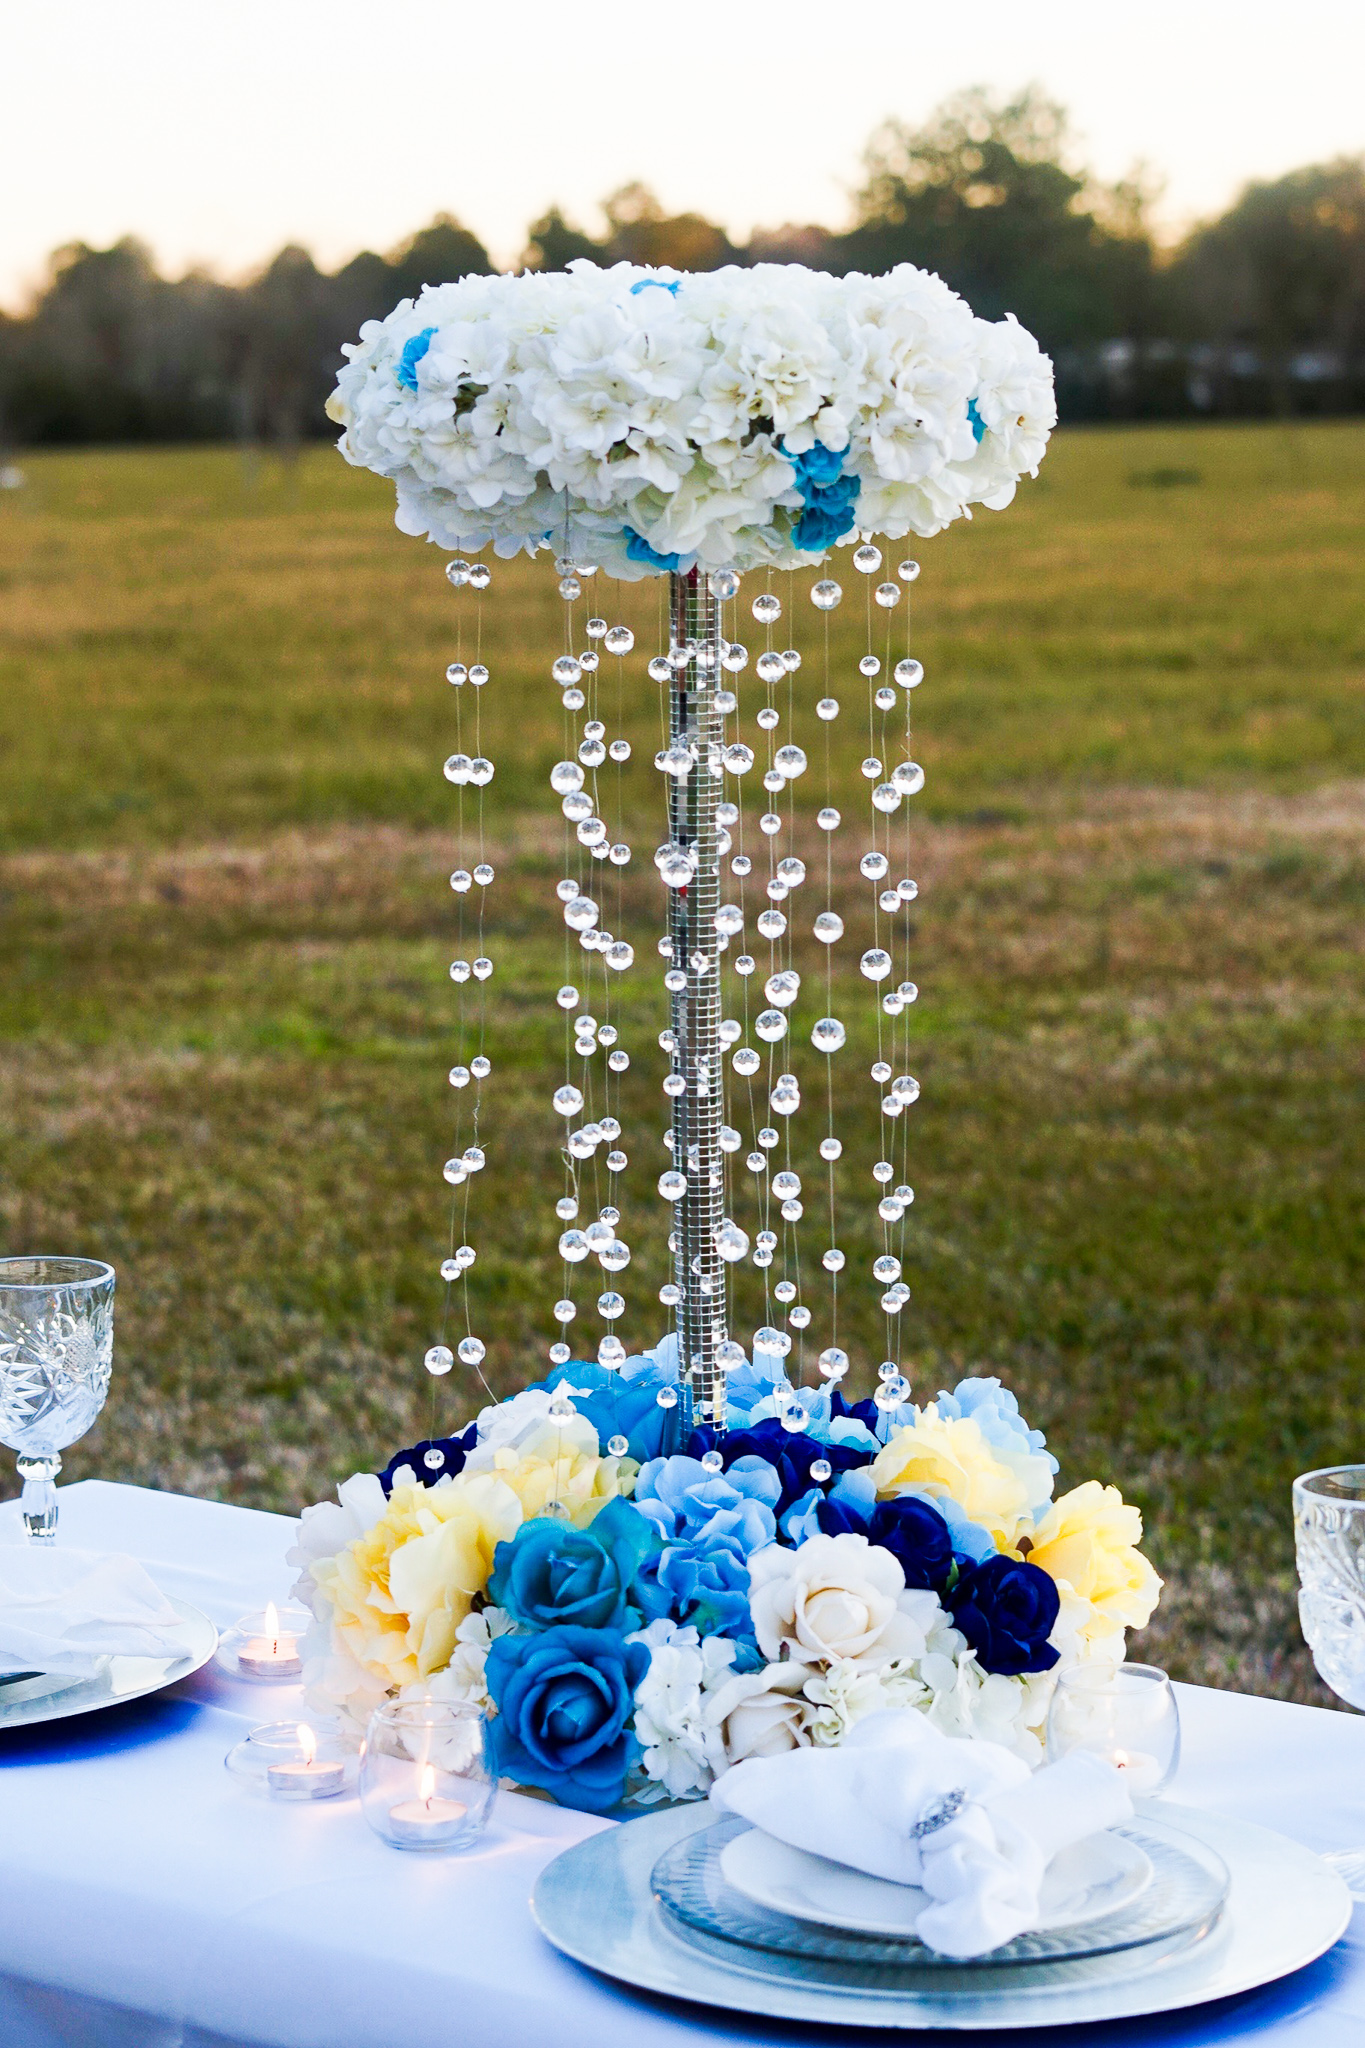
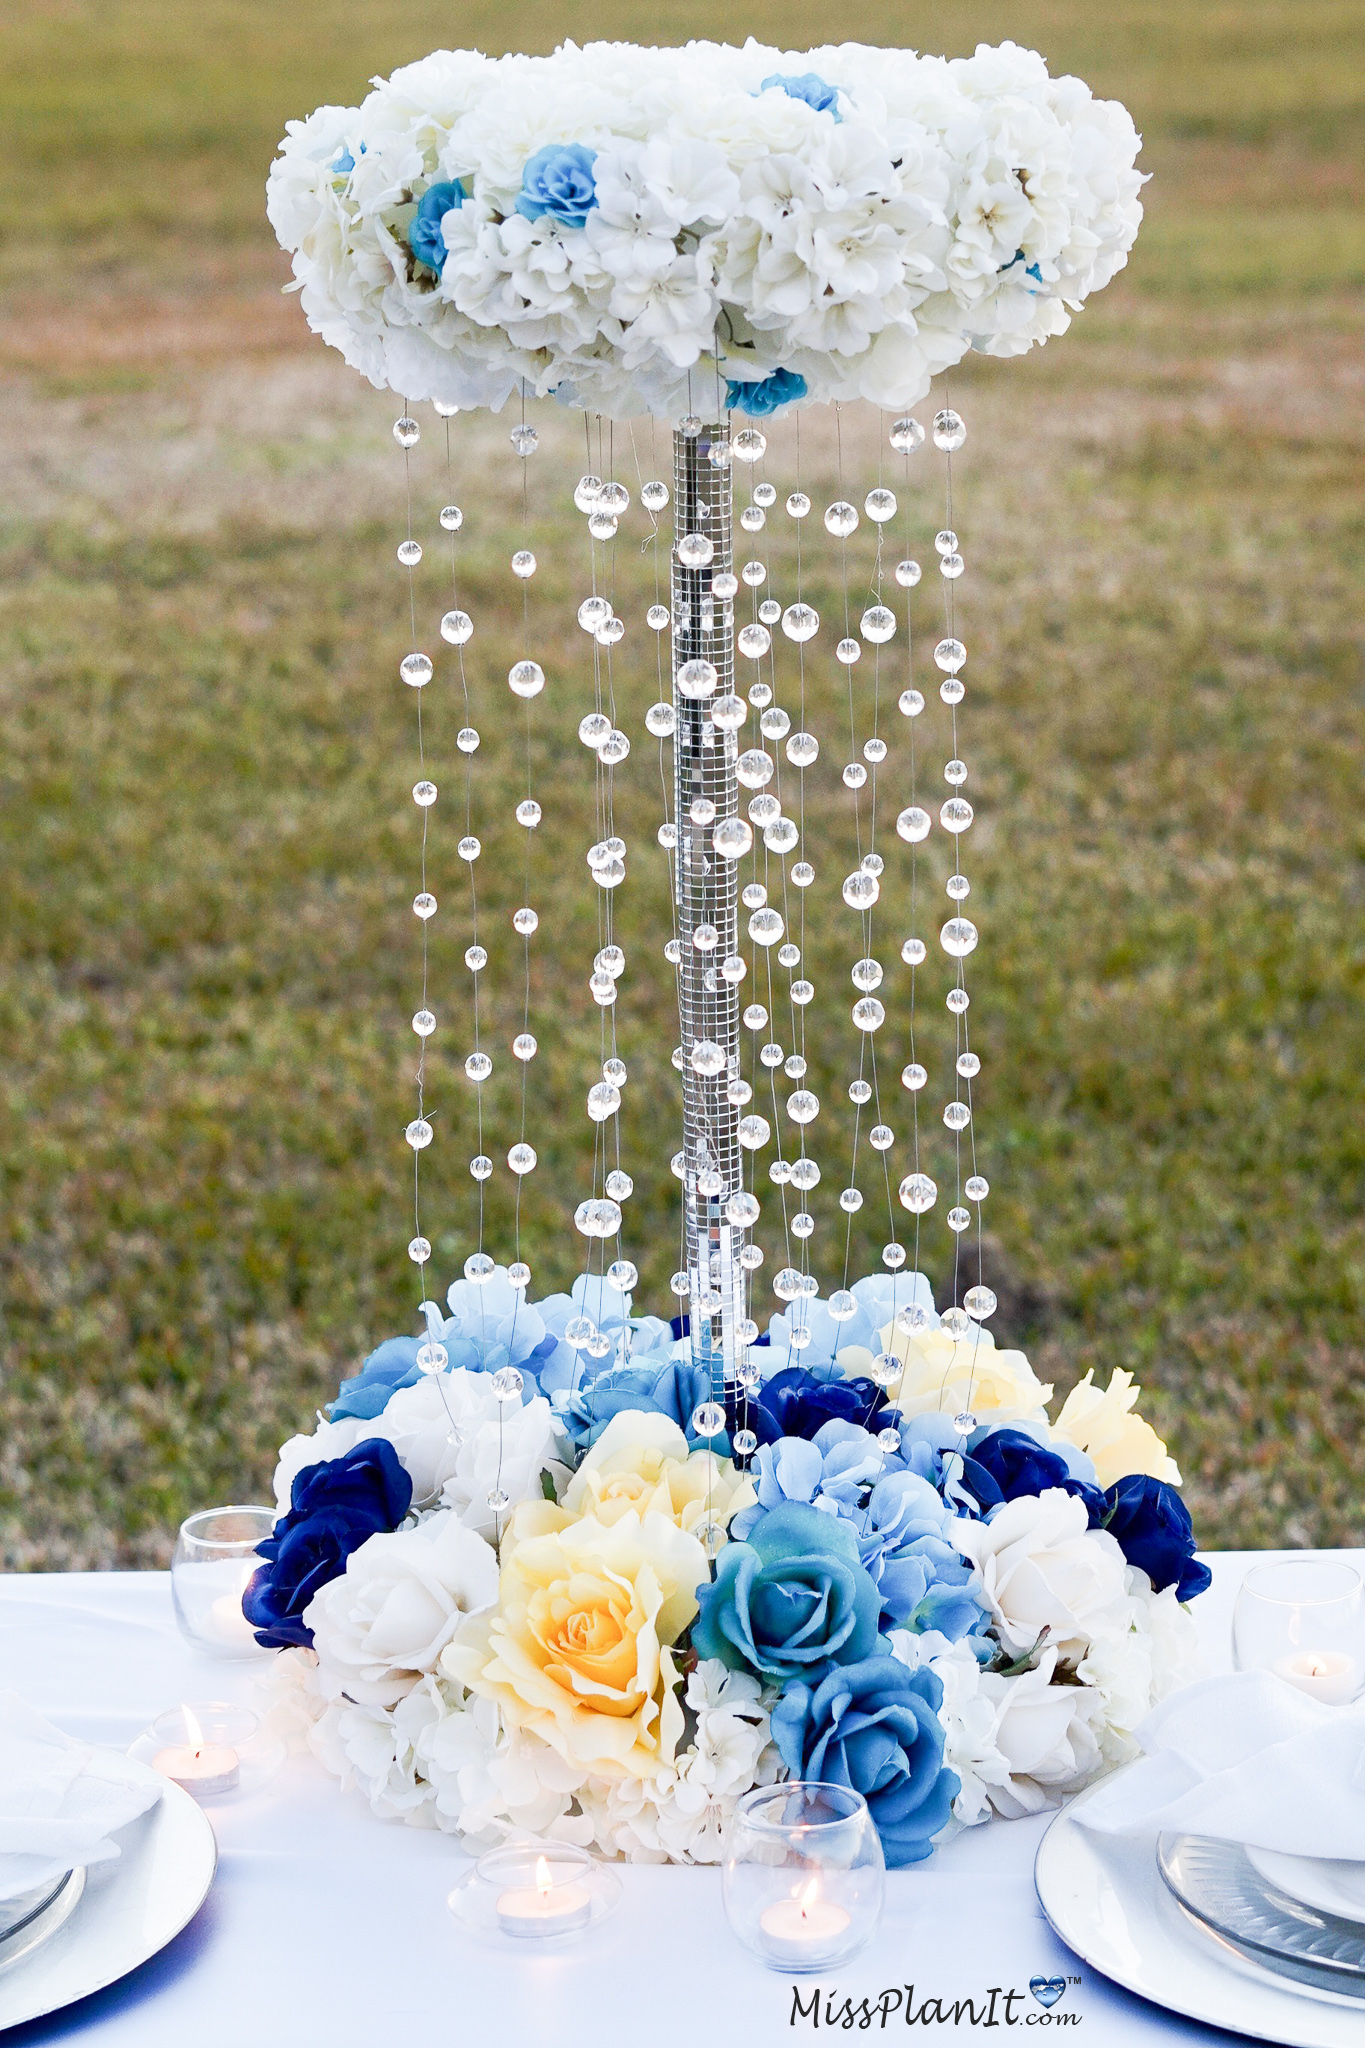
I absolutely love how this DIY Spring Bling Wedding Centerpiece turned out! The outcome is amazing and definitely gives you an extra special touch to your wedding!
If you like the outcome please subscribe to our Youtube Channel for more DIY Videos and follow us on Facebook and Pinterest.
Need help with an upcoming project? Be sure to send us a project request!
“Remember When Every Penny Counts, Count on MissPlanIt”


