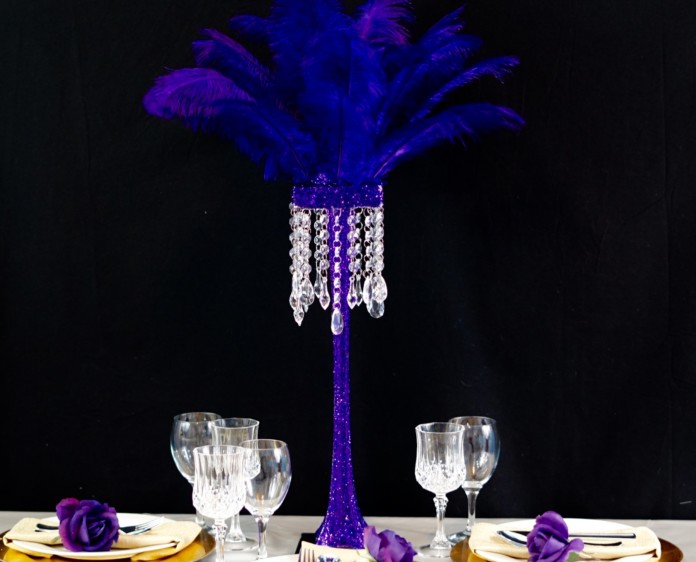
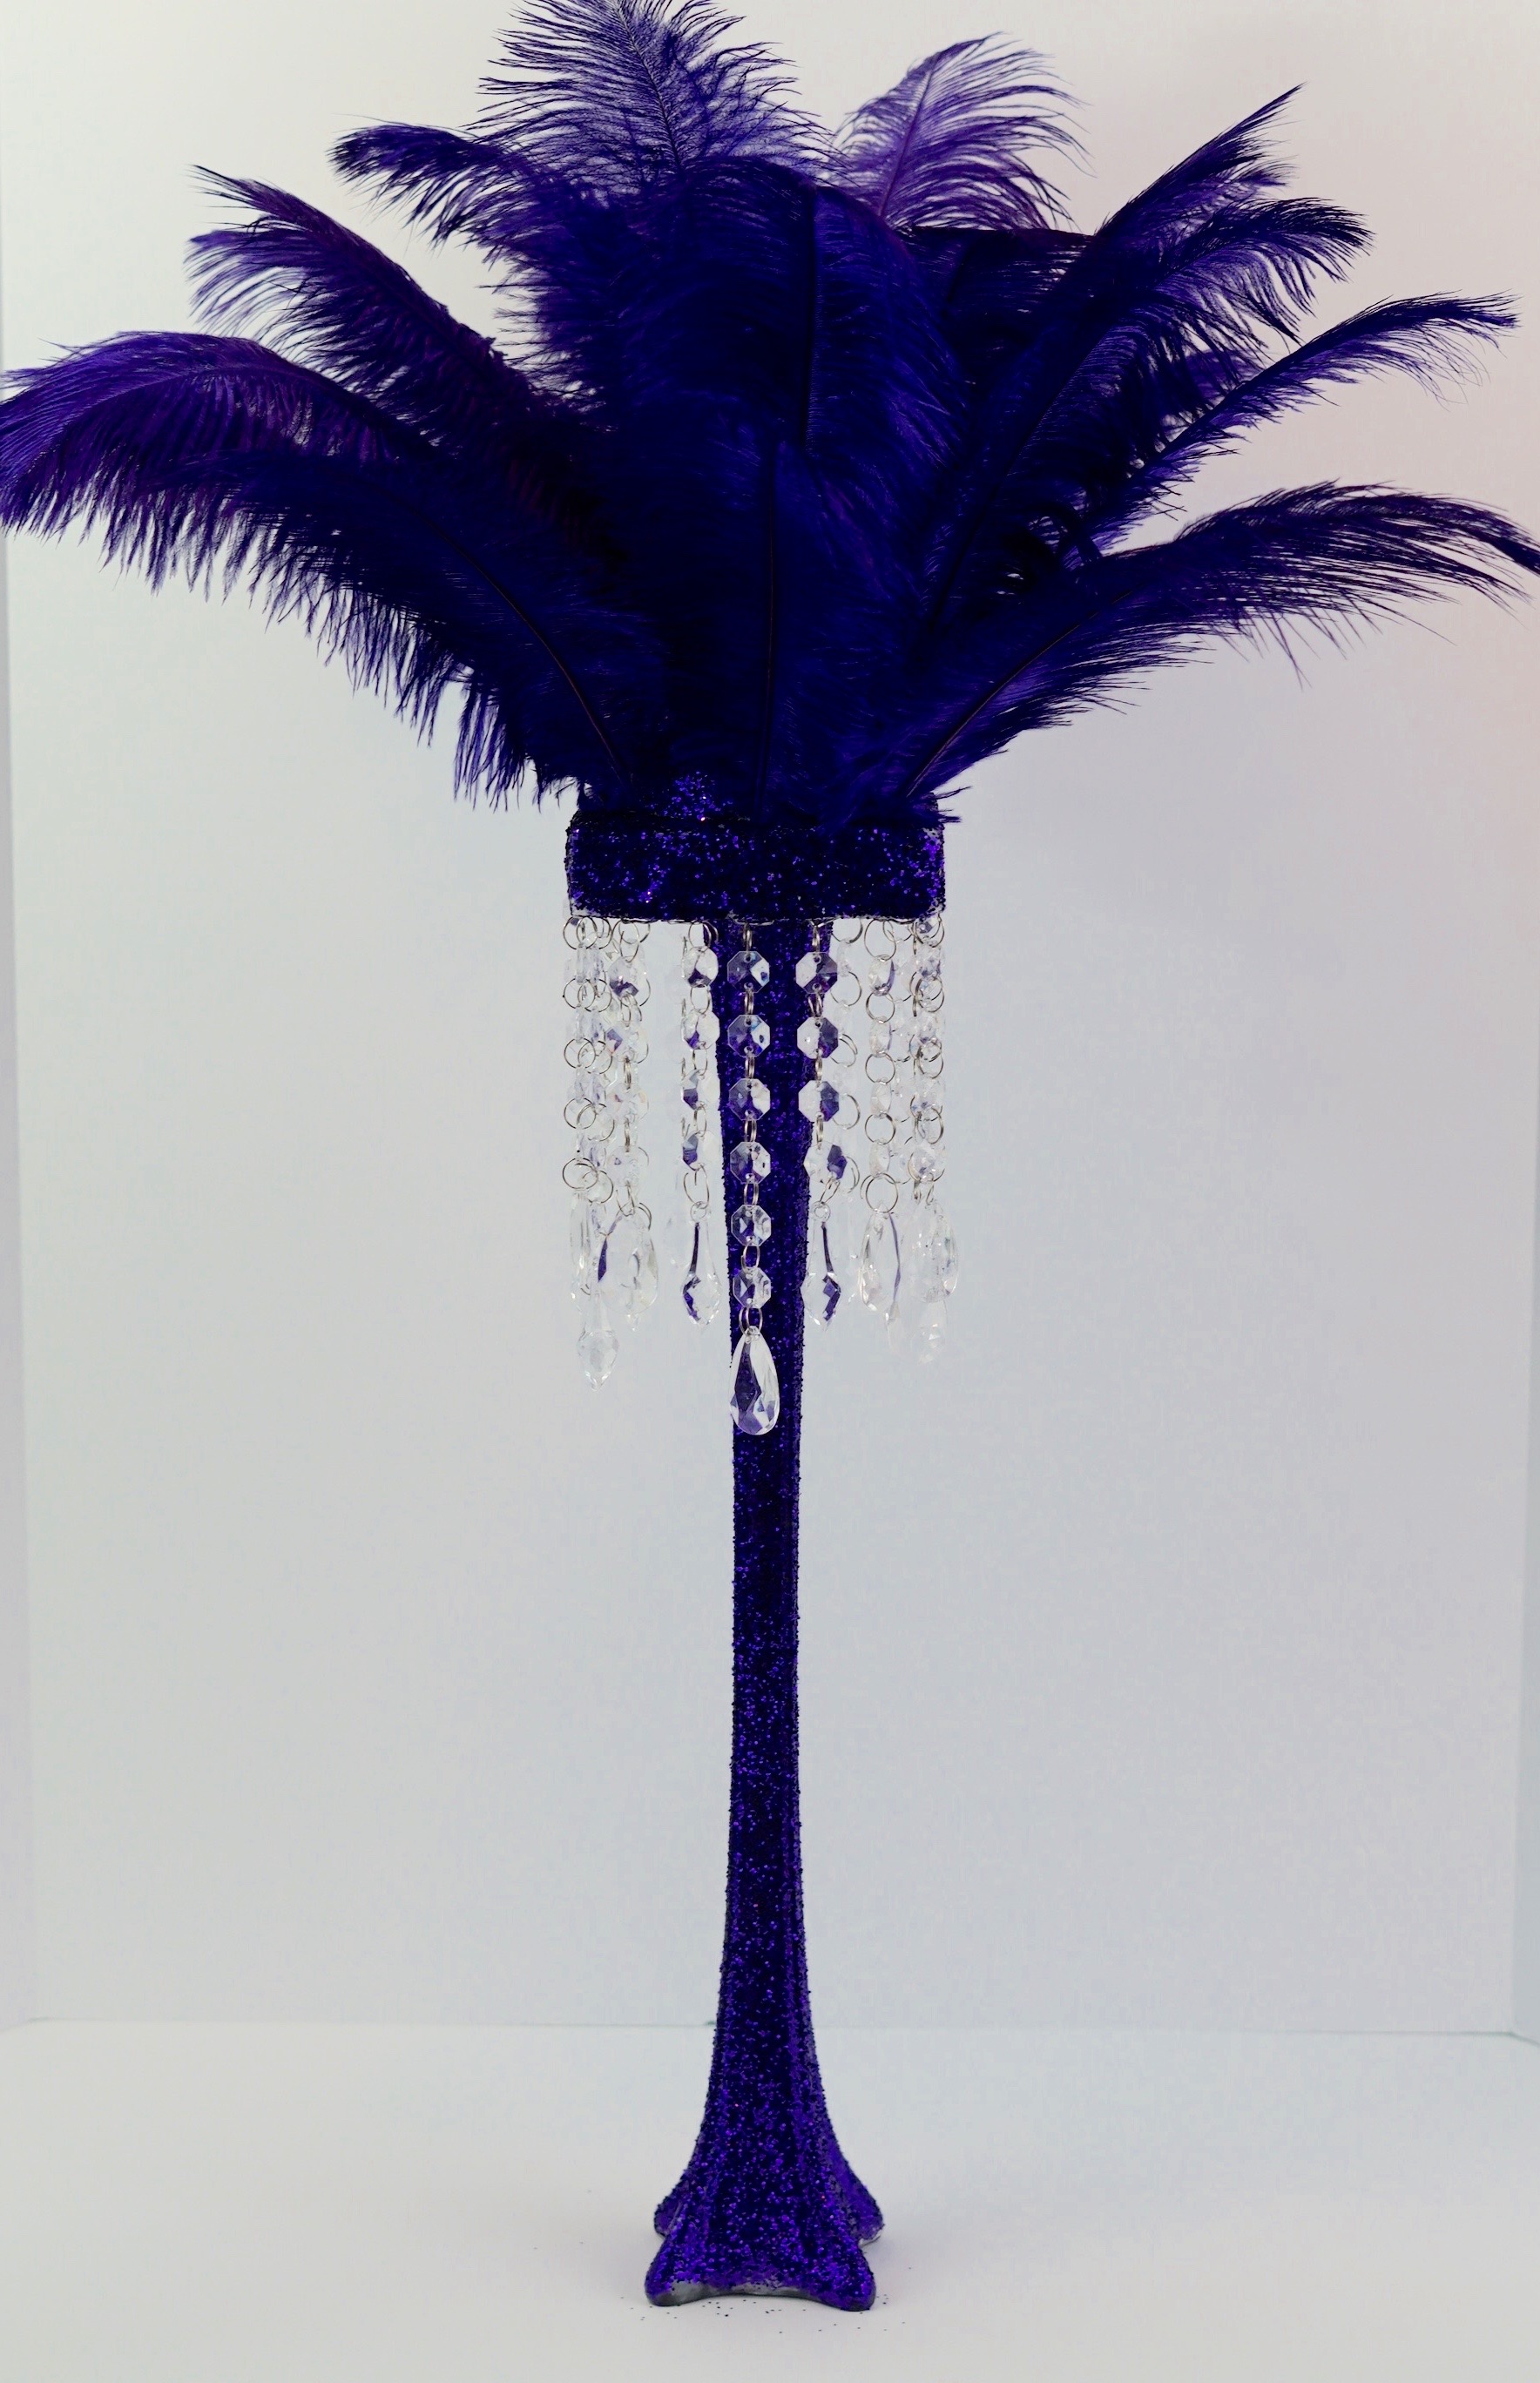
Indulge in the color associated with royalty this week as we create a Fabulous Tall Purple Feather DIY Centerpiece. This centerpiece is covered from top to bottom in beautiful bold purple colors. From the feathers down to the vase, we can’t get enough of this purple centerpiece!
BUT WAIT!
Before we get started I want to share an awesome tip on how you can earn cash back with your online purchases for all the items you will need to complete this project!
As our saying goes “When Every Penny Counts, Count on Miss PlanIt.” We love to save money and get great deals. Prior to us purchasing anything online, we check out Ebates, find the store, click the current deal for that store and complete our purchase.
If you have never used Ebates, you are MISSING OUT. So for this project, you would go to Ebates.com, sign up, and then type in the store you plan to purchase from.
When completing a purchase through Ebates you earn cash back that you can have mailed to you or sent via PayPal. Be sure to check it out! Click here to sign up for Ebates, and RIGHT NOW when you sign up, you will receive a $10 cash welcome bonus when you spend $25.00!
You were already going to complete your purchase online, so why not get some cash back on things you already planned to purchase!
Let’s Get Started:
Click our affiliate links below to purchase the supplies needed for this project:
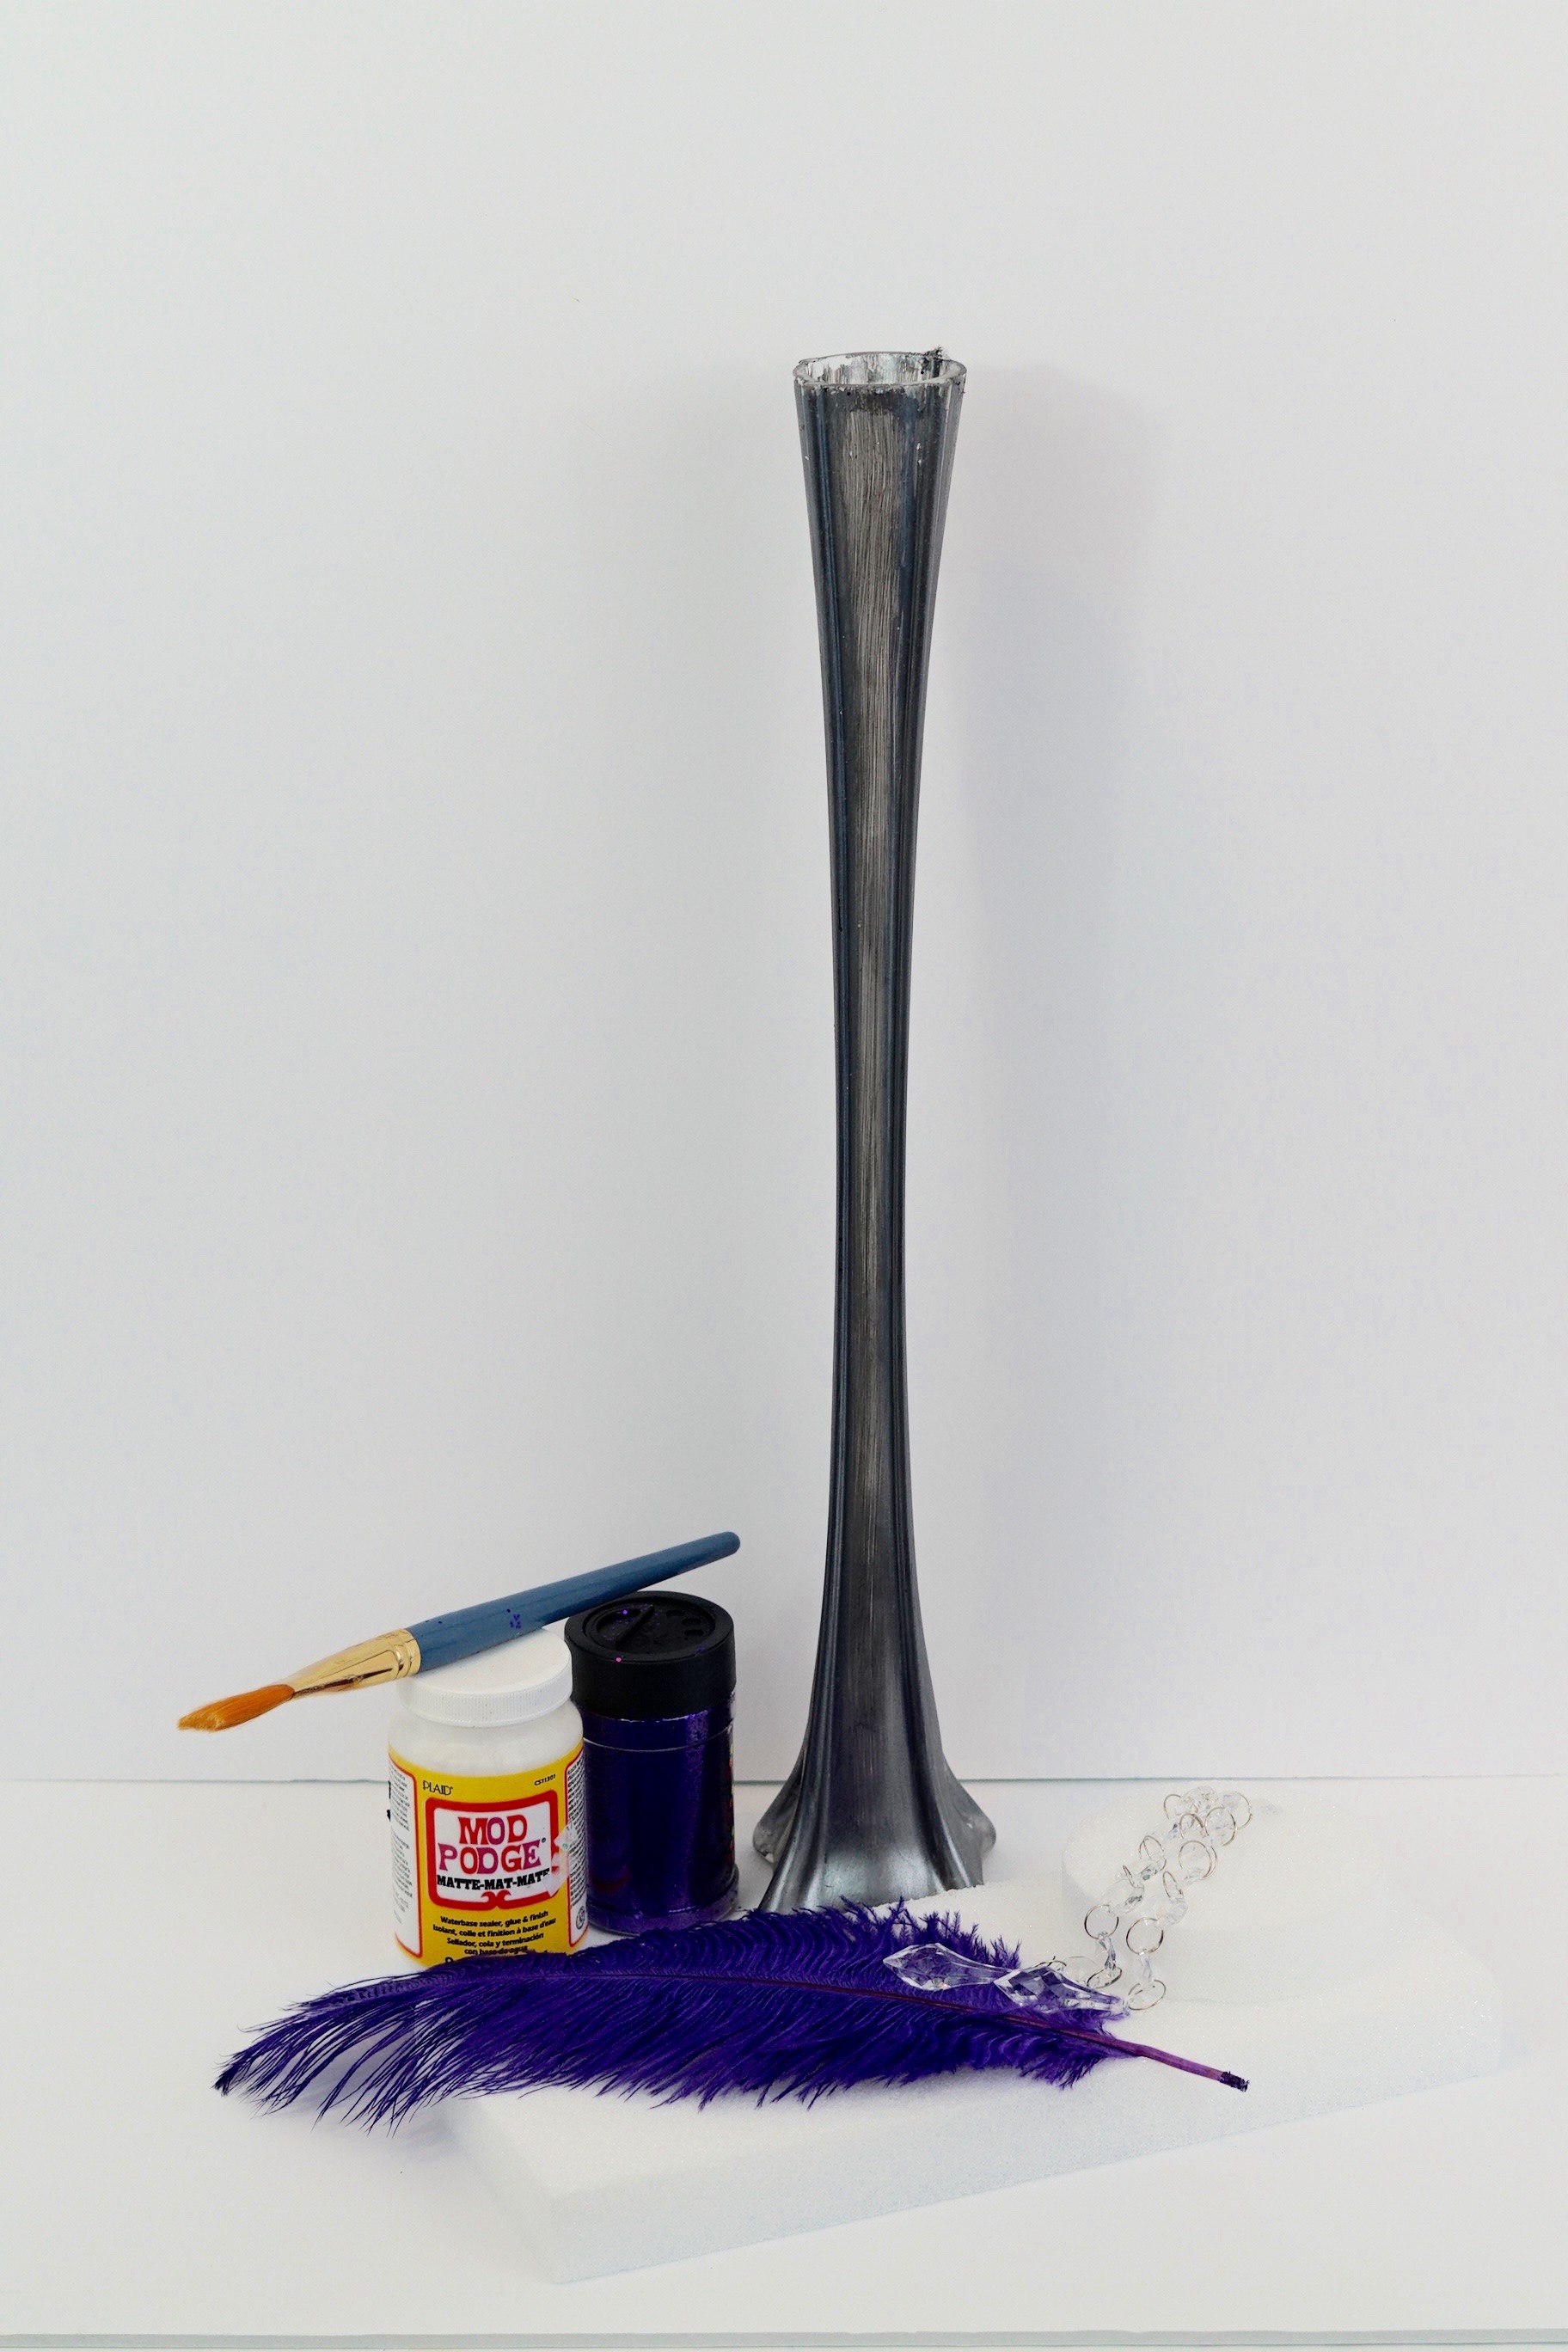
If you prefer written instructions, please continue reading.
How To Make a Purple Feather DIY Centerpiece
Directions:
STEP 1: To create the base, you will need to square off your foam block. First measure your foam block across the rim of your vase to determine how much excess you will need to cut off.
Once you have determined how much excess you need to cut off, do so by using a foam cutter.
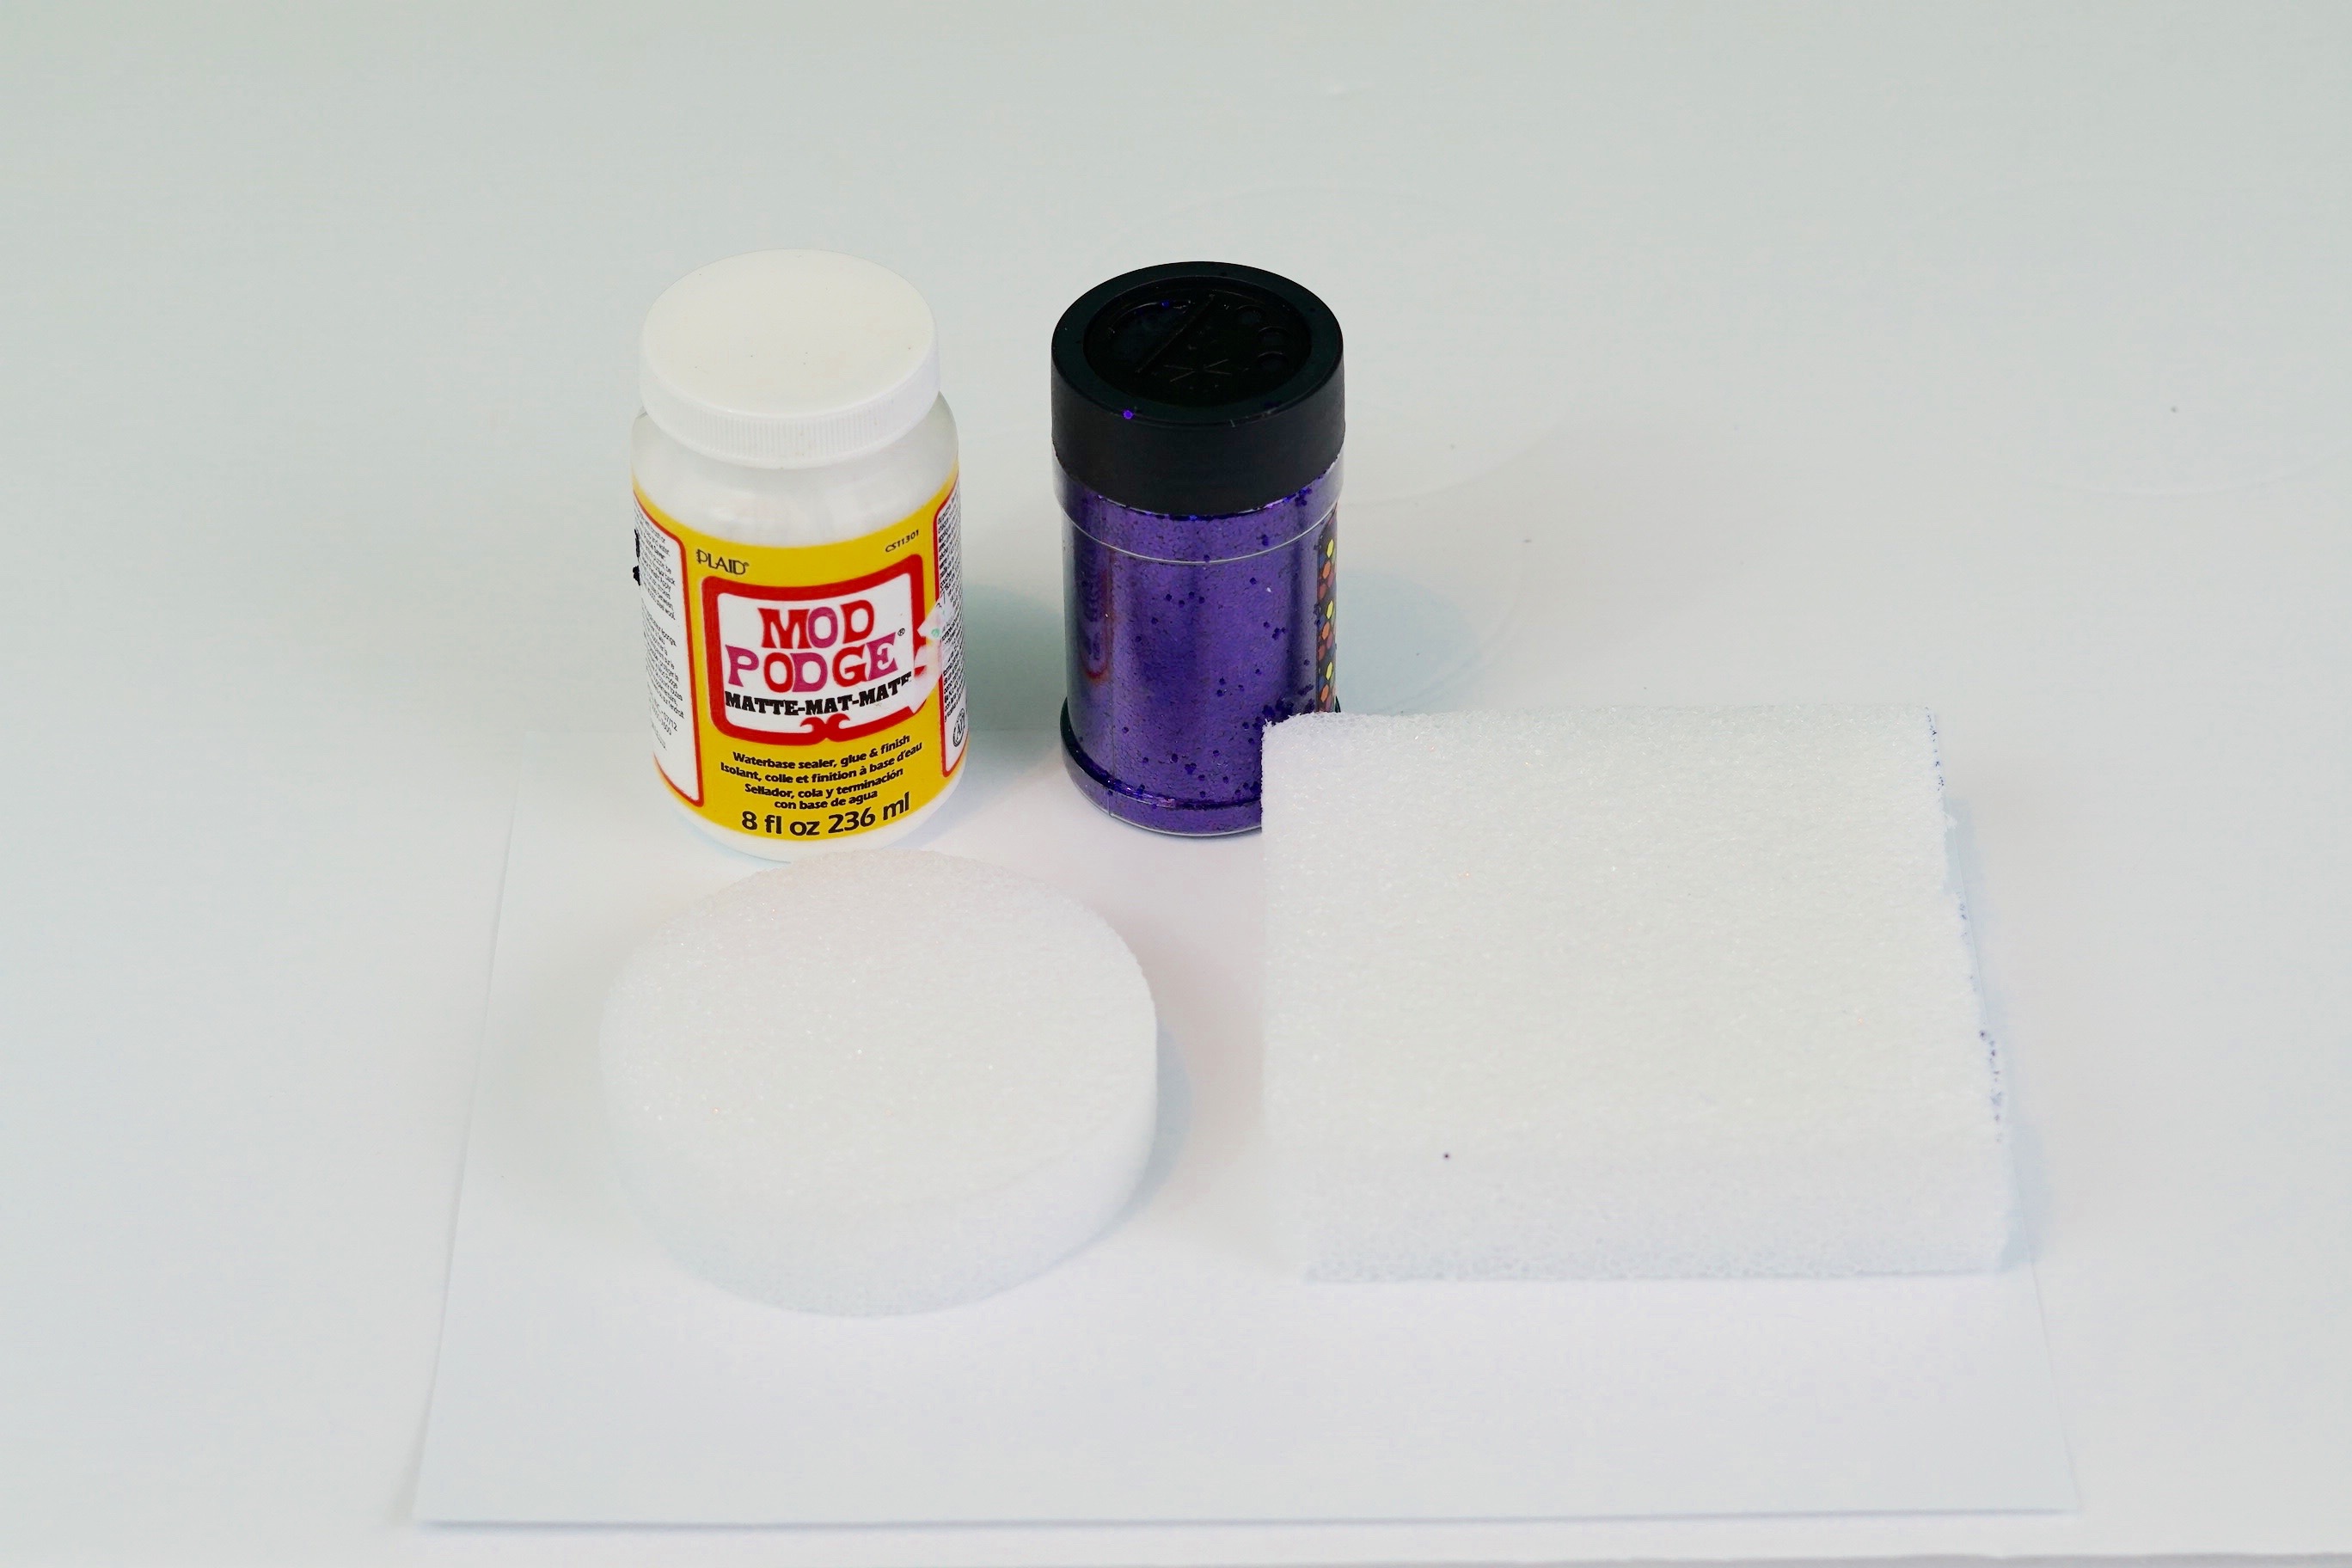
STEP 2: Next take your foam disc and your foam square and cover them both in mod podge using a paint brush. Now cover them both in purple glitter and allow them to dry.
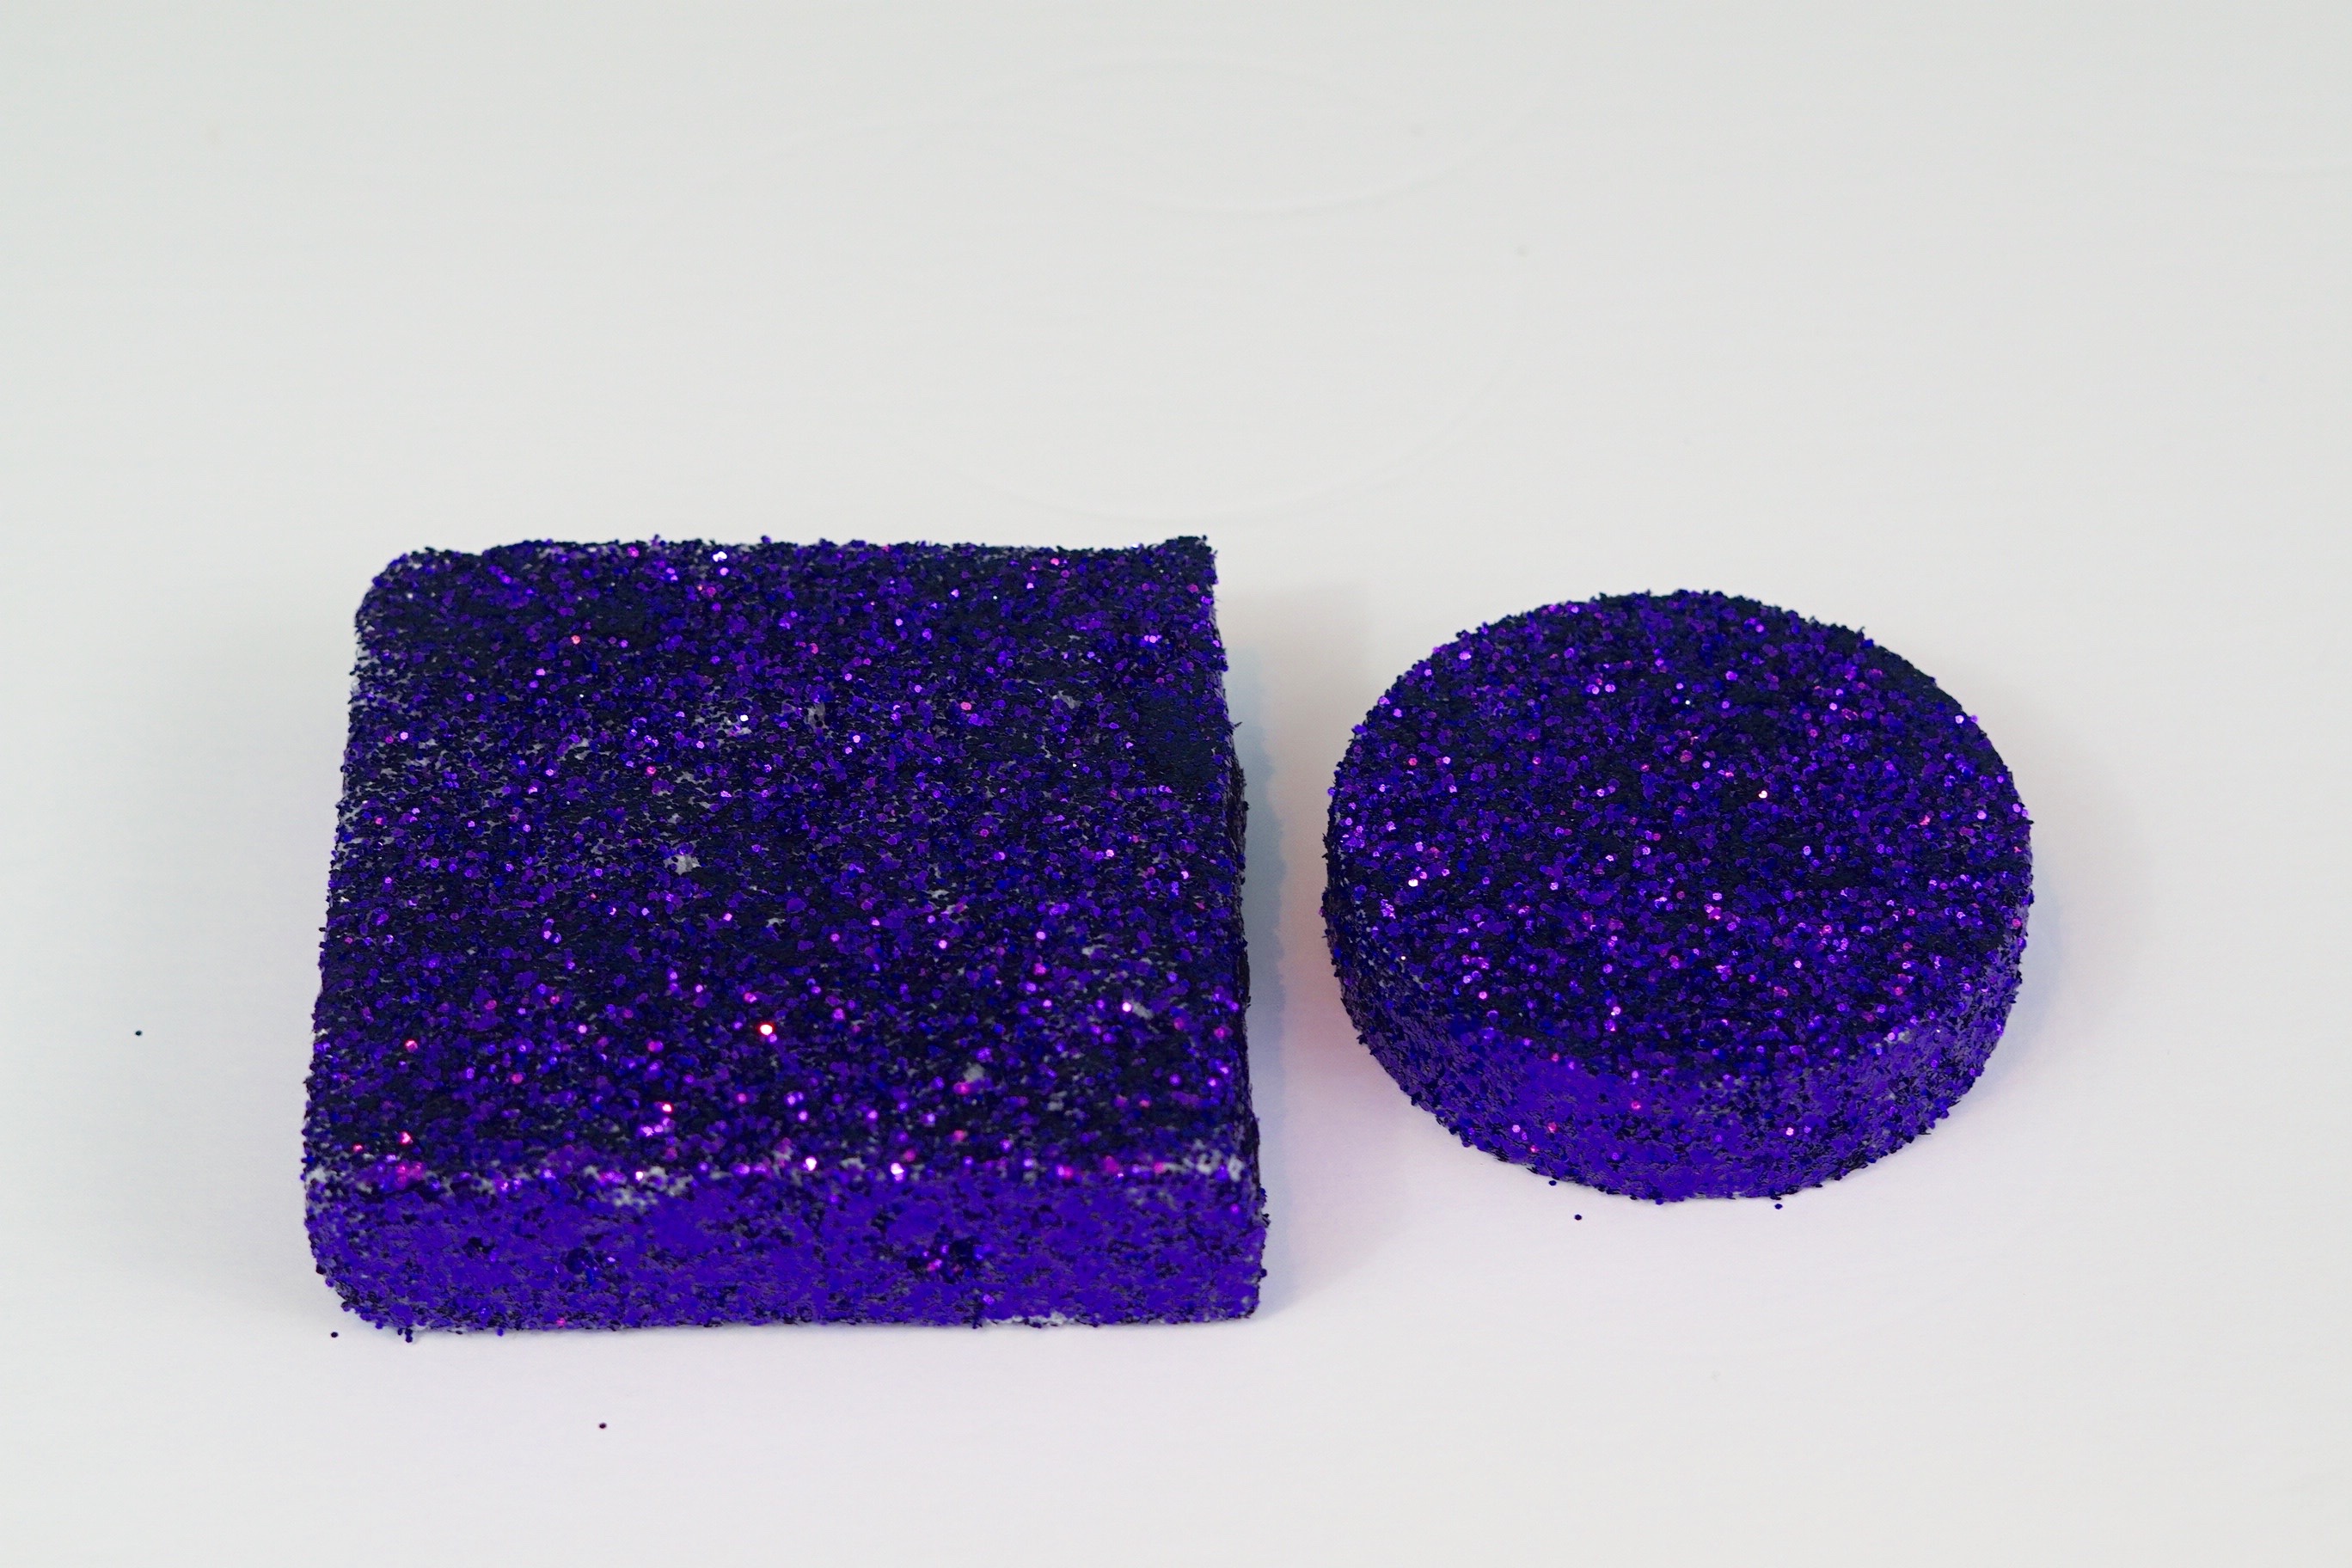
STEP 3: After they have both dried, use floral pins to attach your foam disc to your foam square. Attach 8-10 purple 12 to 14 inch ostrich purple feathers to your foam disc. Repeat this step by adding the same amount of purple feathers to your foam square.
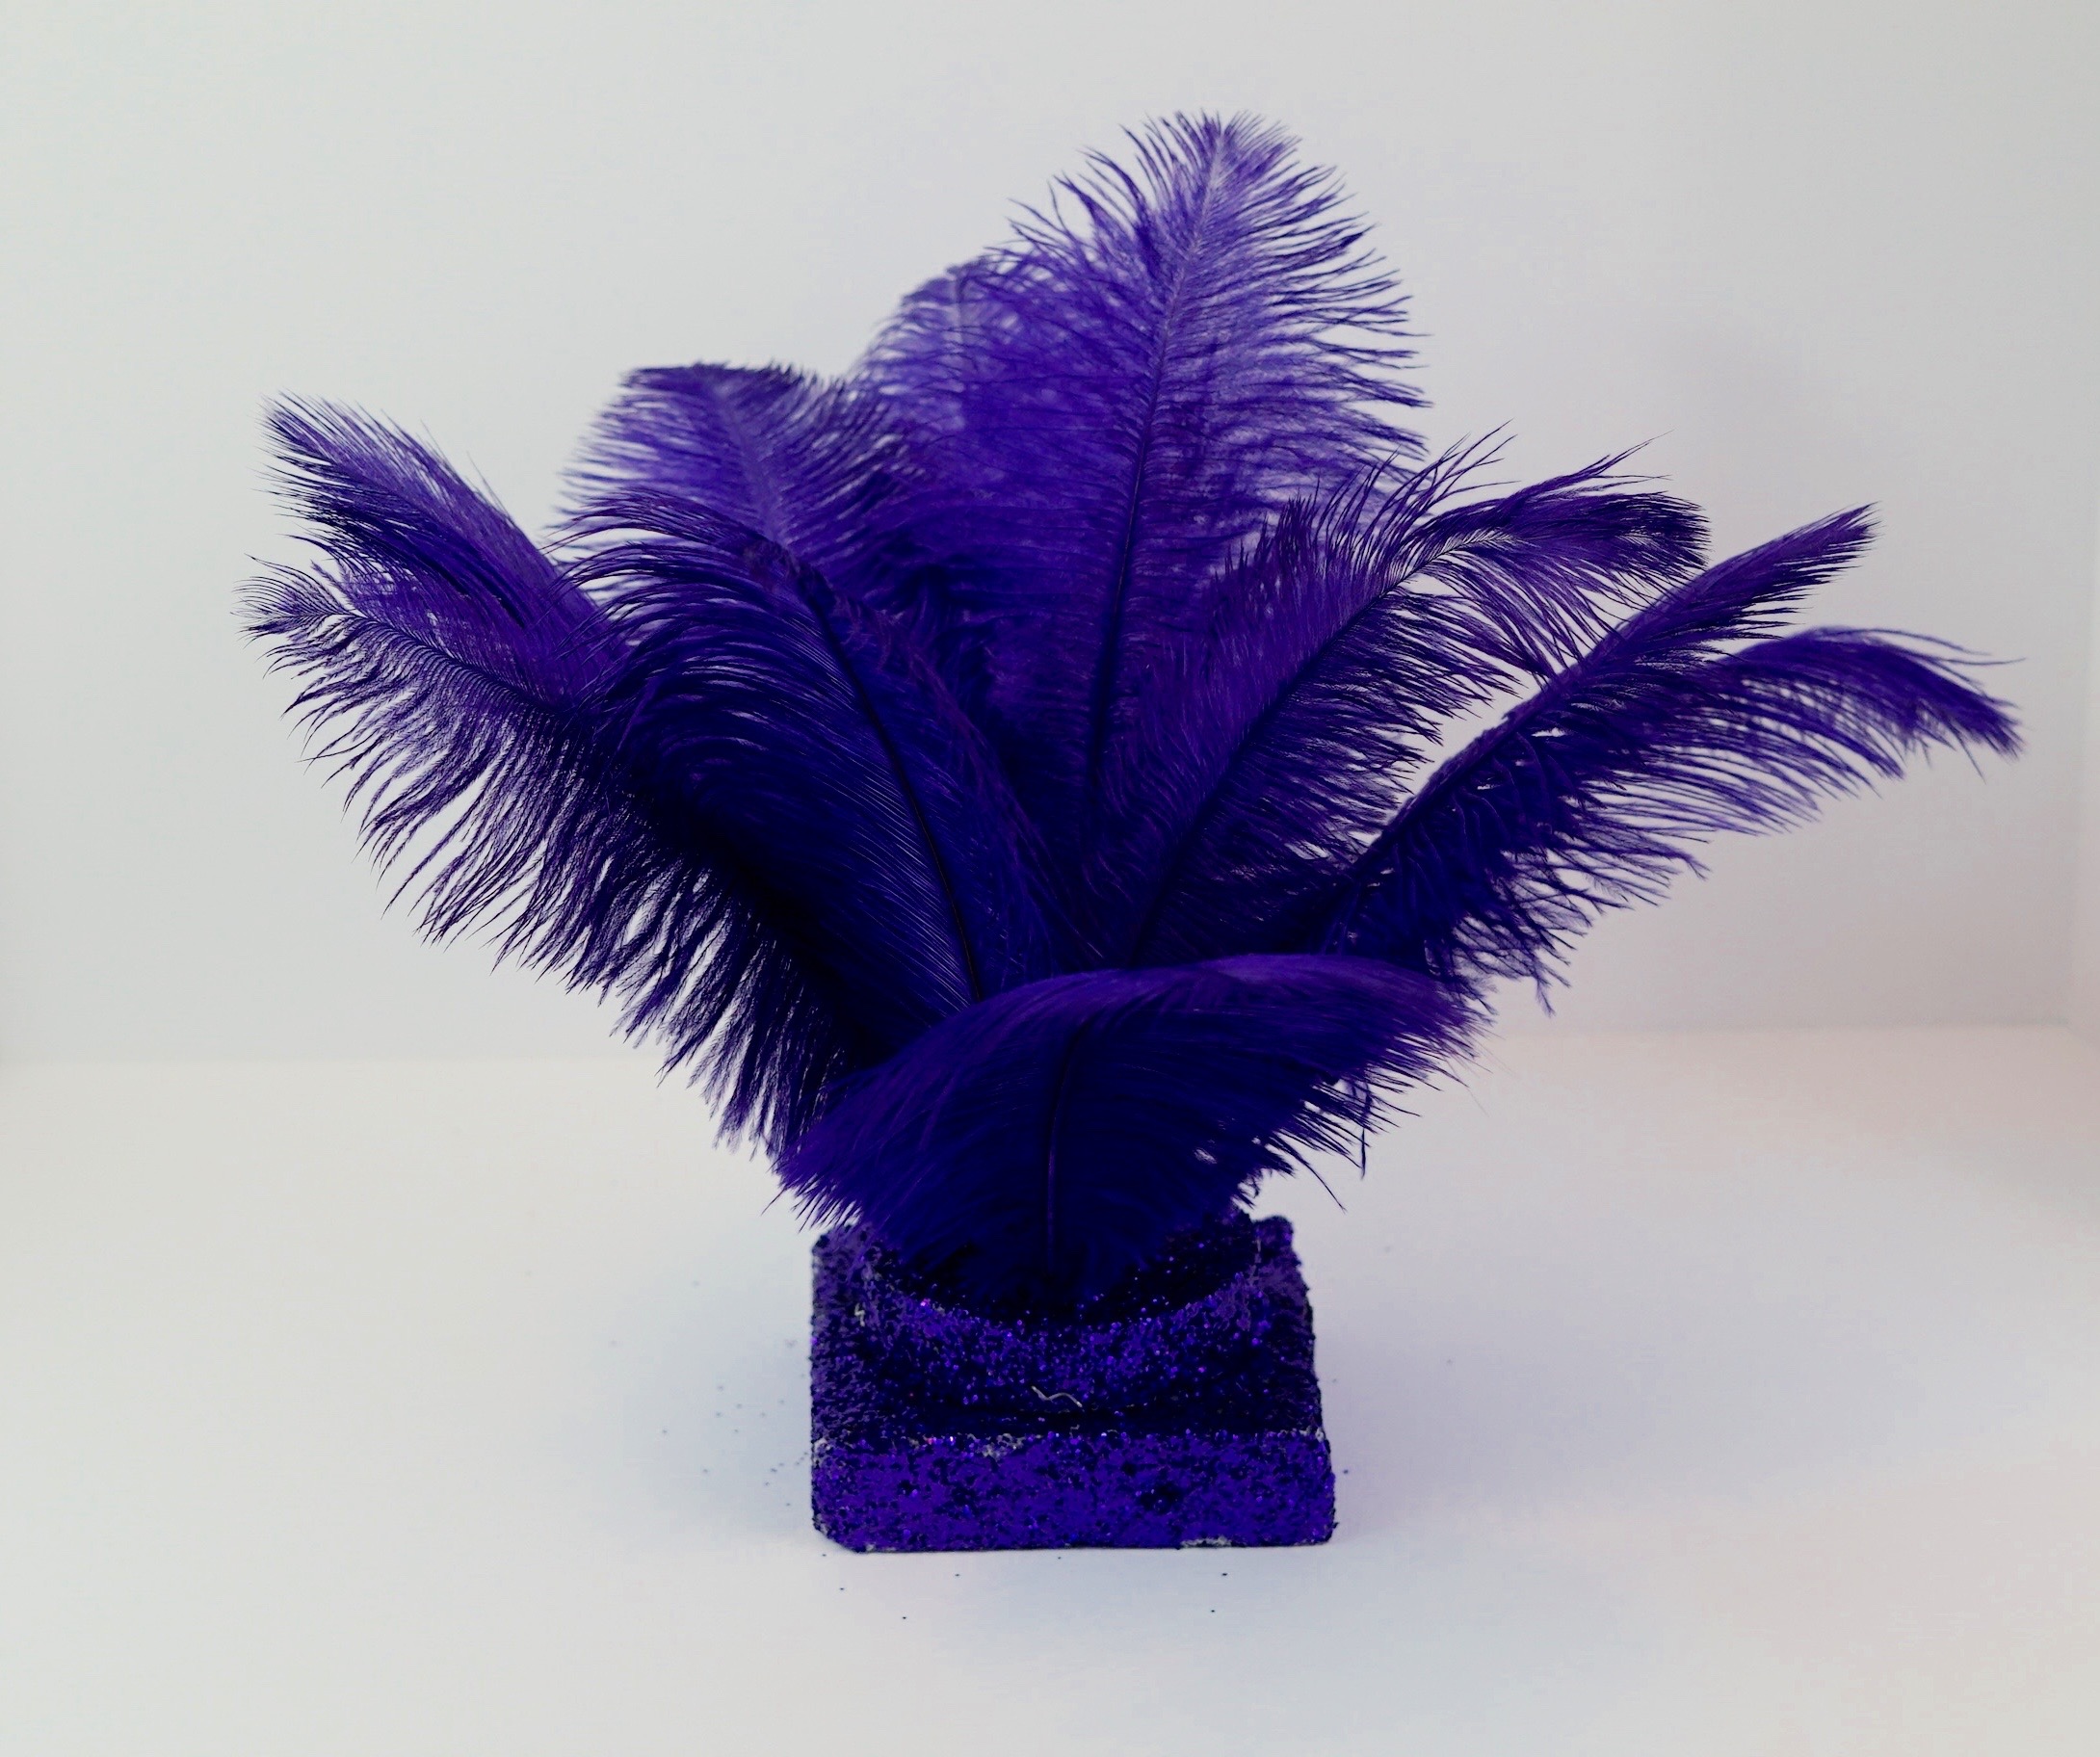
STEP 4: Apply mod podge to your eiffel tower vase. Sprinkle your purple glitter to your vase. Once the glitter is dry, spray your vase with clear acrylic spray to ensure the glitter is set. Lastly, attach your foam base to your vase rim using hot glue.
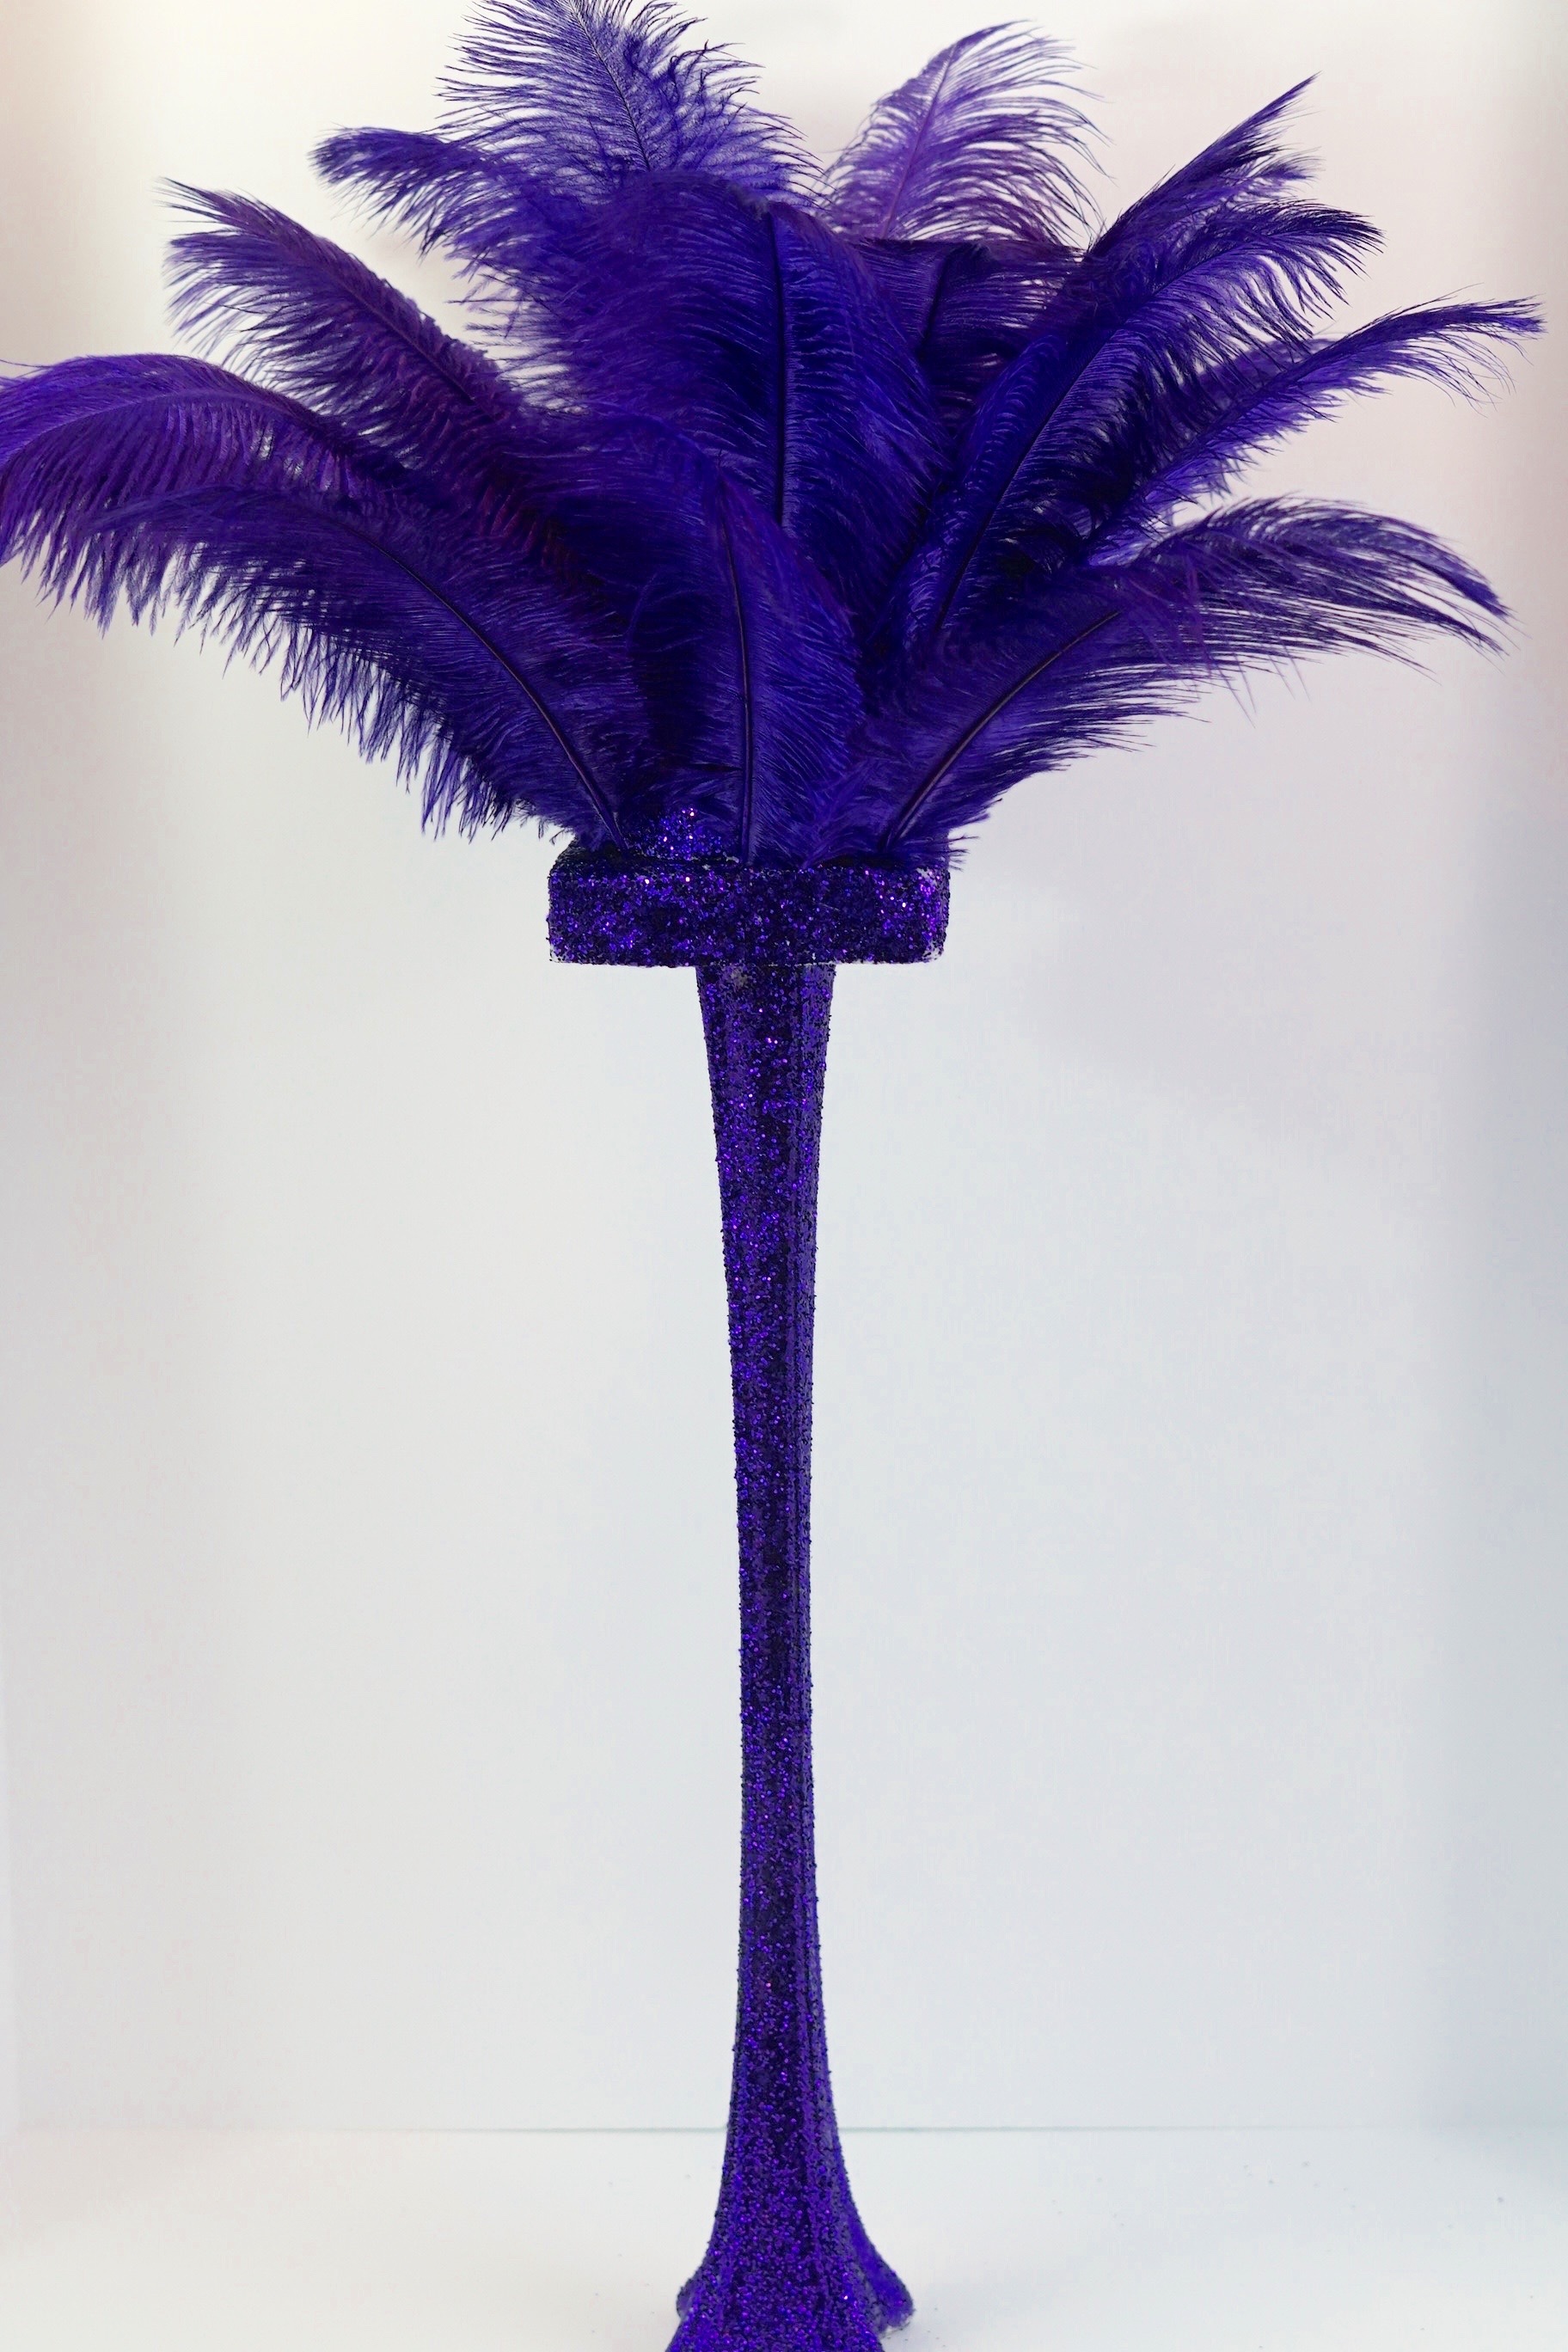
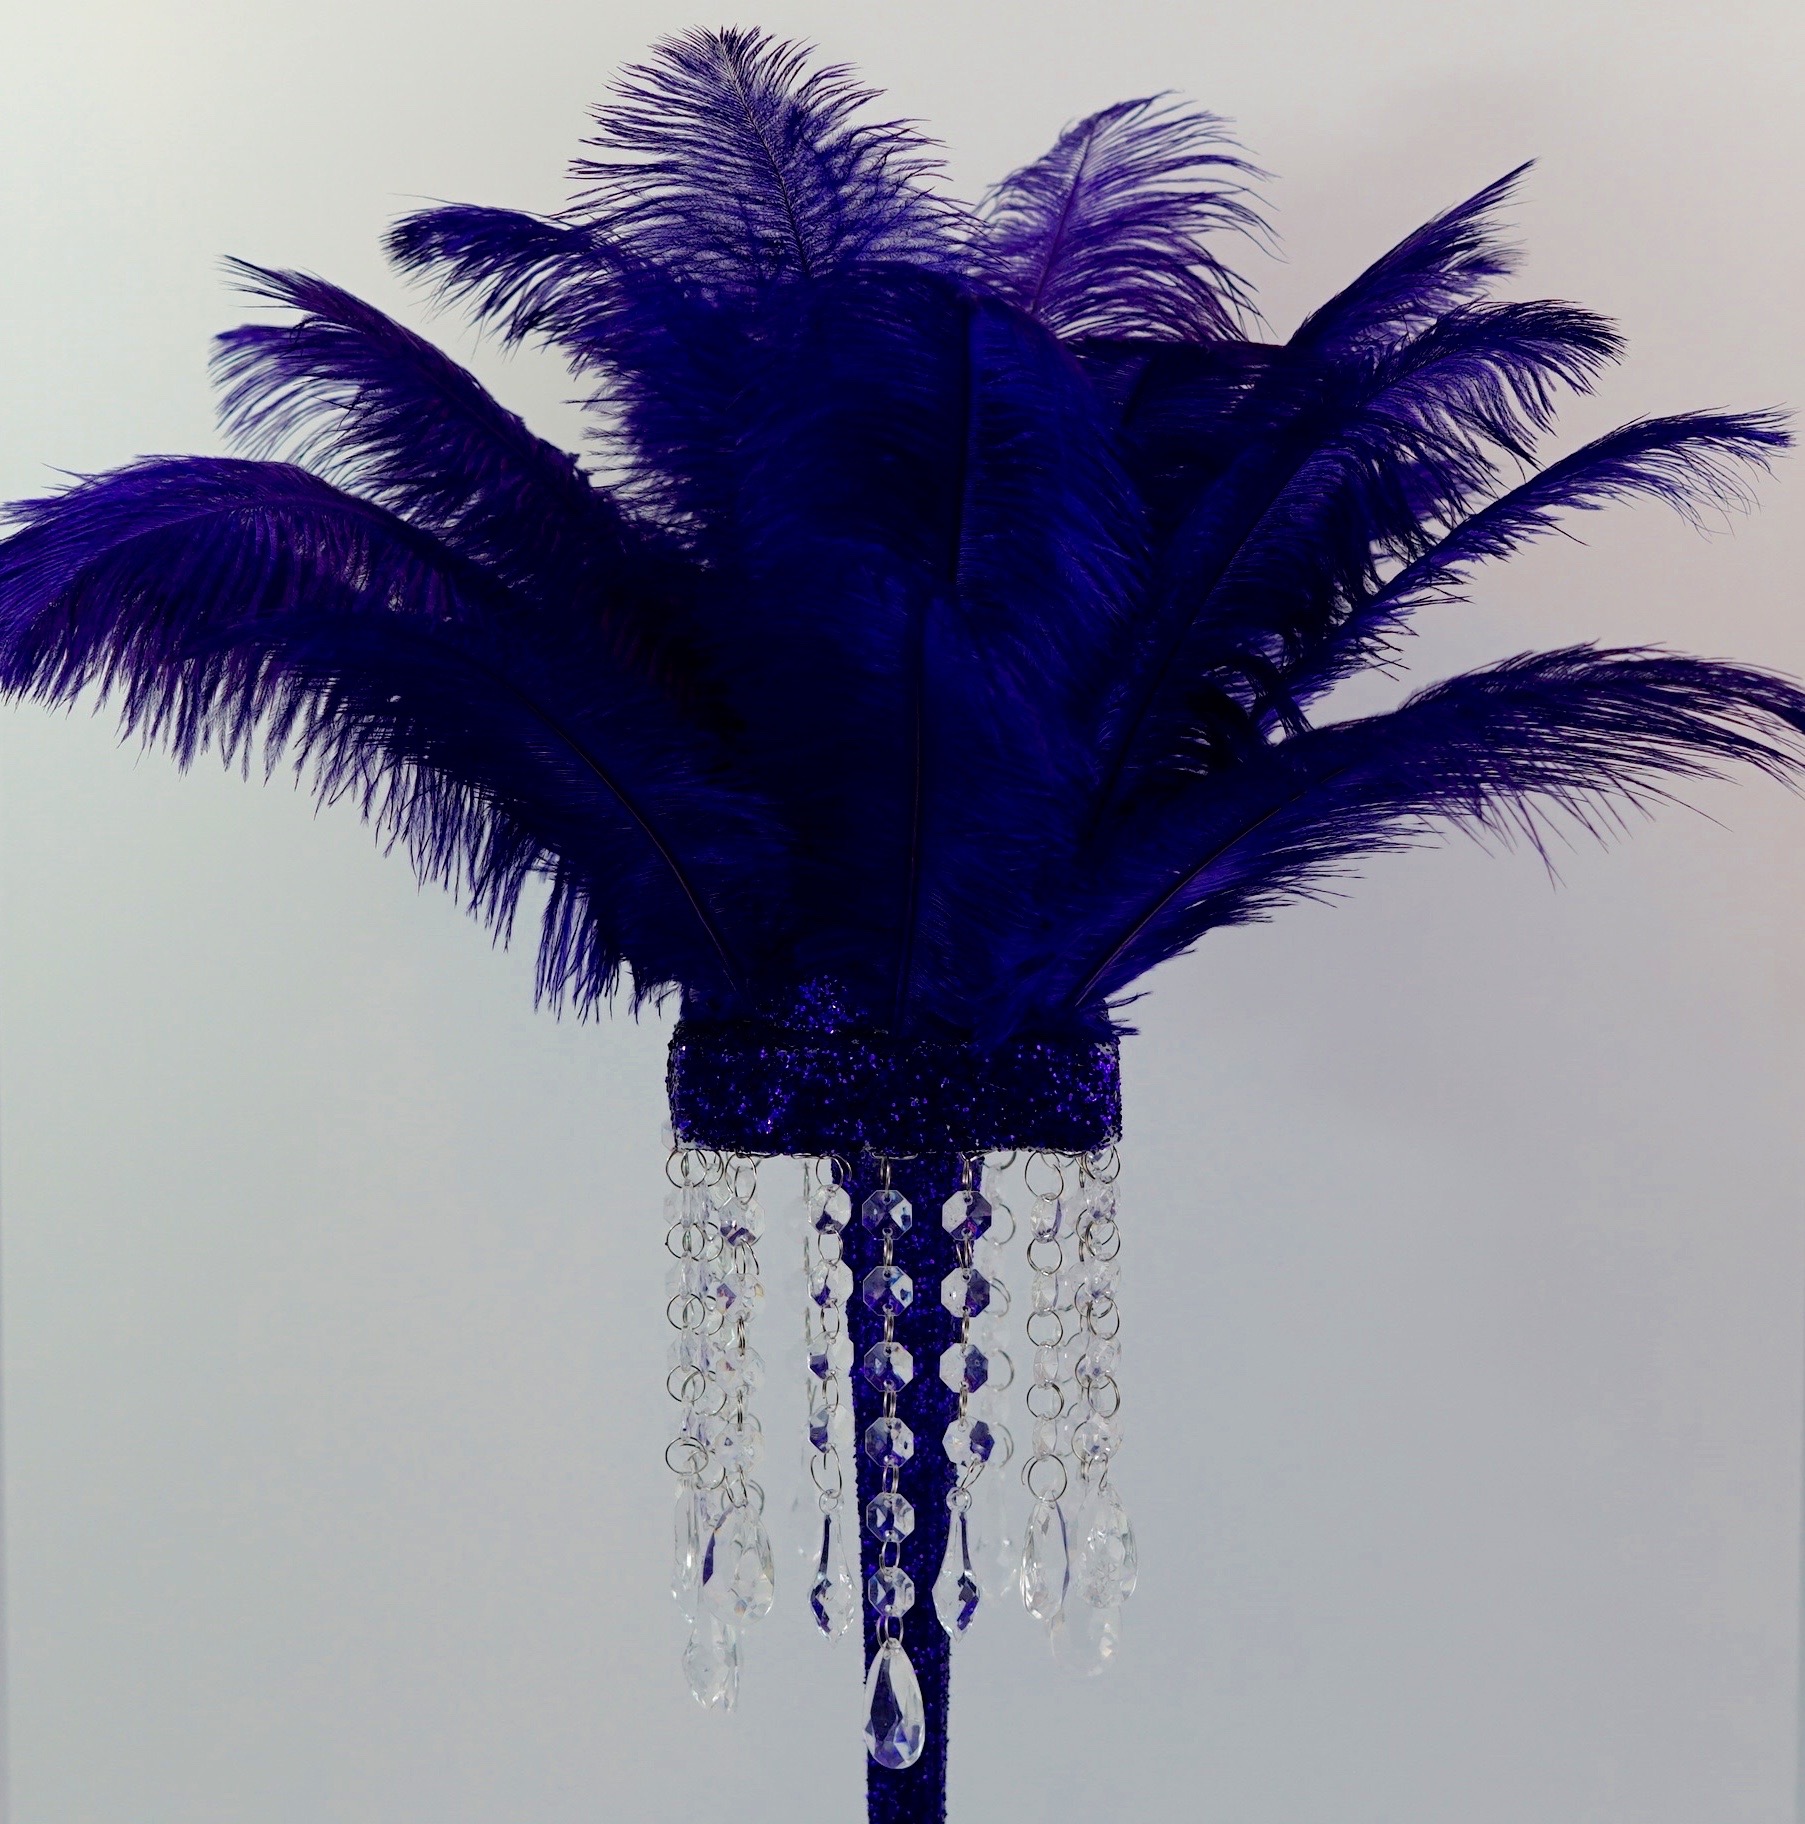
Attach Your Gem Garland
STEP 5: Attach your gem garland, beginning with a 6 inch strand in the middle and 4-5 inch strands on each side. Use floral pins to secure them. Repeat this pattern on each side of your square foam.
TIP: Clip the ends of your floral pins with wire cutters. This is so the wire does not poke out the other side of your foam.
THE FINAL STEP!
STEP 6: Set the table
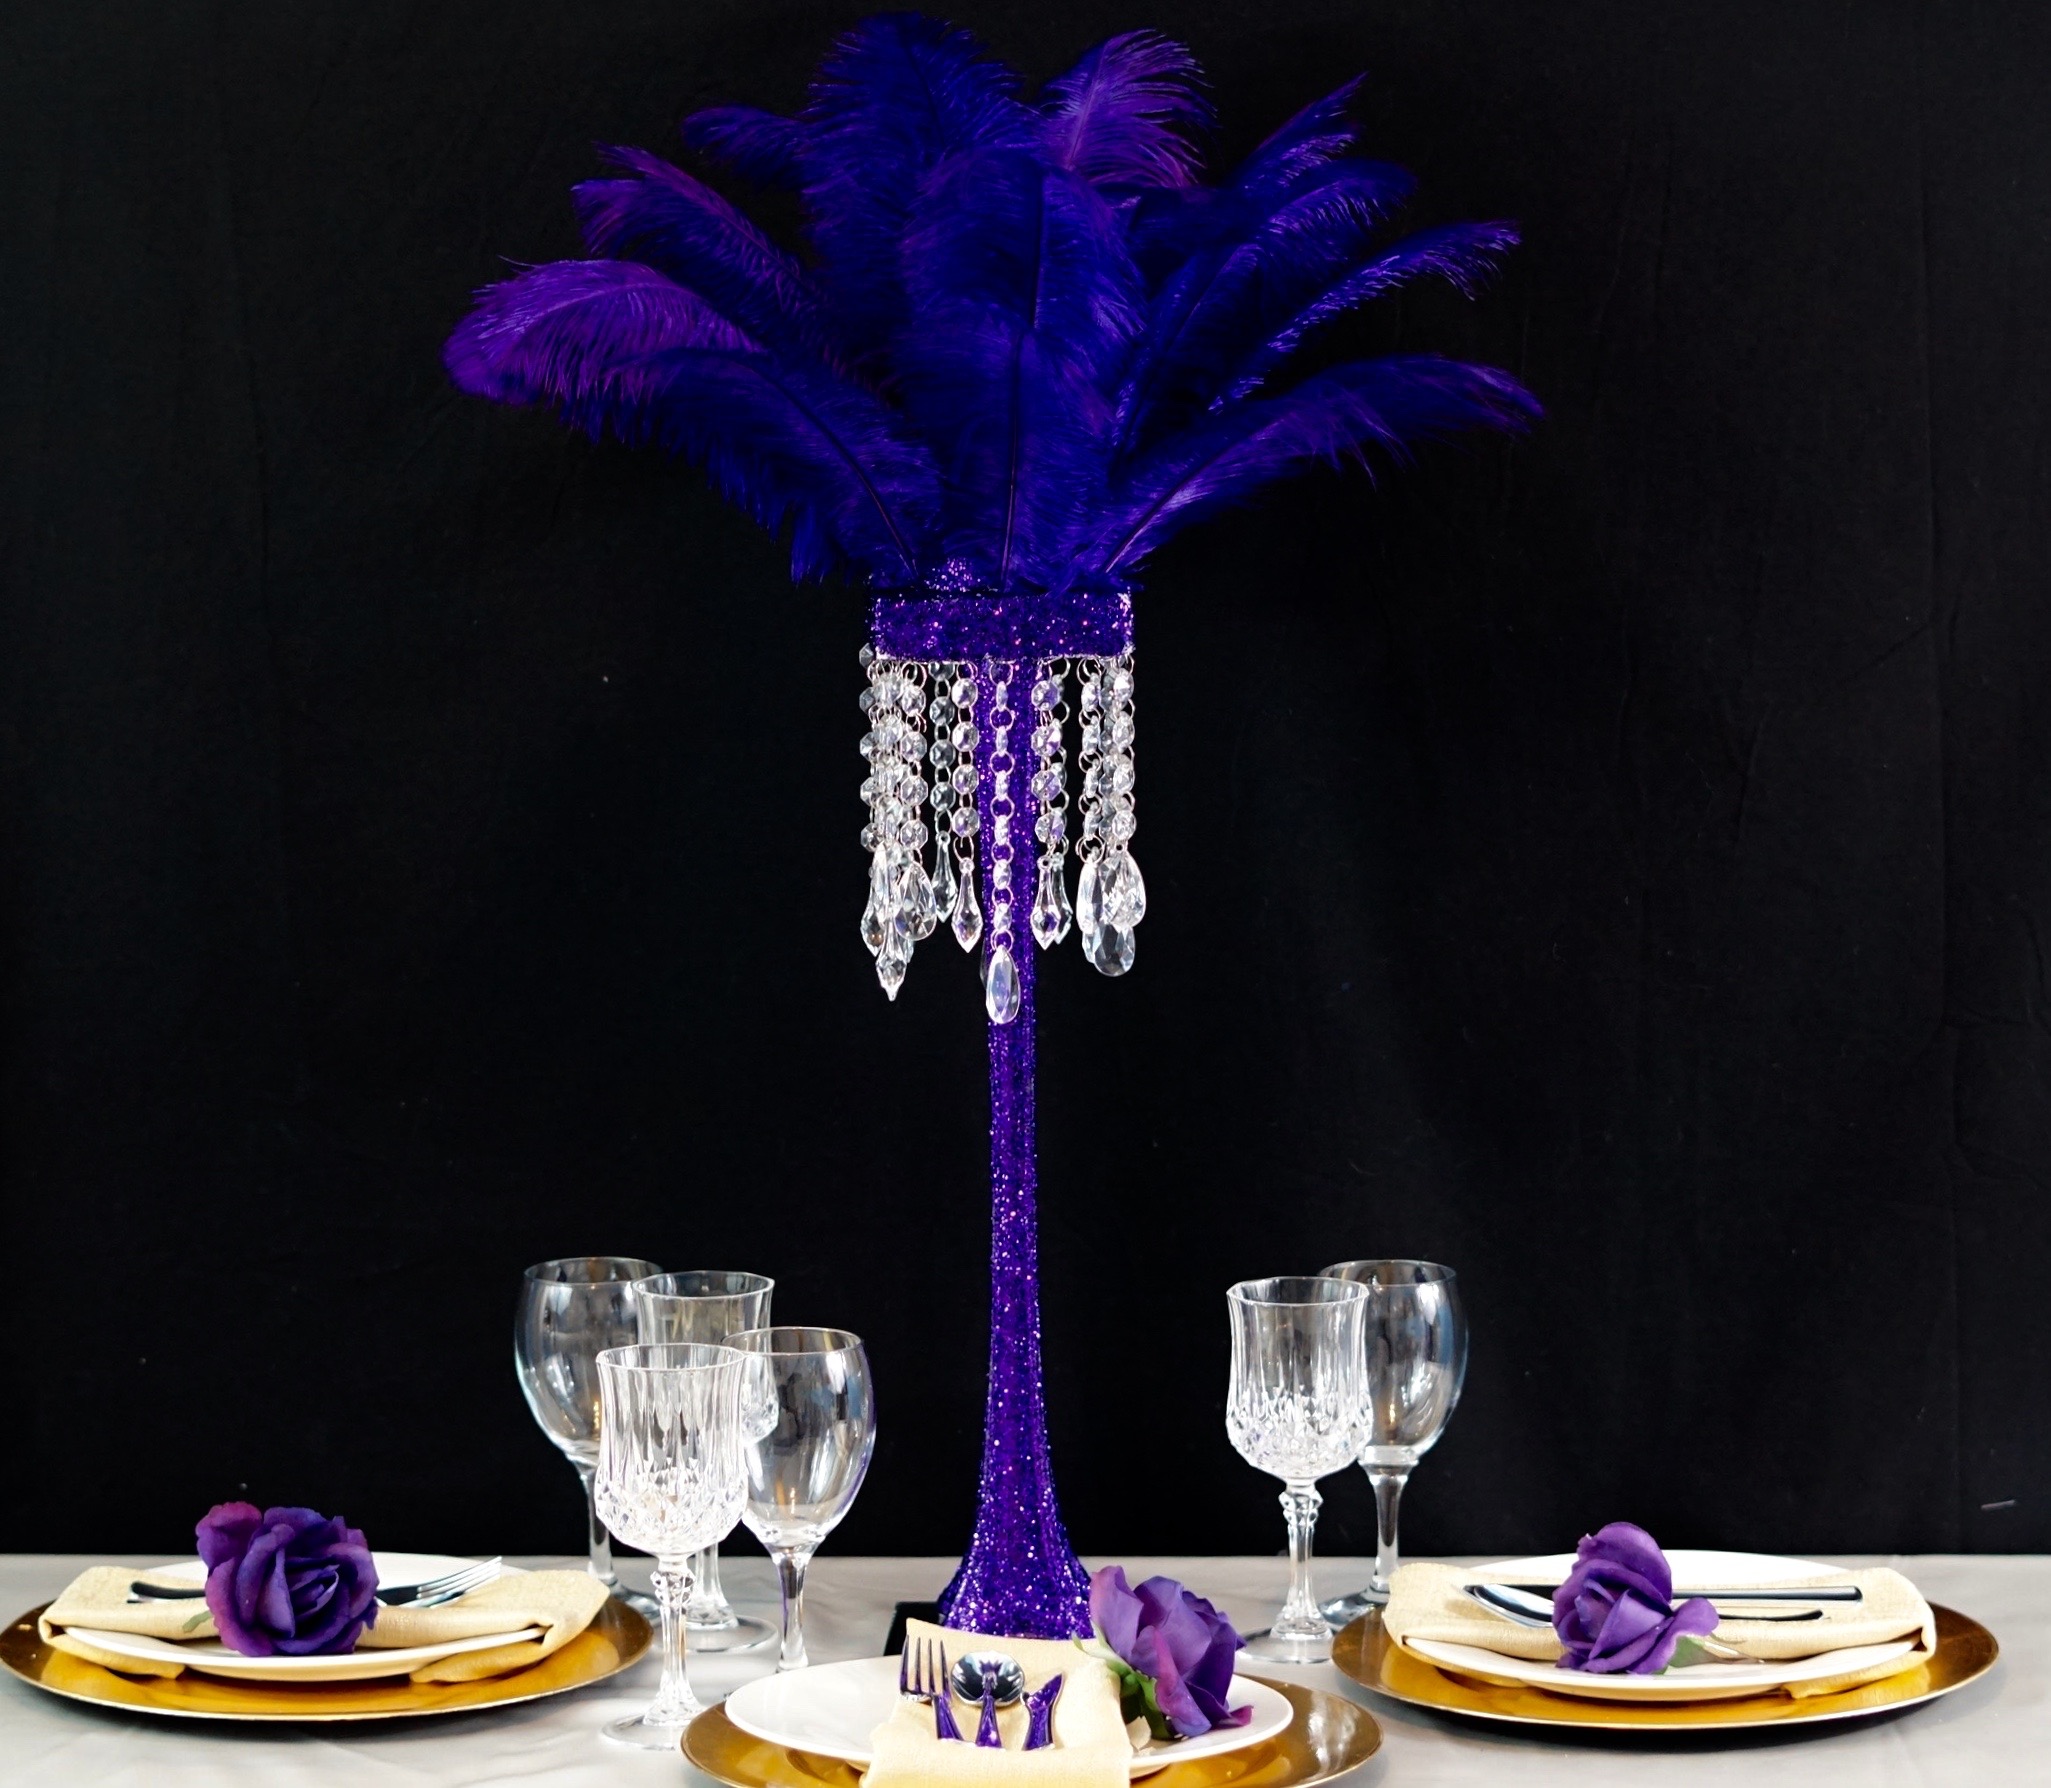
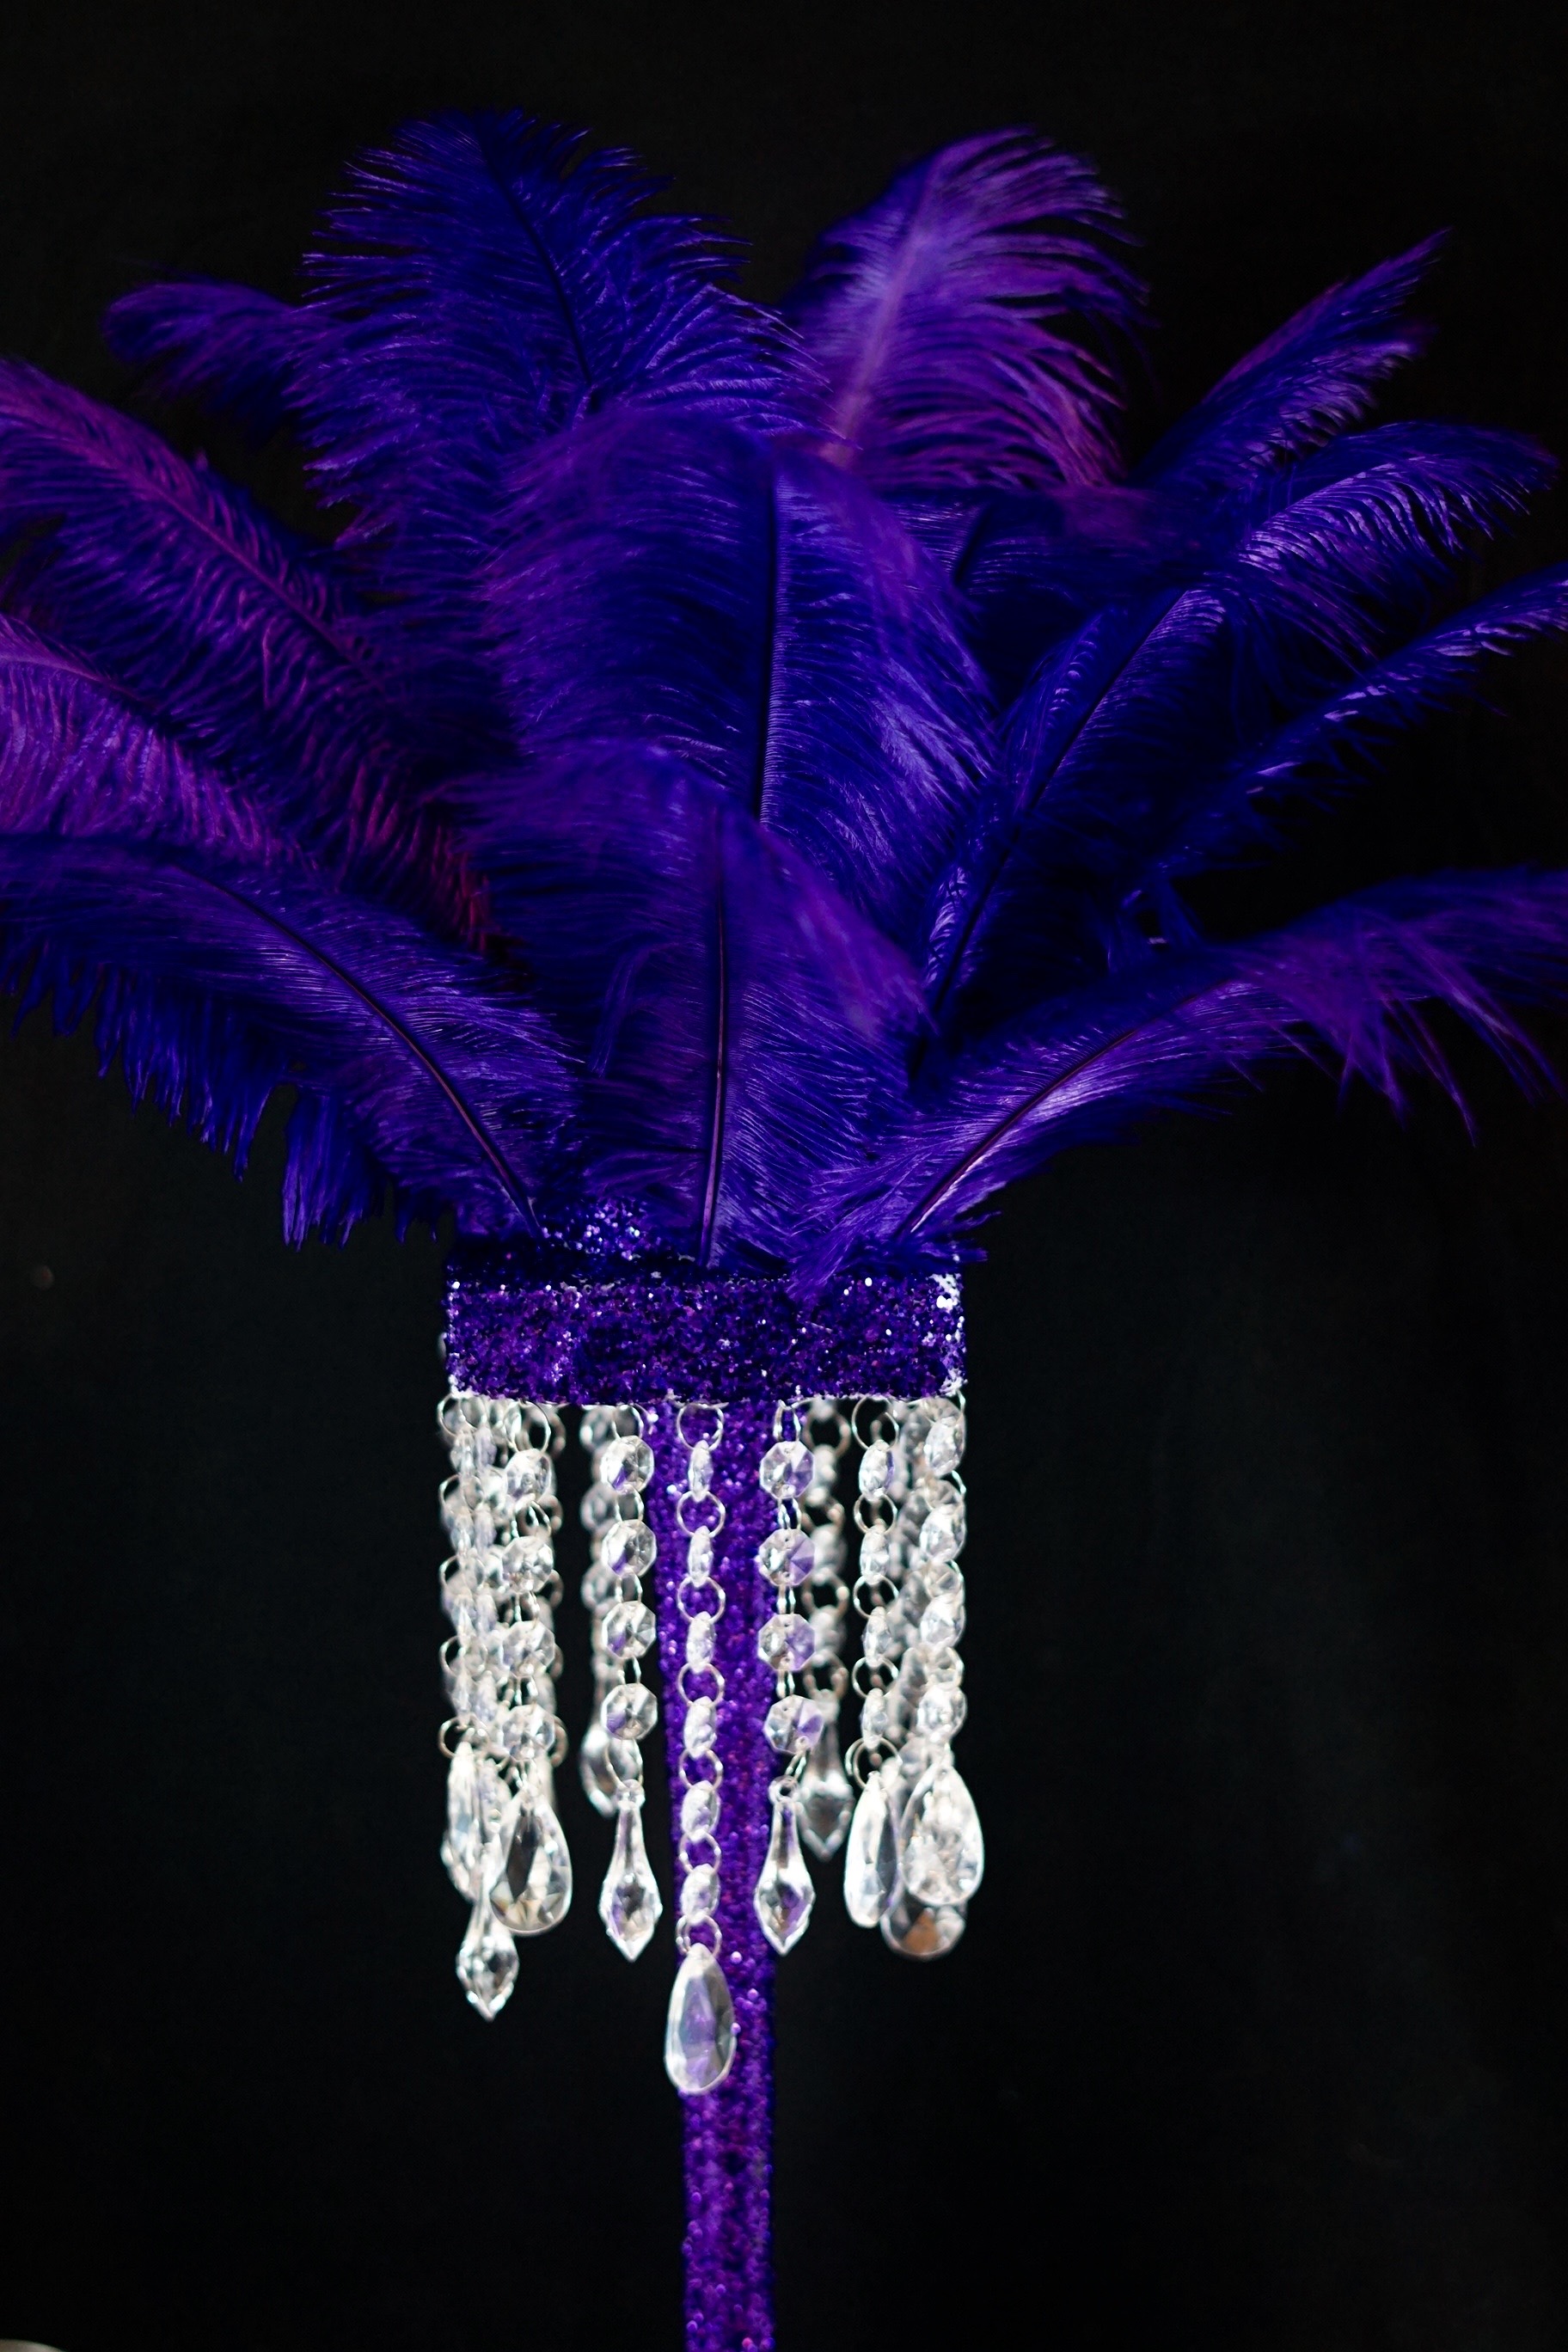
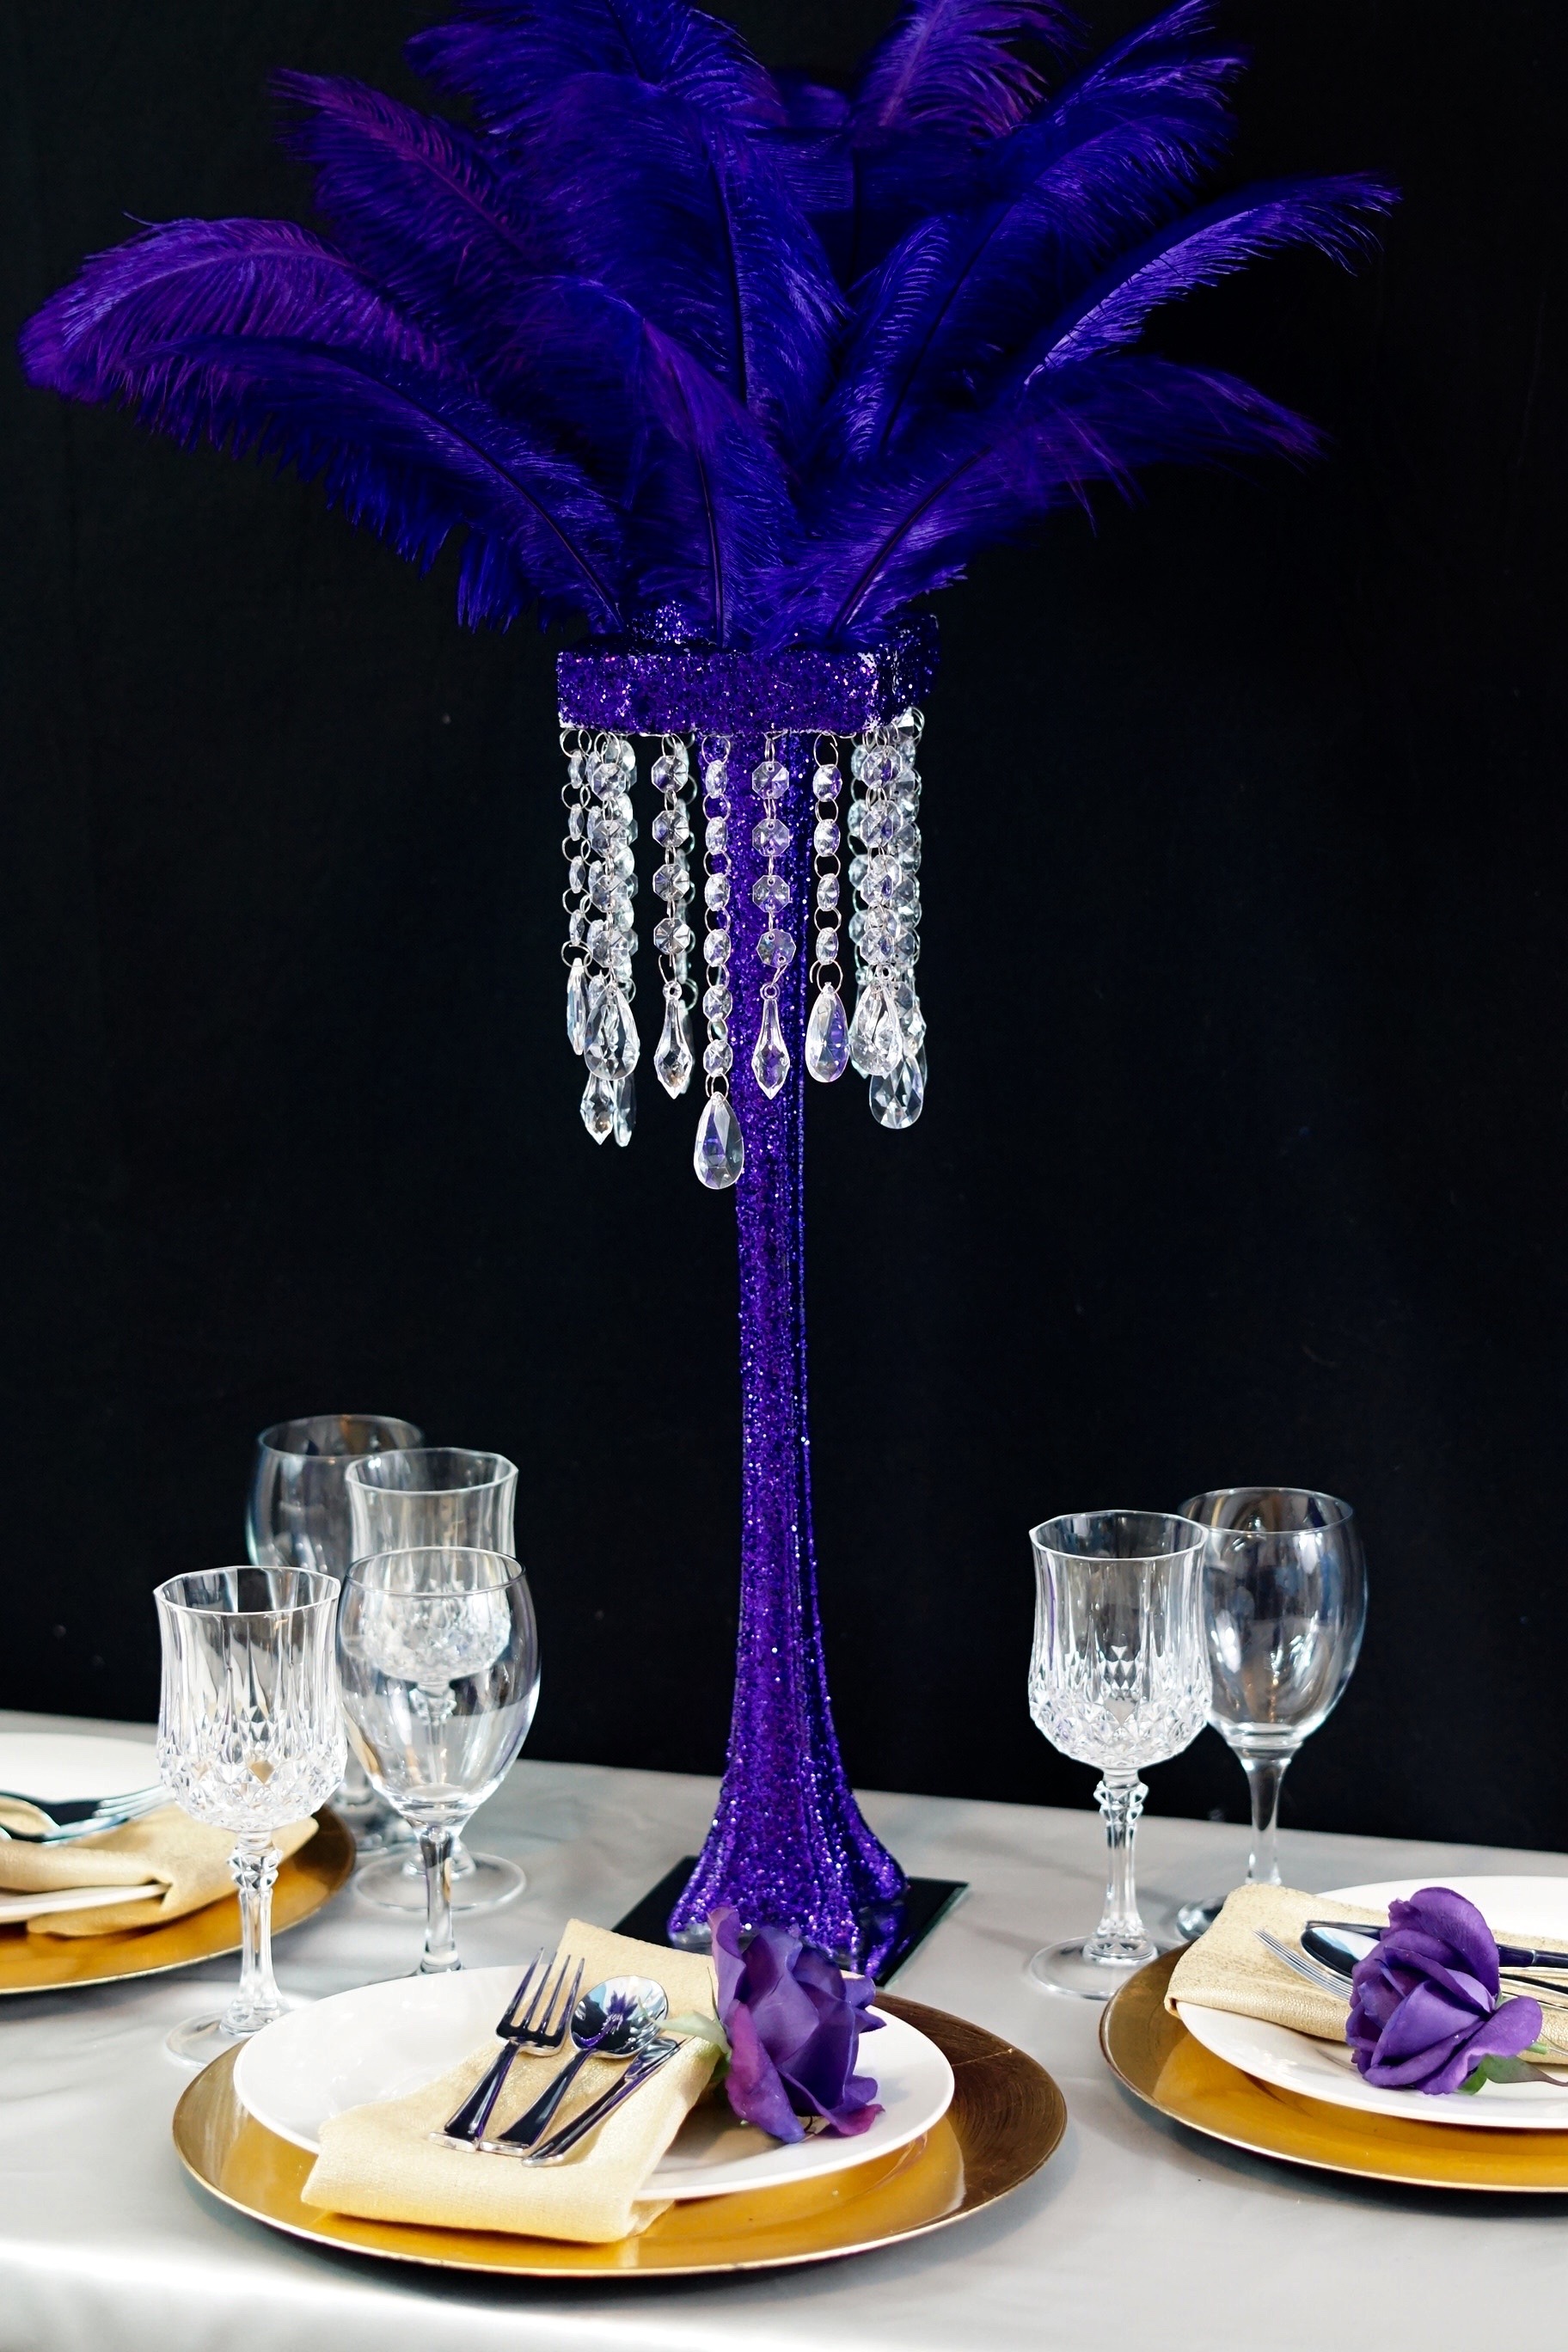
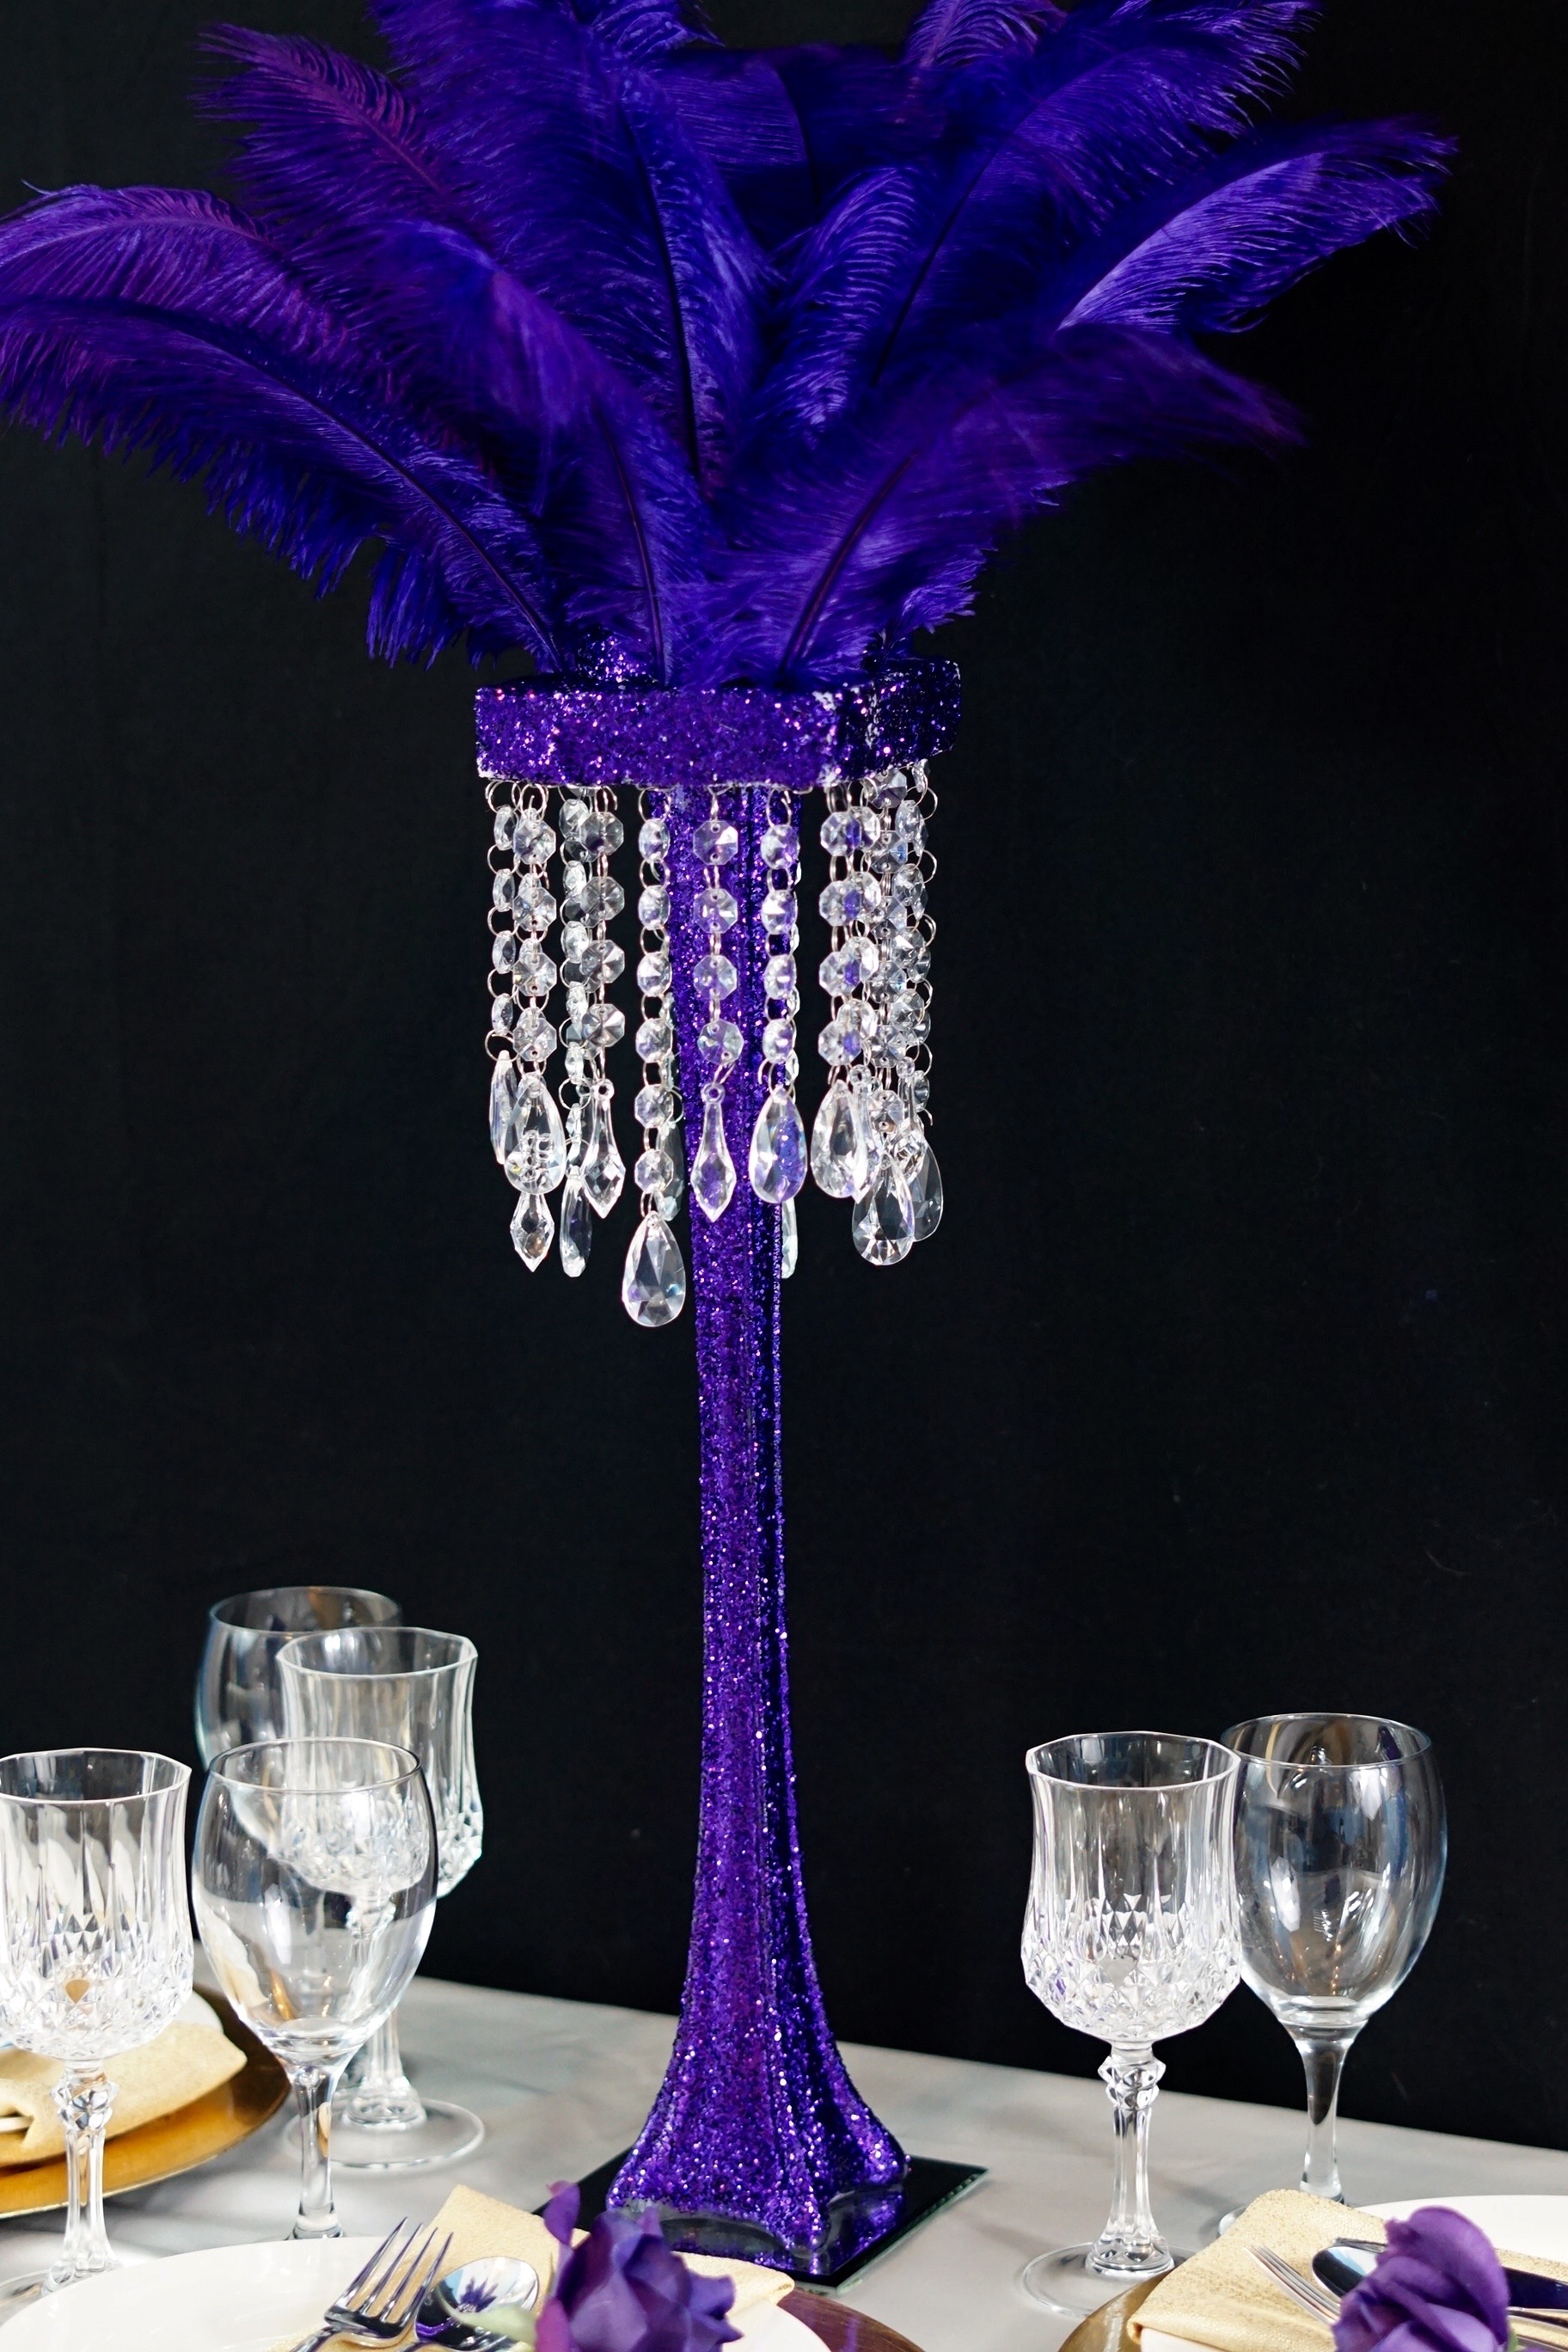
I absolutely love how this Fabulous Tall Purple Feather DIY Centerpiece turned out! The outcome is amazing and will definitely add that extra special touch to your wedding!
Don’t forget to sign up for Ebates to earn cash back on your online purchases. Planning a wedding is expensive, our goal is to help you stay within your budget and make every penny count. Click here to sign up for Ebates, and RIGHT NOW when you sign up, you will receive a $10 cash welcome bonus when you spend $25.00!
If you like the outcome please subscribe to our Youtube Channel for more DIY Videos and follow us on Facebook and Pinterest.
Need help with an upcoming project? Be sure to send us a project request!
“Remember When Every Penny Counts, Count on MissPlanIt”


