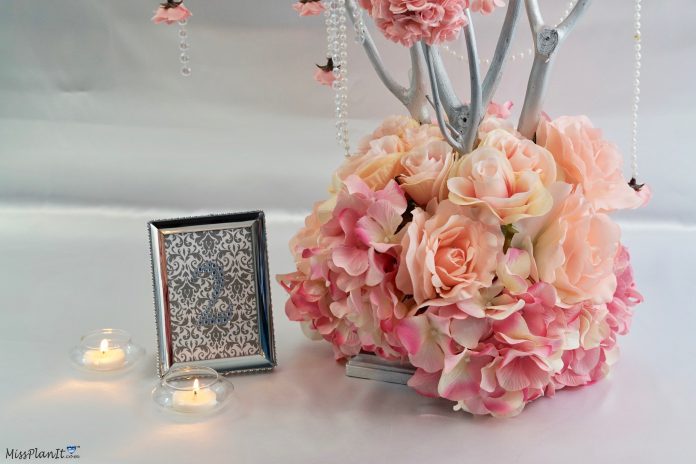
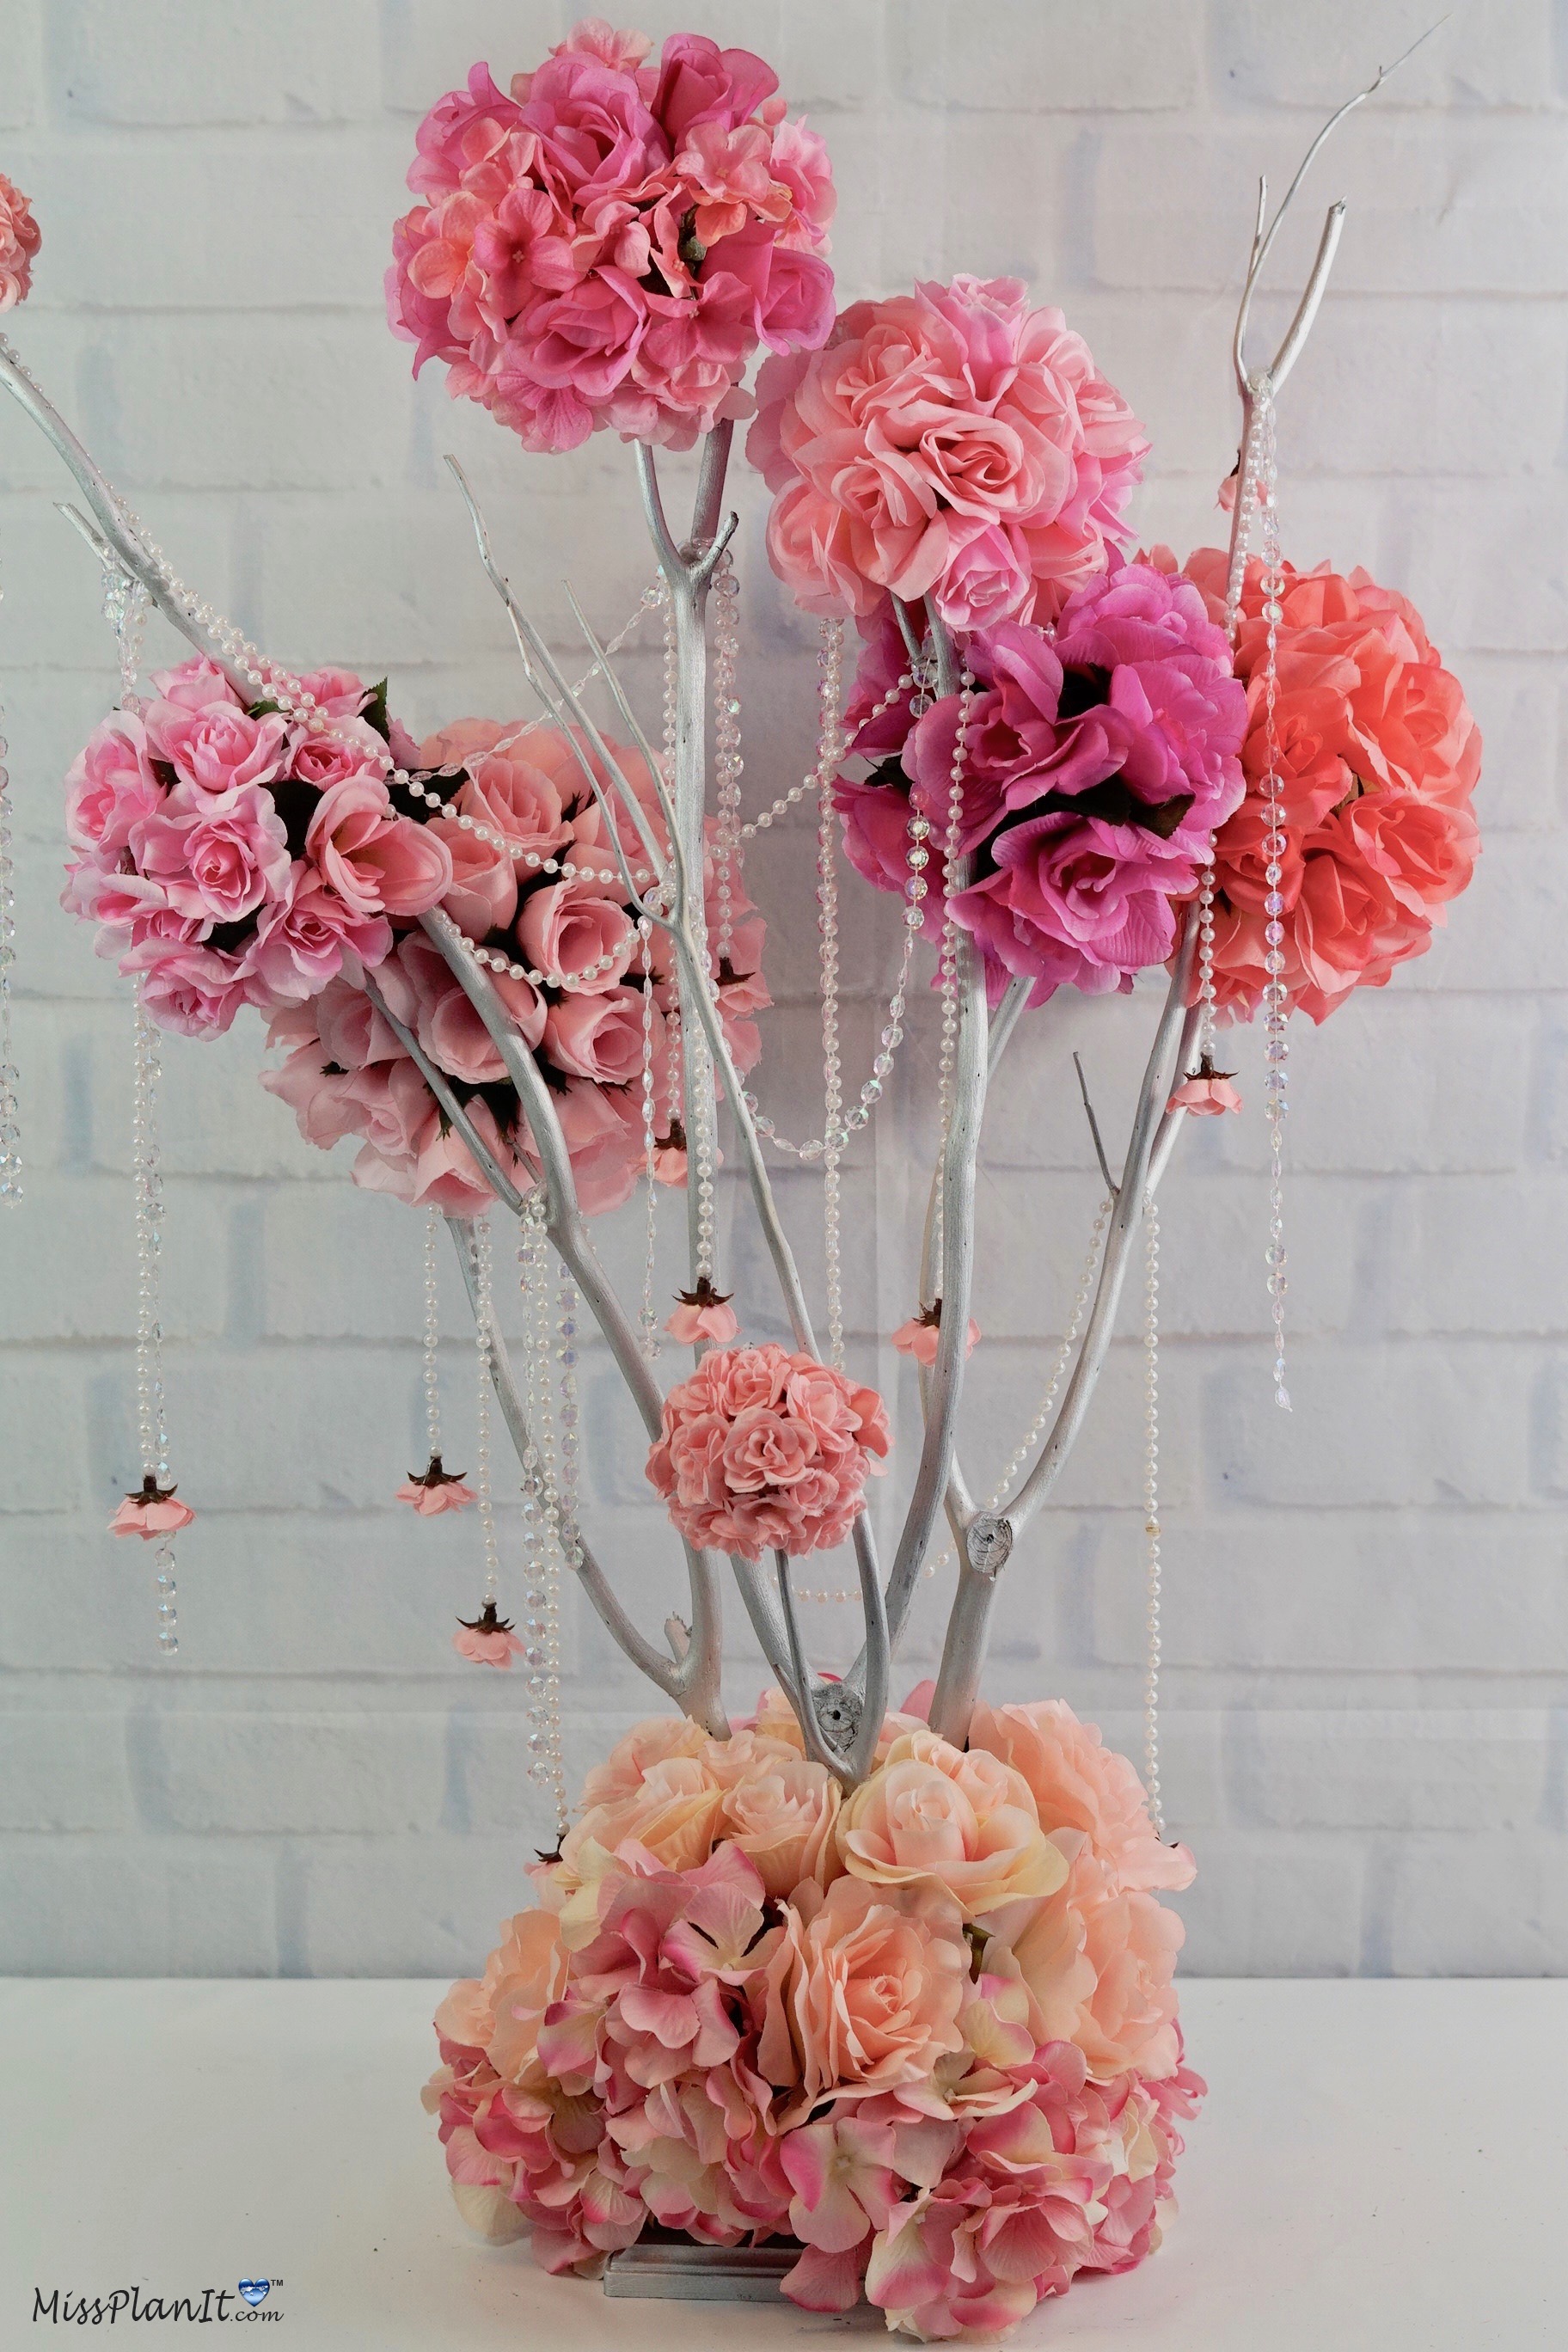
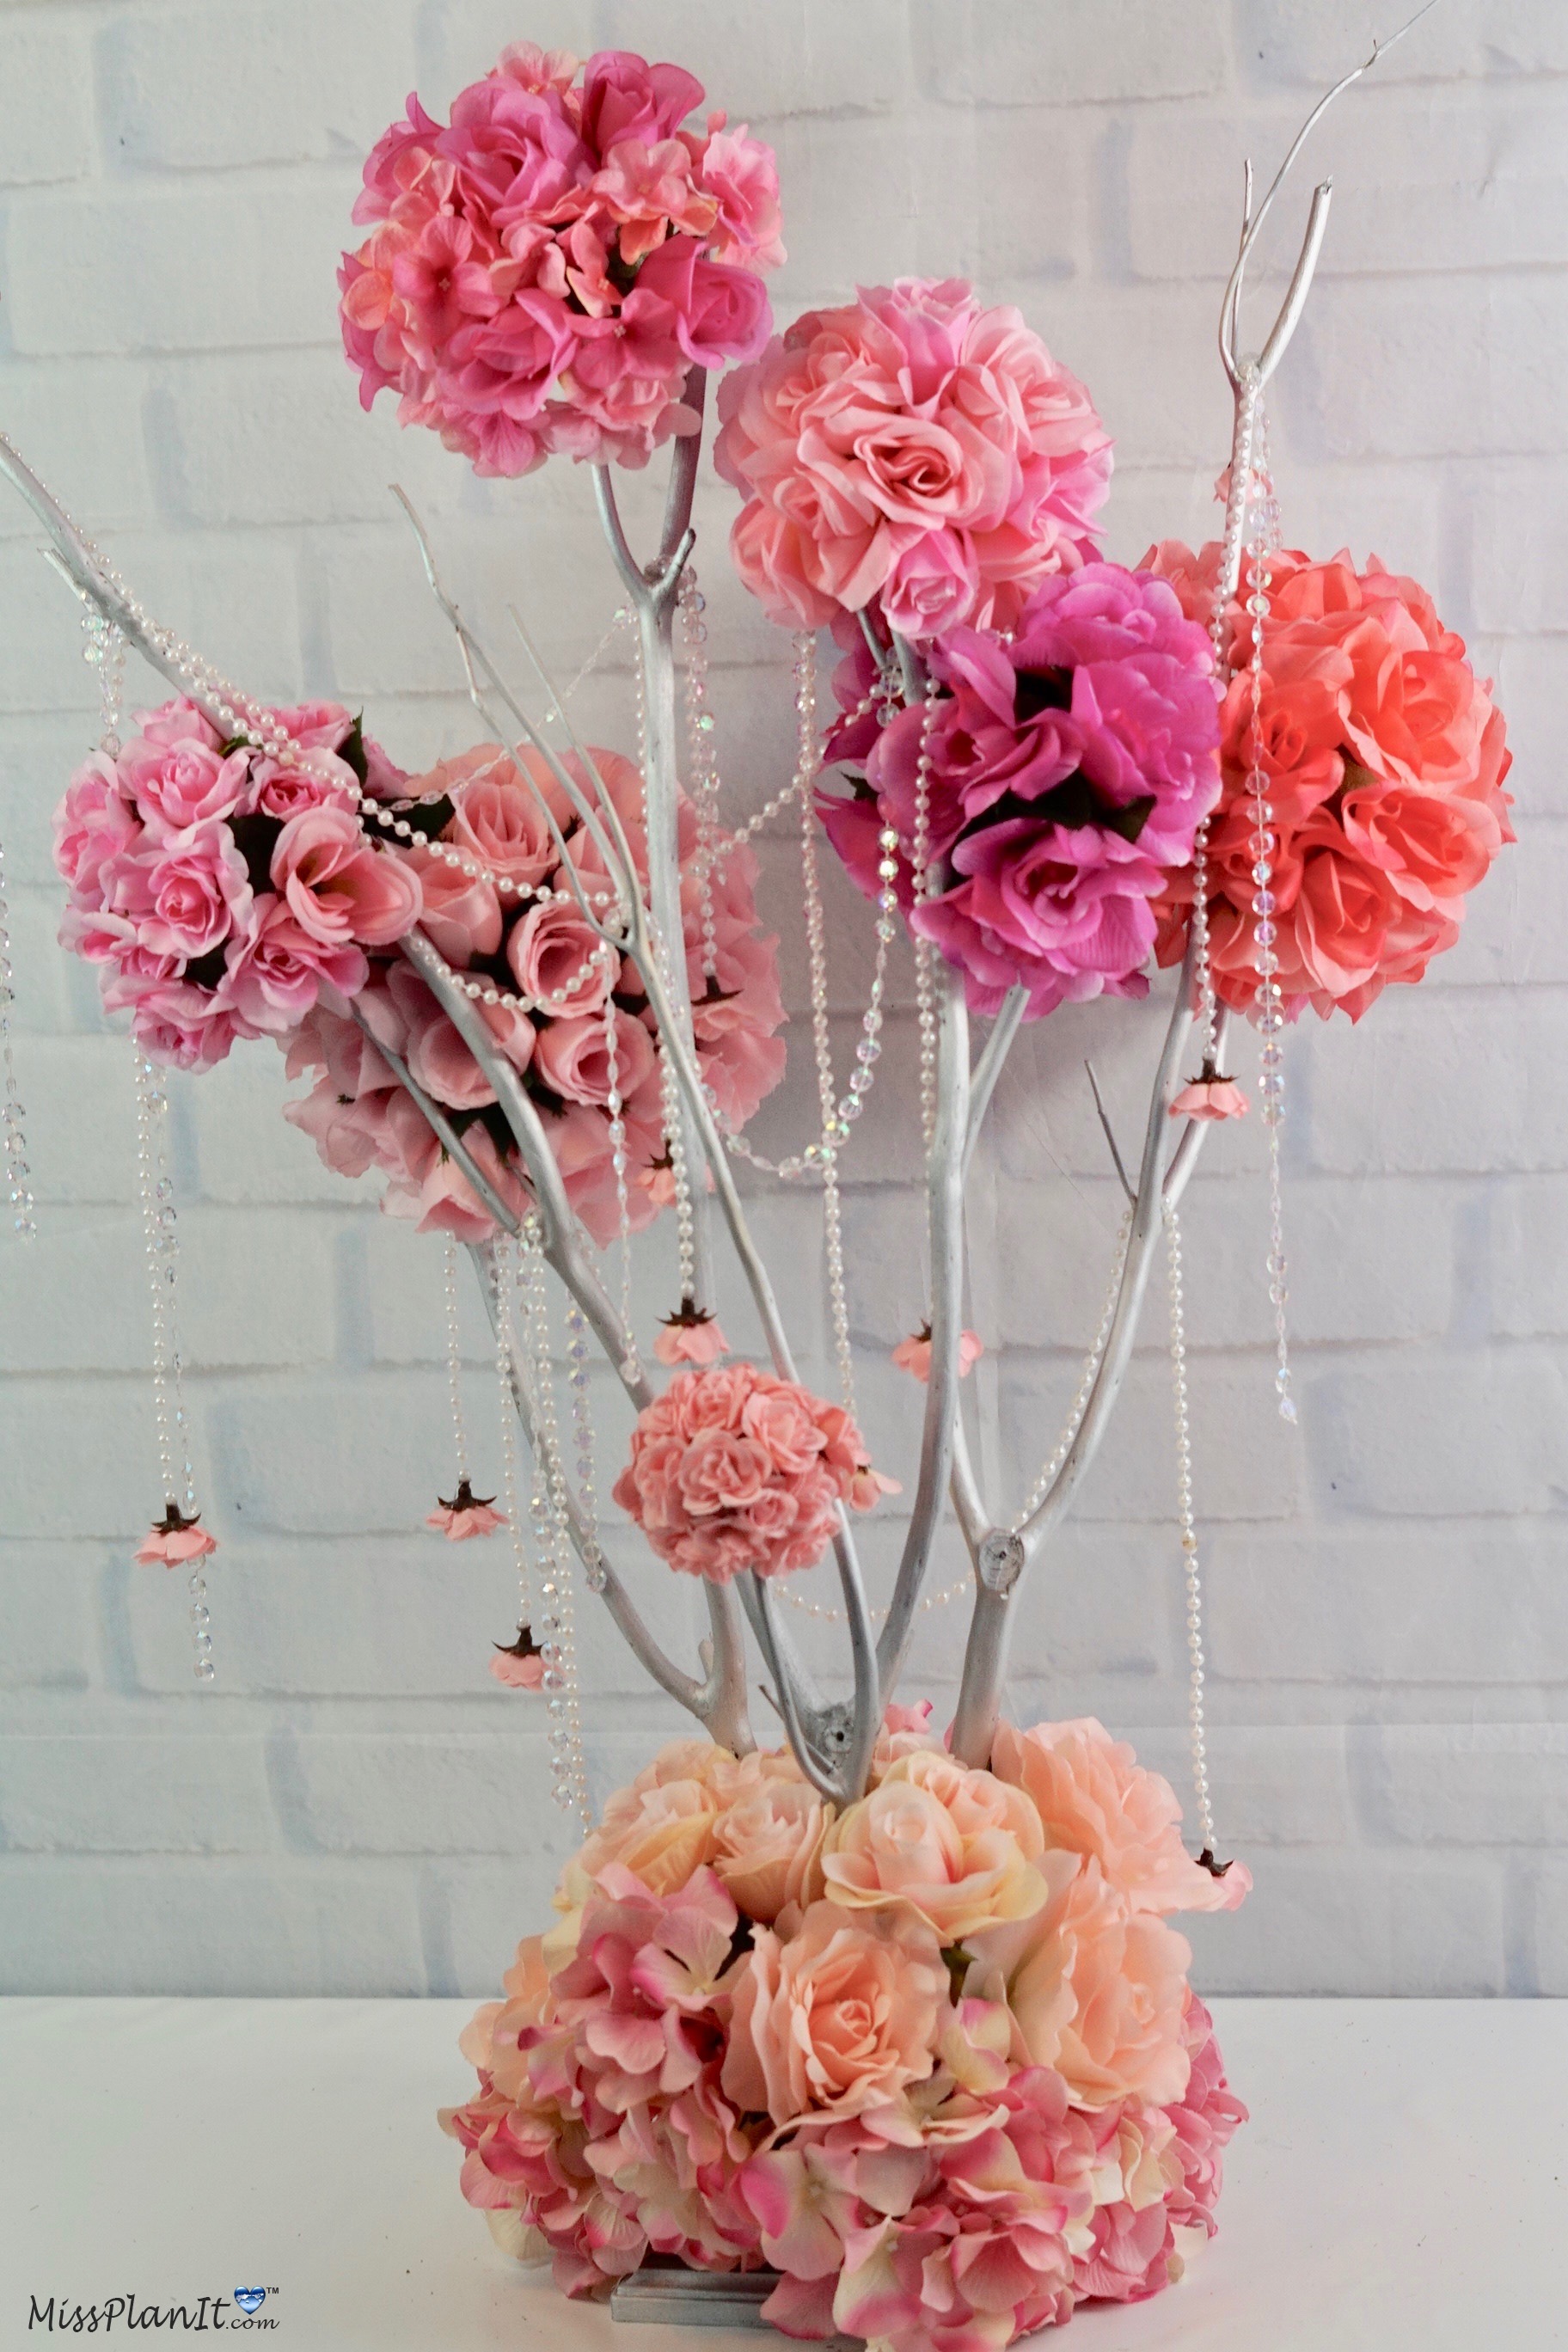
Believe it or not, this rose blossom tree wedding centerpiece was so easy to make. Once the branches and the foam balls were attached, it was smooth sailing then on. The outcome is absolutely stunning, beautiful, and breathtaking! Plus, I added an extra special bonus on how to make Dollar Tree Inspired blinged out table numbers. So let’s get started on this rose blossom tree wedding centerpiece. For video instructions, please check out the video tutorial below. The special BONUS VIDEO on how to make the table numbers are at the end of this post!
BUT WAIT!
Before we get started I want to share an awesome tip on how you can earn cash back with your online purchases for all the items you will need to complete this project!
As our saying goes “When Every Penny Counts, Count on Miss PlanIt.” Furthermore, we love to save money and get great deals. Prior to us purchasing anything online, we check out Ebates, find the store, click the current deal for that store and complete our purchase.
If you have never used Ebates, you are MISSING OUT. So for this project, you would go to Ebates.com, sign up, and then type in the store you plan to purchase from.
Consequently, when completing a purchase through Ebates you earn cash back that you can have mailed to you or sent via PayPal. Be sure to check it out! Click here to sign up for Ebates, and RIGHT NOW when you sign up, you will receive a $10 cash welcome bonus when you spend $25.00!
Since you were already going to complete your purchase online, why not get some cash back on things you already planned to purchase!
[convertkit form=917377]
VIDEO TUTORIAL:
Supplies needed for this project:
7-Stem Queen Rose Bushes, 14.5 in.
Floral Garden 6-Stem Peony Bushes, 14 in.
Stem Open and Closed Rose Bushes, 16 in.
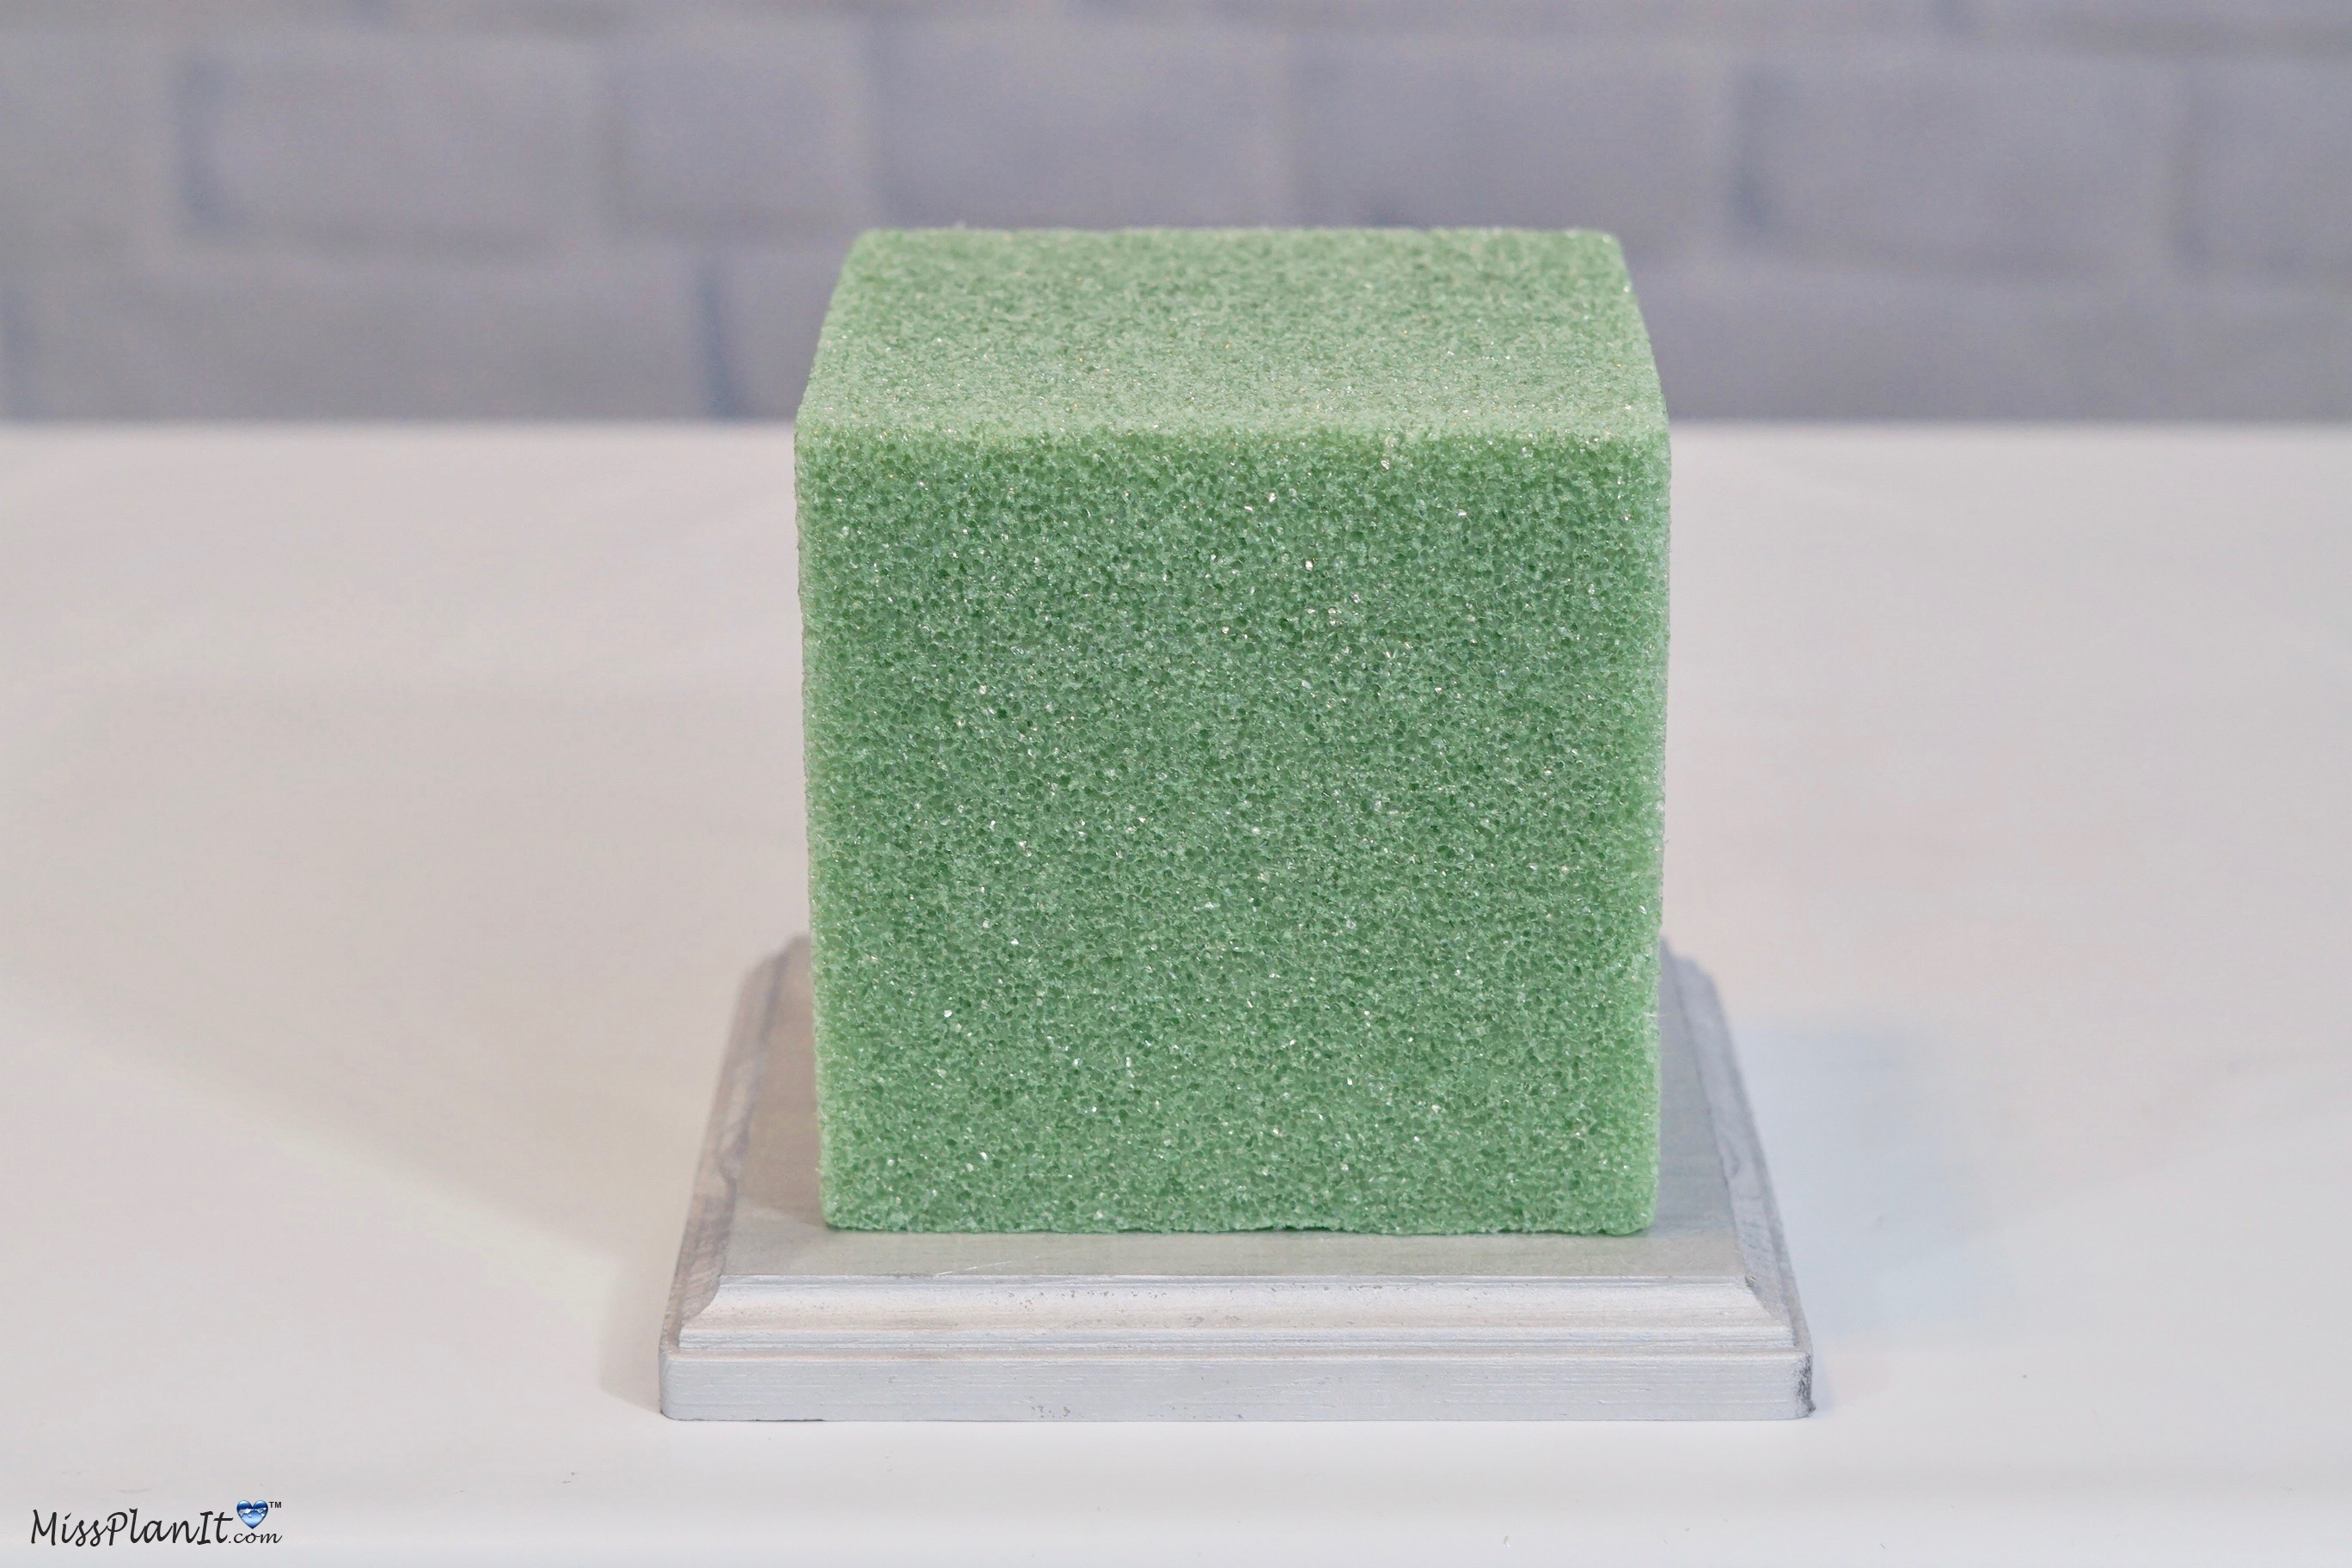
Styrofoam Cube – 5”
3/4″ Square Wood Plaque
Chrome Krylon Short Cuts Spray Paint
Pearl White 25′ Pearl Beaded Garland
Assorted Floral Foam Craft Balls
Foam Craft Balls, 8-ct. bags
Gem Garland
18″ Silk 7 Big Head Hydrangea Bouquet for Wedding
Mitsumata Stems
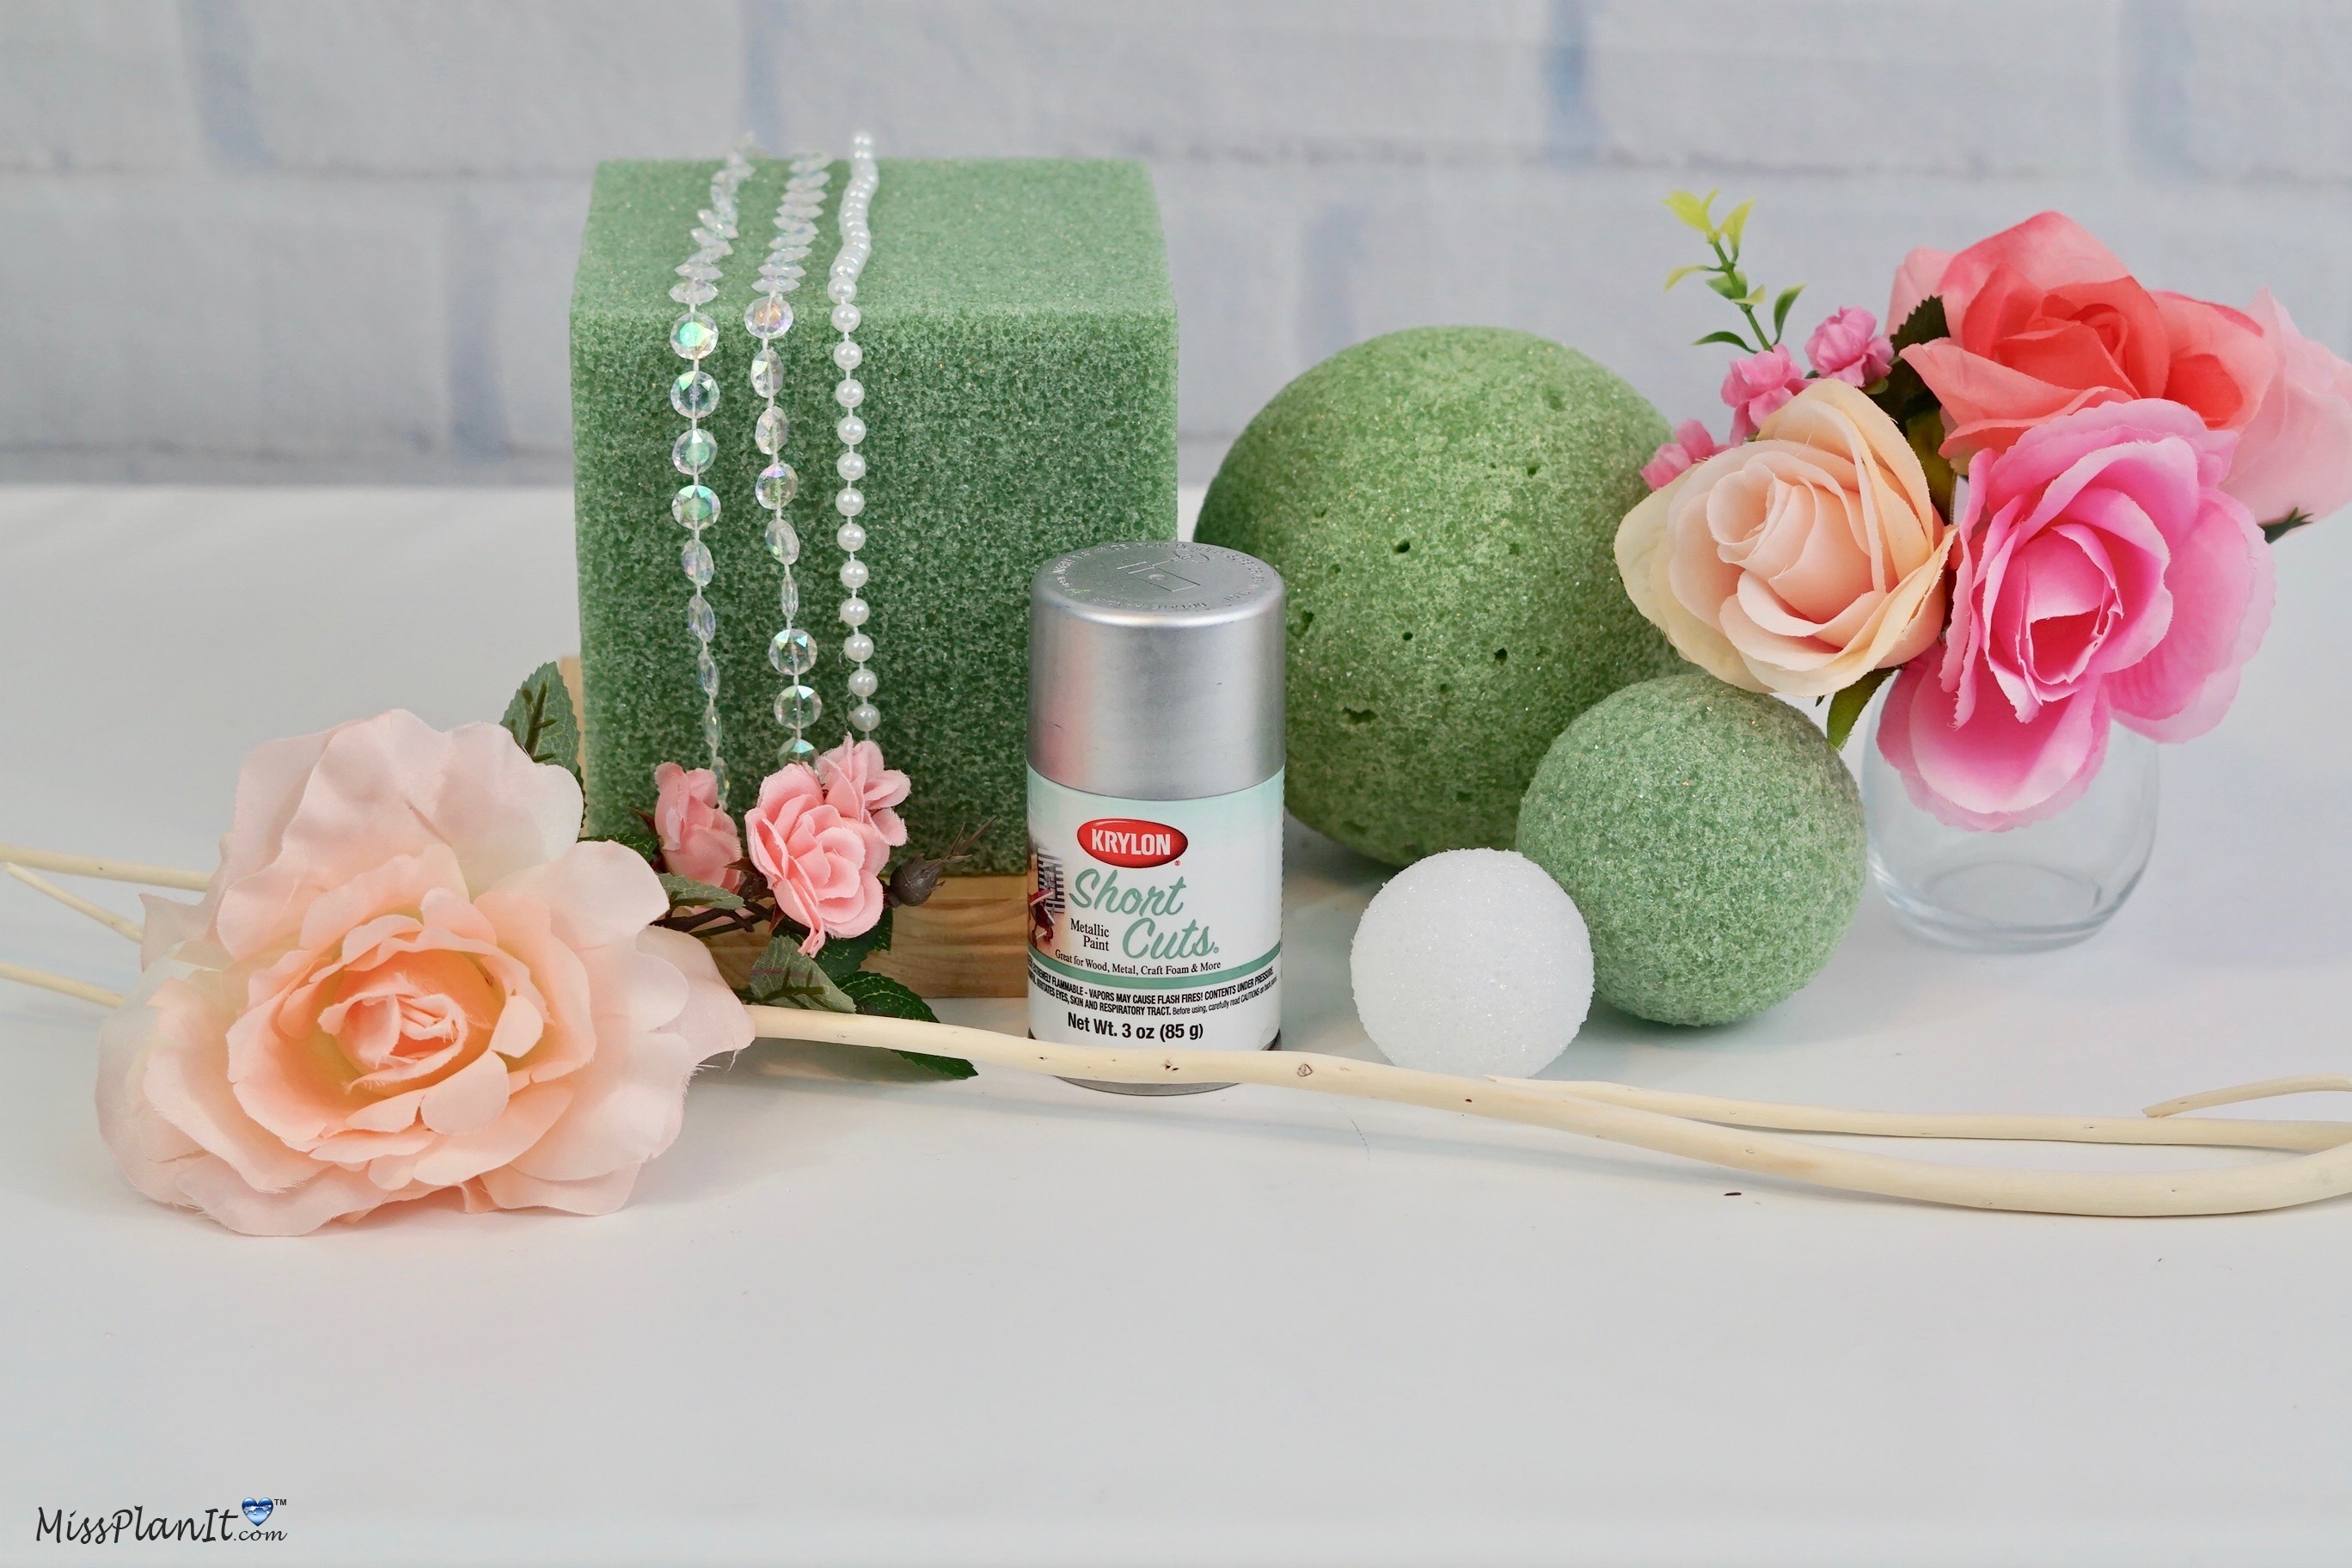
For written instructions, please continue reading below:
How to Make a DIY Tall Glam Rose Blossom Tree Wedding Centerpiece
Directions:
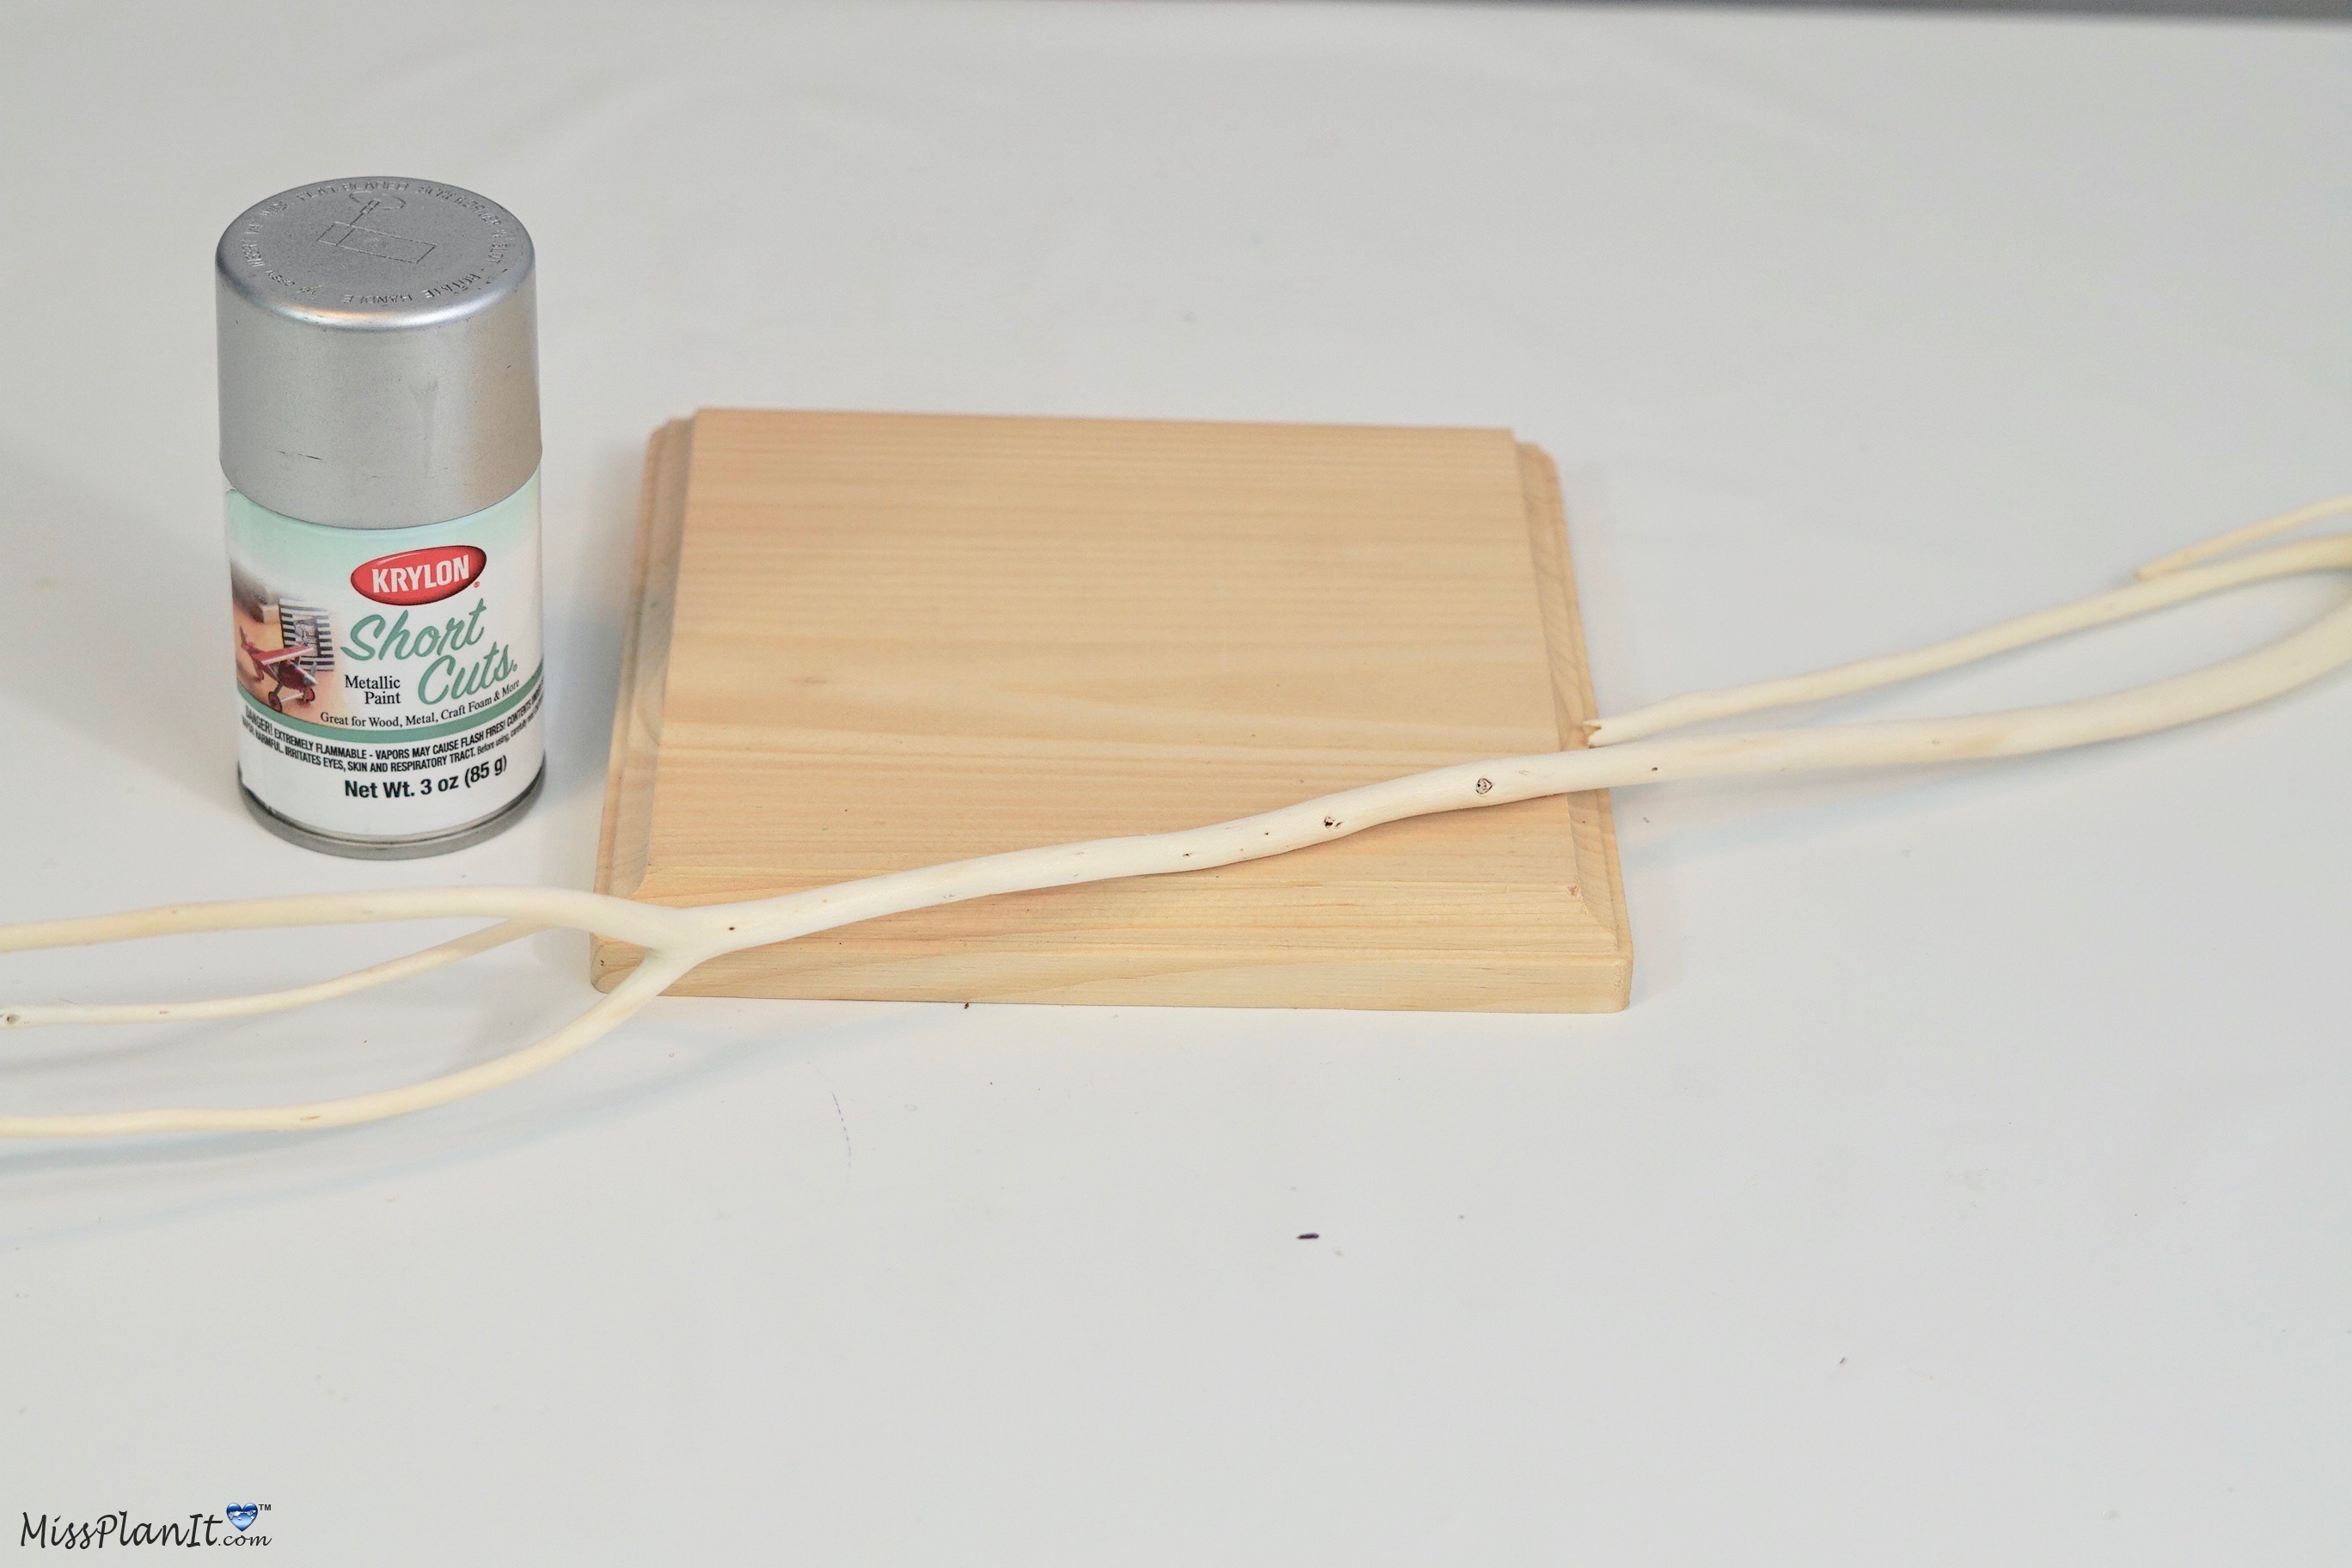
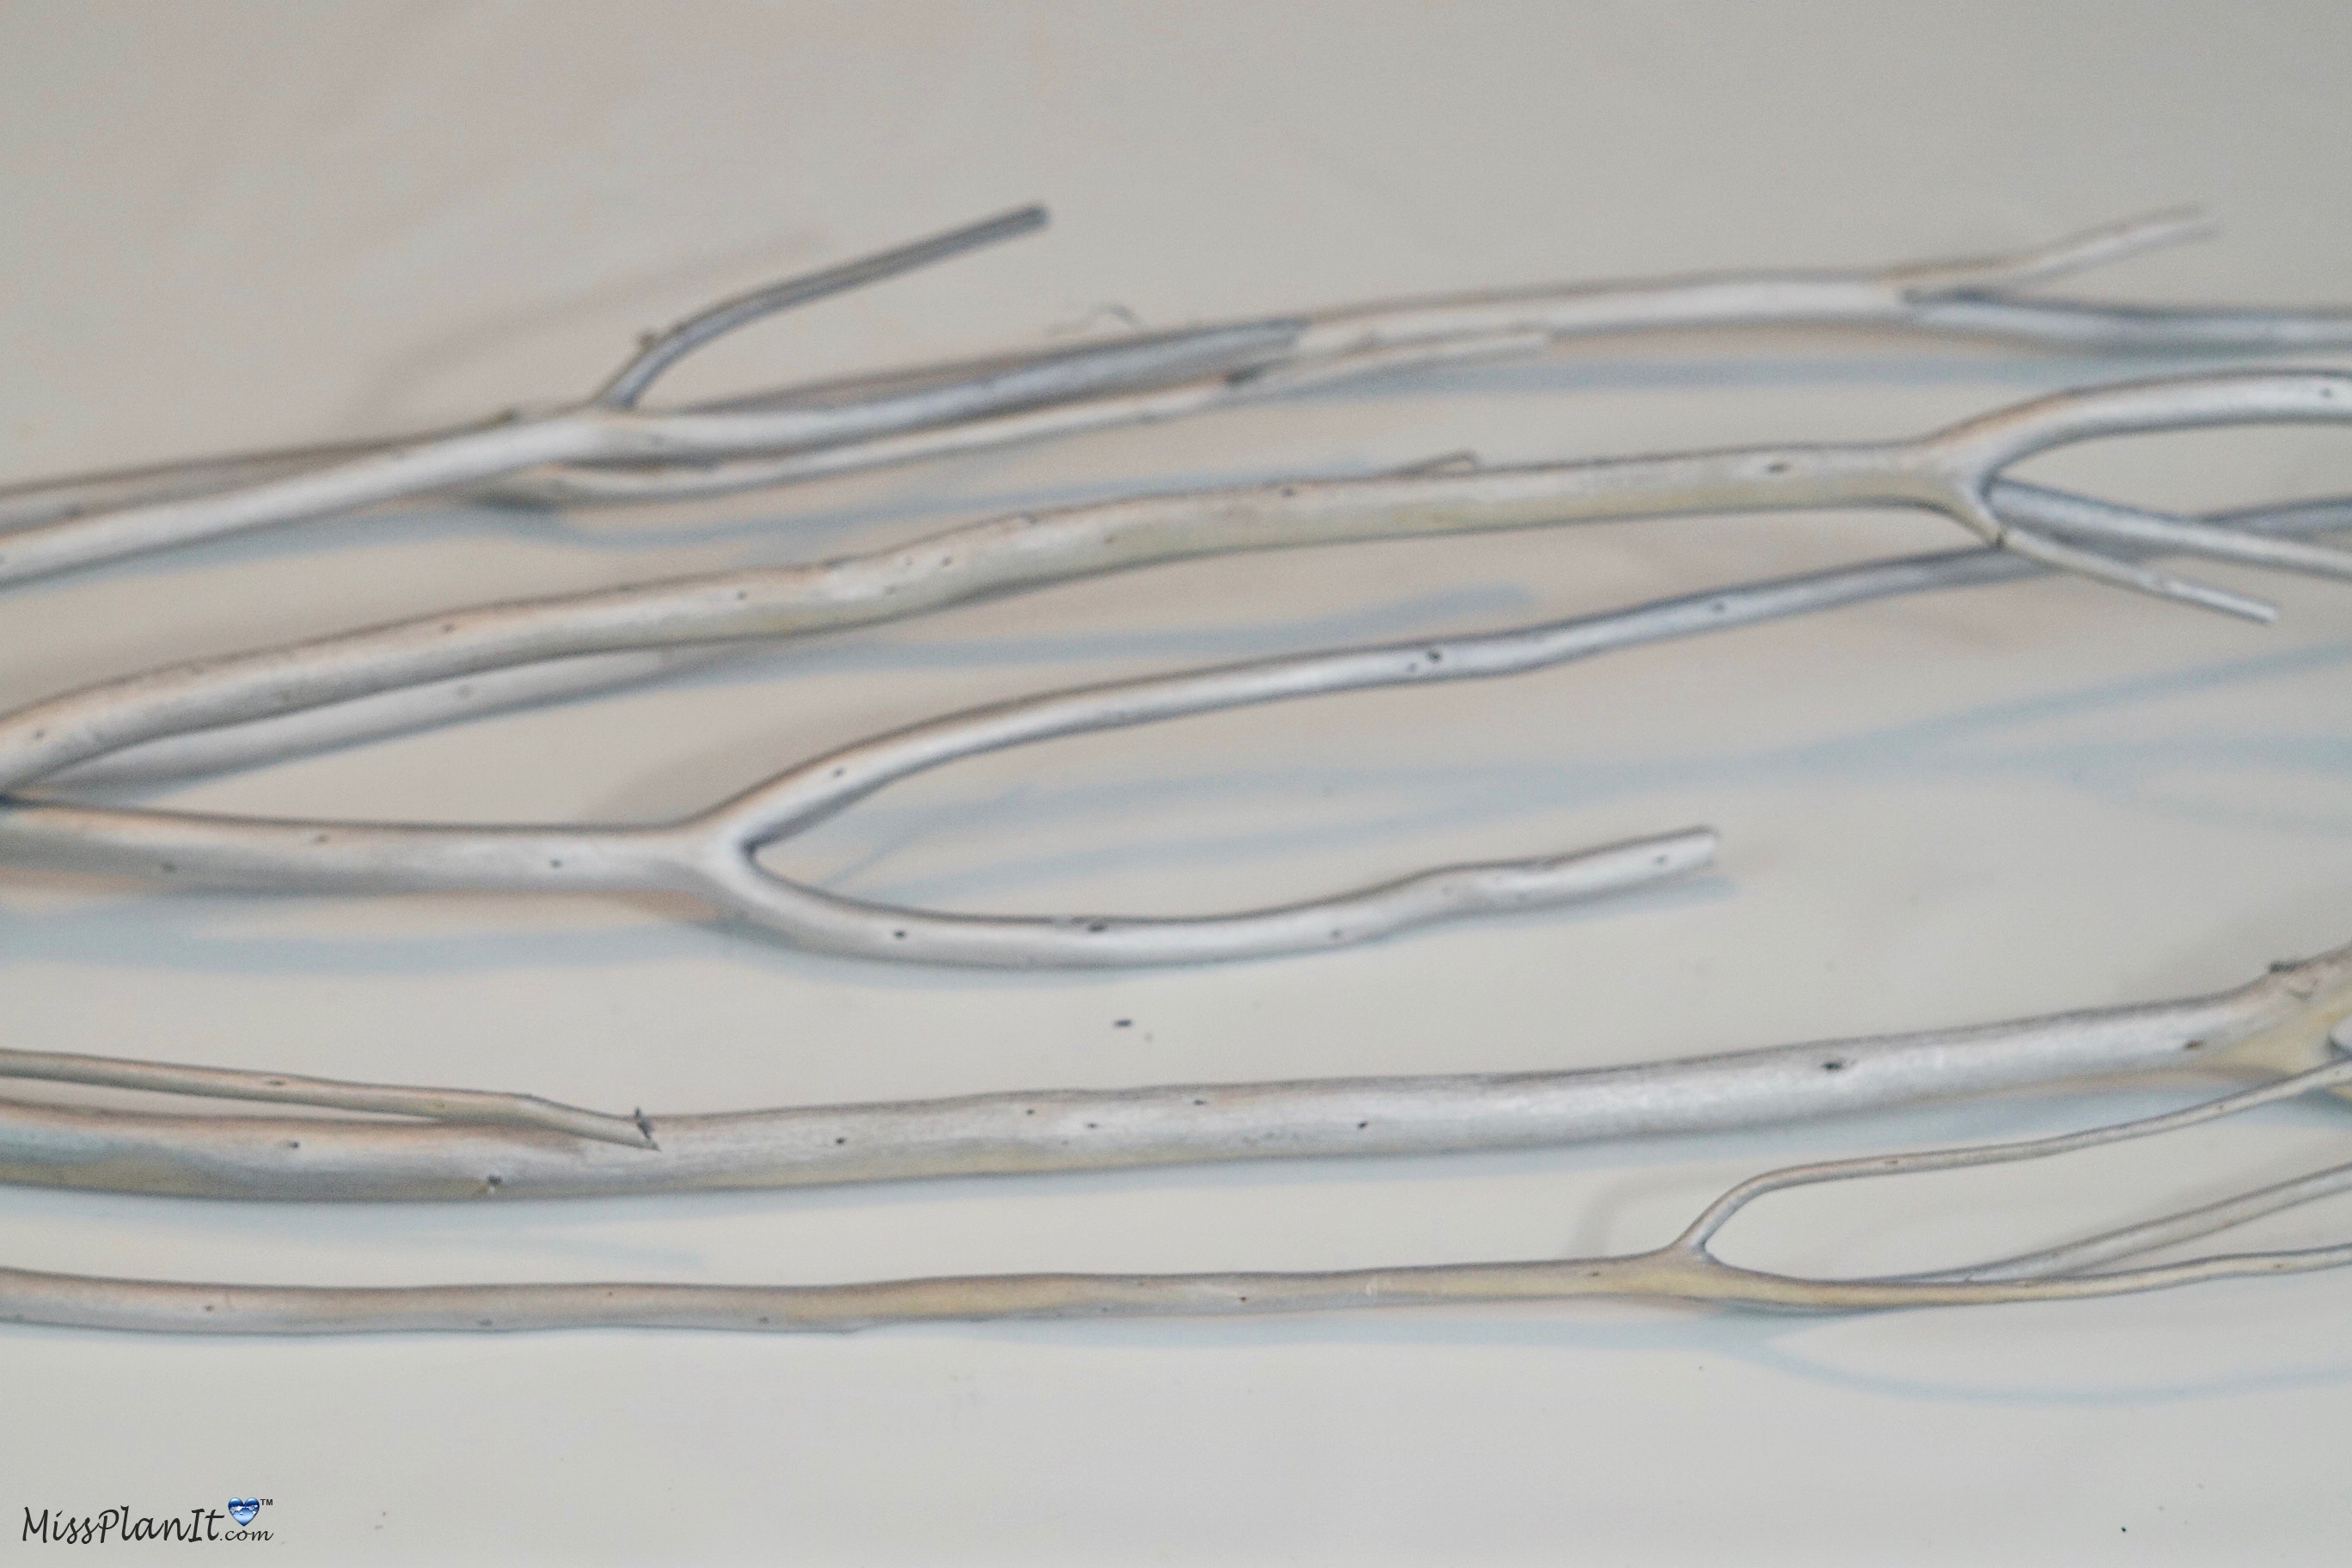
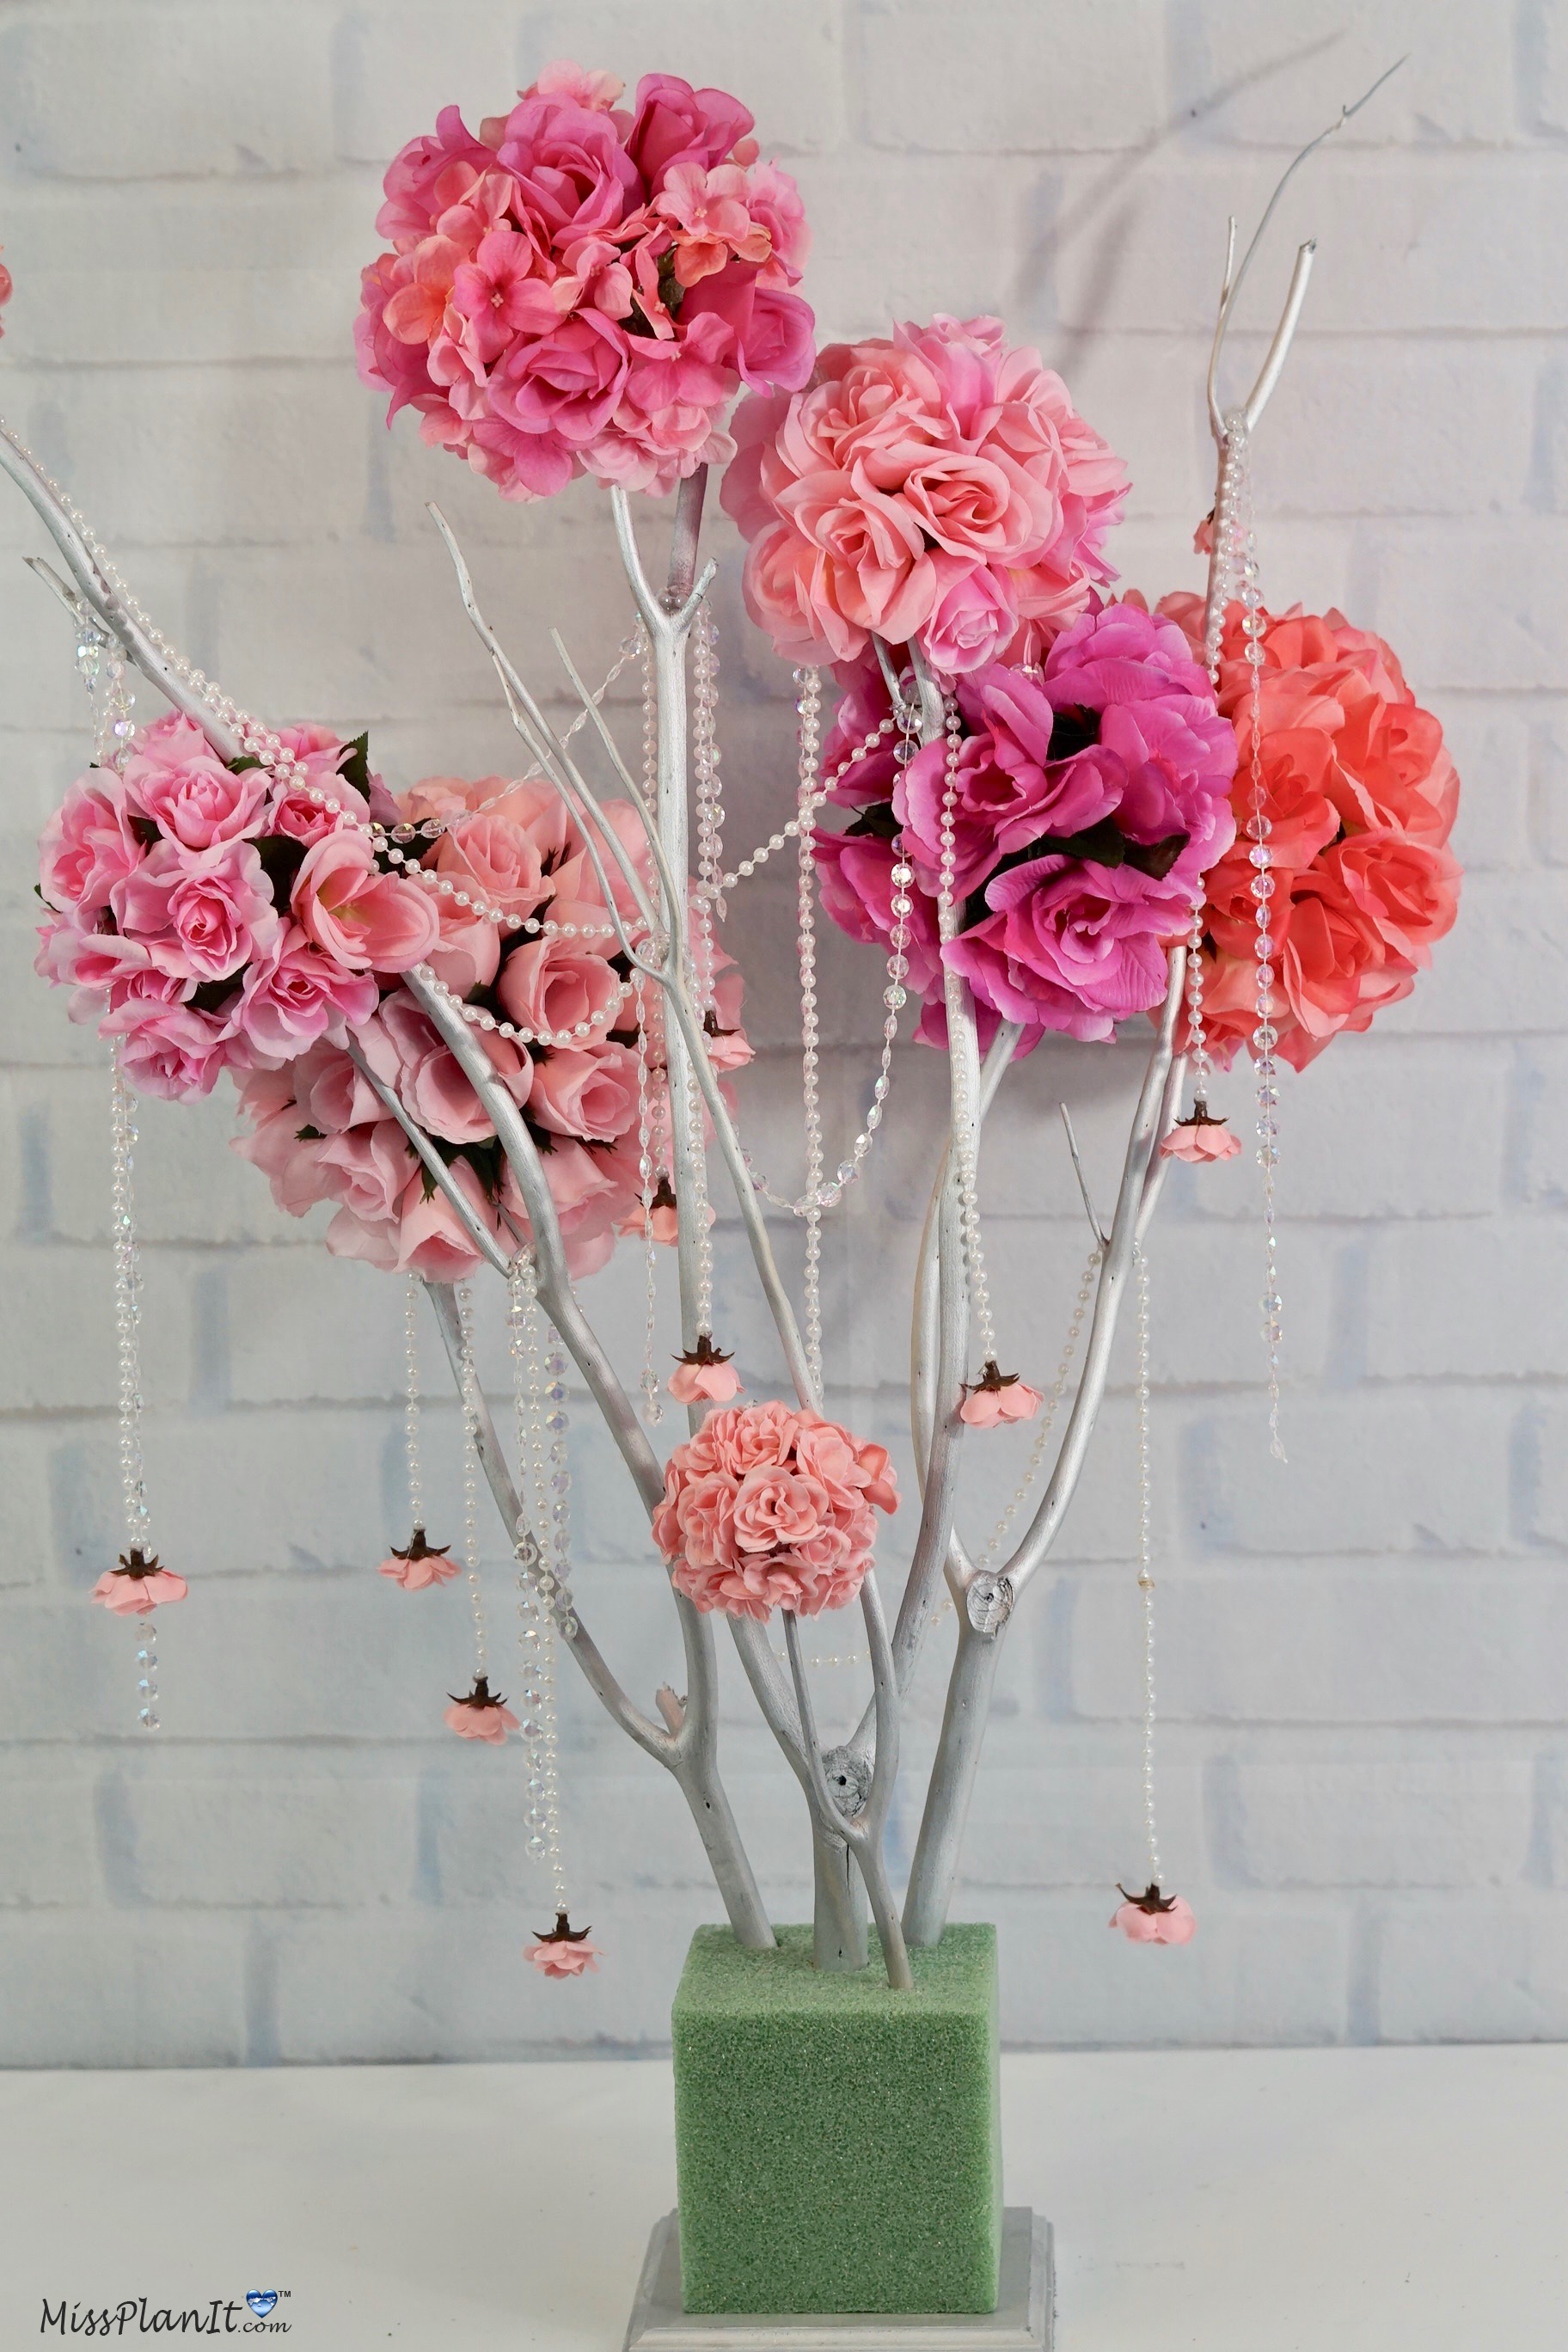
STEP 1: Spray paint your wooden plaque and wooden branches with silver spray paint. Once the spray paint is dry it is time to create your vase and attach the branches. Attach the 5 X 5 inch cube to the 6 X 6 inch wooden plaque using hot glue.
YOU MAY ALSO LIKE:
- DIY Magical Tall Enchanted Rustic Elegant Wedding Centerpiece
- Romantic Wedding Centerpiece That is Absolutely Stunning
- Simple Beautiful Willow and Birch Branch Wedding Centerpiece
- DIY Dollar Tree Inspired Elegant Wedding Centerpieces on a Budget
- Amazing Modern Wedding Centerpieces Using Dollar Tree Products
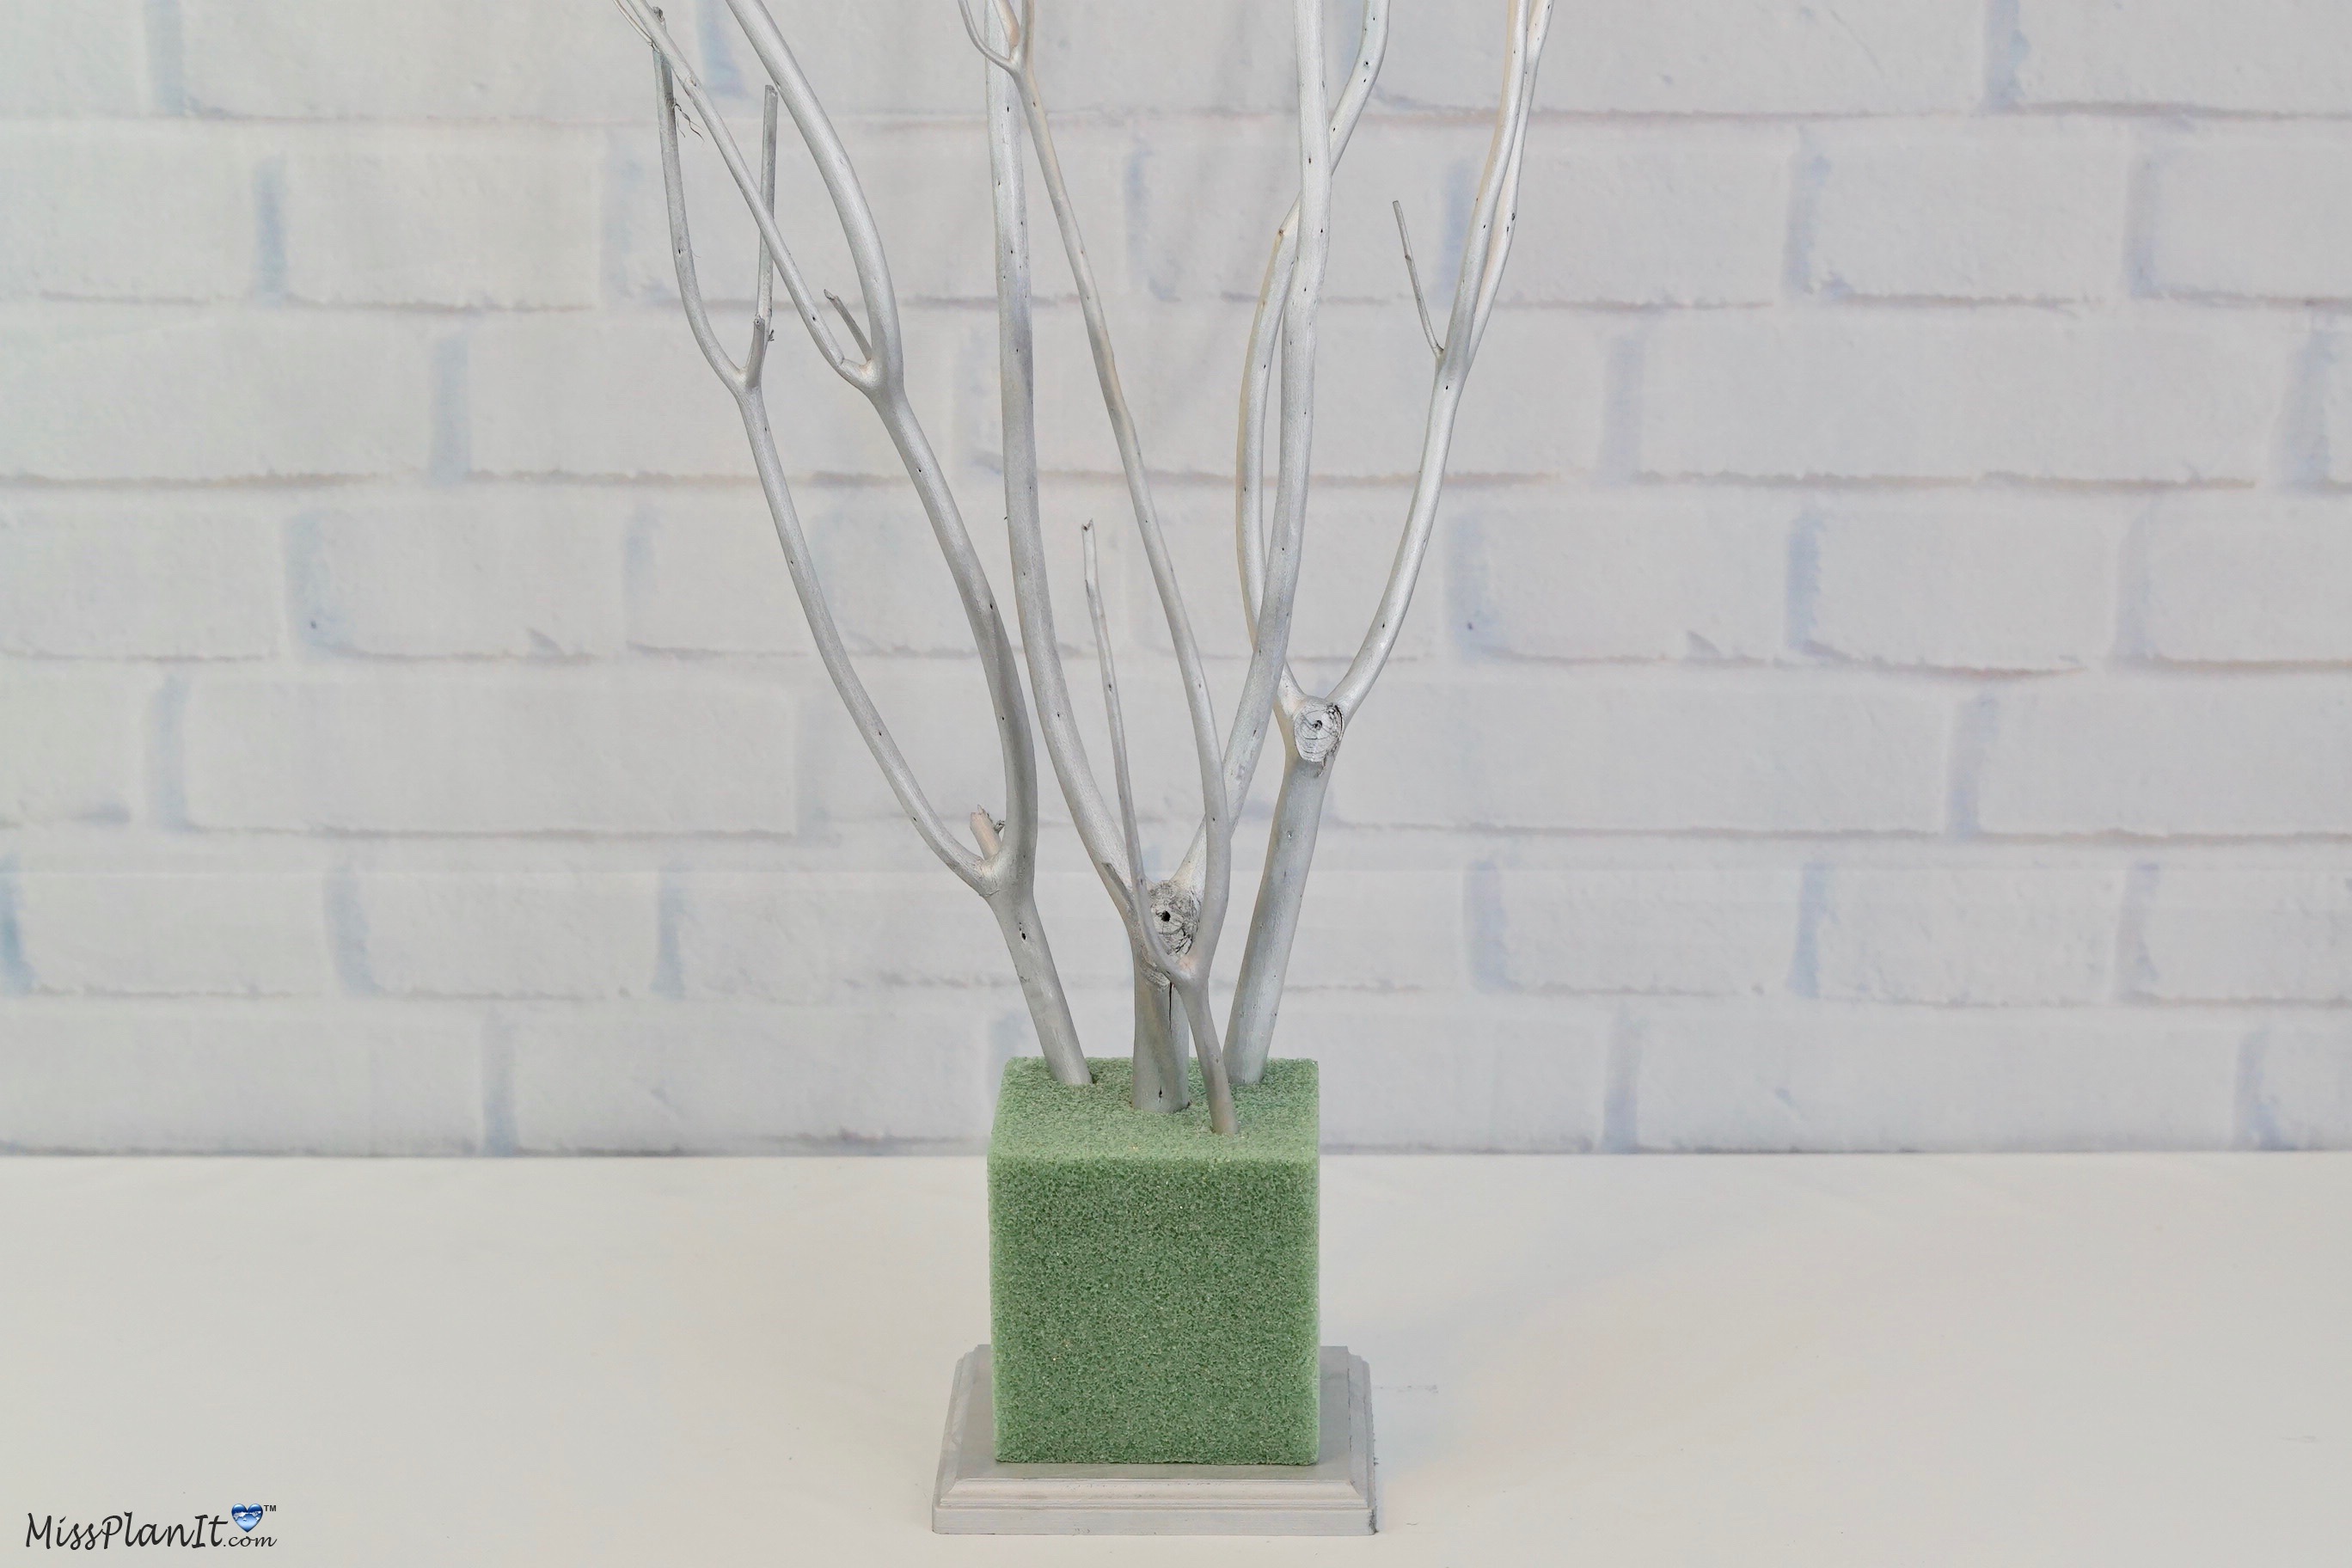
Attach your branches to your foam cube
STEP 2: Make an indention in your foam cube using your branches. Next apply hot glue to the tip of your branches and insert your branches back in your foam cube. Allow it to dry for 10 minutes.
Add your foam balls
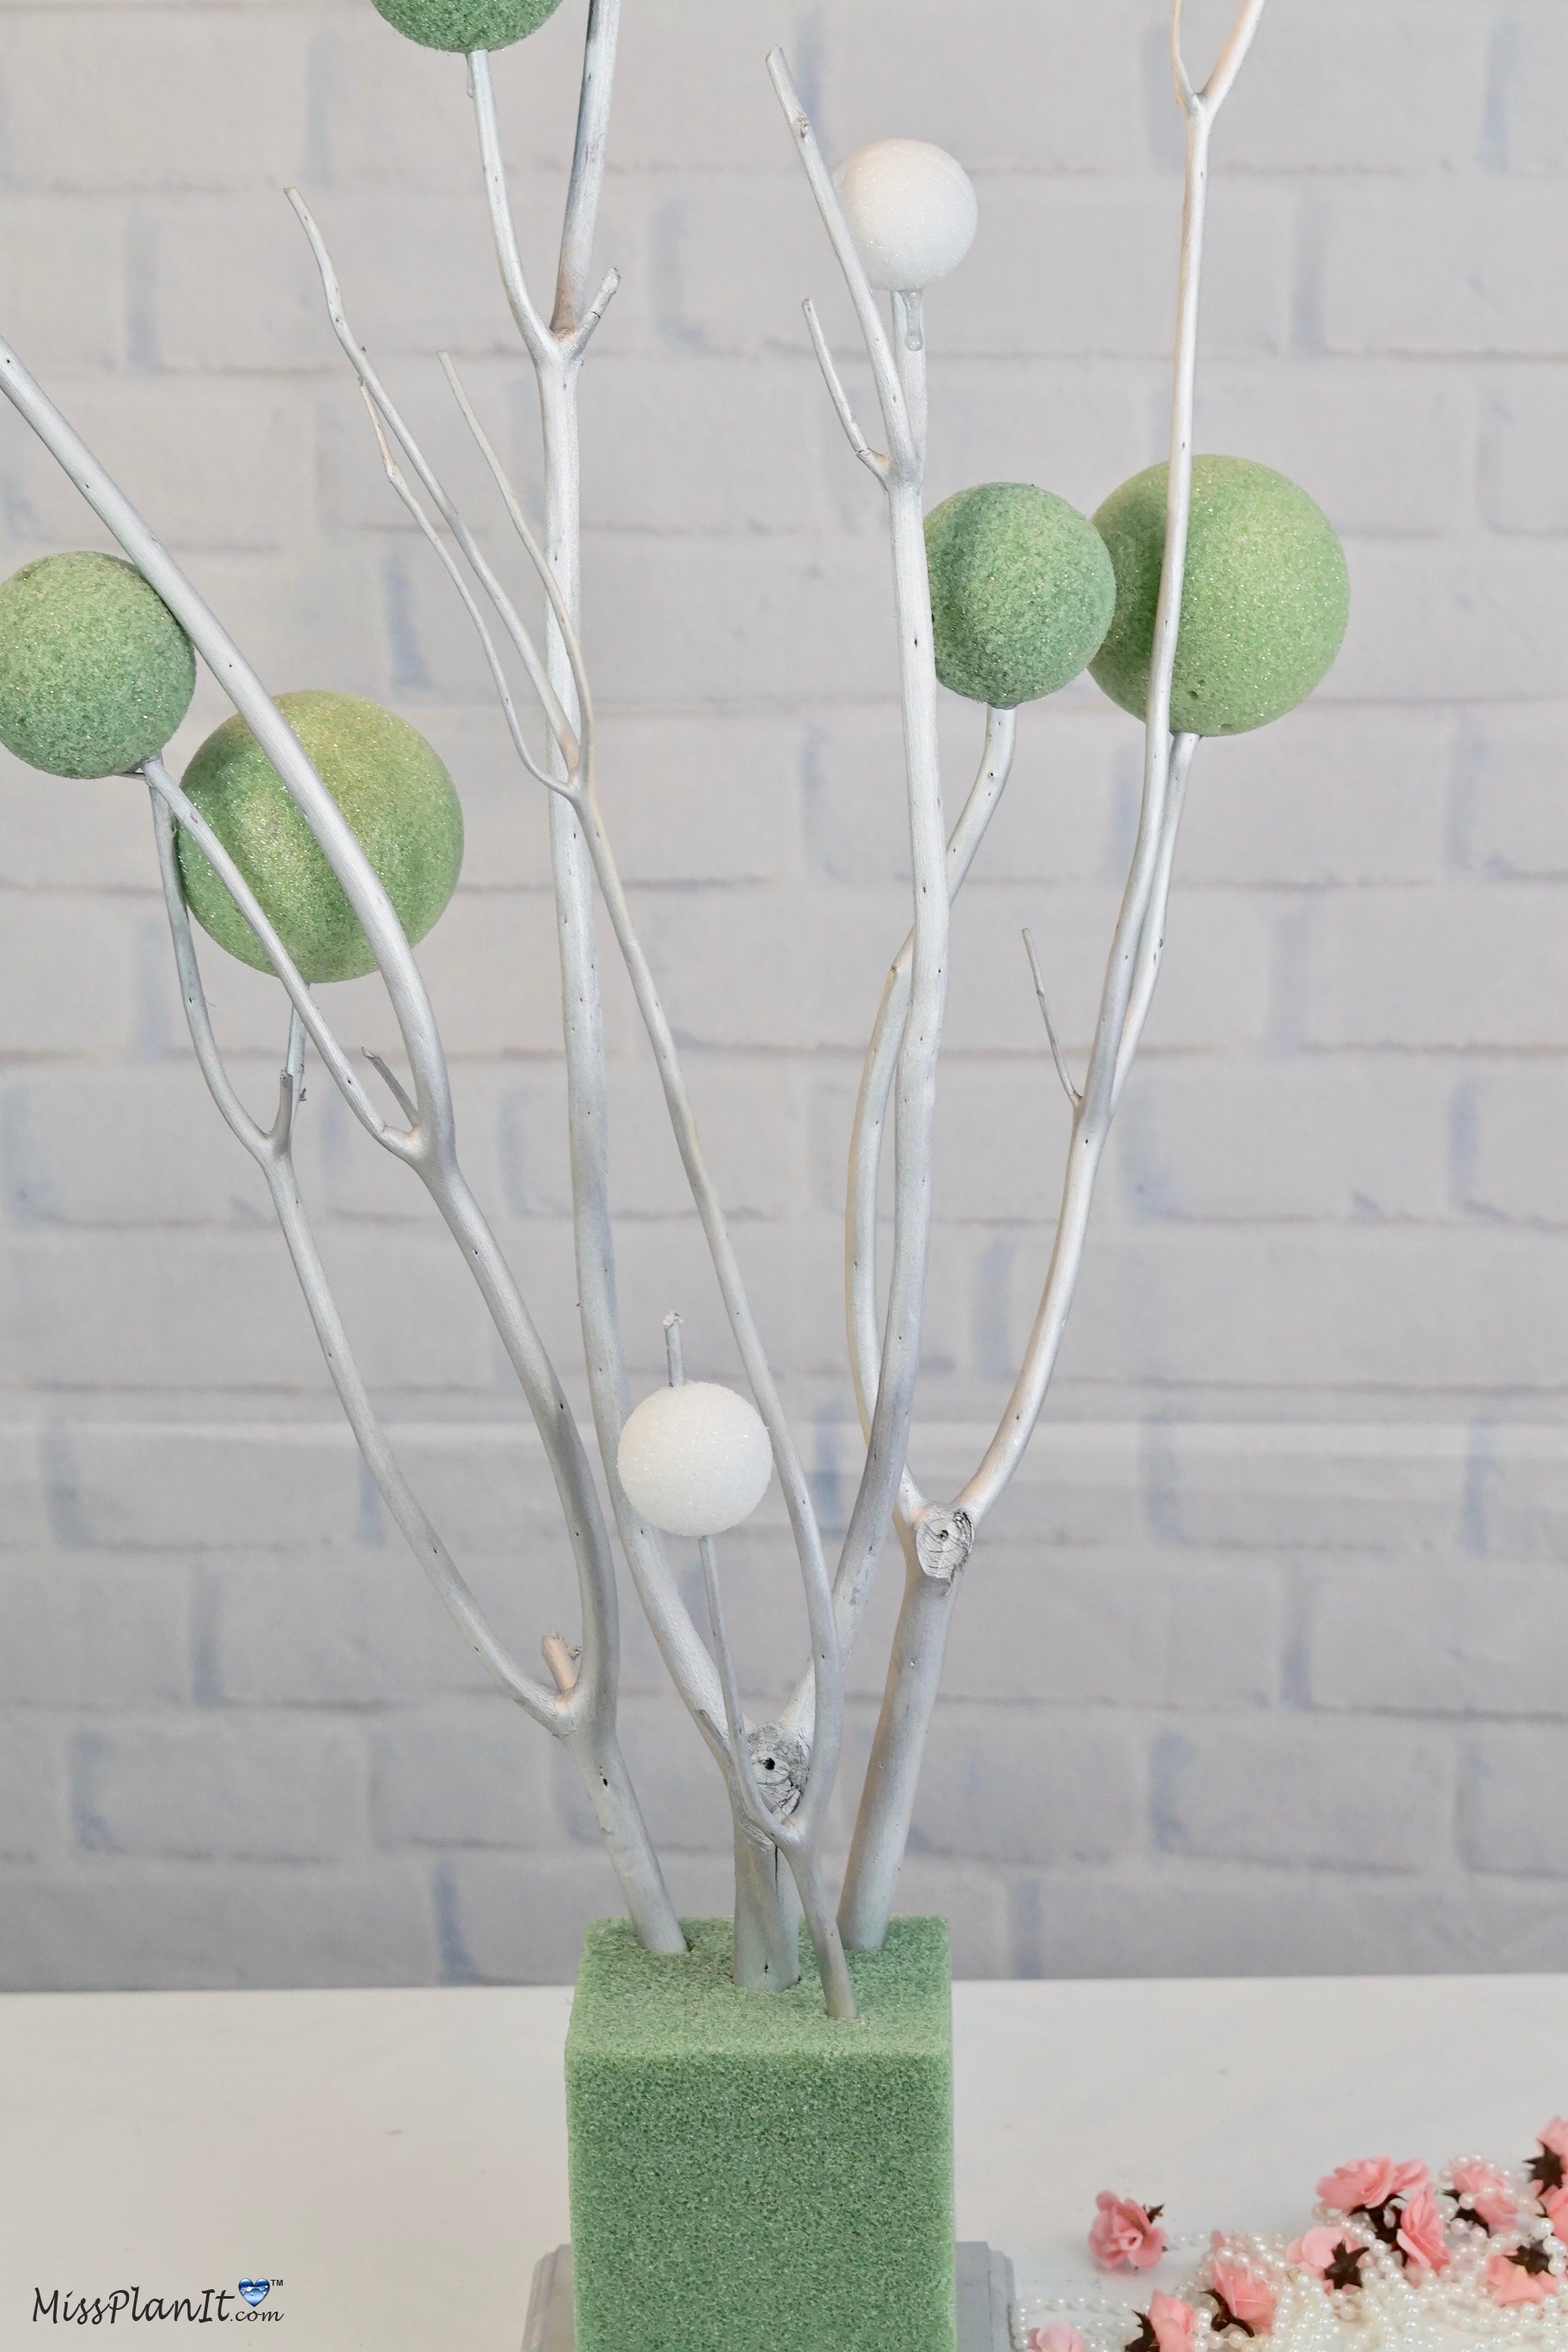
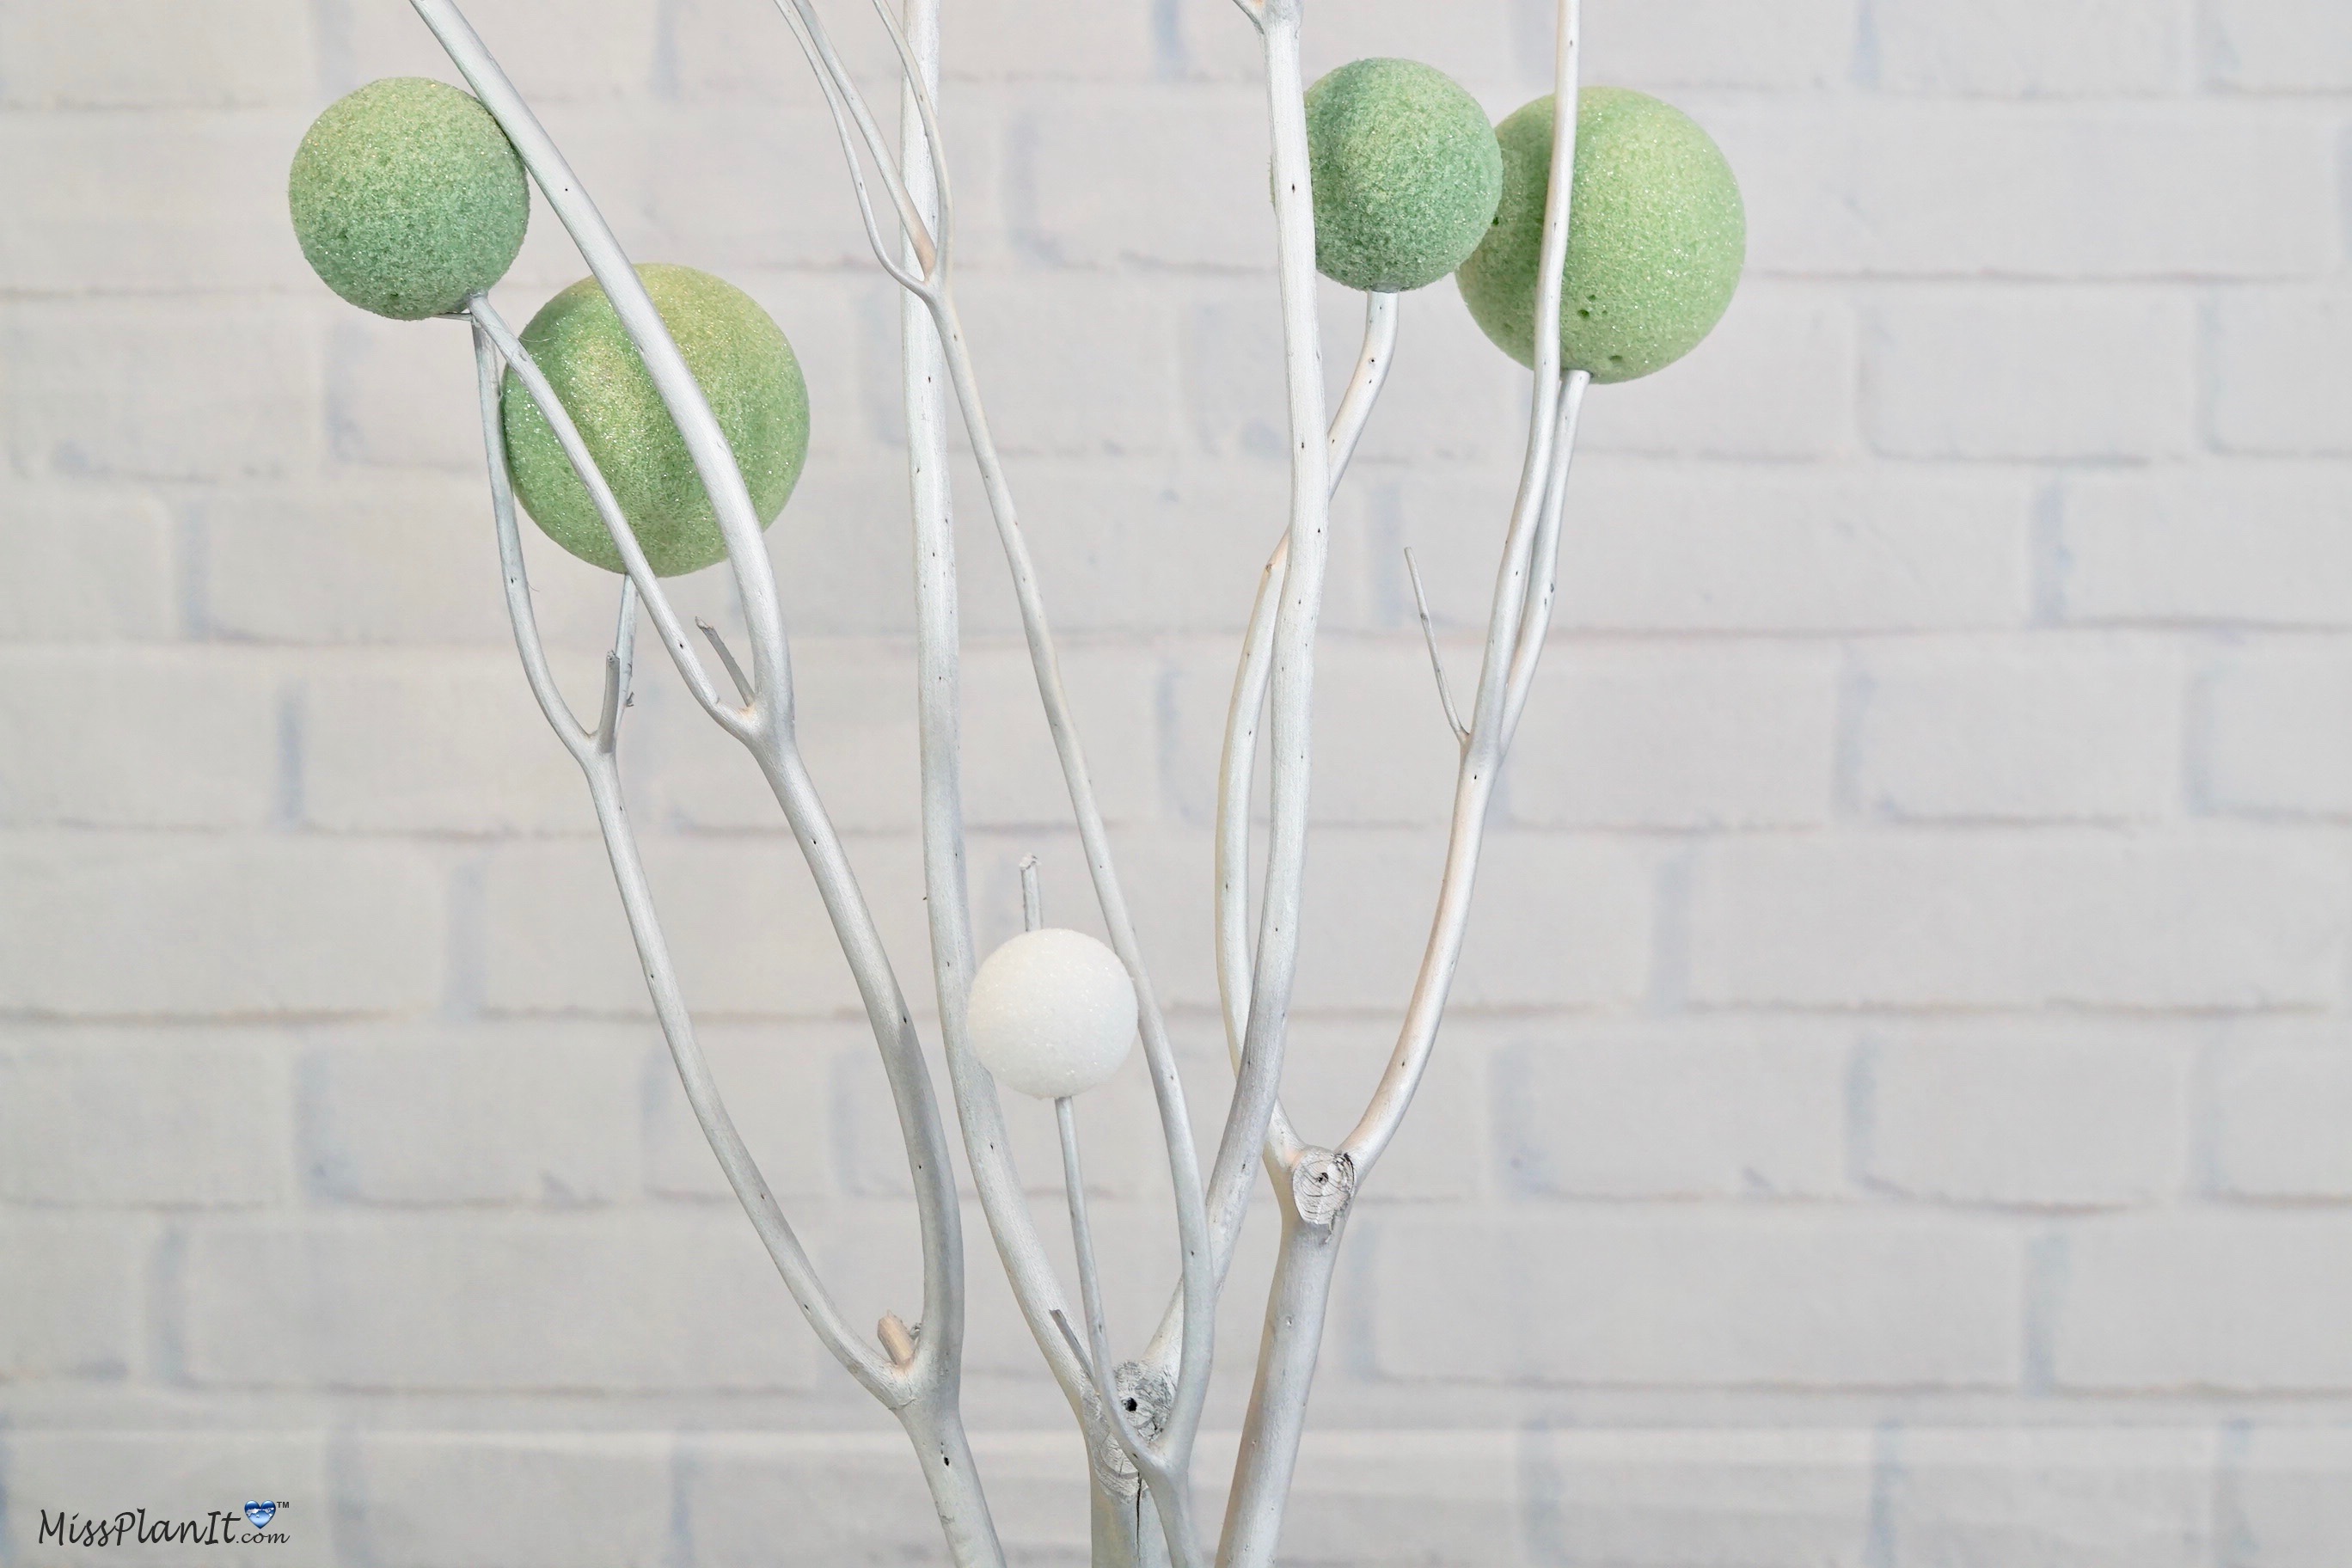
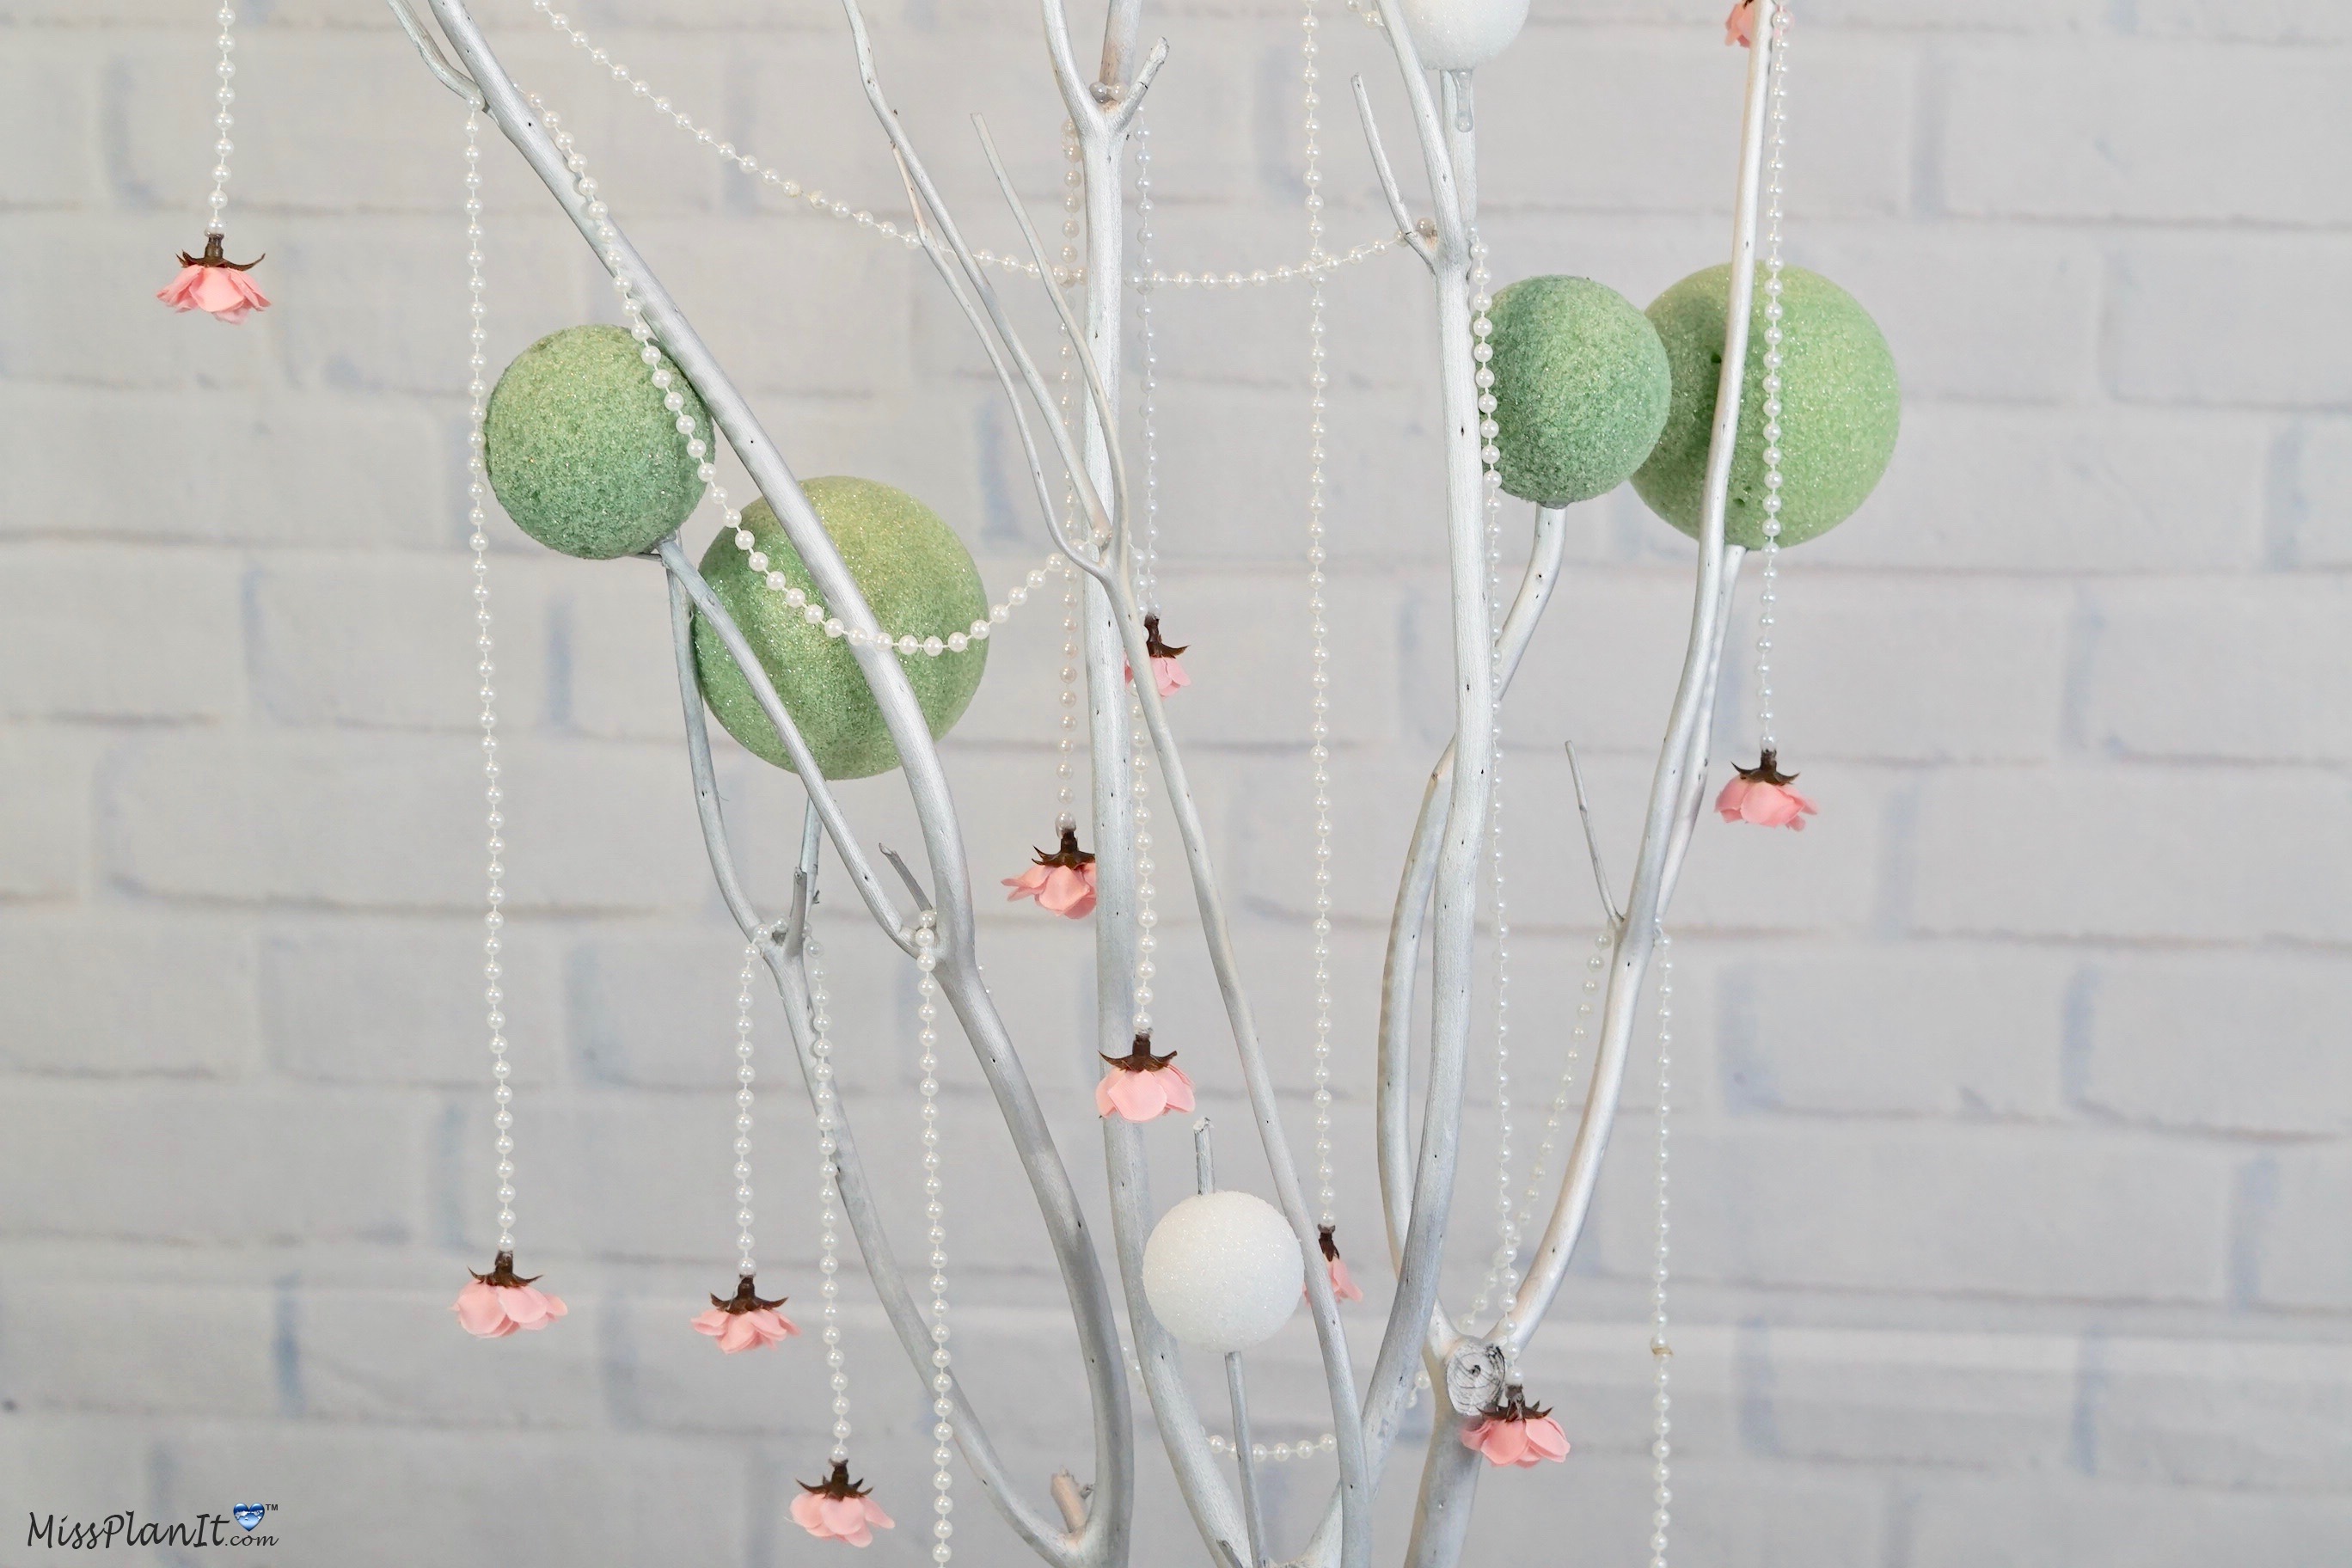
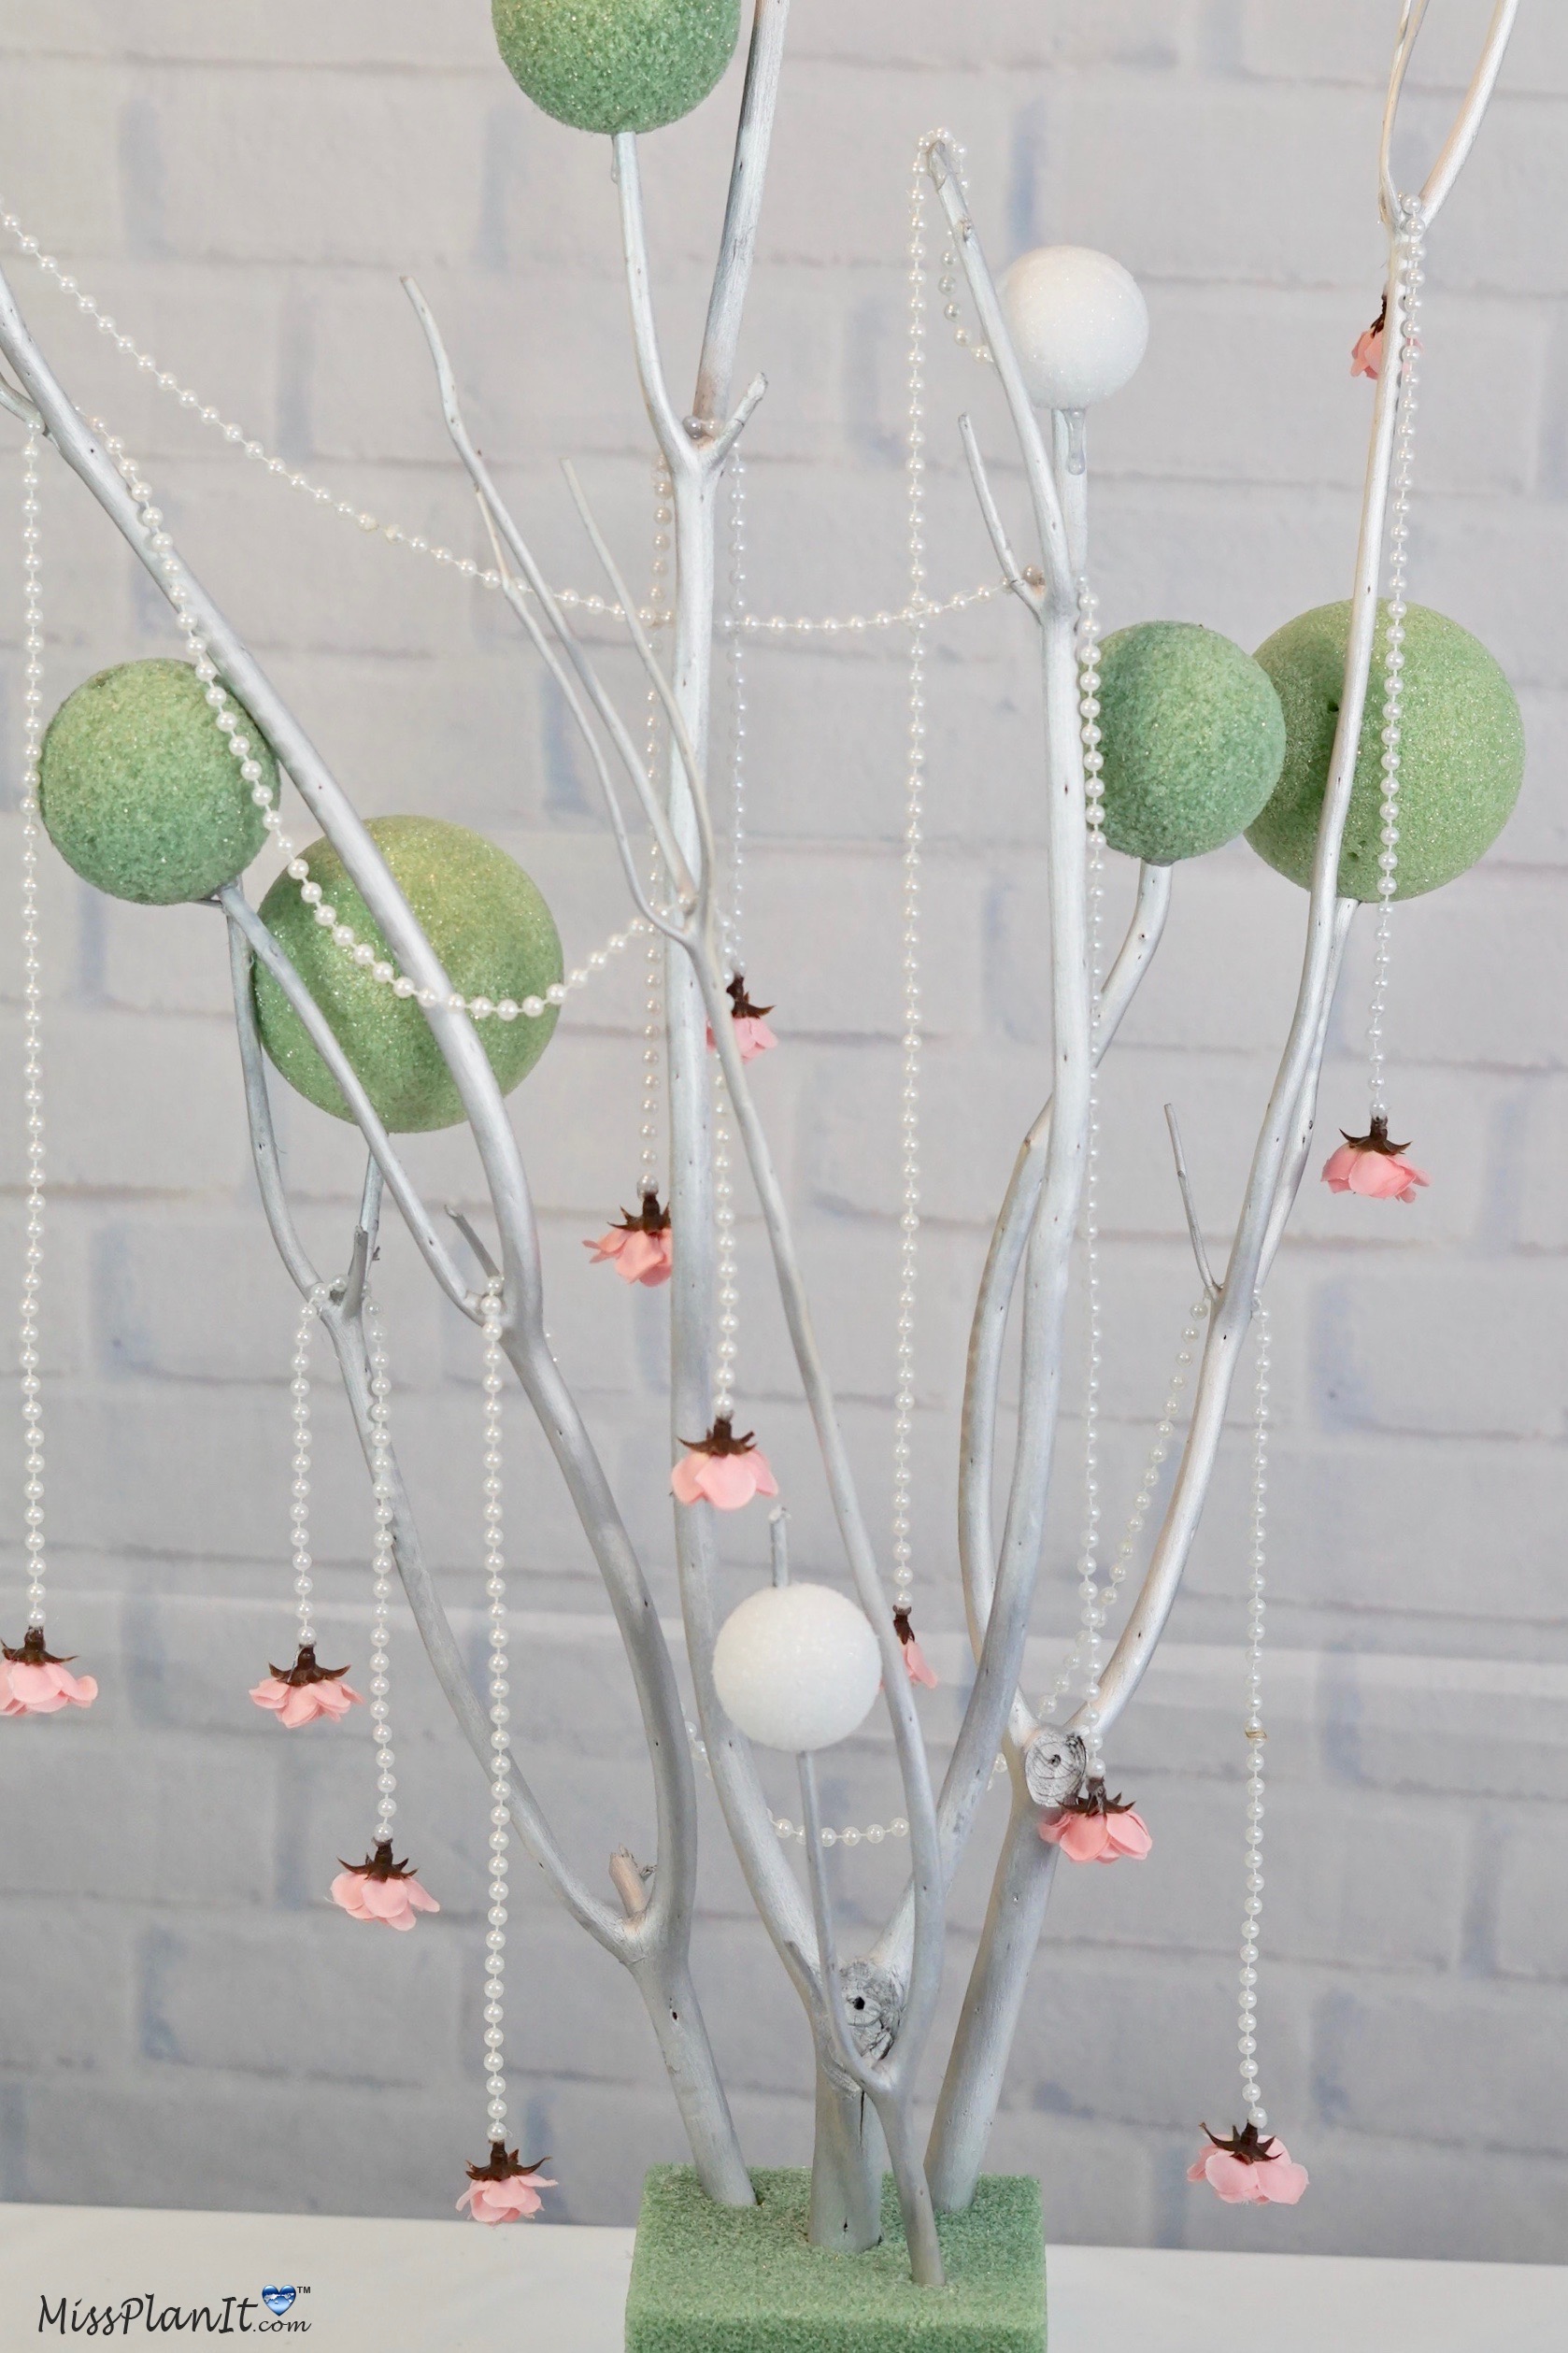
STEP 3: Attach two 3 inch foam balls, two 2 inch foam balls and two 1 1/2 inch foam balls on various spots of your branches with hot glue.
Drape your pearl garland on your branches
STEP 4: Cut your pearl garland at different lengths, some 2 feet, some 1 feet, and some 1/2 foot. Next hot glue a rose blossom to each end of your pearl garland. Determine how you would like your garland draped on your branches.
Once you have decided, drape your pearl garland at various lengths on your branches and then secure your pearl garland with a dab of hot glue.
Add some color with beautiful pink flowers
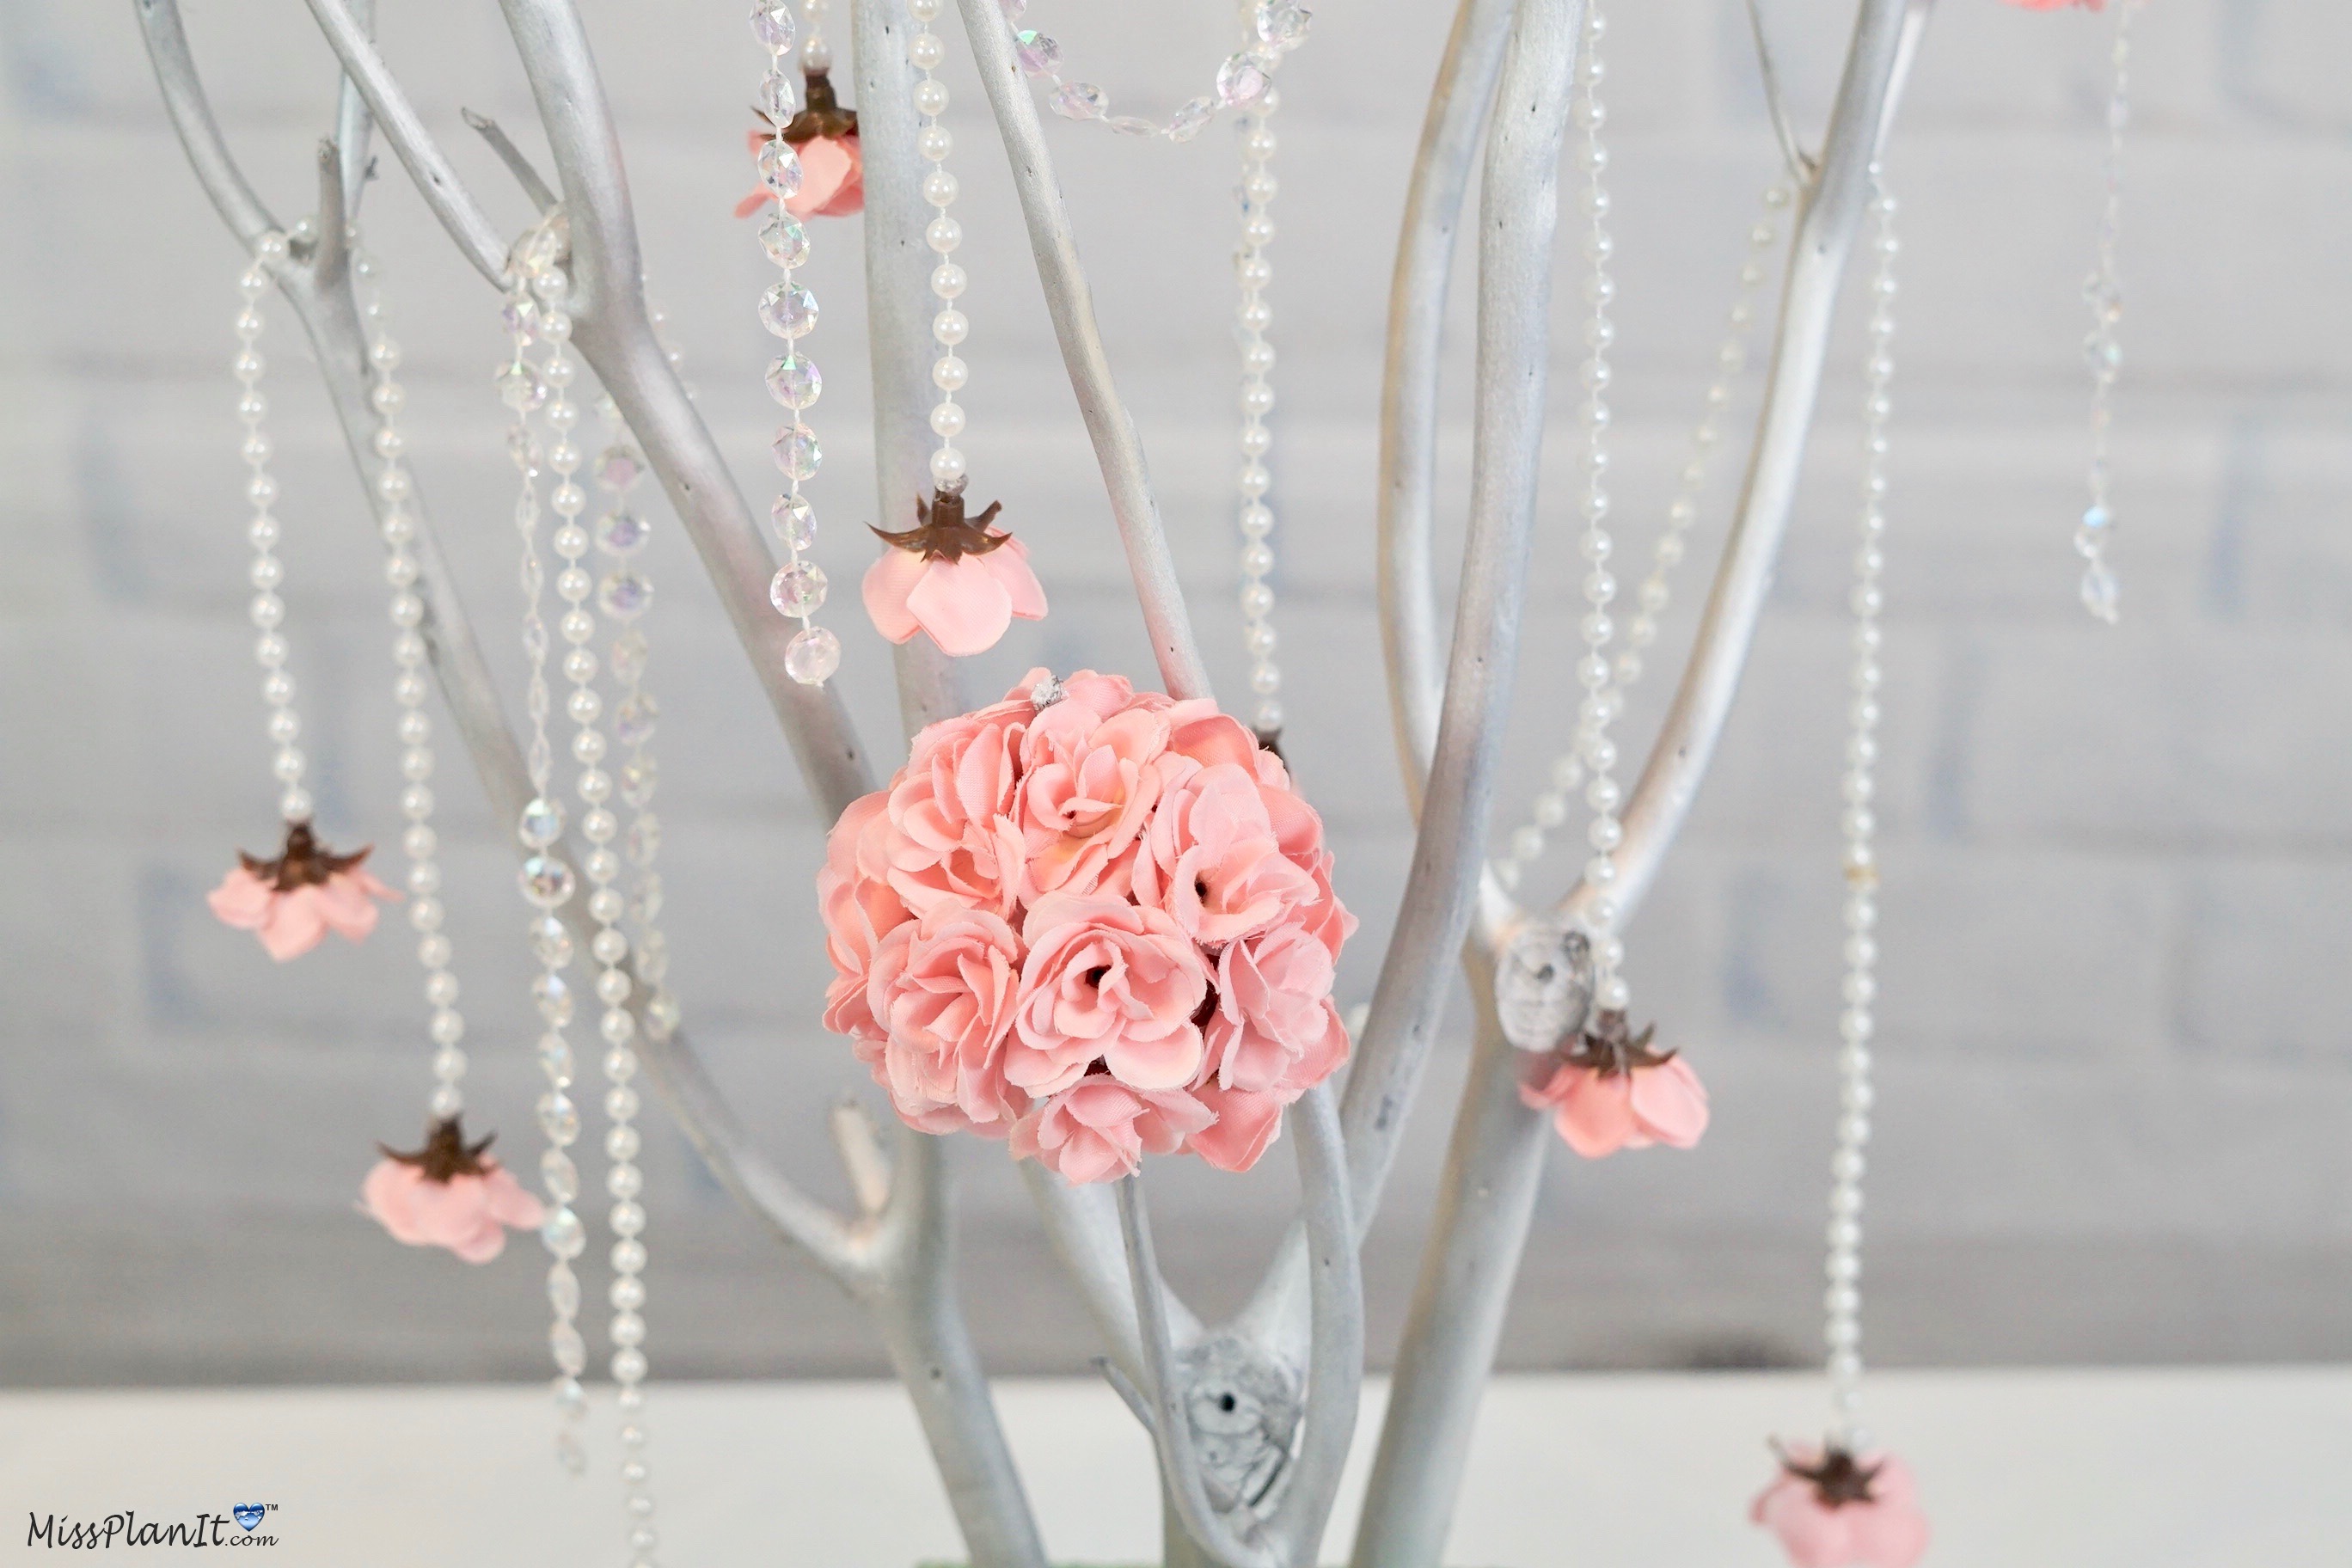
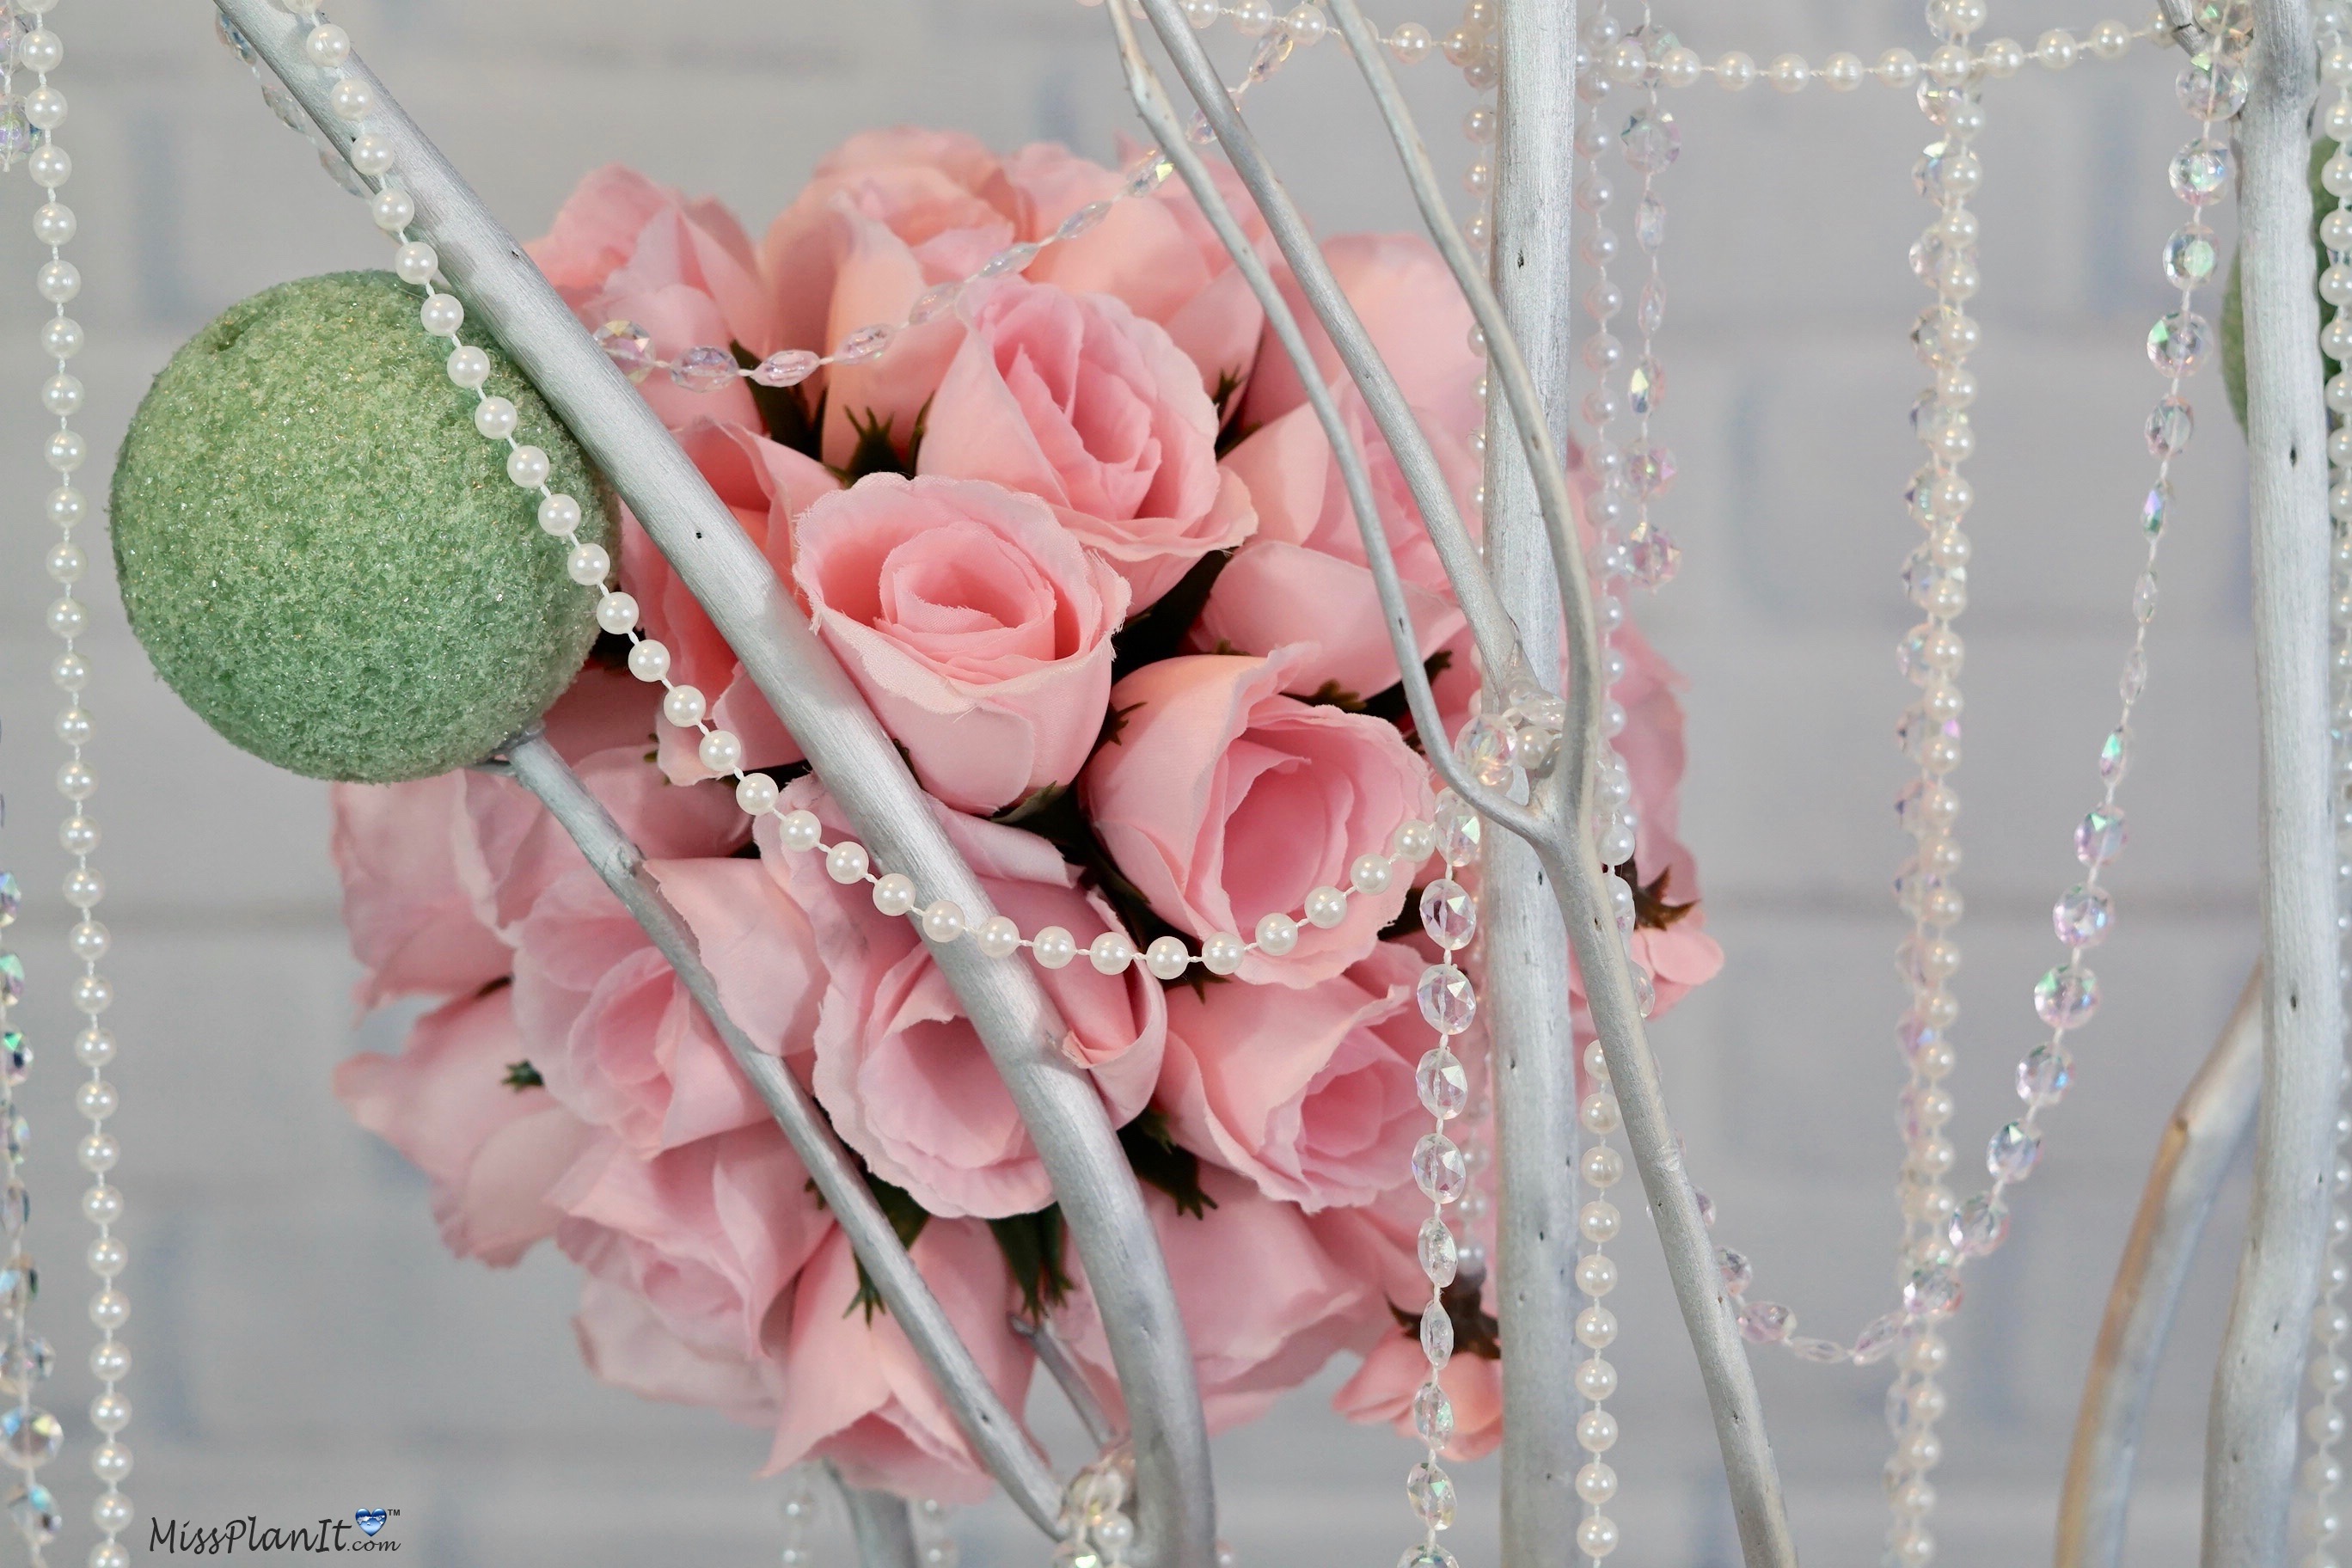
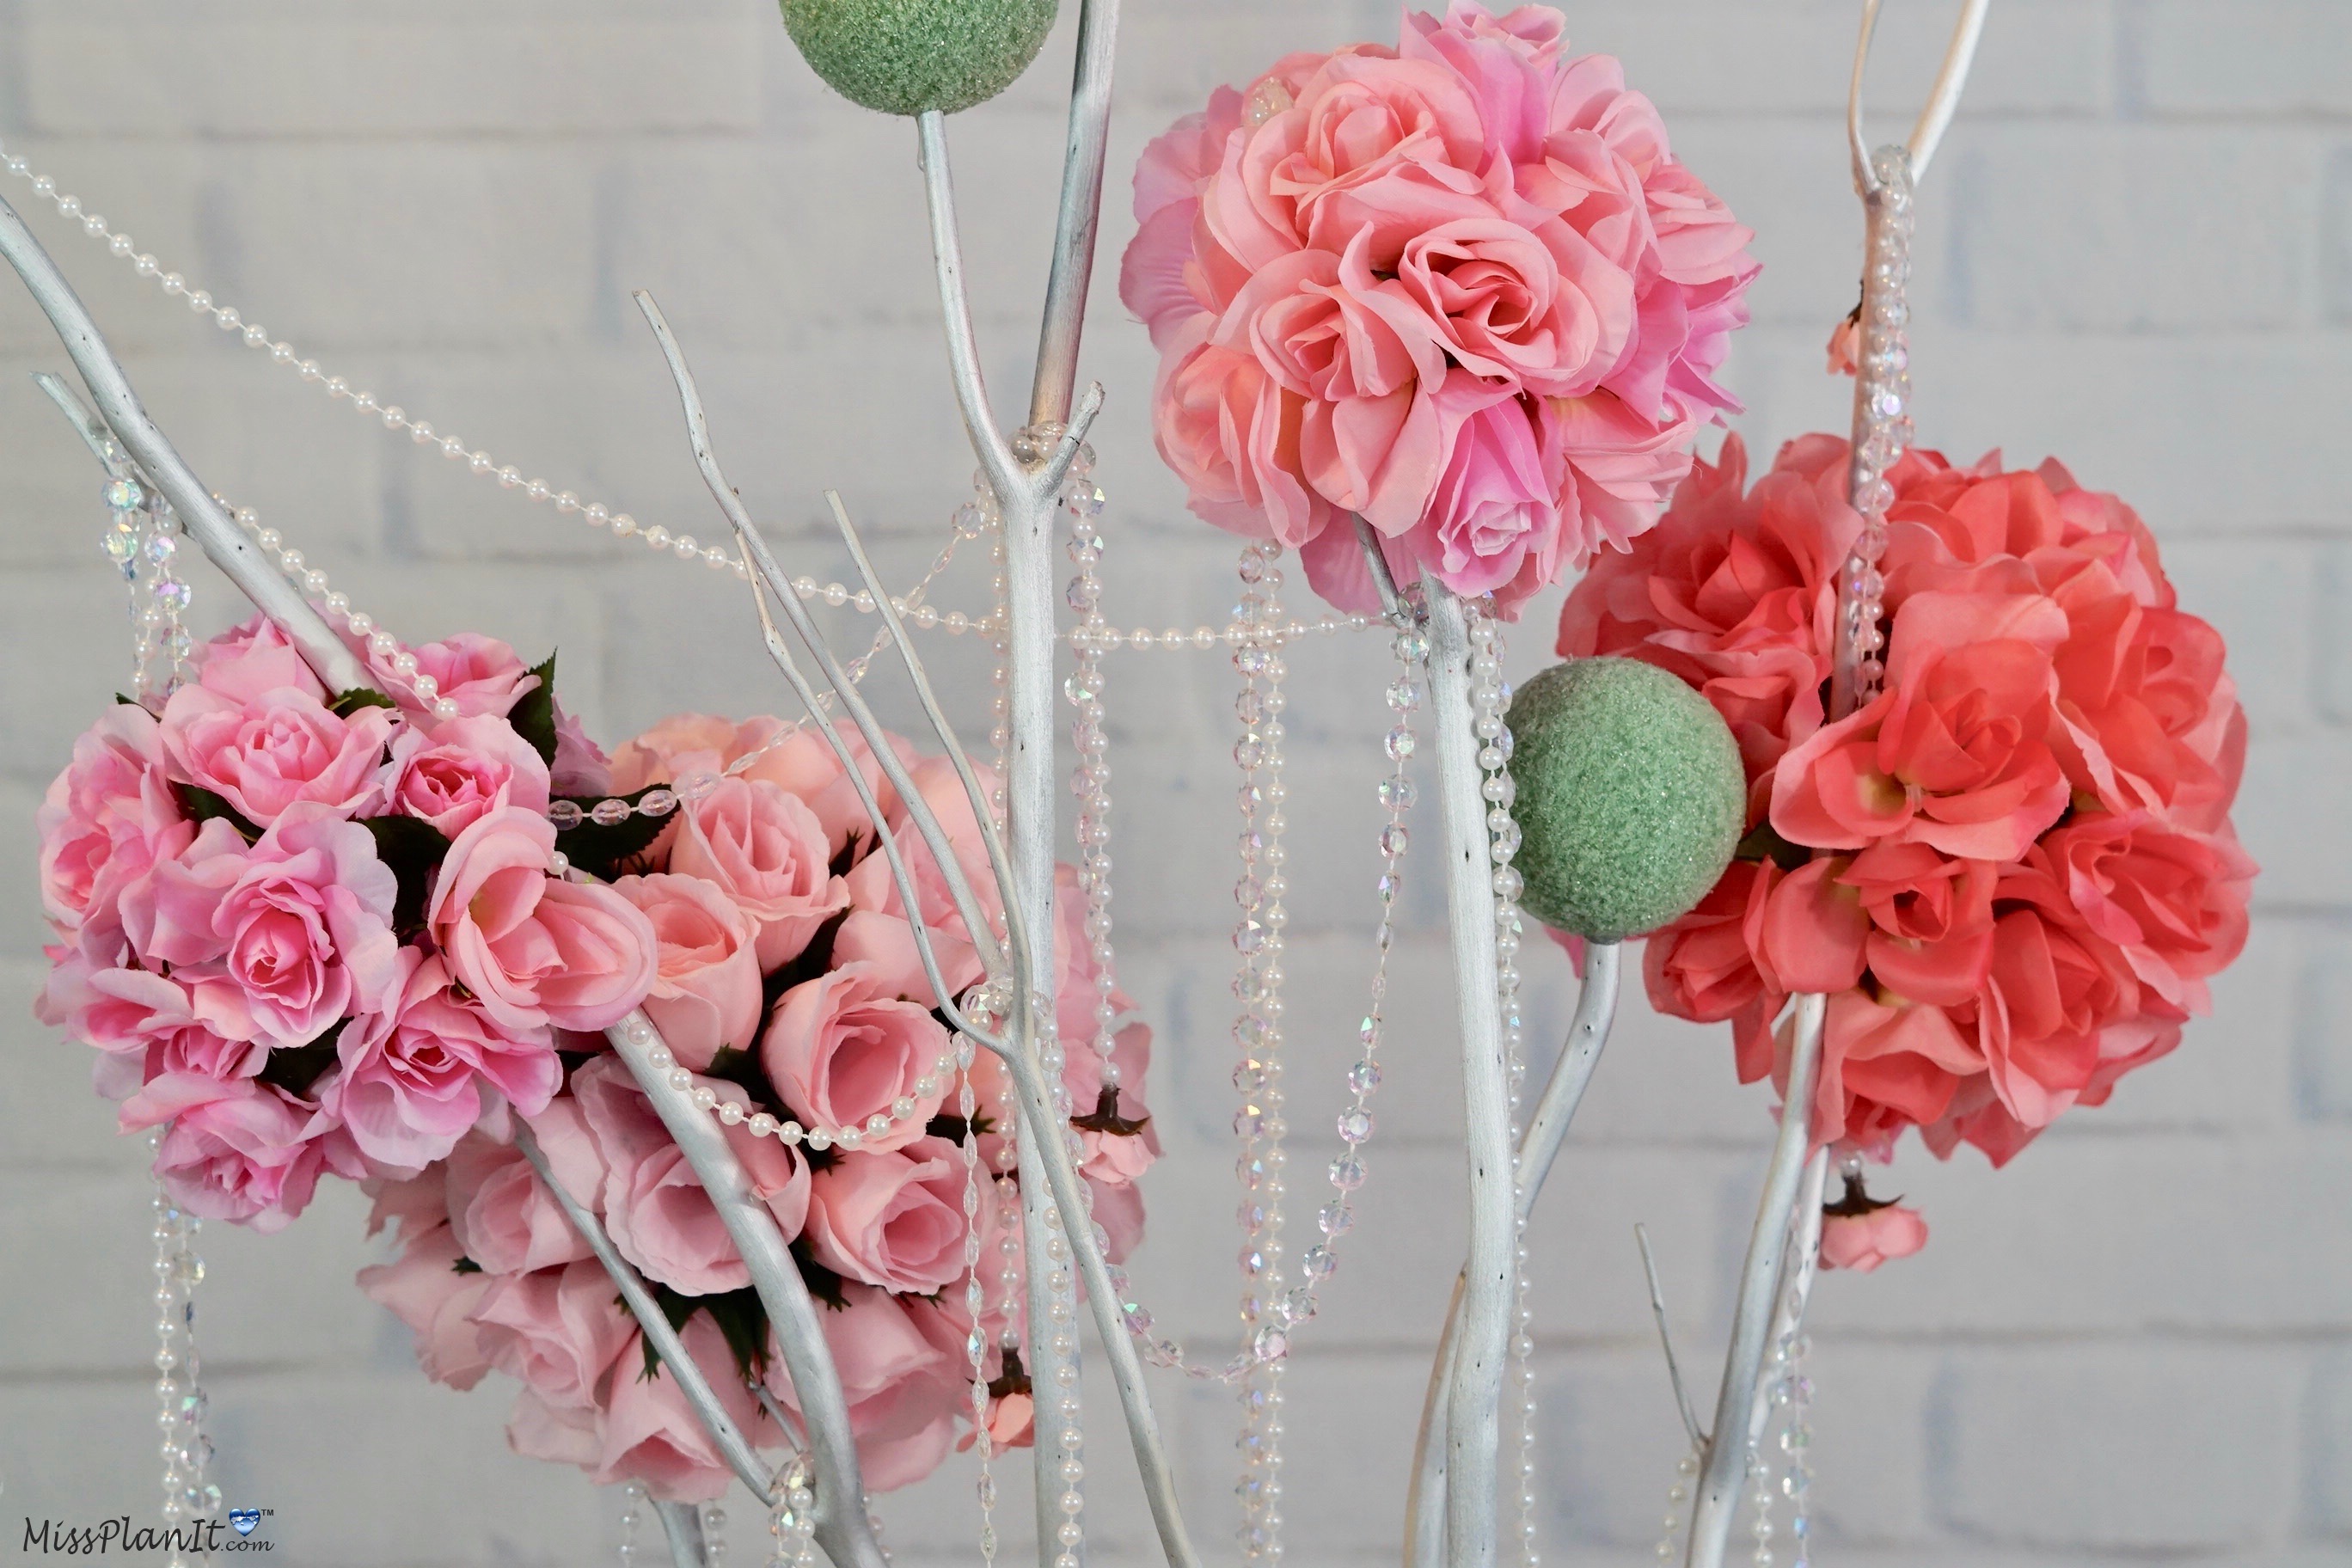
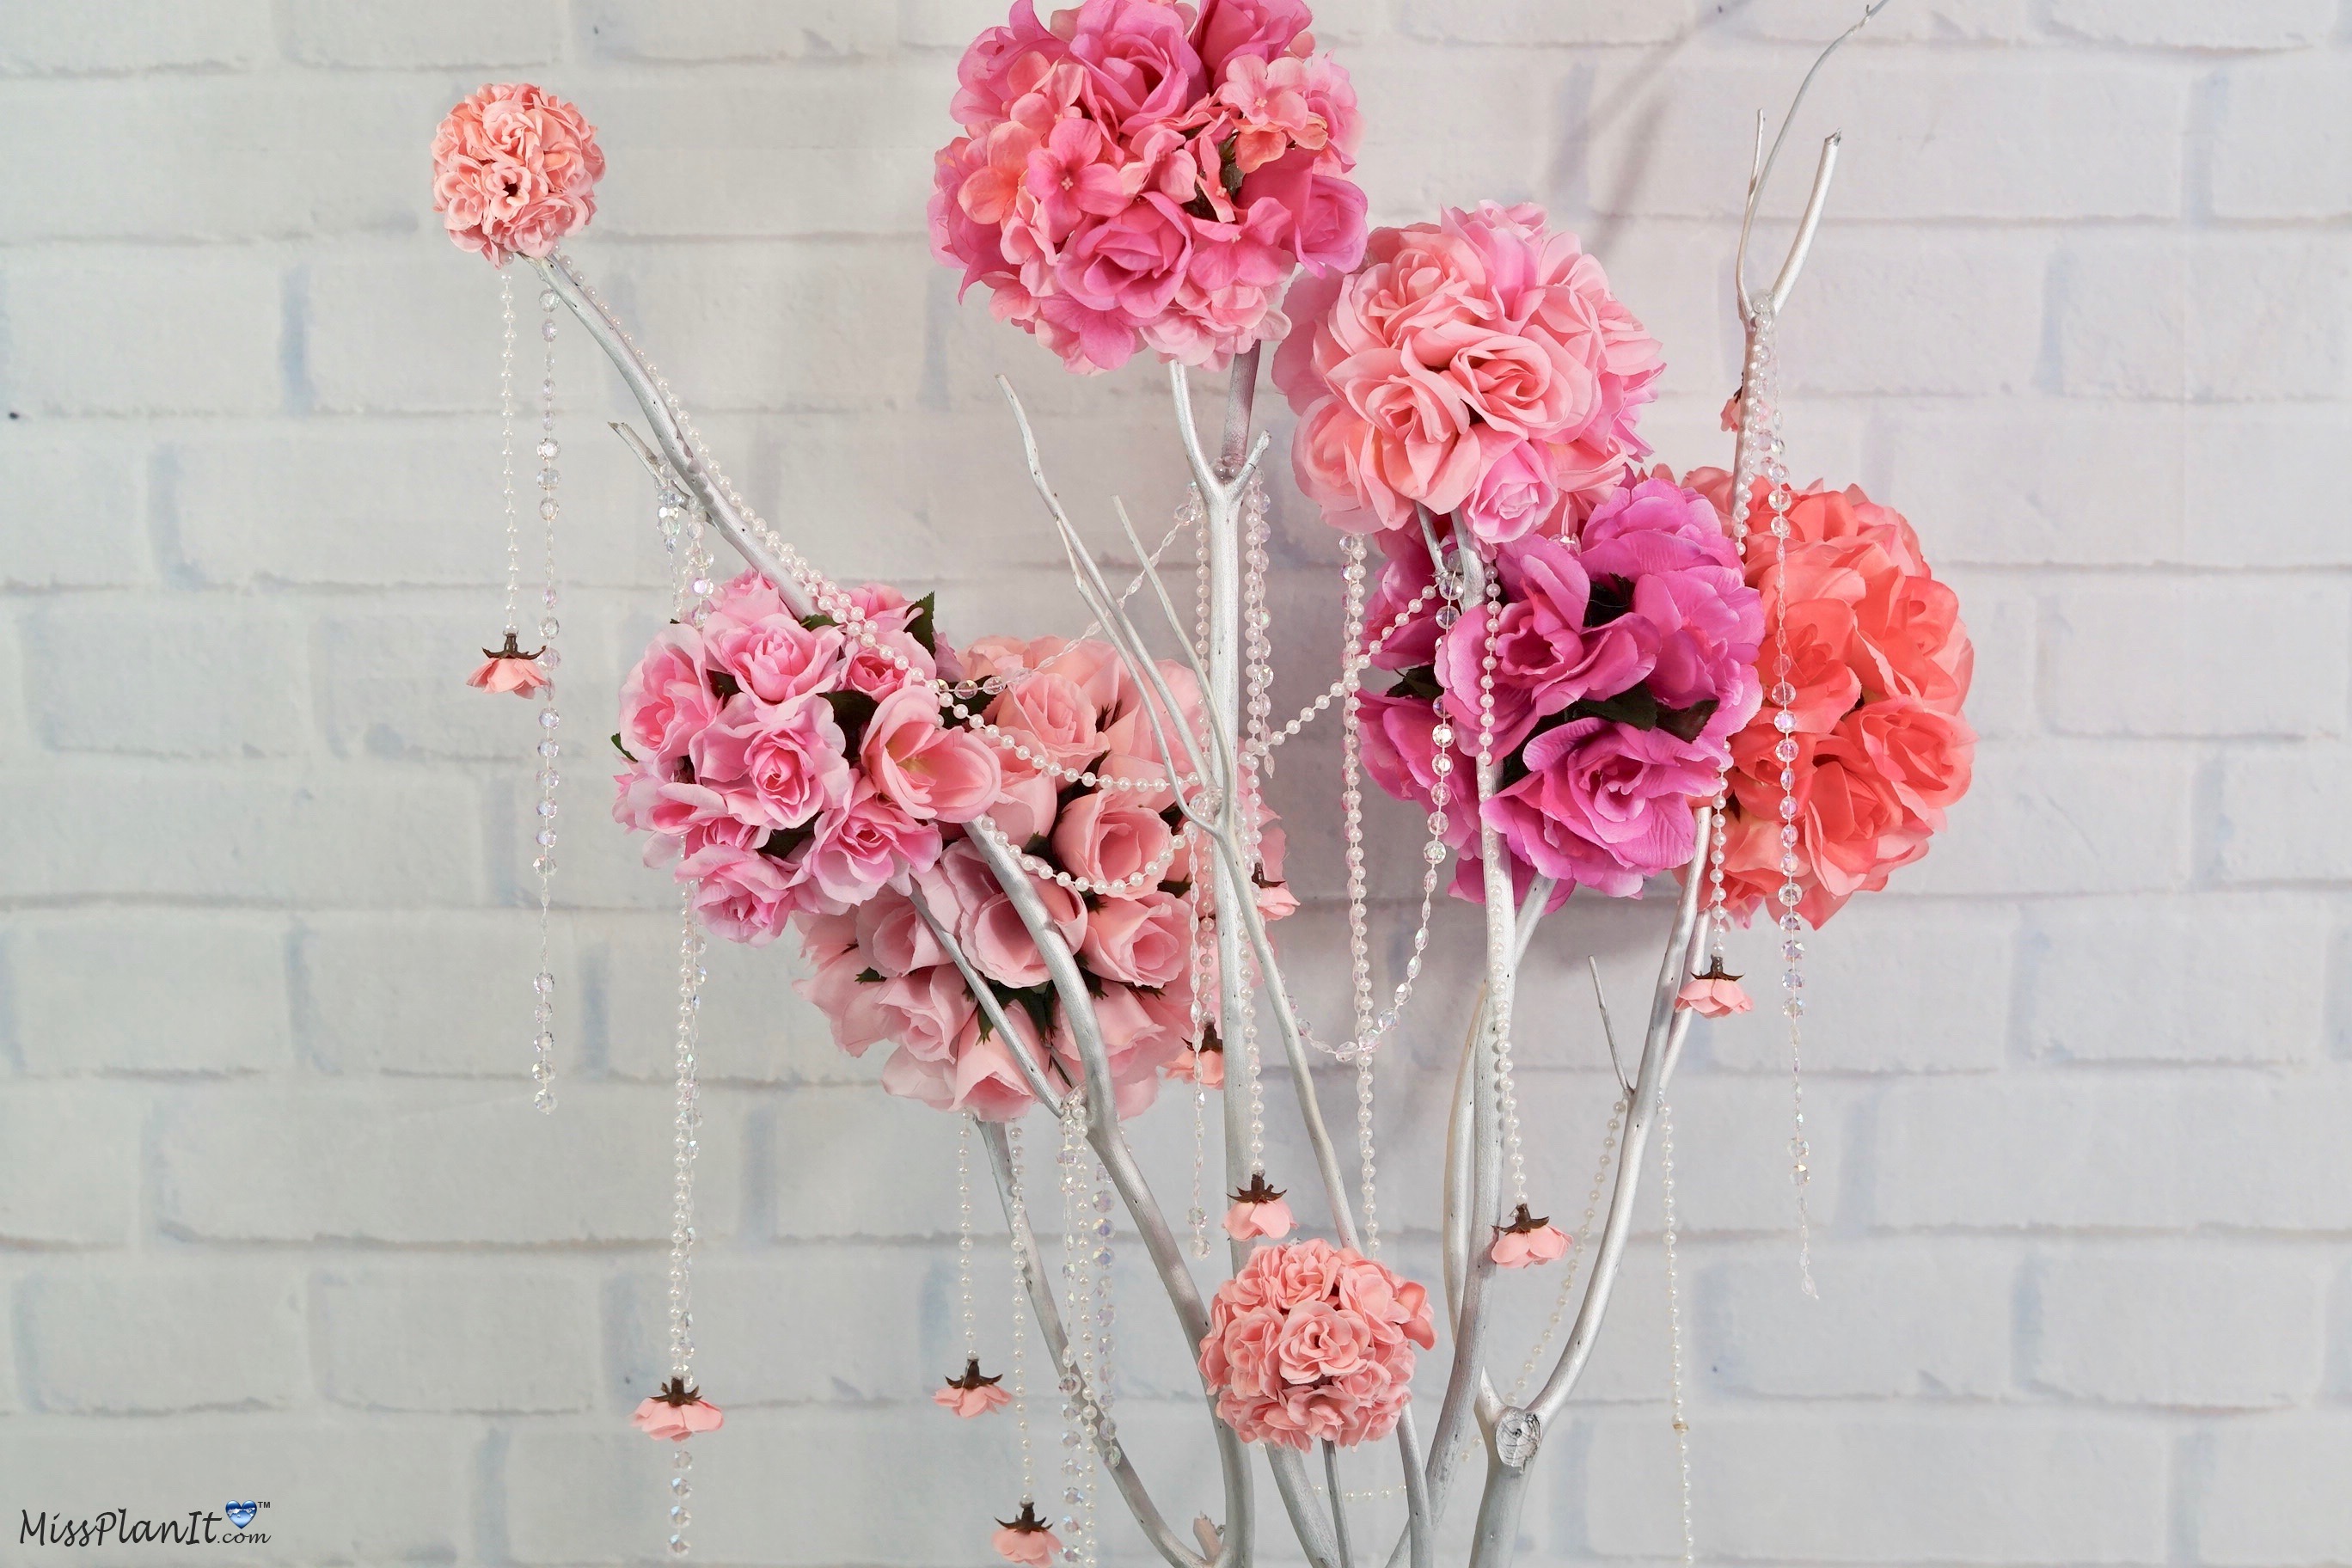
STEP 5: Attach 12-16 pink tea roses to the your foam balls. To ensure all your foam balls are uniform, complete the same pattern on the bigger balls as you did on the smaller balls. Next attach 12-16 closed rose blossoms, 8-10 small pink carnation roses and 10-14 large rose blossoms.
Finish off your base
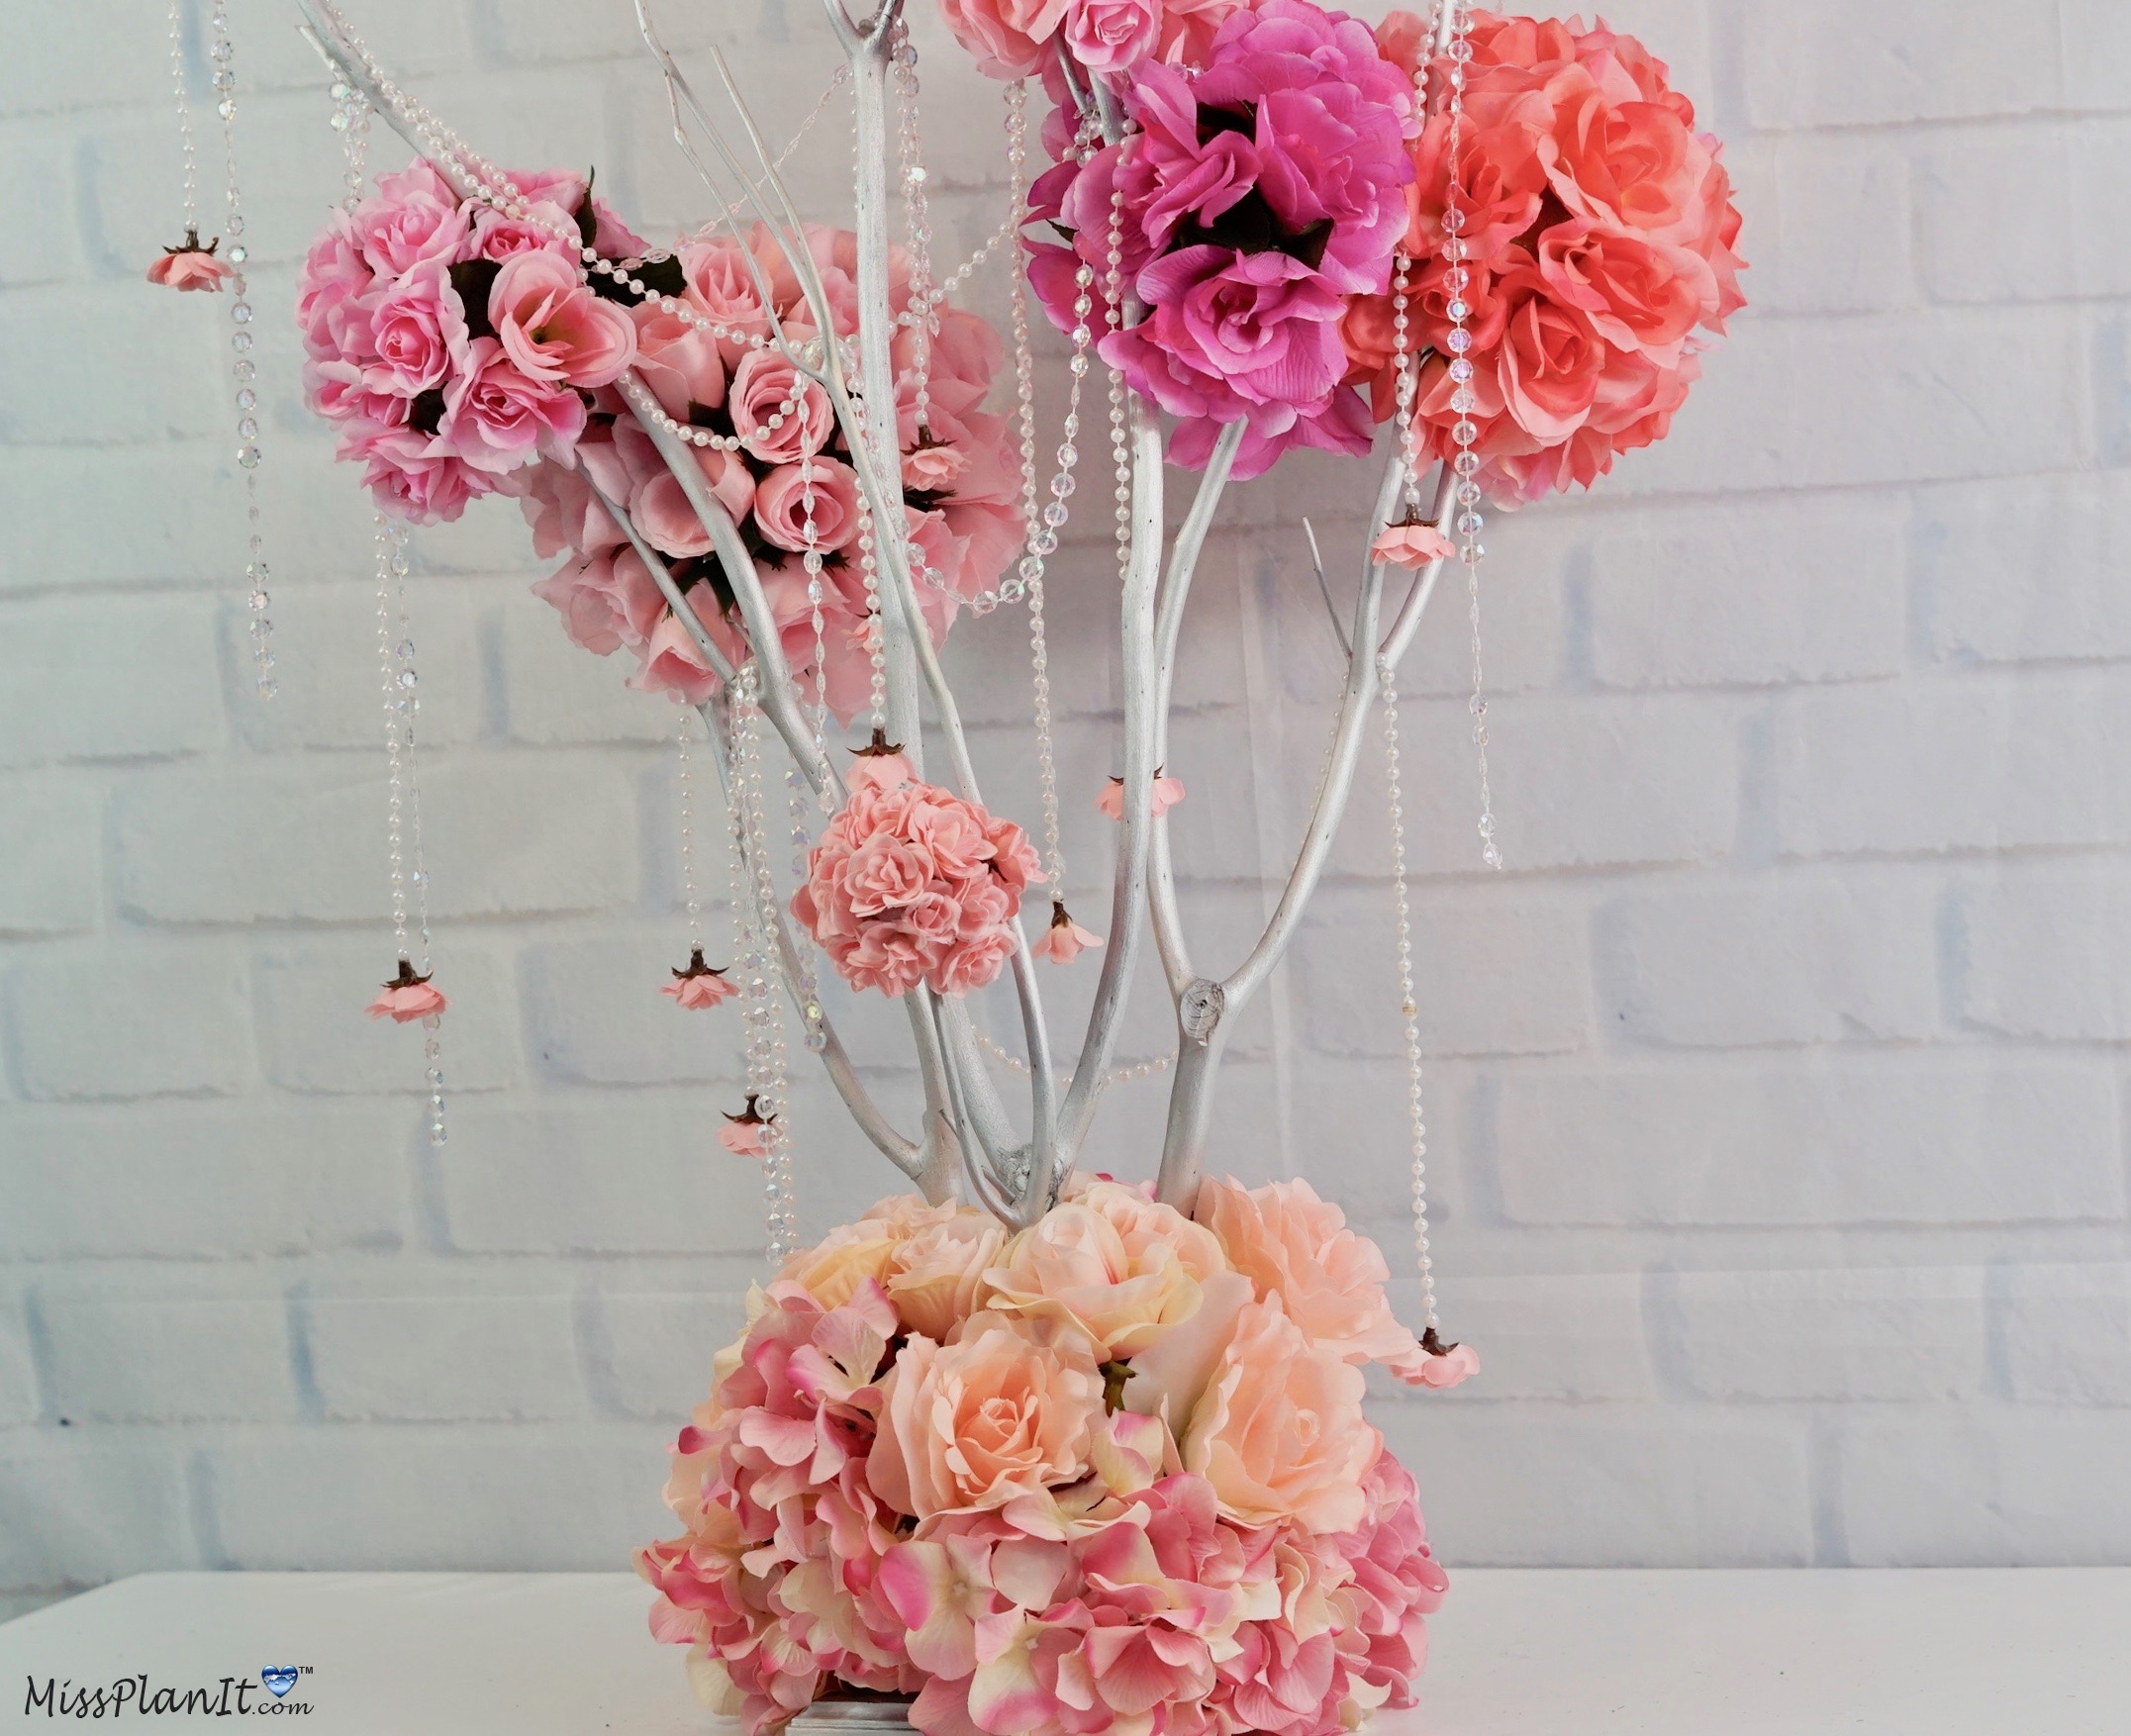
STEP 6: Now attach 6-8 large hydrangea heads and 6-8 large rose blossoms to the base foam cube.
THE FINAL STEP:
Set the table!
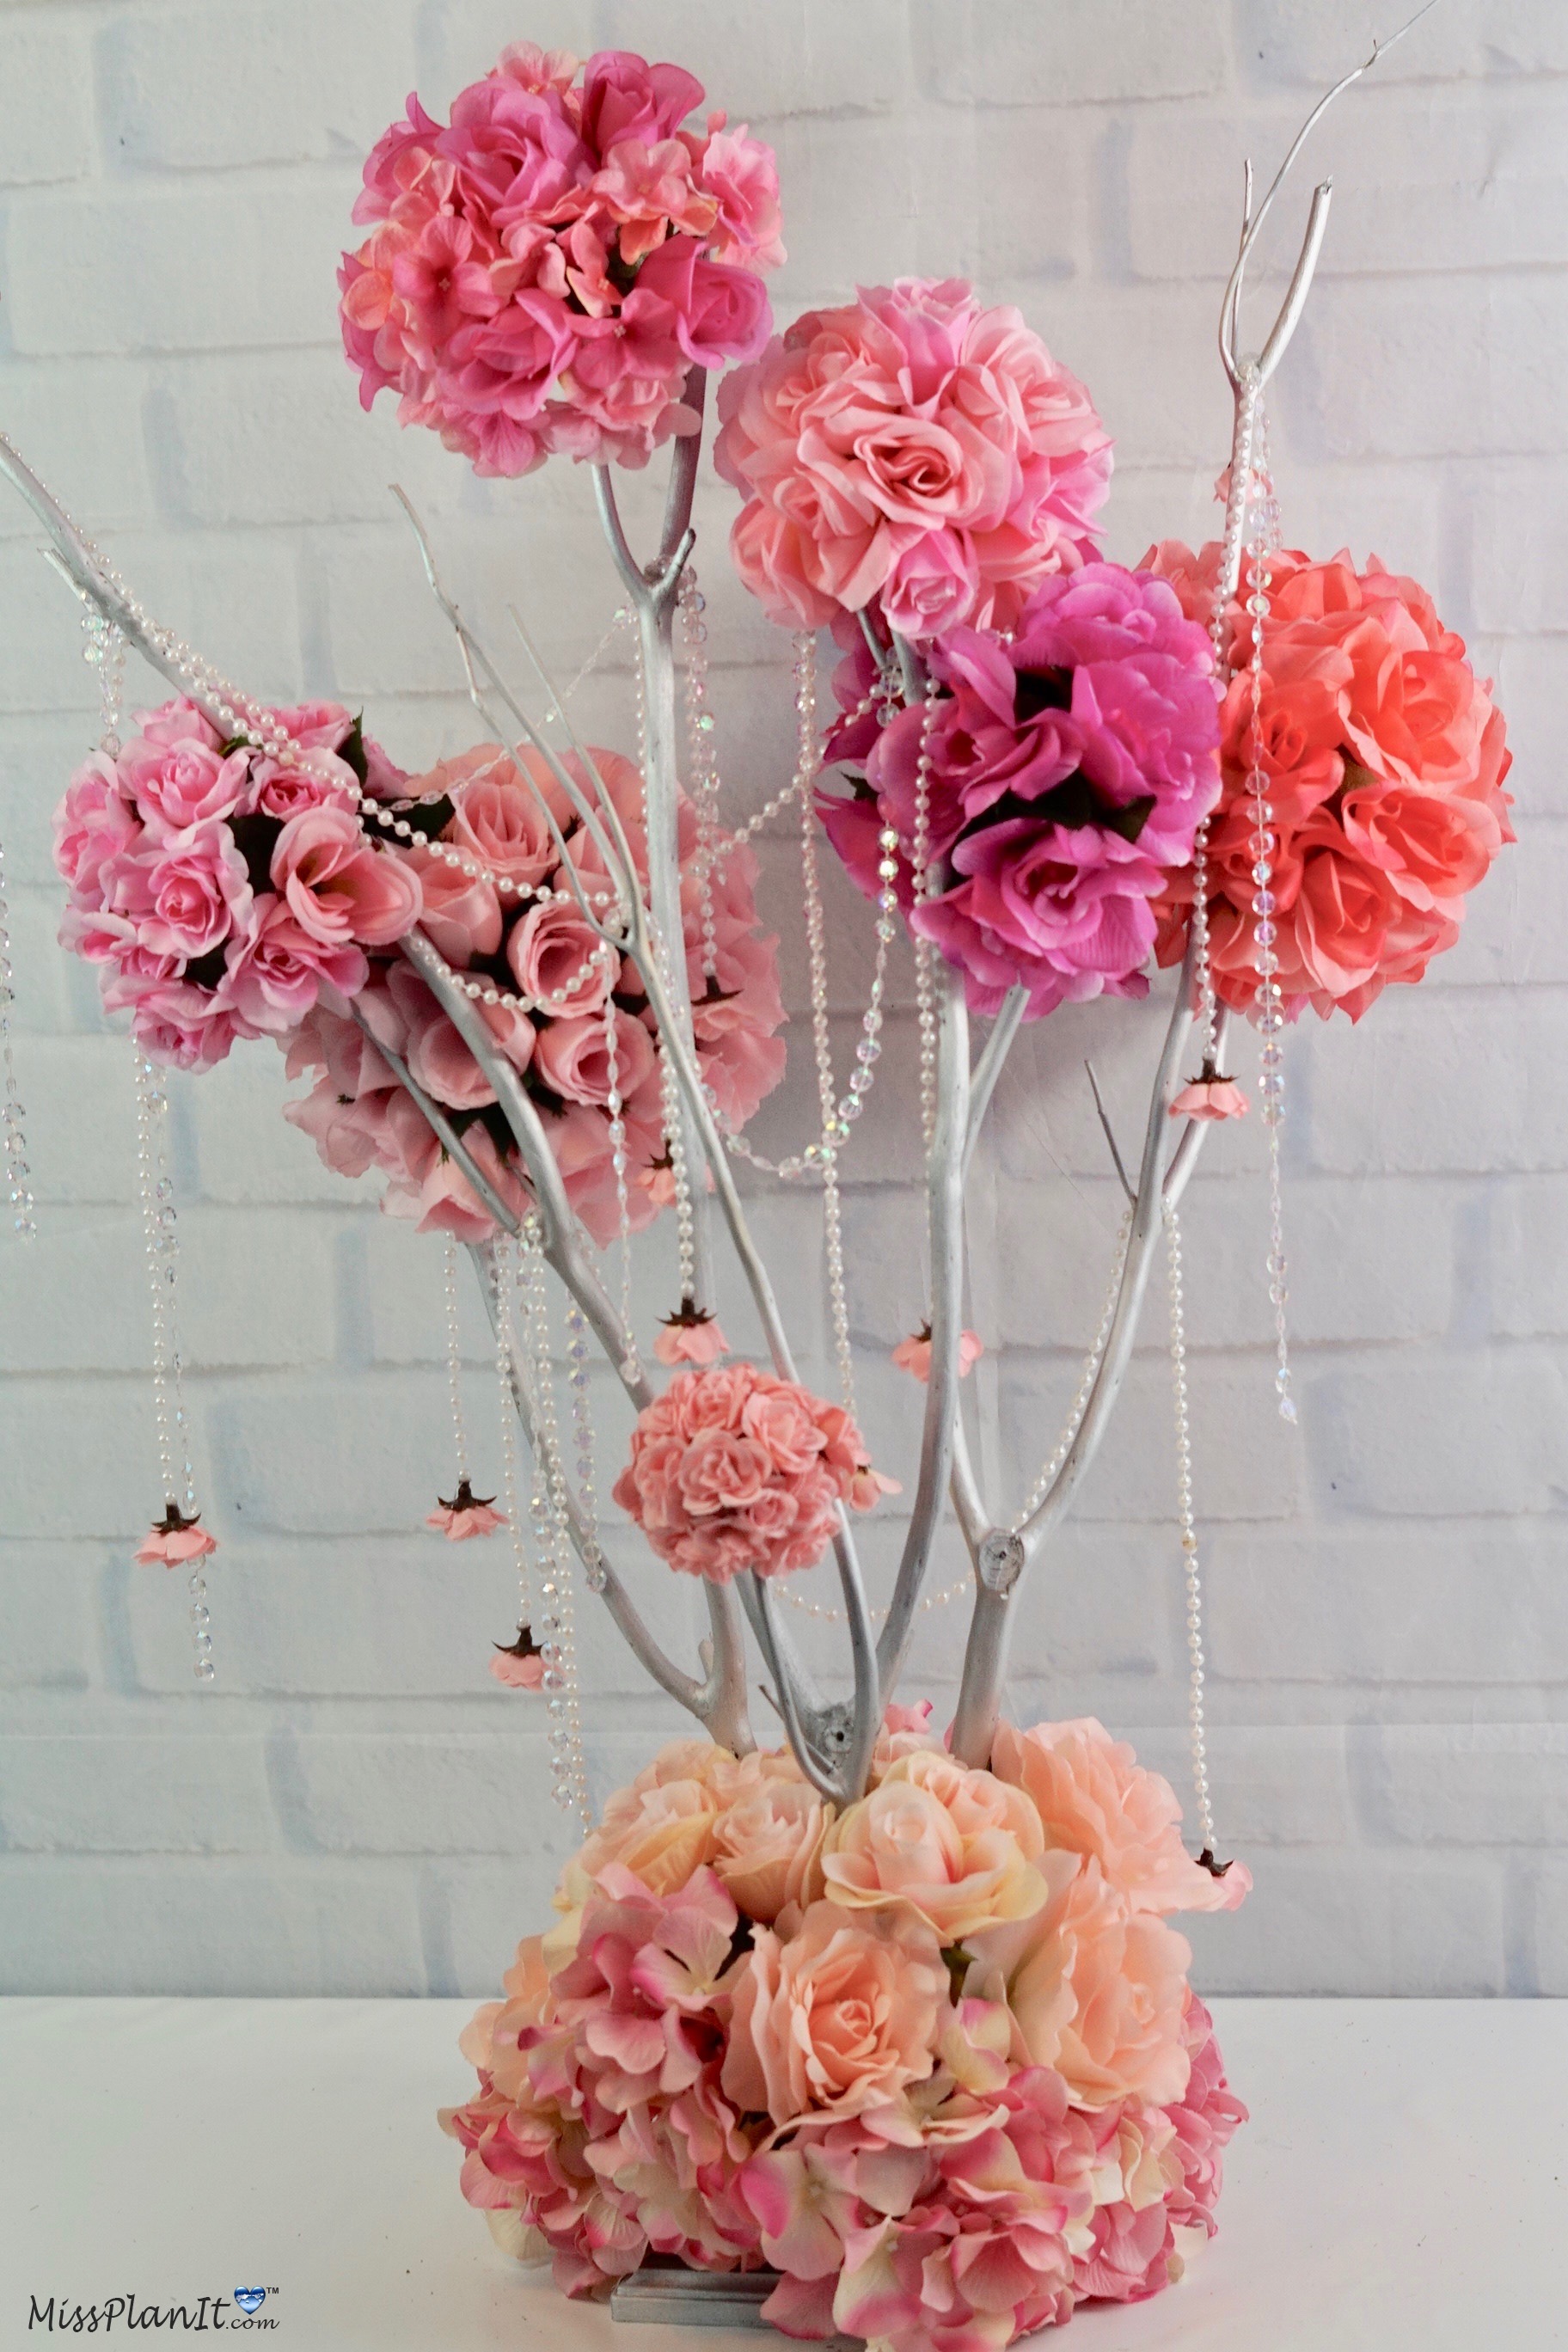
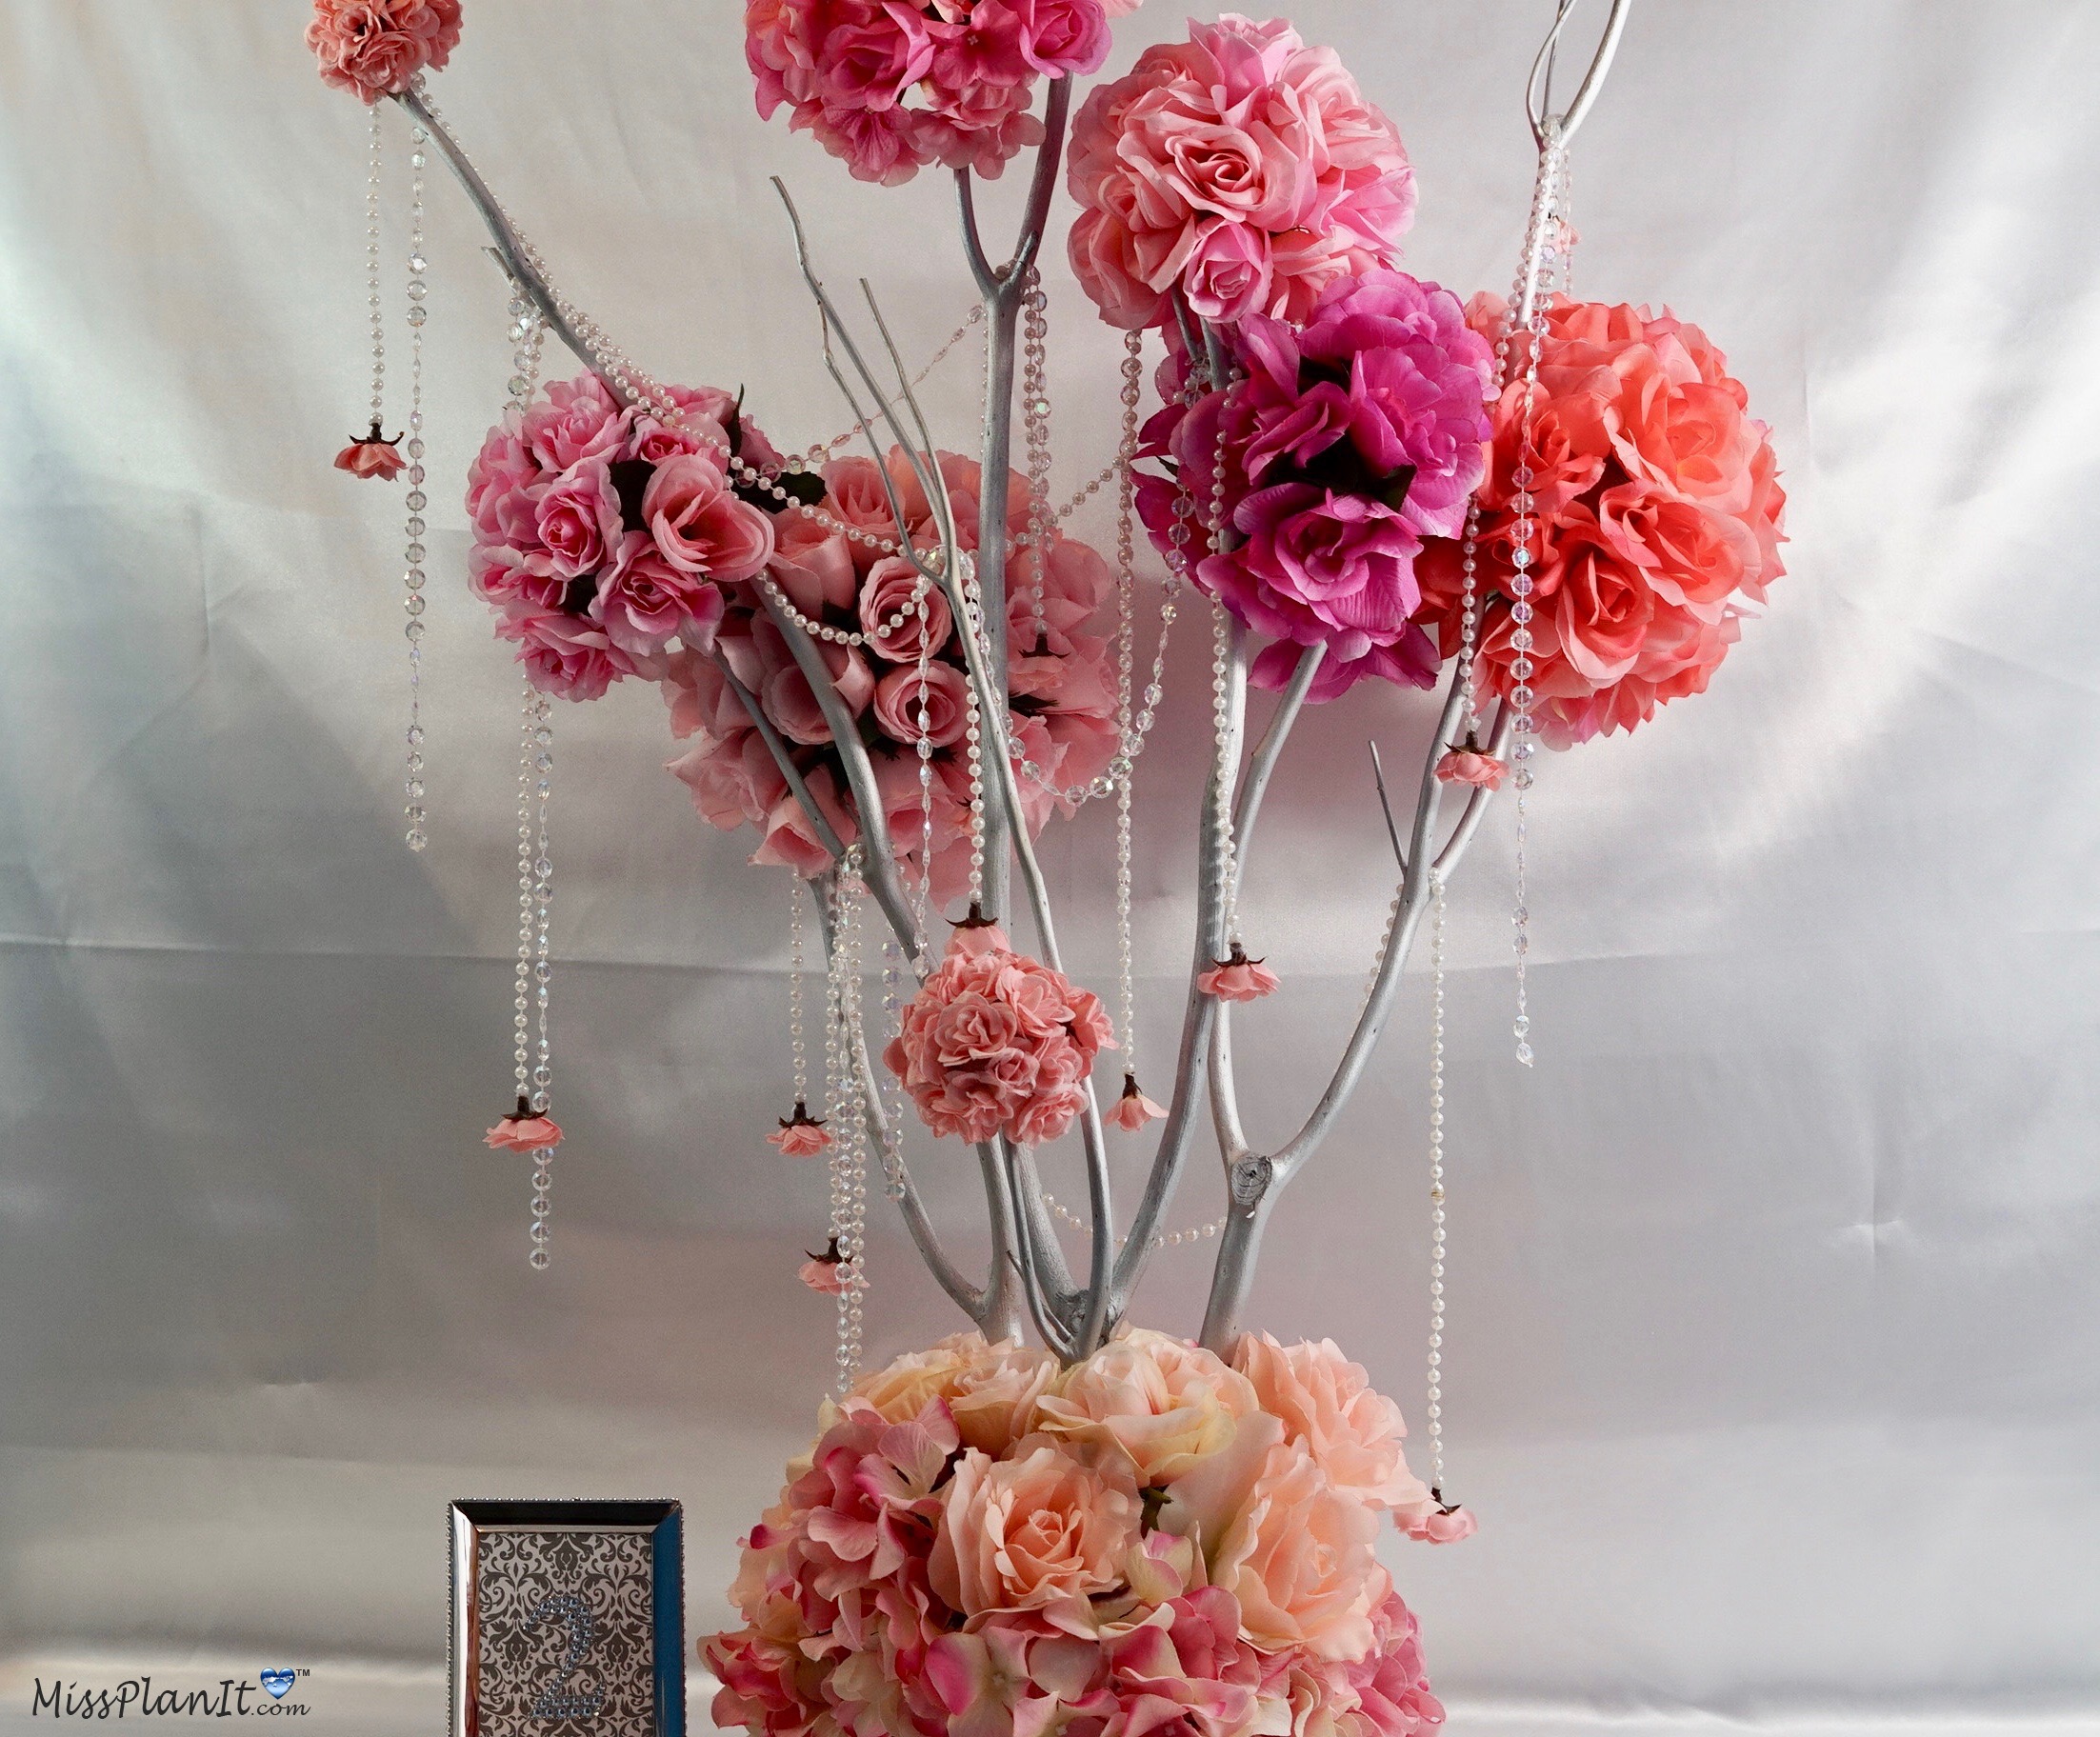
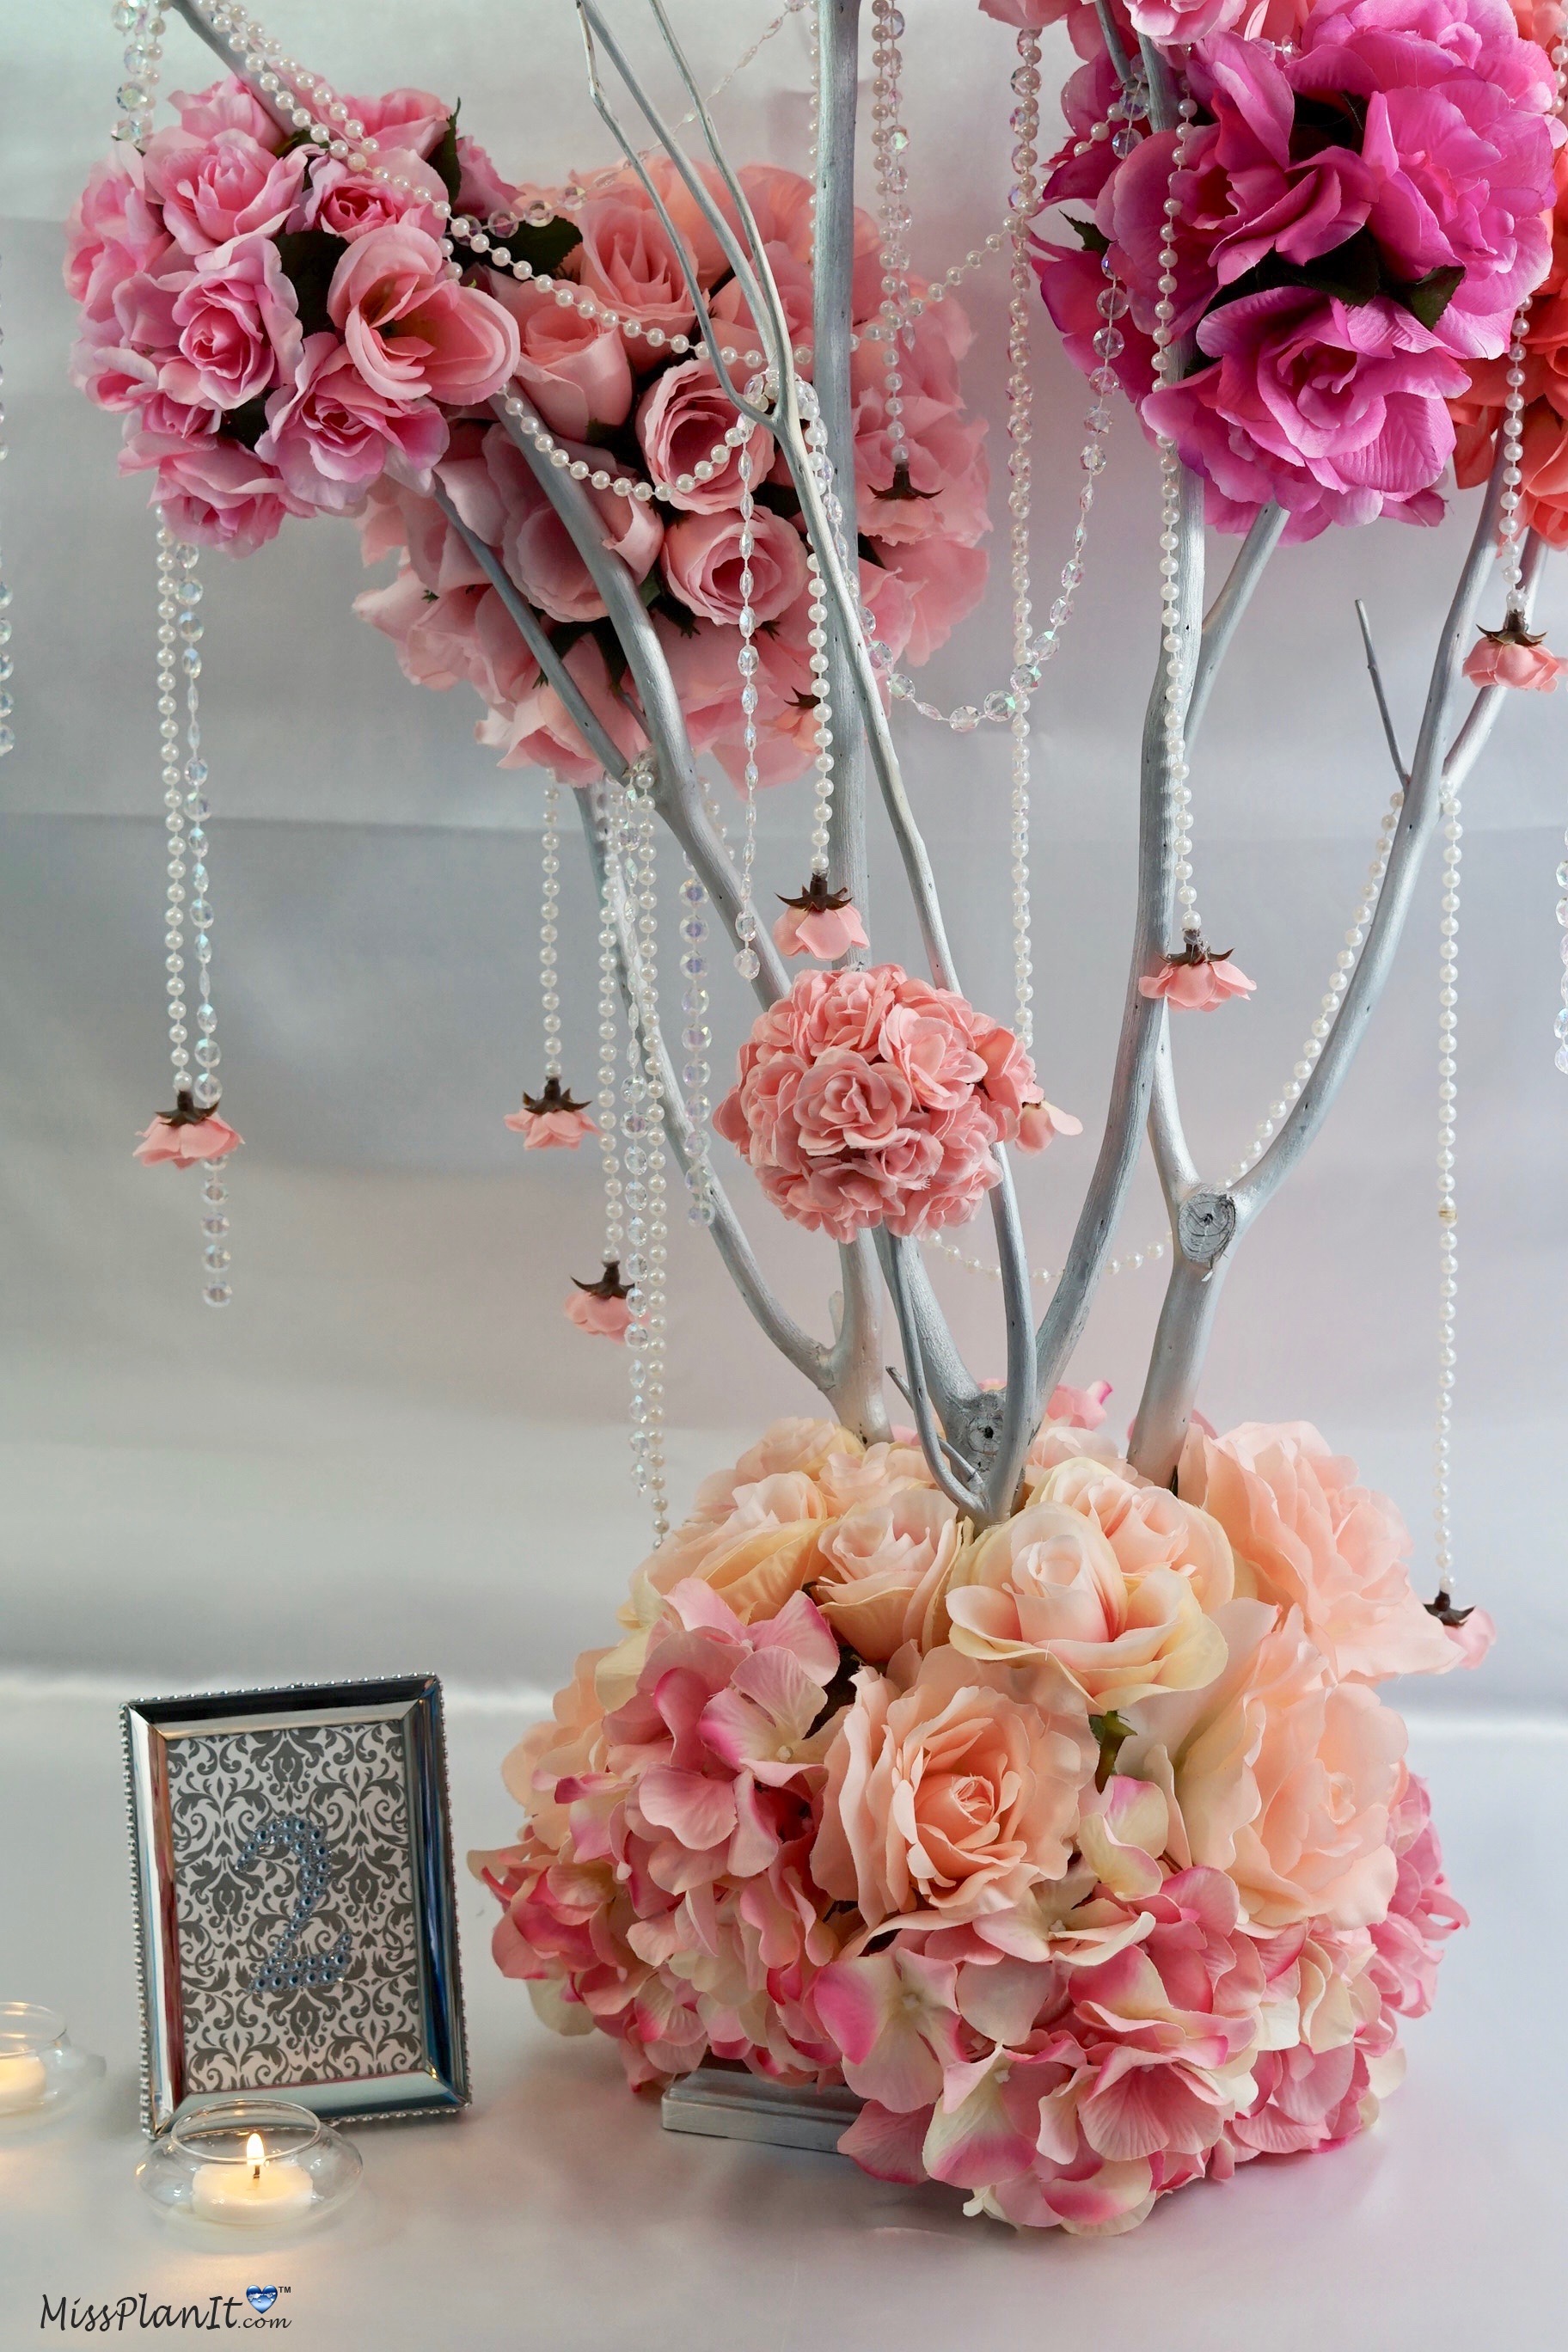
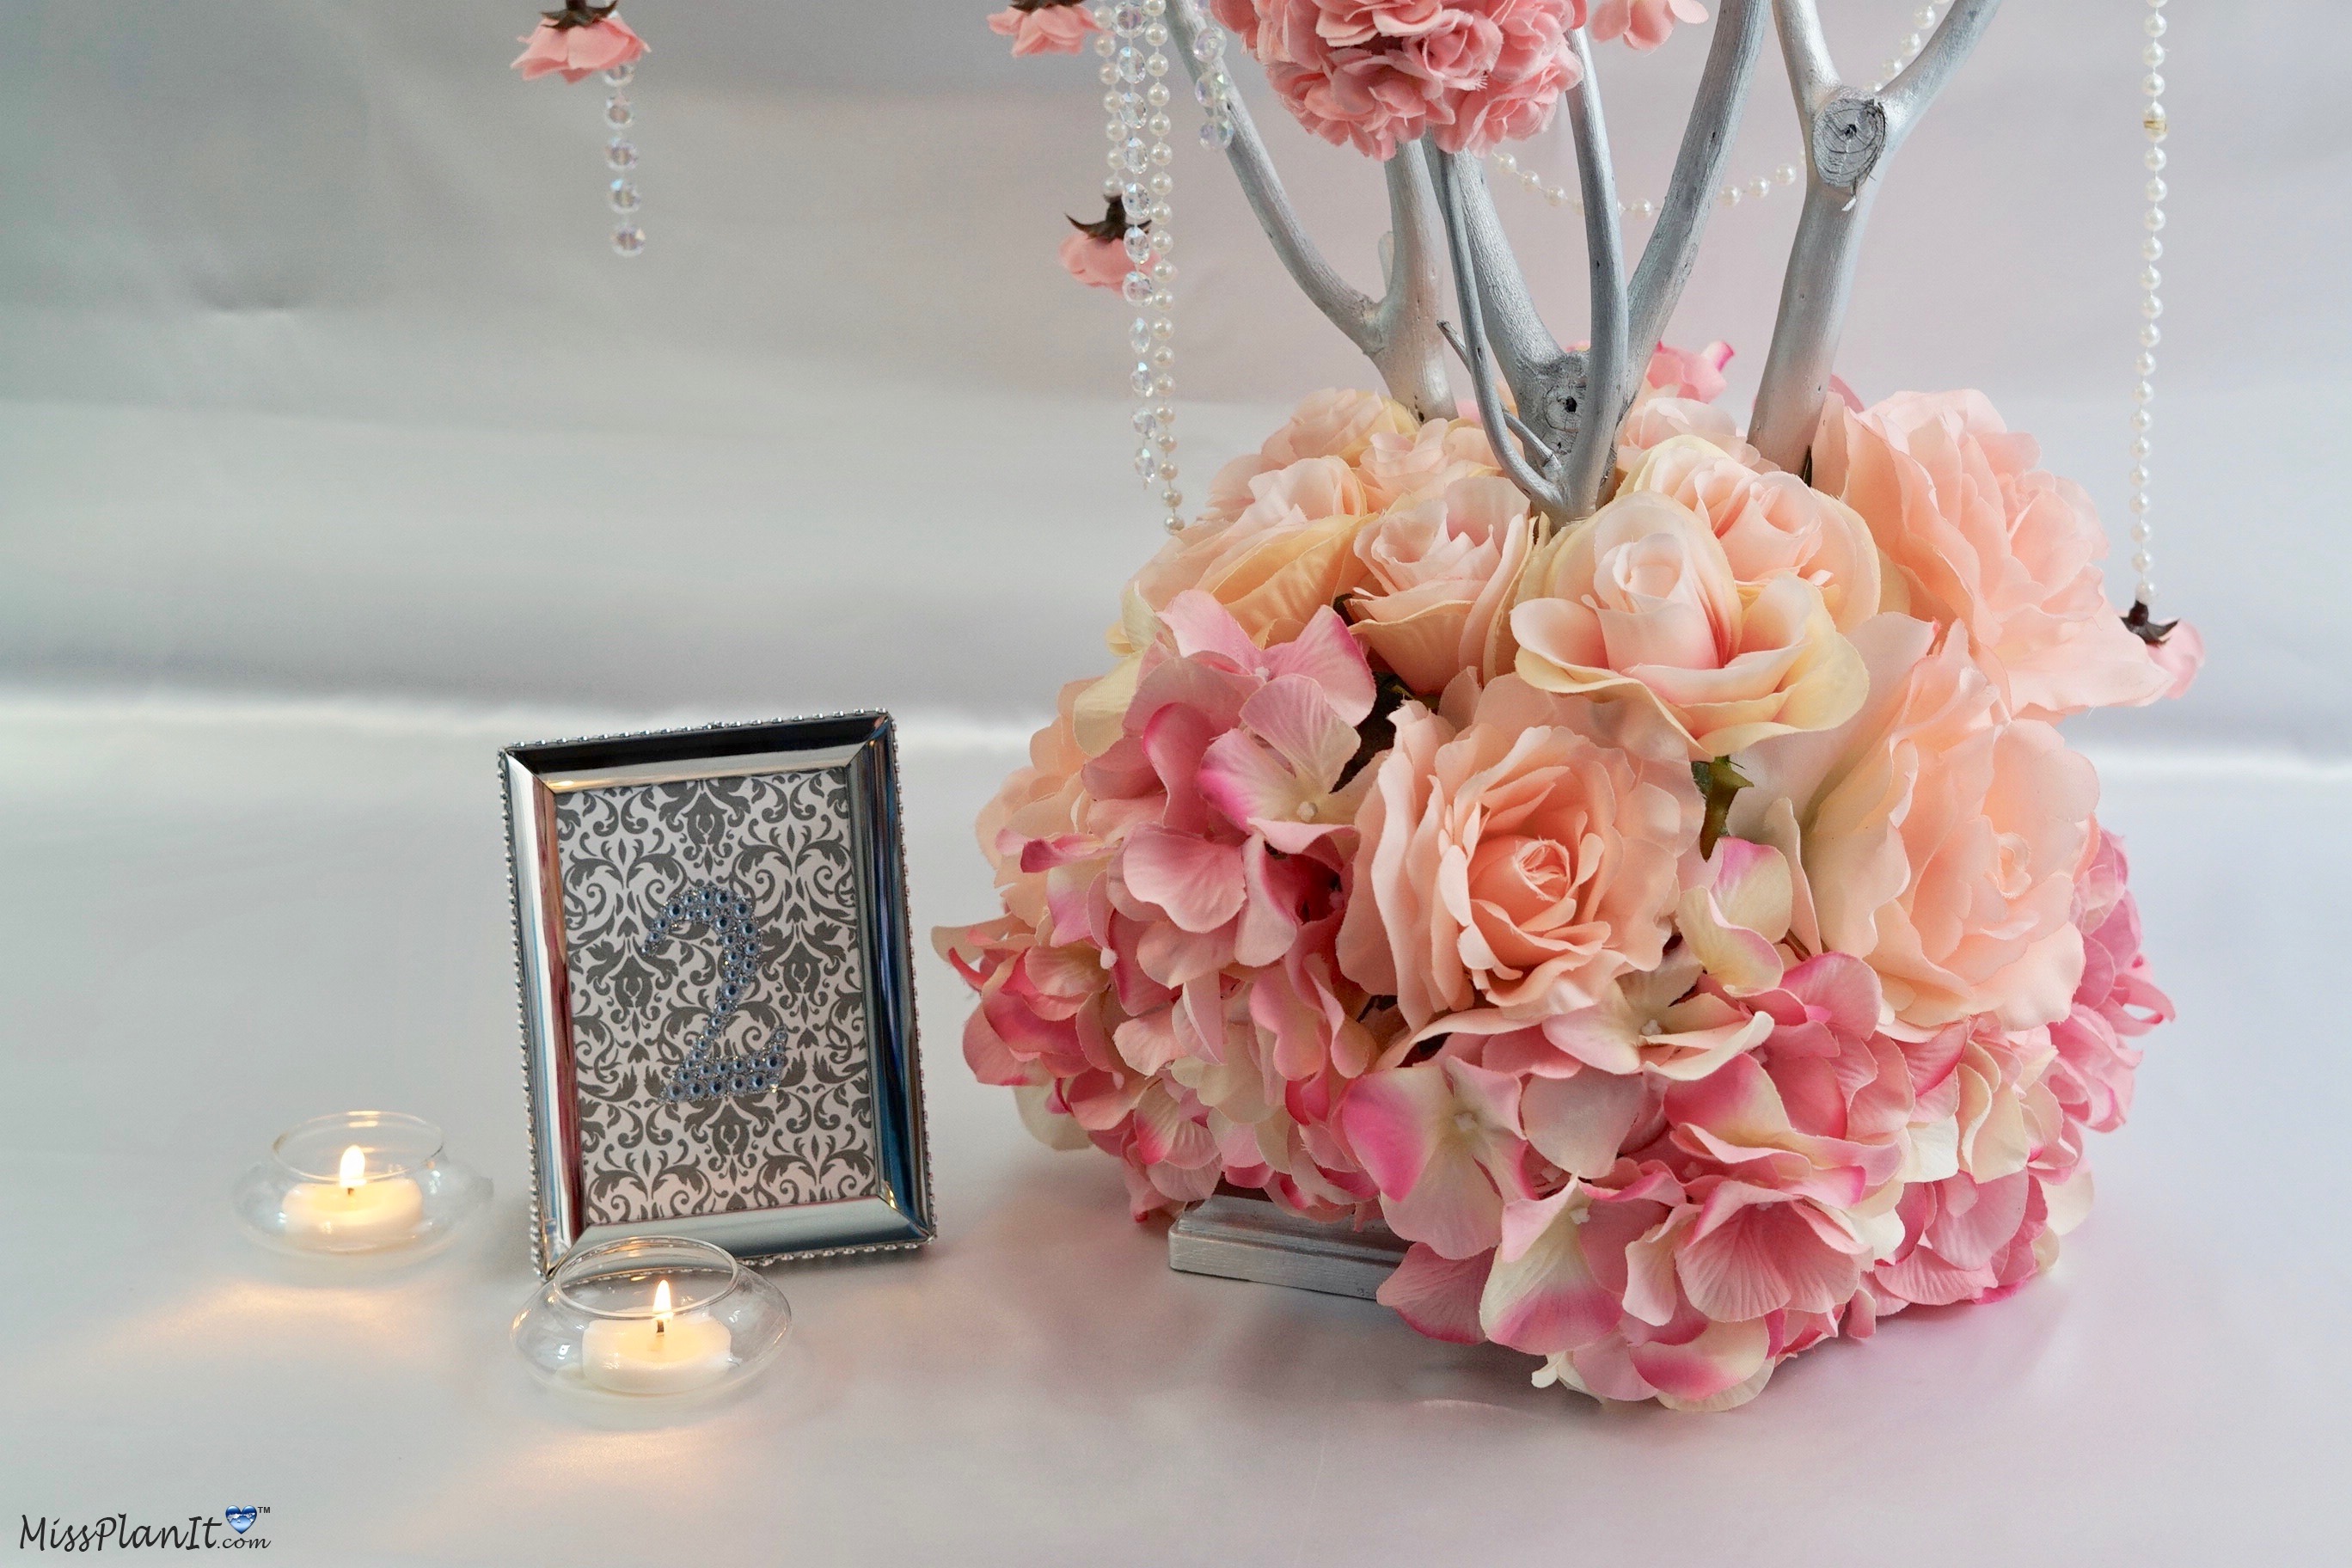
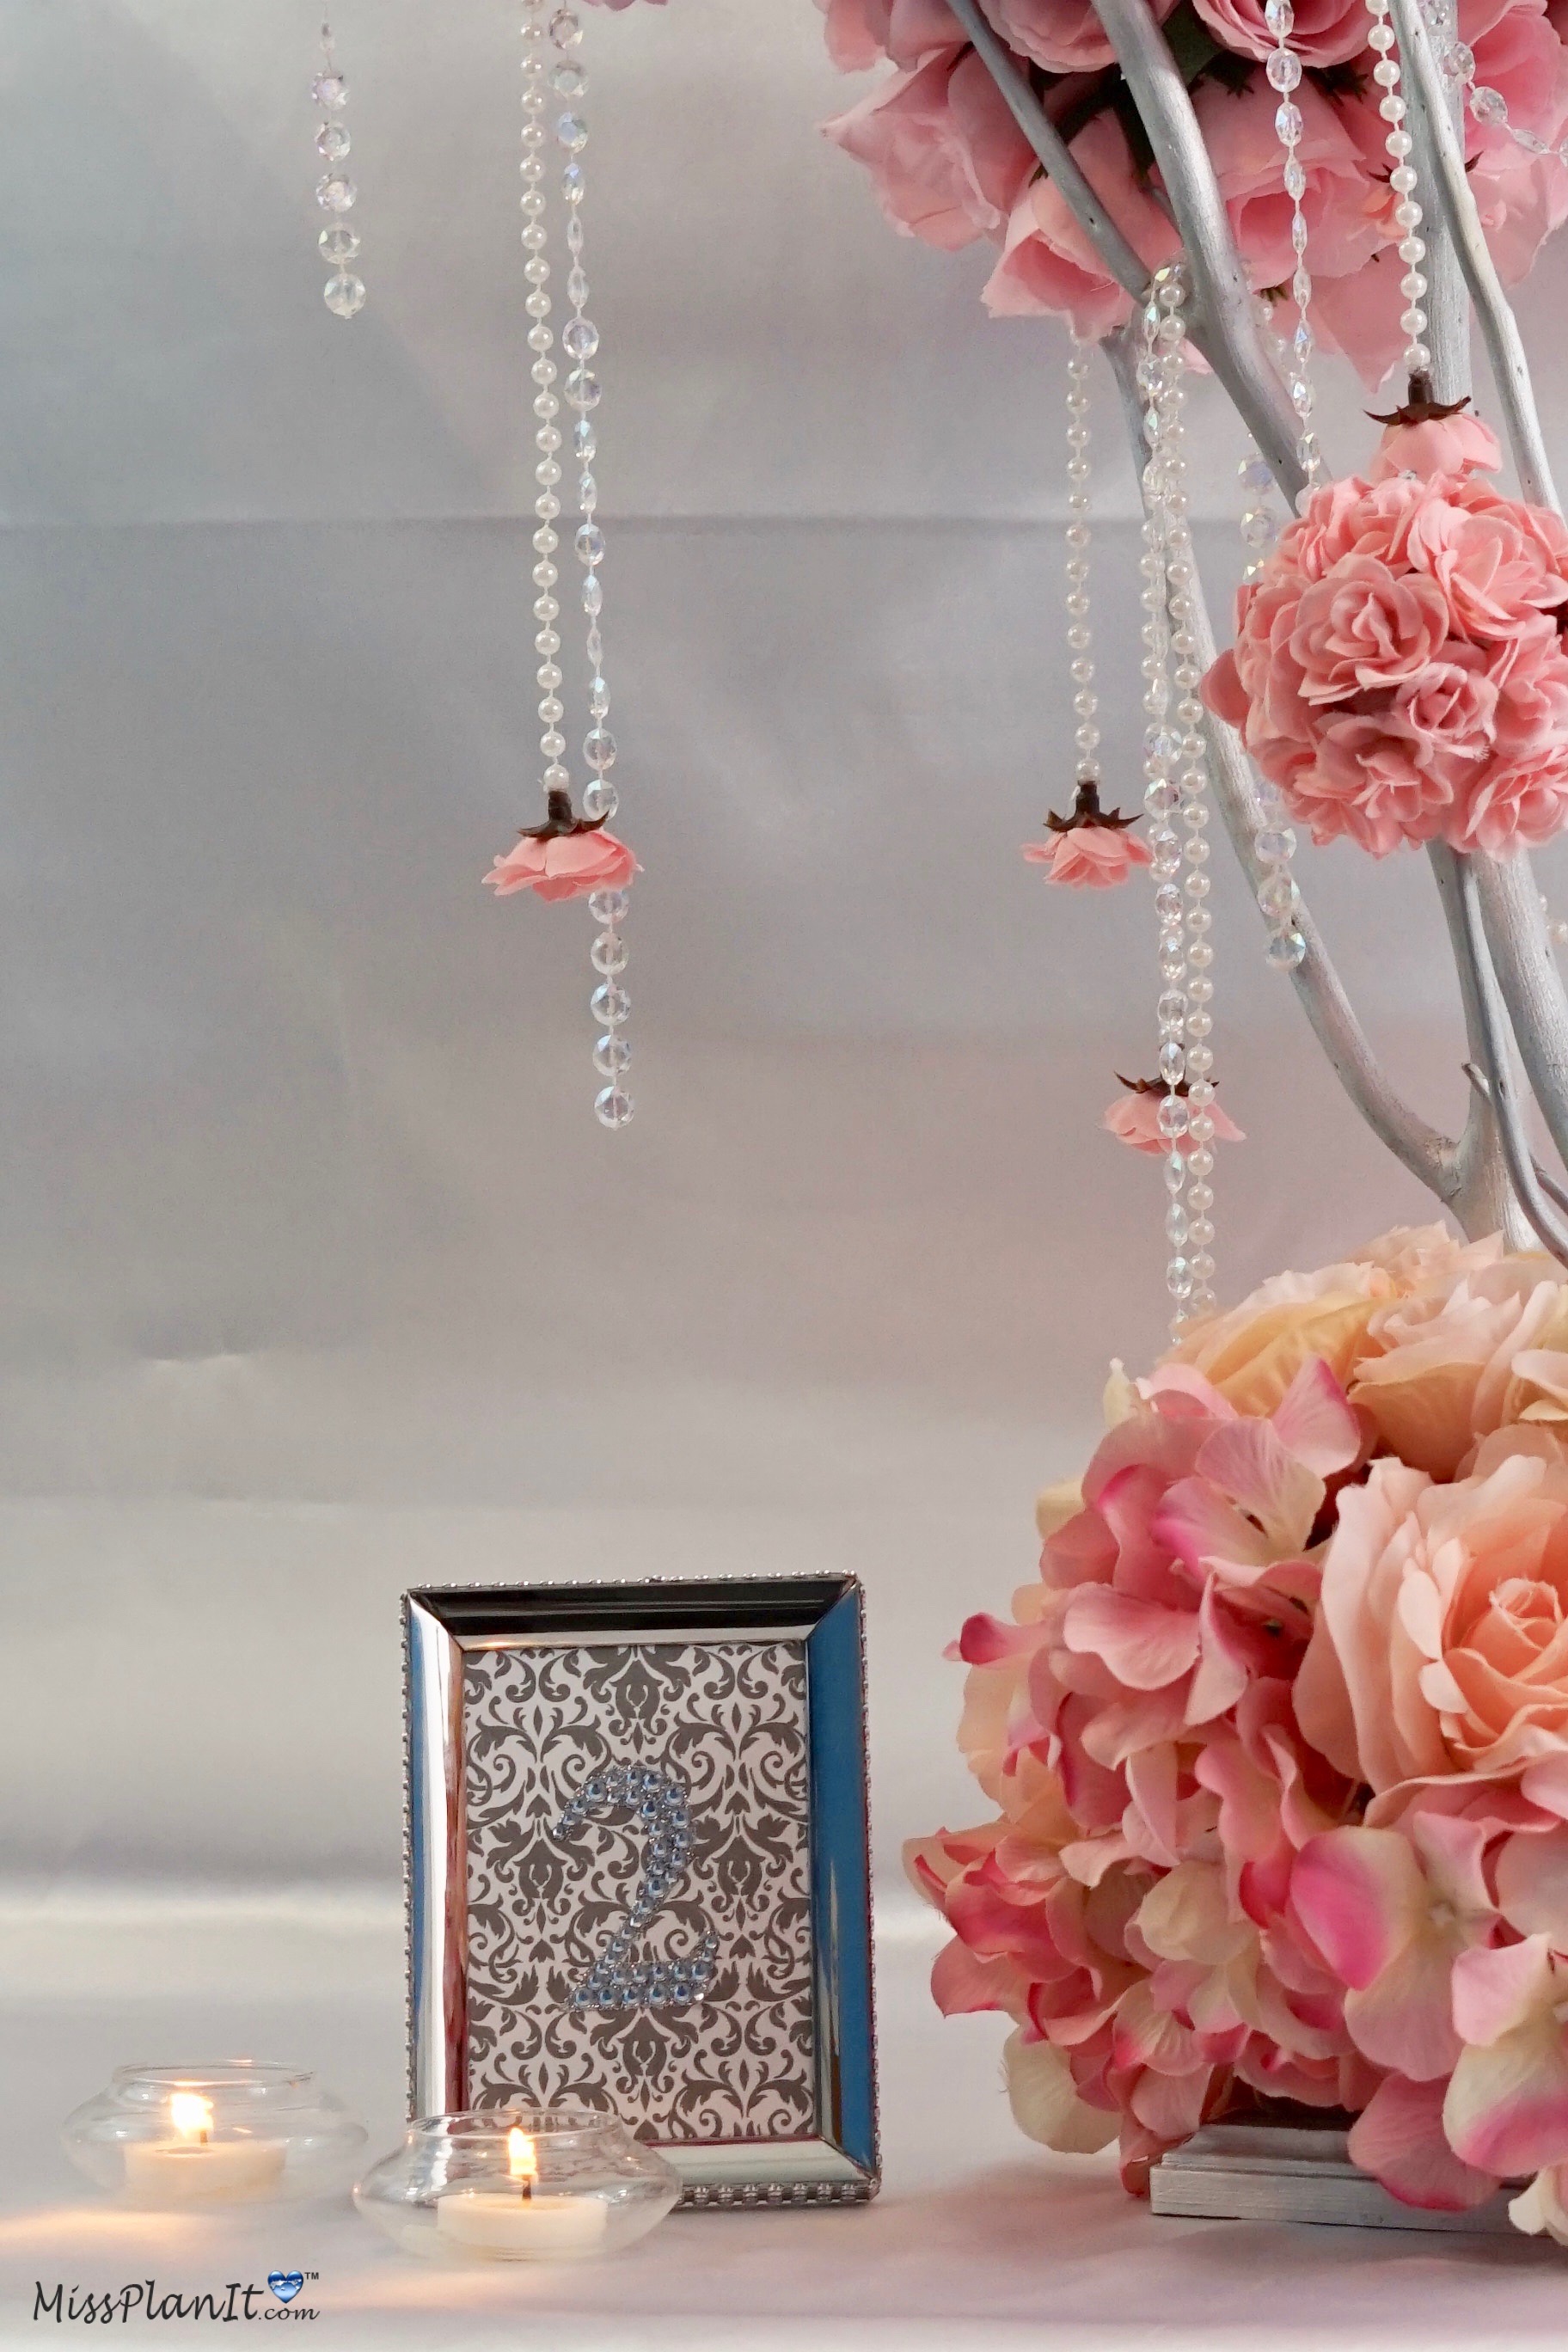
I absolutely love how this Tall Rose Tree Blossom Wedding Centerpiece turned out! The outcome is amazing and will definitely add that extra special touch to any wedding!
BONUS VIDEO CLIP & SUPPLY LIST BELOW:
- Special Moments Flat Front Silver Plastic Picture Frames, 3.5×5 in.
- Jot Shiny Gem Stickers, 315-ct. Packs.
- Silver Glitter Gemstone Number Sticker
- Silver Damask Scrapbook Paper – 12″ x 12”
Don’t forget to sign up for Ebates to earn cash back on your online purchases. Planning a wedding is expensive, our goal is to help you stay within your budget and make every penny count. Click here to sign up for Ebates, and RIGHT NOW when you sign up, you will receive a $10 cash welcome bonus when you spend $25.00!
If you like the outcome please subscribe to our Youtube Channel for more DIY Videos and follow us on Facebook and Pinterest.
Need help with an upcoming project? Be sure to send us a project request!
“Remember When Every Penny Counts, Count on MissPlanIt”


