I love it when I attend a wedding and the ideas I see are unique and different. I am able to get inspiration to help other brides with awesome ideas for their wedding. So when I received a request to create this tulip wedding centerpiece, I was more than happy to do so! This tulip wedding centerpiece is so unique and beautiful and the best thing is anyone can duplicate this look. In fact, you won’t believe how I used a Dollar Tree picture frame to bring this tulip wedding centerpiece to the next level. So let’s get started. For video instructions, please check out the video tutorial at the end of this post!
BUT WAIT!
Before we get started I want to share an awesome tip on how you can earn cash back with your online purchases for all the items you will need to complete this project!
As our saying goes “When Every Penny Counts, Count on Miss PlanIt.” Furthermore, we love to save money and get great deals. Prior to us purchasing anything online, we check out Ebates, find the store, click the current deal for that store and complete our purchase.
If you have never used Ebates, you are MISSING OUT. So for this project, you would go to Ebates.com, sign up, and then type in the store you plan to purchase from.
Consequently, when completing a purchase through Ebates you earn cash back that you can have mailed to you or sent via PayPal. Be sure to check it out! Click here to sign up for Ebates, and RIGHT NOW when you sign up, you will receive a $10 cash welcome bonus when you spend $25.00!
Since you were already going to complete your purchase online, why not get some cash back on things you already planned to purchase!
[convertkit form=917377]
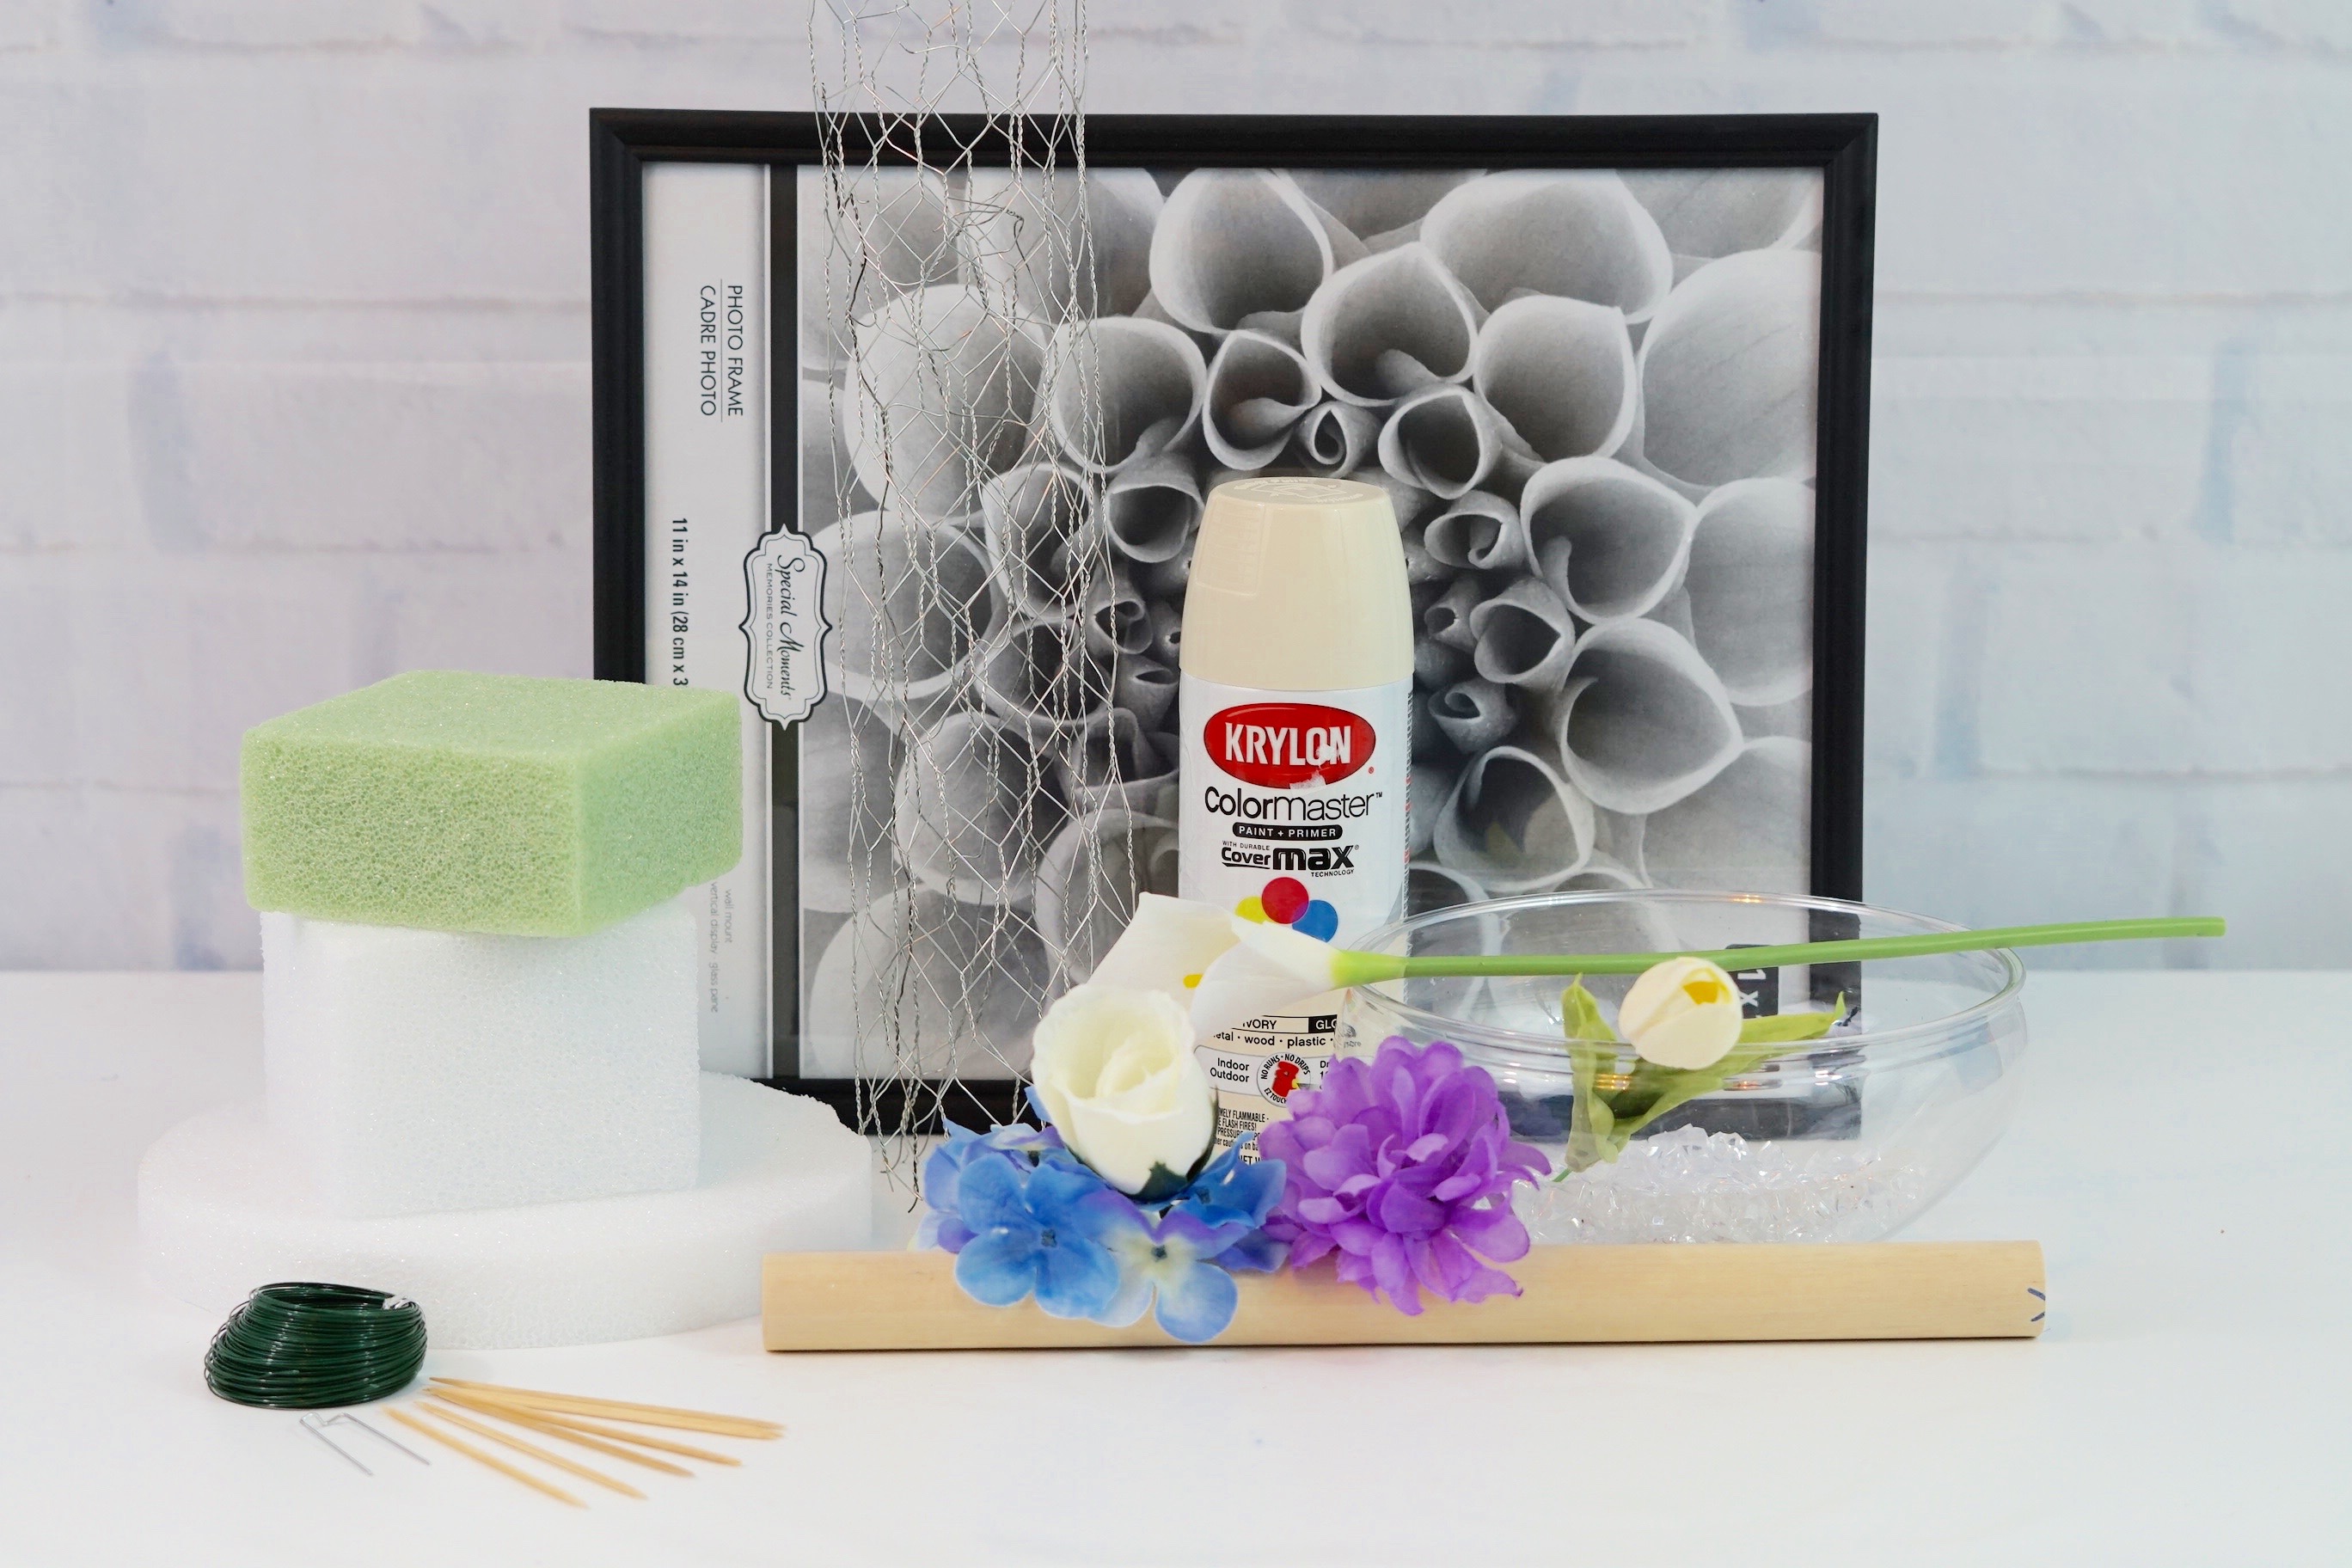
SUPPLIES:
- Floral Craft White Foam Blocks, 3×4 in.
- Clear Plastic Garden Dishes, 7.5 in.
- Floral Garden Satin Ribbon, 6-yd. Spools
- Floral Garden Floral Wire and Tape Rolls
- 5-Stem Floral Garden Summer Dahlia Bushes
- Black Plastic Photo Frames, 11×14 in
- Cooking Concepts Brightly Colored Toothpick Dispensers, 2-ct. Packs
- Floral Garden Wire Cutters, 5 in.
- 5Stem Floral Garden Hydrangea
- Styrofoam Disc – 8”
- Green Styrofoam Block – 4″ x 4″ x 2”
- Clear Crystal Dazzlers
- Galvanized Chicken Wire
- Hardwood Dowel – 7/8”
- White Rose Bud with Gypsophila
- Ivory Krylon Indoor/Outdoor Spray Paint
- 12 pcs Stunning Holland Tulip Flower Real Touch Artificial Silk Flowers
- HoveBeaty Calla Lily Bridal Wedding Festival Decor Bouquet Real Touch Latex
- Flower Bouquet Pack of 20 (White)
- Duovlo Artificial Silk Hydrangea Flower with 6 Heads Flower Bunch
How To Make a Tall Tulip Wedding Centerpiece
Directions:
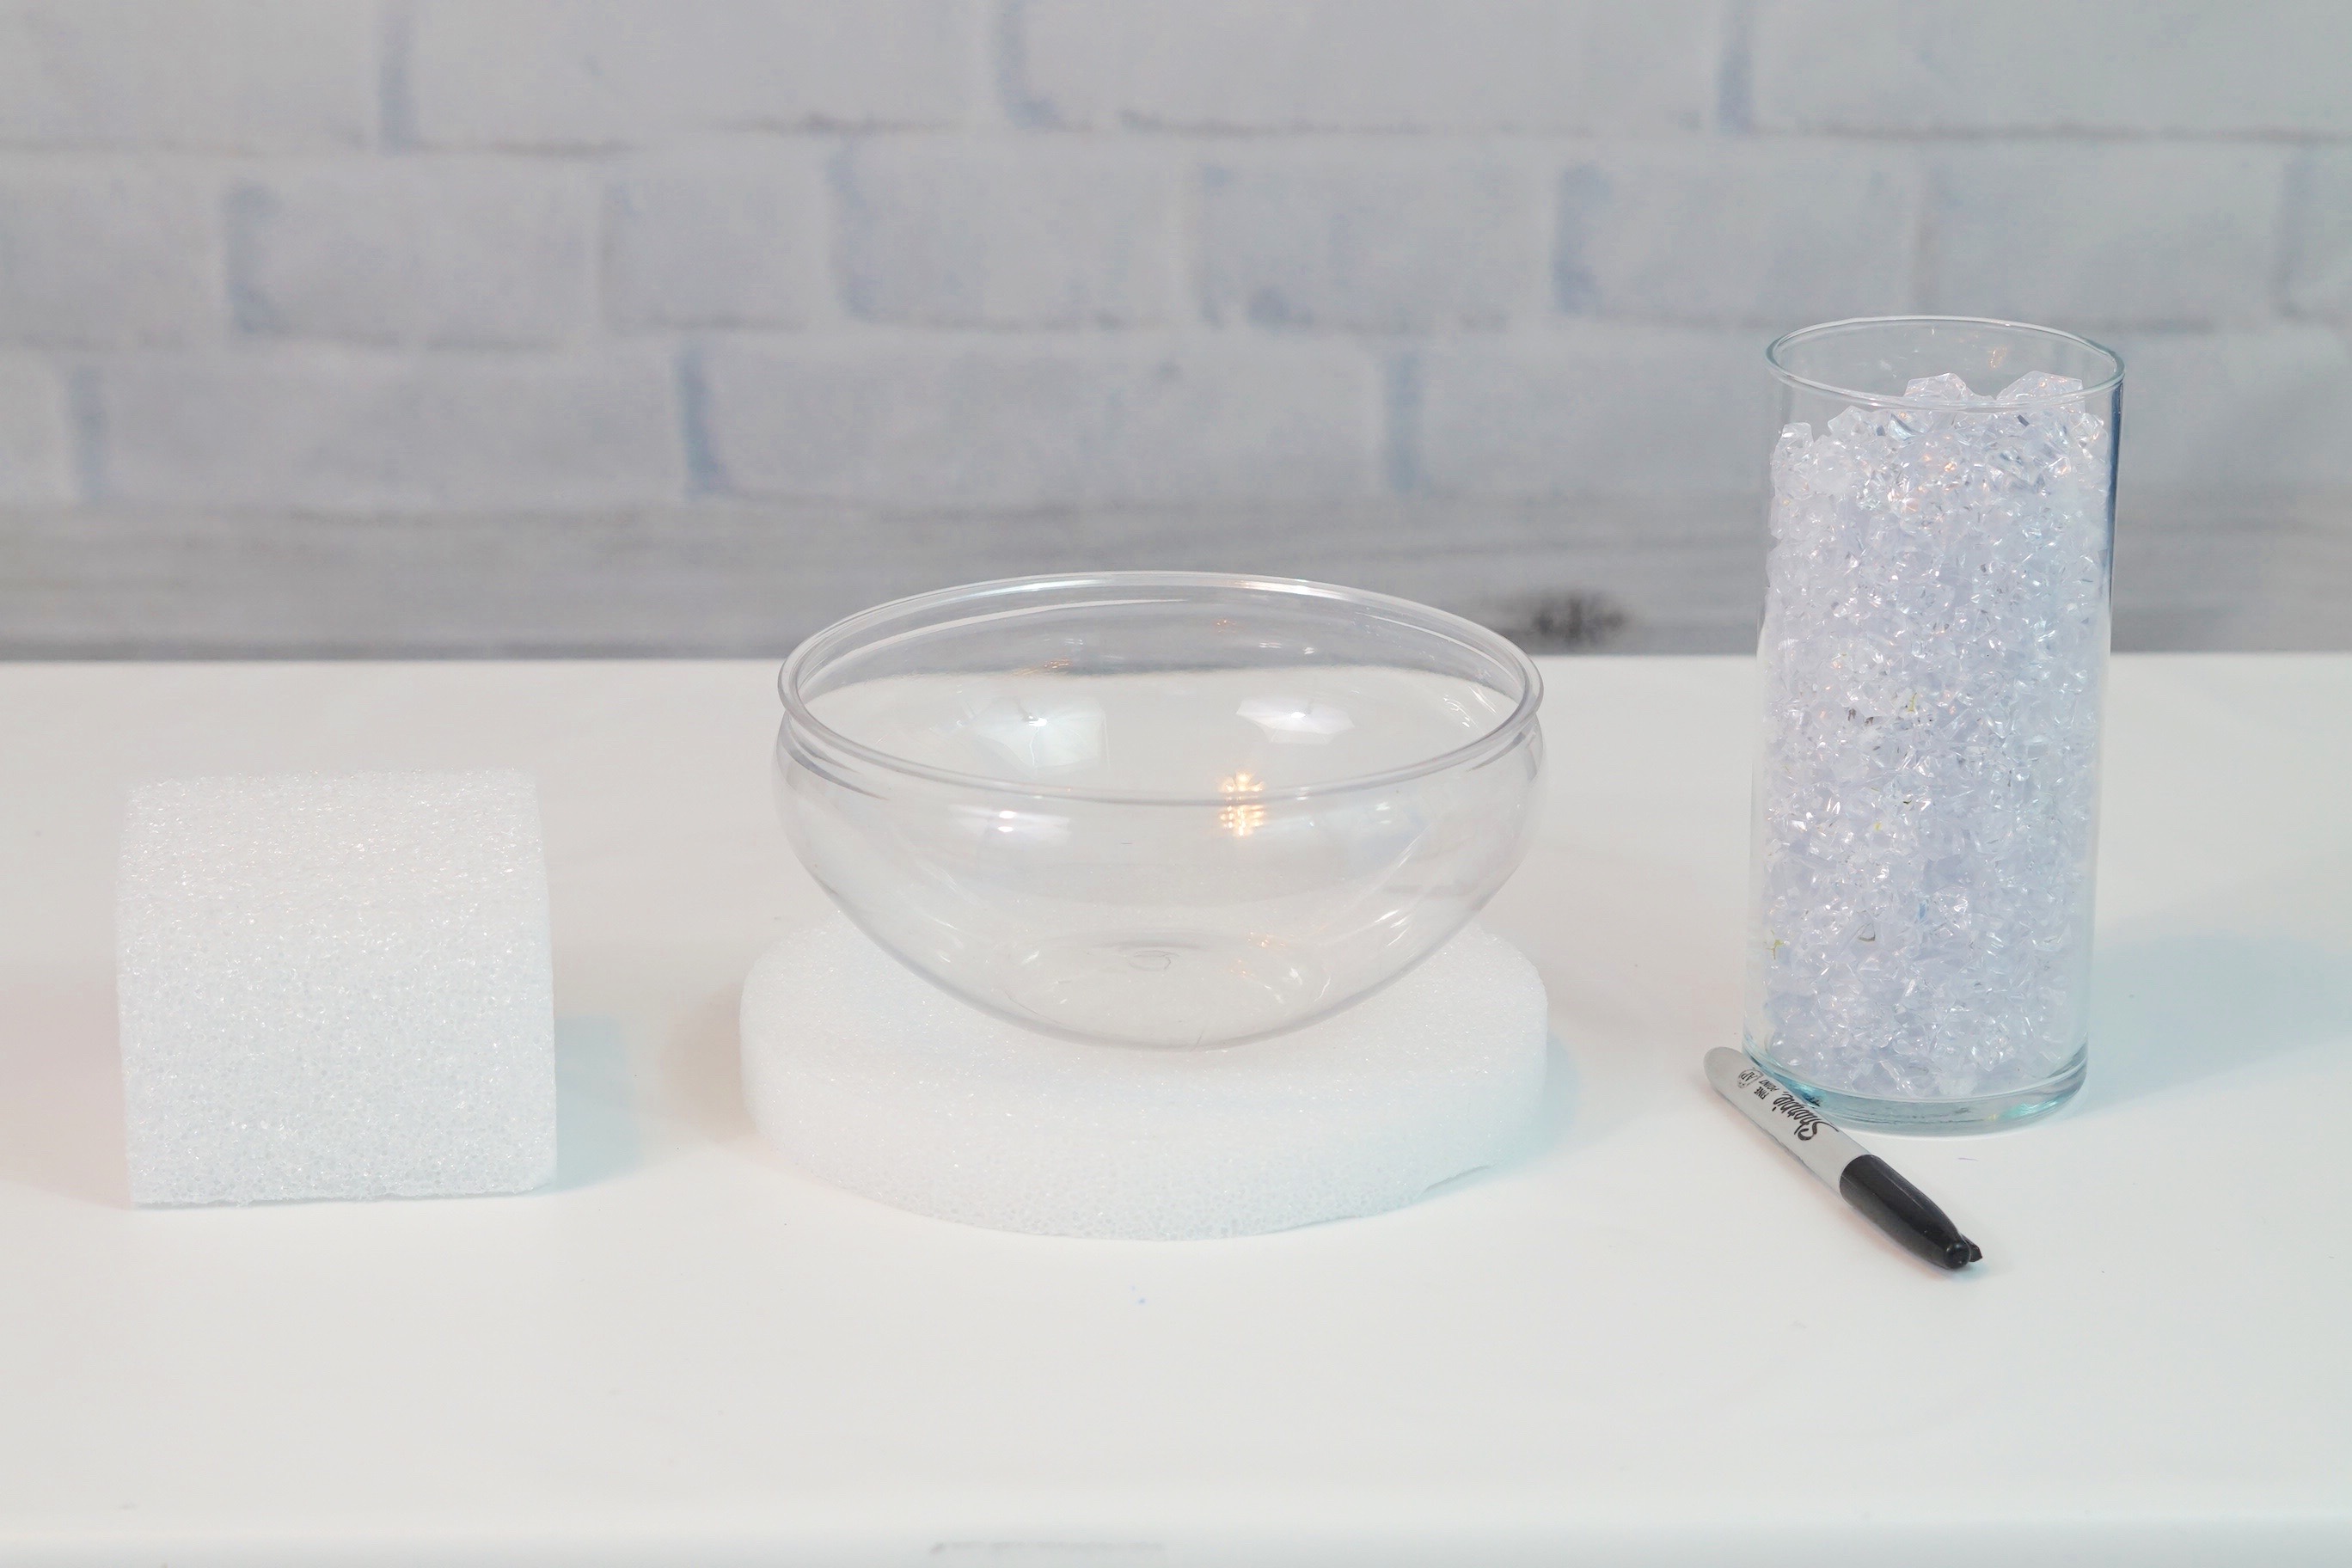
STEP 1: For this wedding centerpiece, a strong base is A MUST. To accomplish this, you will need to trim down your foam disc. This will ensure it fits snuggly in the rim of your plastic garden dish.
Place your plastic garden dish face down on your foam disc. Next take a sharpie marker or any other marker you have handy and trace around your plastic garden dish on your foam. Trim off your traced line and place your foam inside of your plastic garden dish. It should fit flush inside of your plastic garden dish rim.
YOU MAY ALSO LIKE:
STEP 2: Now that you have trimmed down your foam disc, fill your plastic garden dish with crystal dazzlers about a third from the rim. You don’t want to fill your plastic garden dish all the way because you will need about an inch from the rim for your foam disc to fit flush.
Tip: Just a quick tip! In place of the crystal dazzlers, you can use marbles or even glass beads. Whatever you would like. Remember this is your wedding and you should customize your wedding centerpieces into something you will love!
Use toothpicks to hold your foam cube and disc together
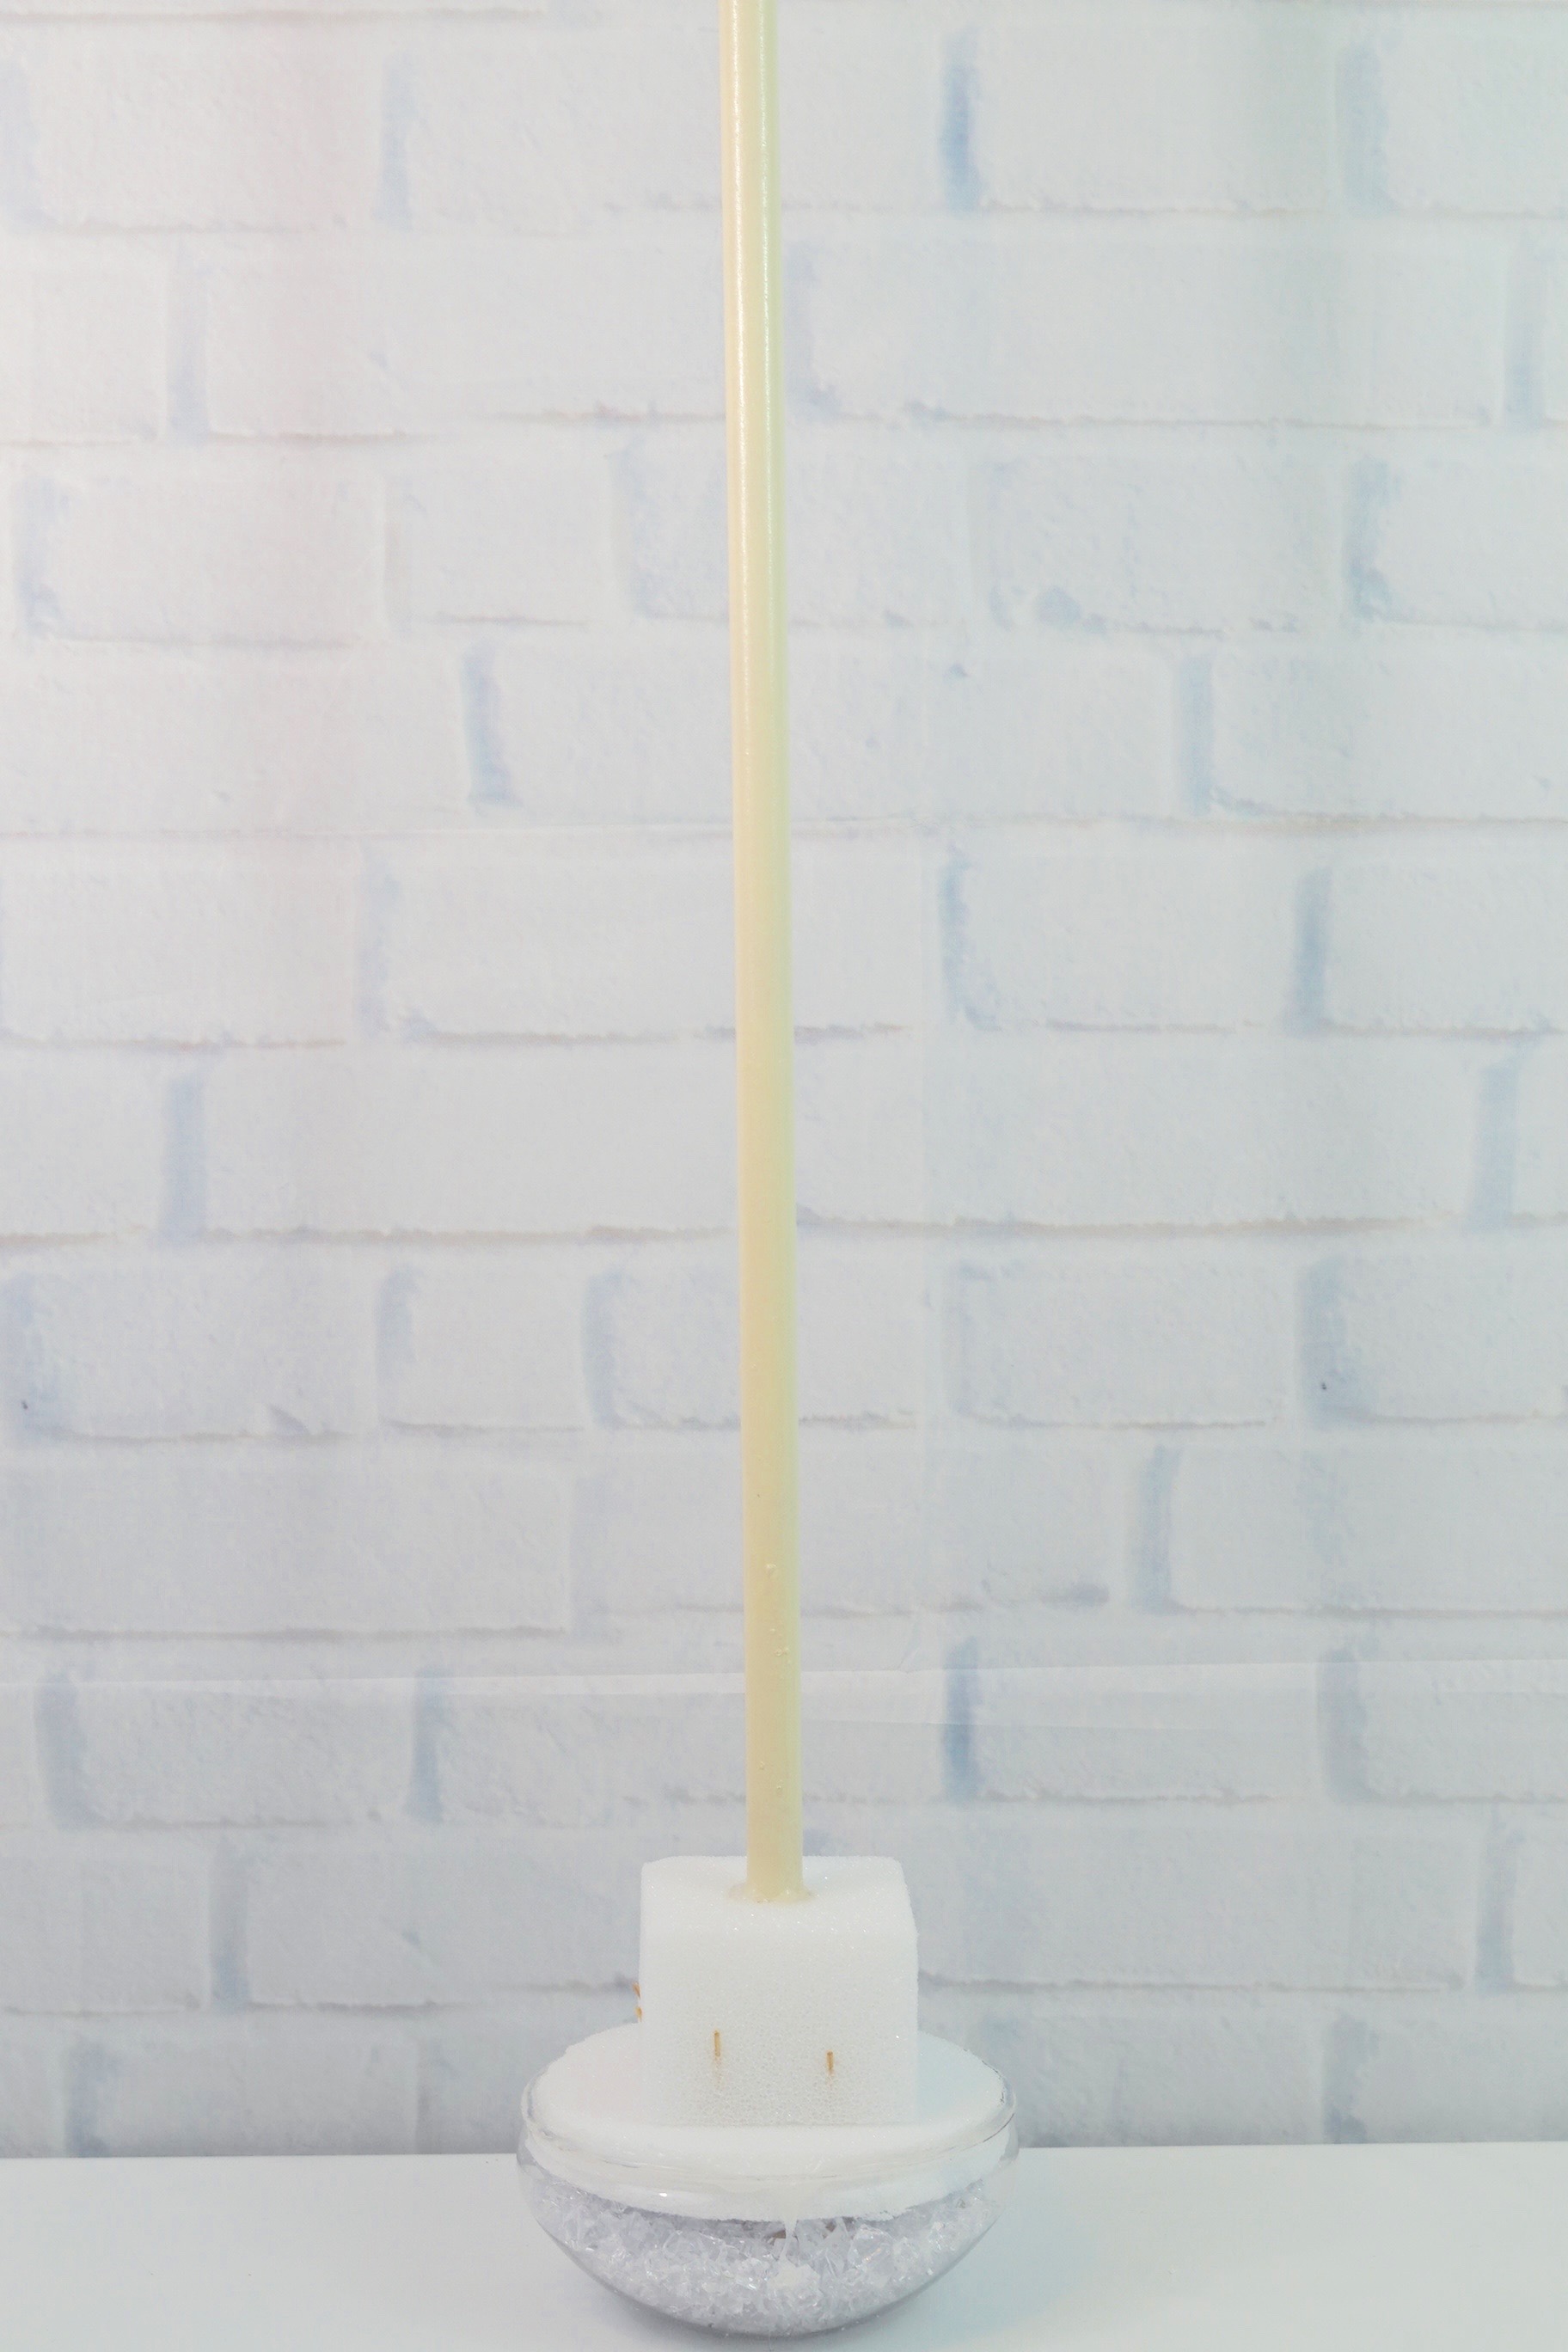
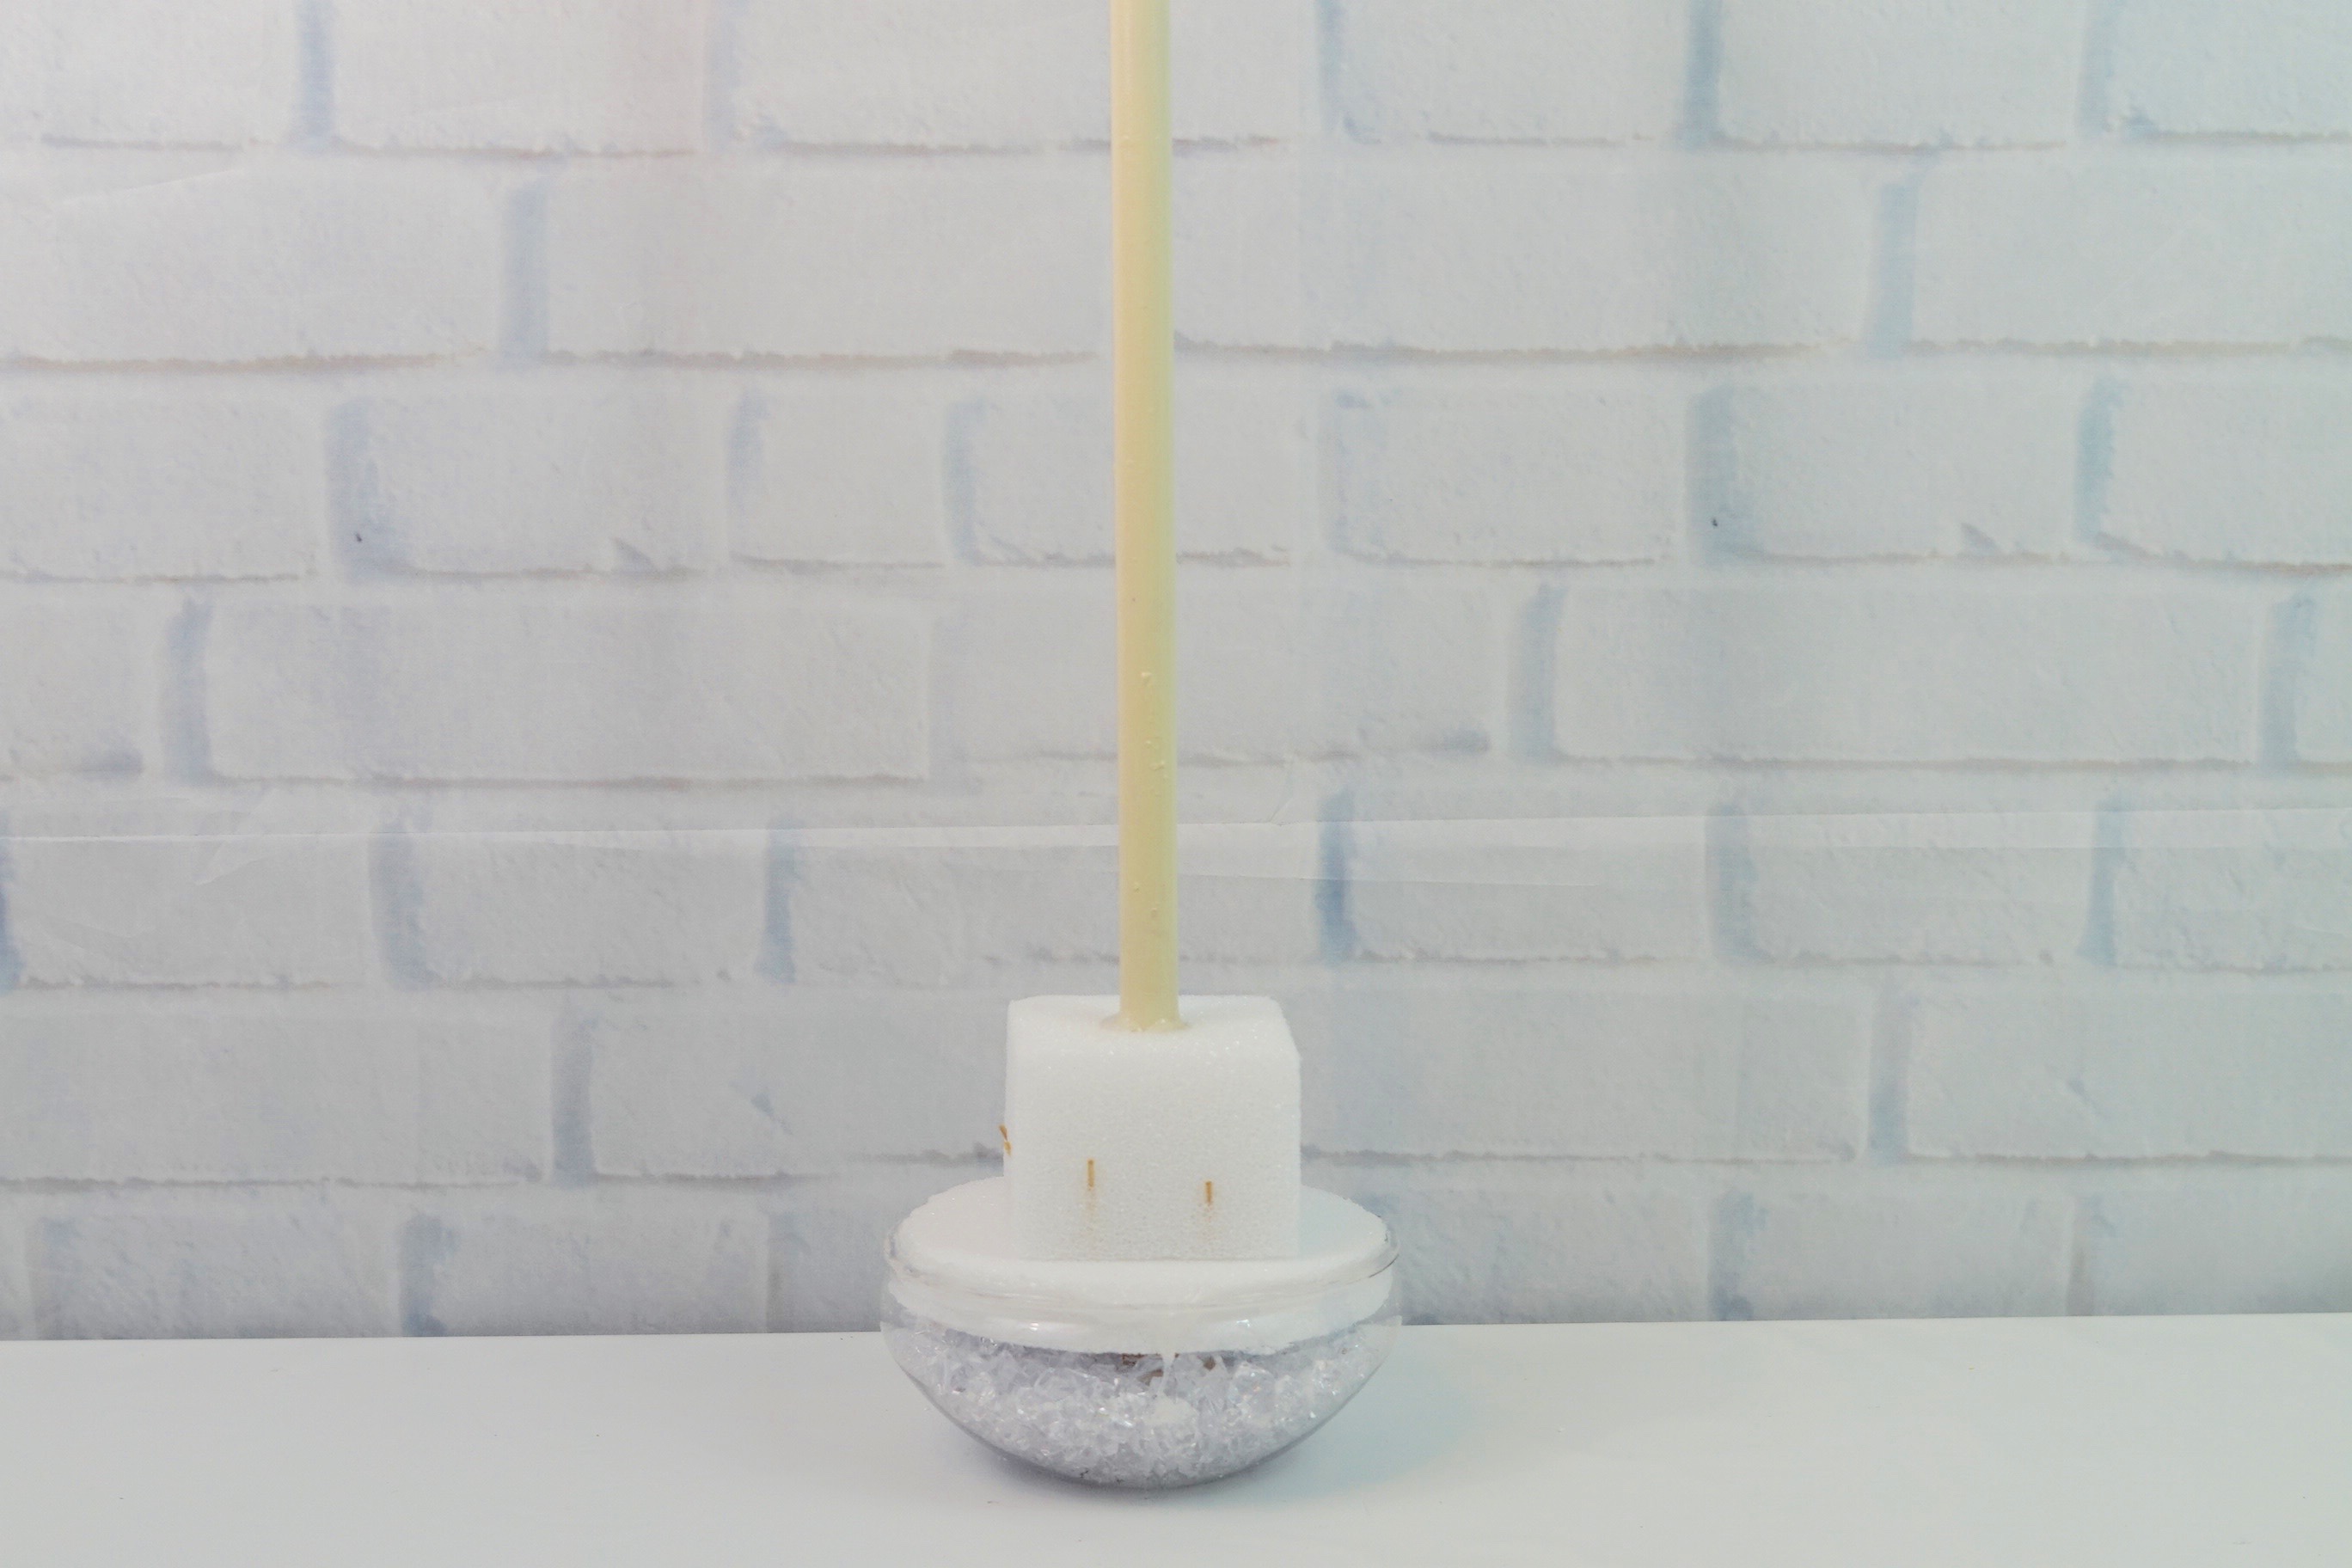
STEP 3: Attach your foam cube to the center of your trimmed down foam disc using extra-long toothpicks. Two on each side of your foam cube. Be sure not to push the toothpicks all the way through the foam disc. You want to be able to see the toothpick but you don’t want them to go through your foam disc. Now trim off any excess from your toothpicks using wire cutters.
Spray Paint Your Wooden Dowel
STEP 4: Spray paint your 7/8 inch wooden dowel with cream spray paint. And allow it to dry. Once it is dry, insert your wooden dowel in your foam cube all the way through your foam disc. You may need to reinsert your wooden dowel a few times so it goes through your foam disc. Try flipping it over and pushing your wooden dowel through the other end if you are still having issues.
STEP 5: Now attach the foam pieces to the inside of your plastic garden dish rim. Seal the rim with hot glue and give it some time to dry and adhere, about 10 to 15 minutes. Take the wooden dowel and insert it into the pre-punched hole you did in Step 4 and seal around the wooden dowel with hot glue as well.
Prep the top part of your wedding centerpiece for flower placement
STEP 6: The base is now prepped! Begin working on the top part of your wedding centerpiece. Place your green foam cube on your wooden dowel. Push it through about a half an inch but not all the way through your green foam. Remove your green foam cube. Add a dab of glue to the end of your 36” wooden dowel and then attach your green foam cube.
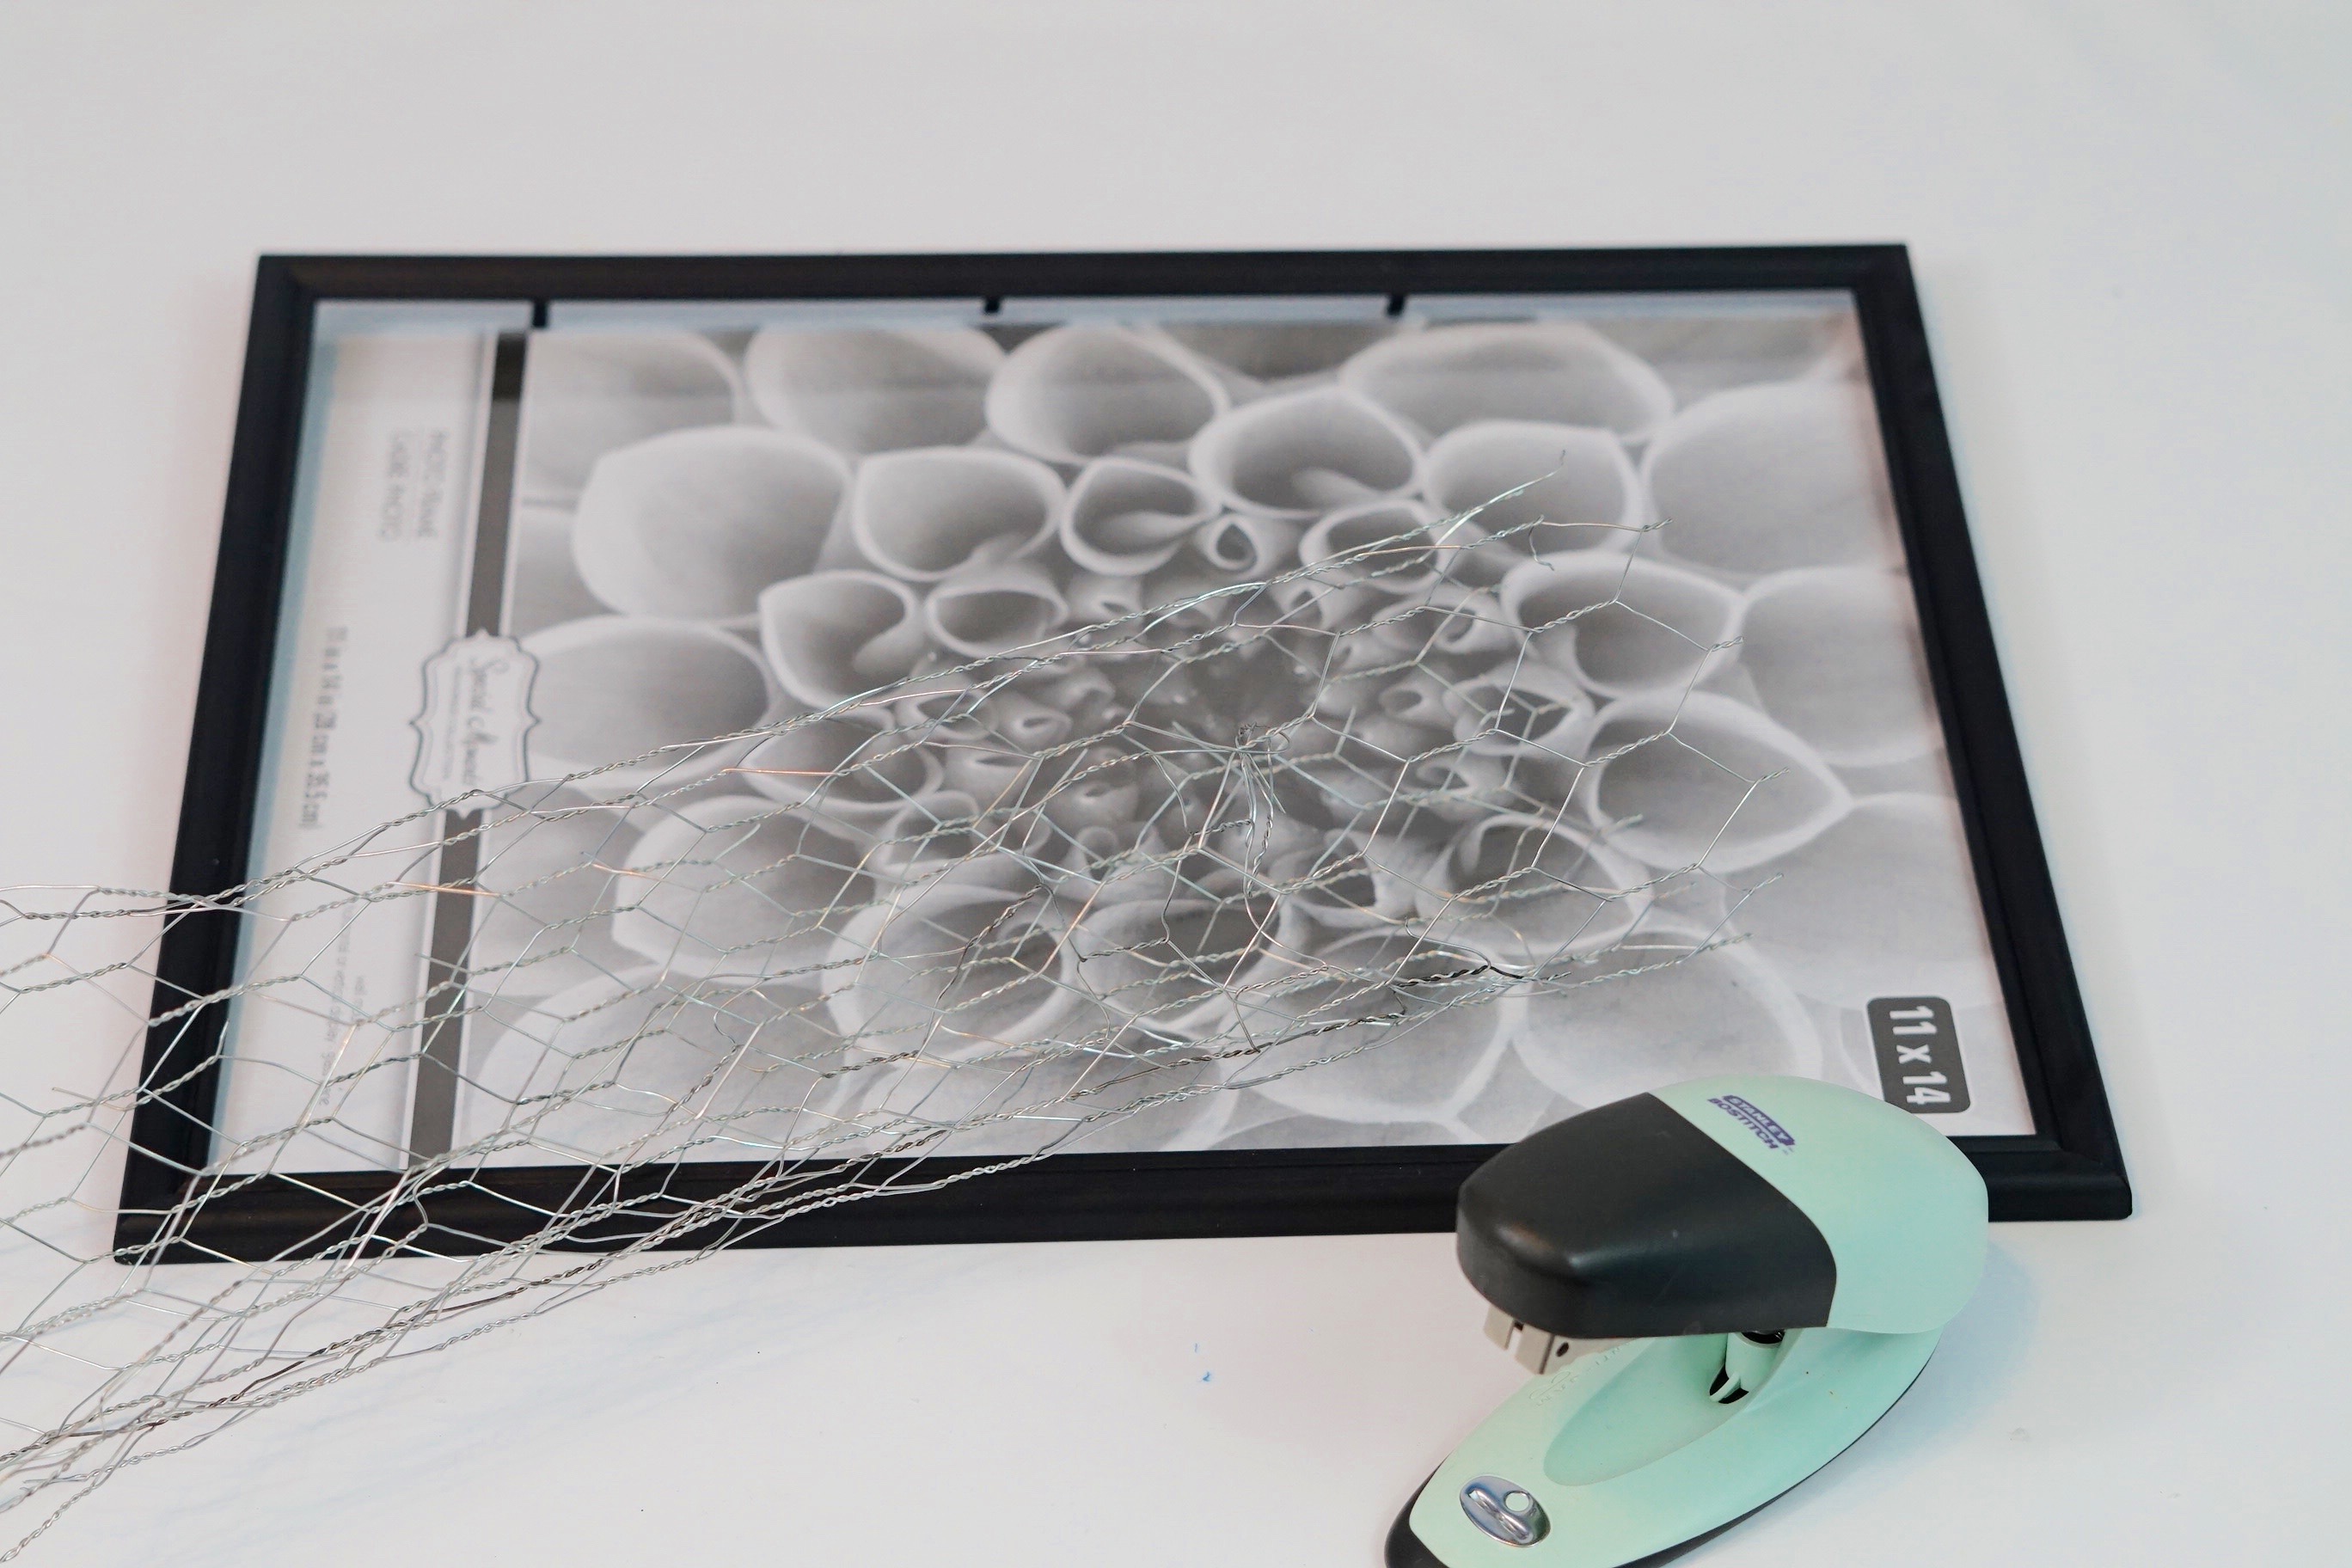
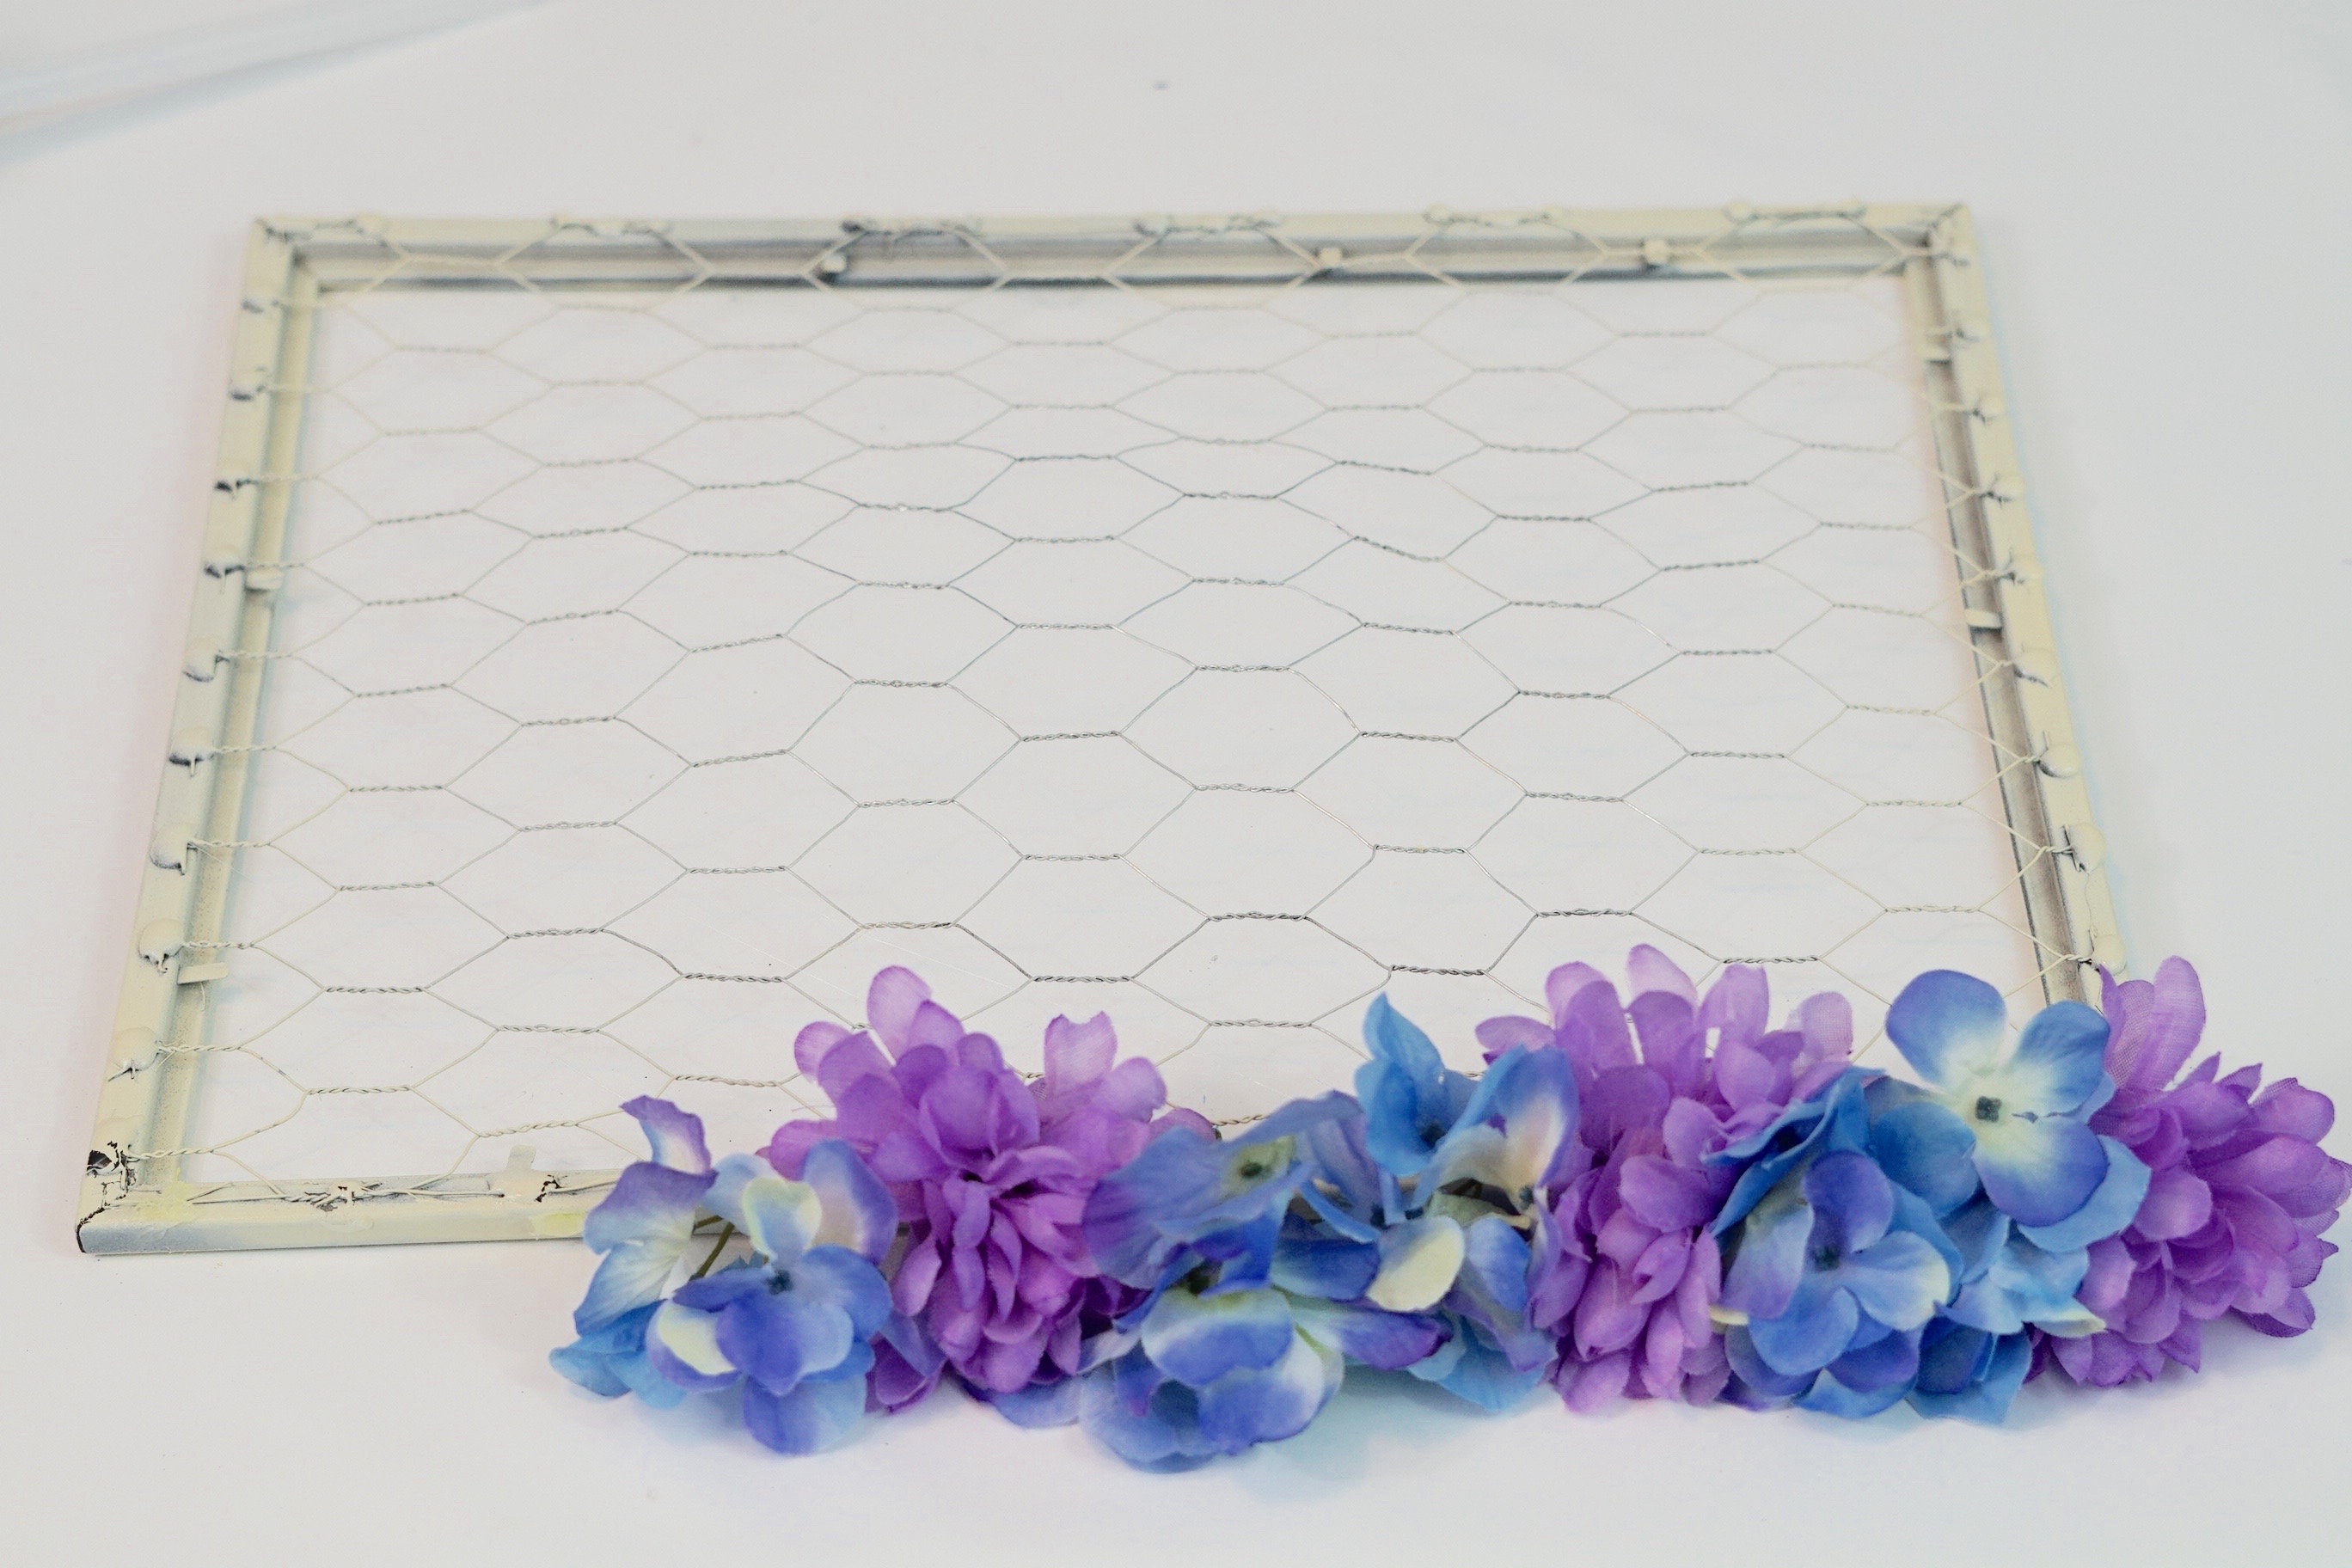
I am so excited to share with you how some chicken wire (galvanized wire), a dollar tree picture frame, and a stapler will bring this wedding centerpiece to the next level!
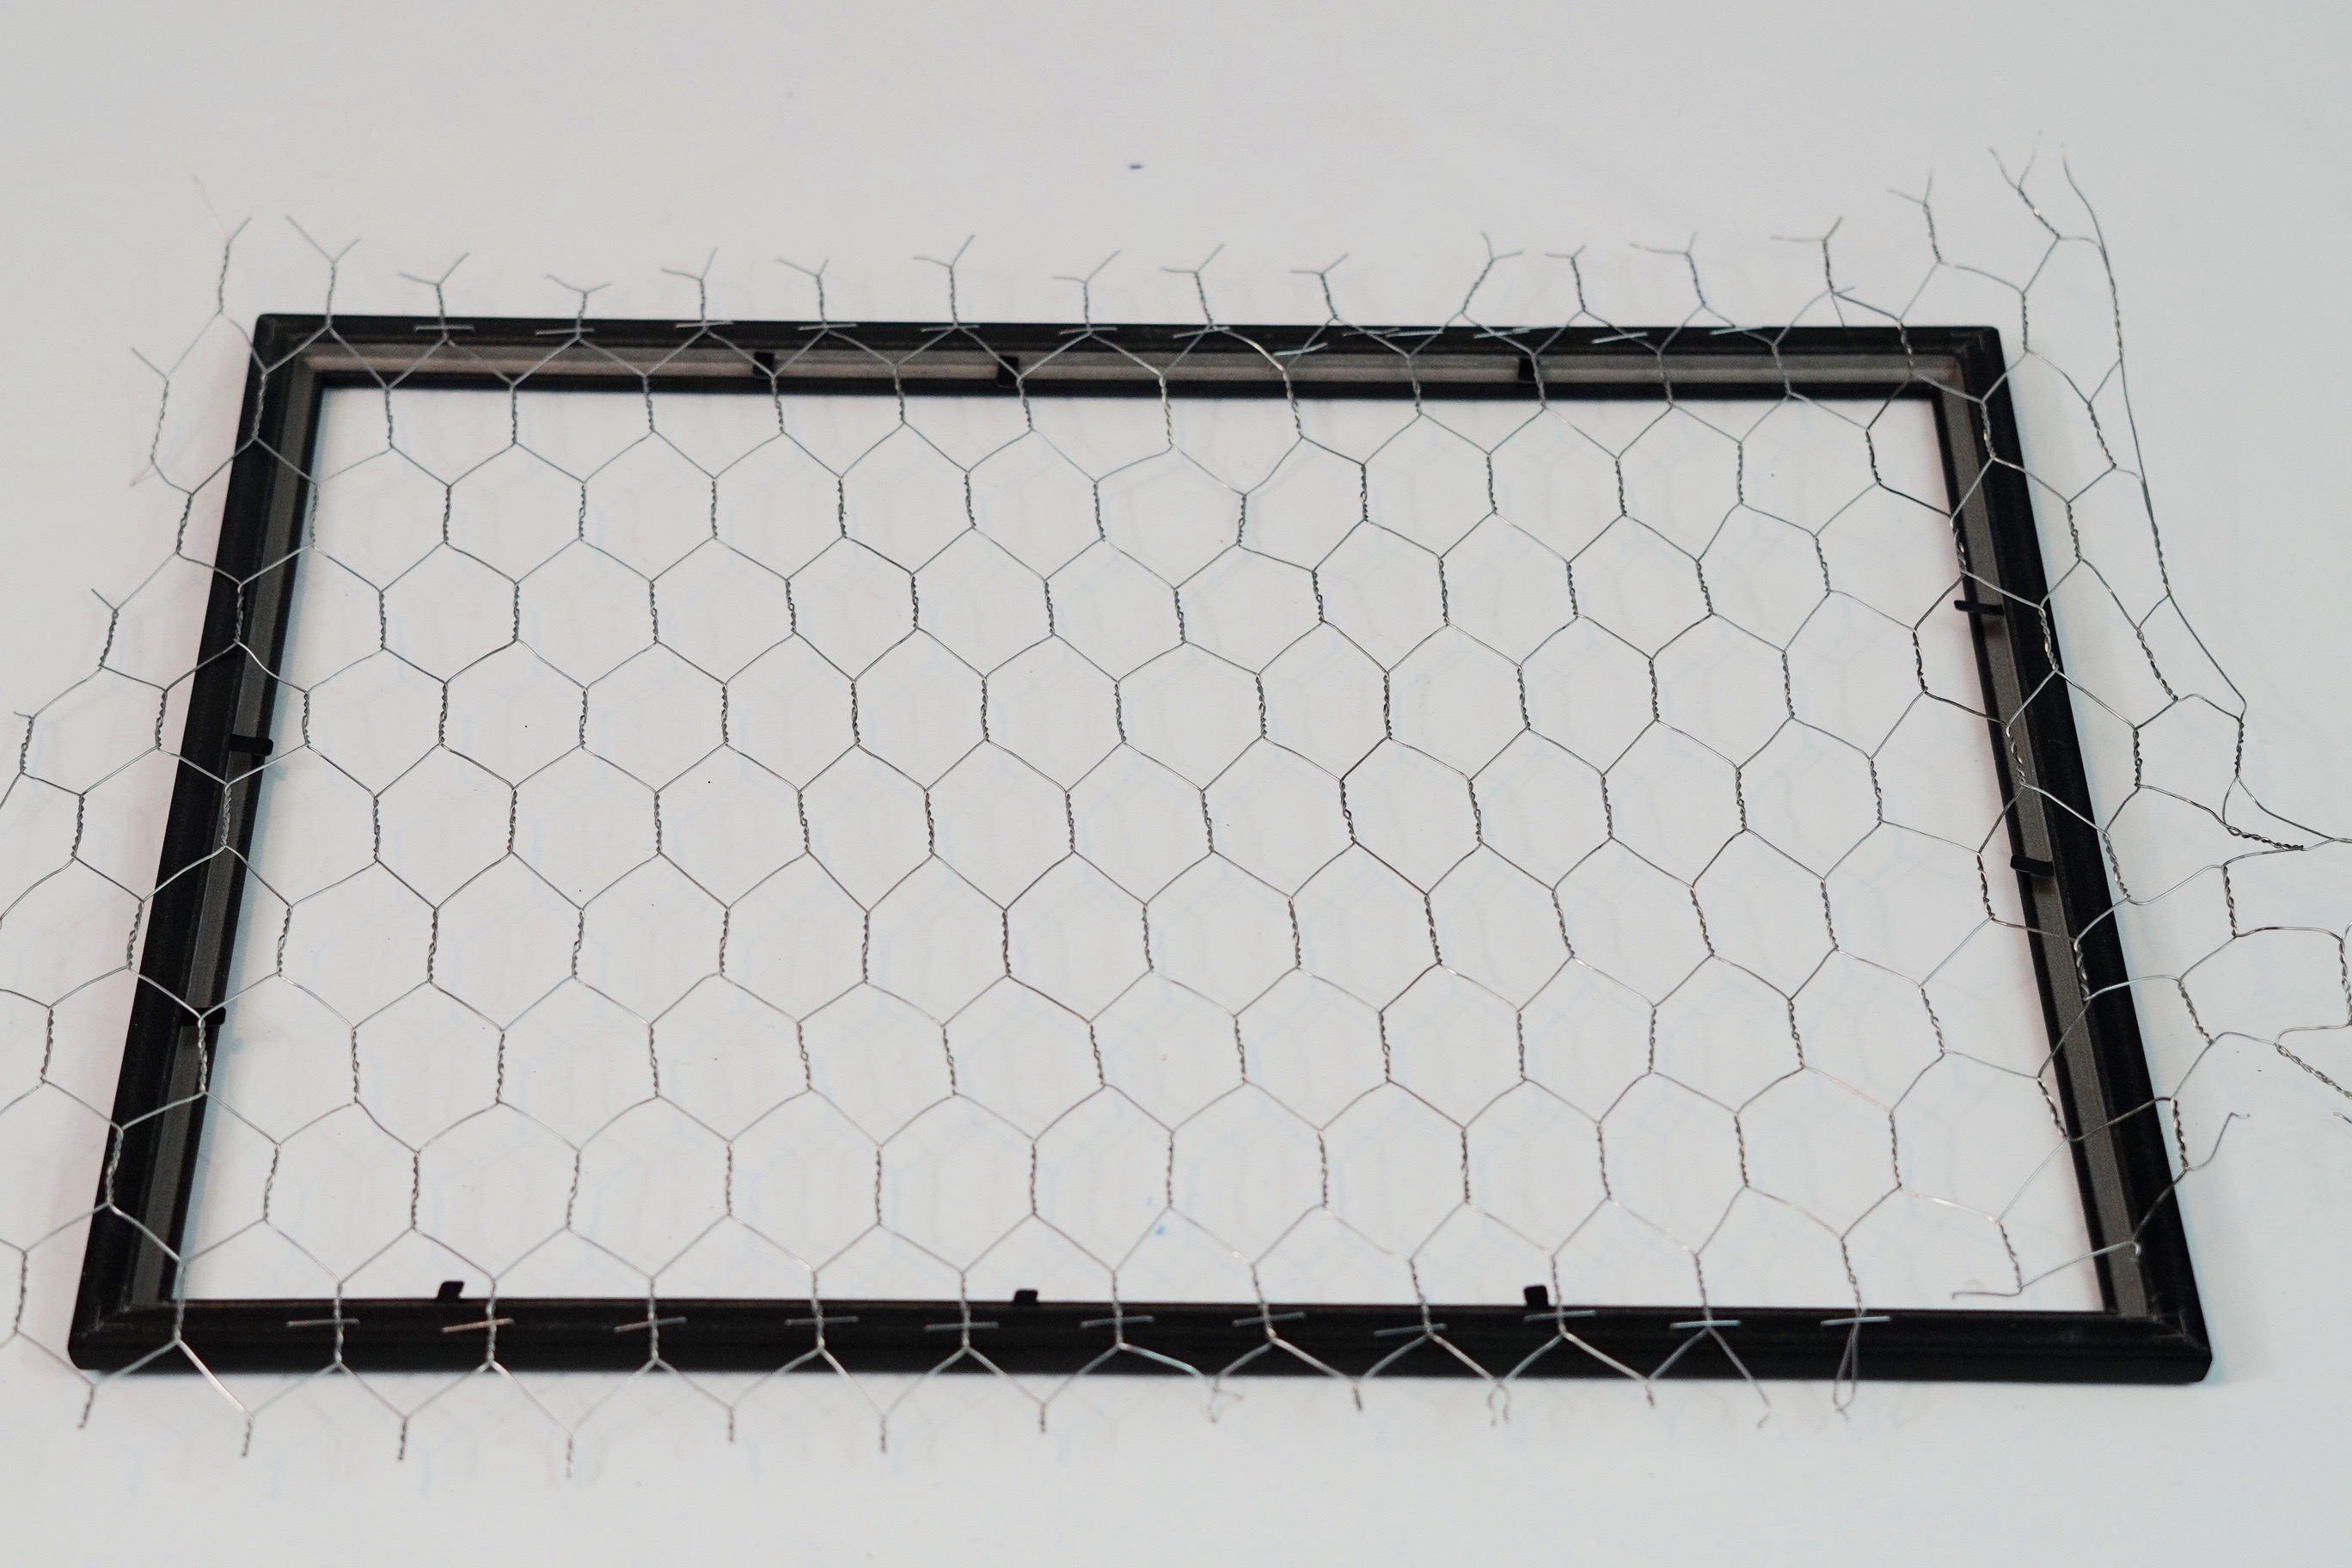
STEP 7: Start with the dollar tree picture frame. Remove the glass and paper from the picture frame. Next take your galvanized wire and staple it to the picture frame. Once you have attached all your wire, use a hammer and tap the staples to make sure the staples are secure. Trim away the excess galvanized wire with wire cutters.
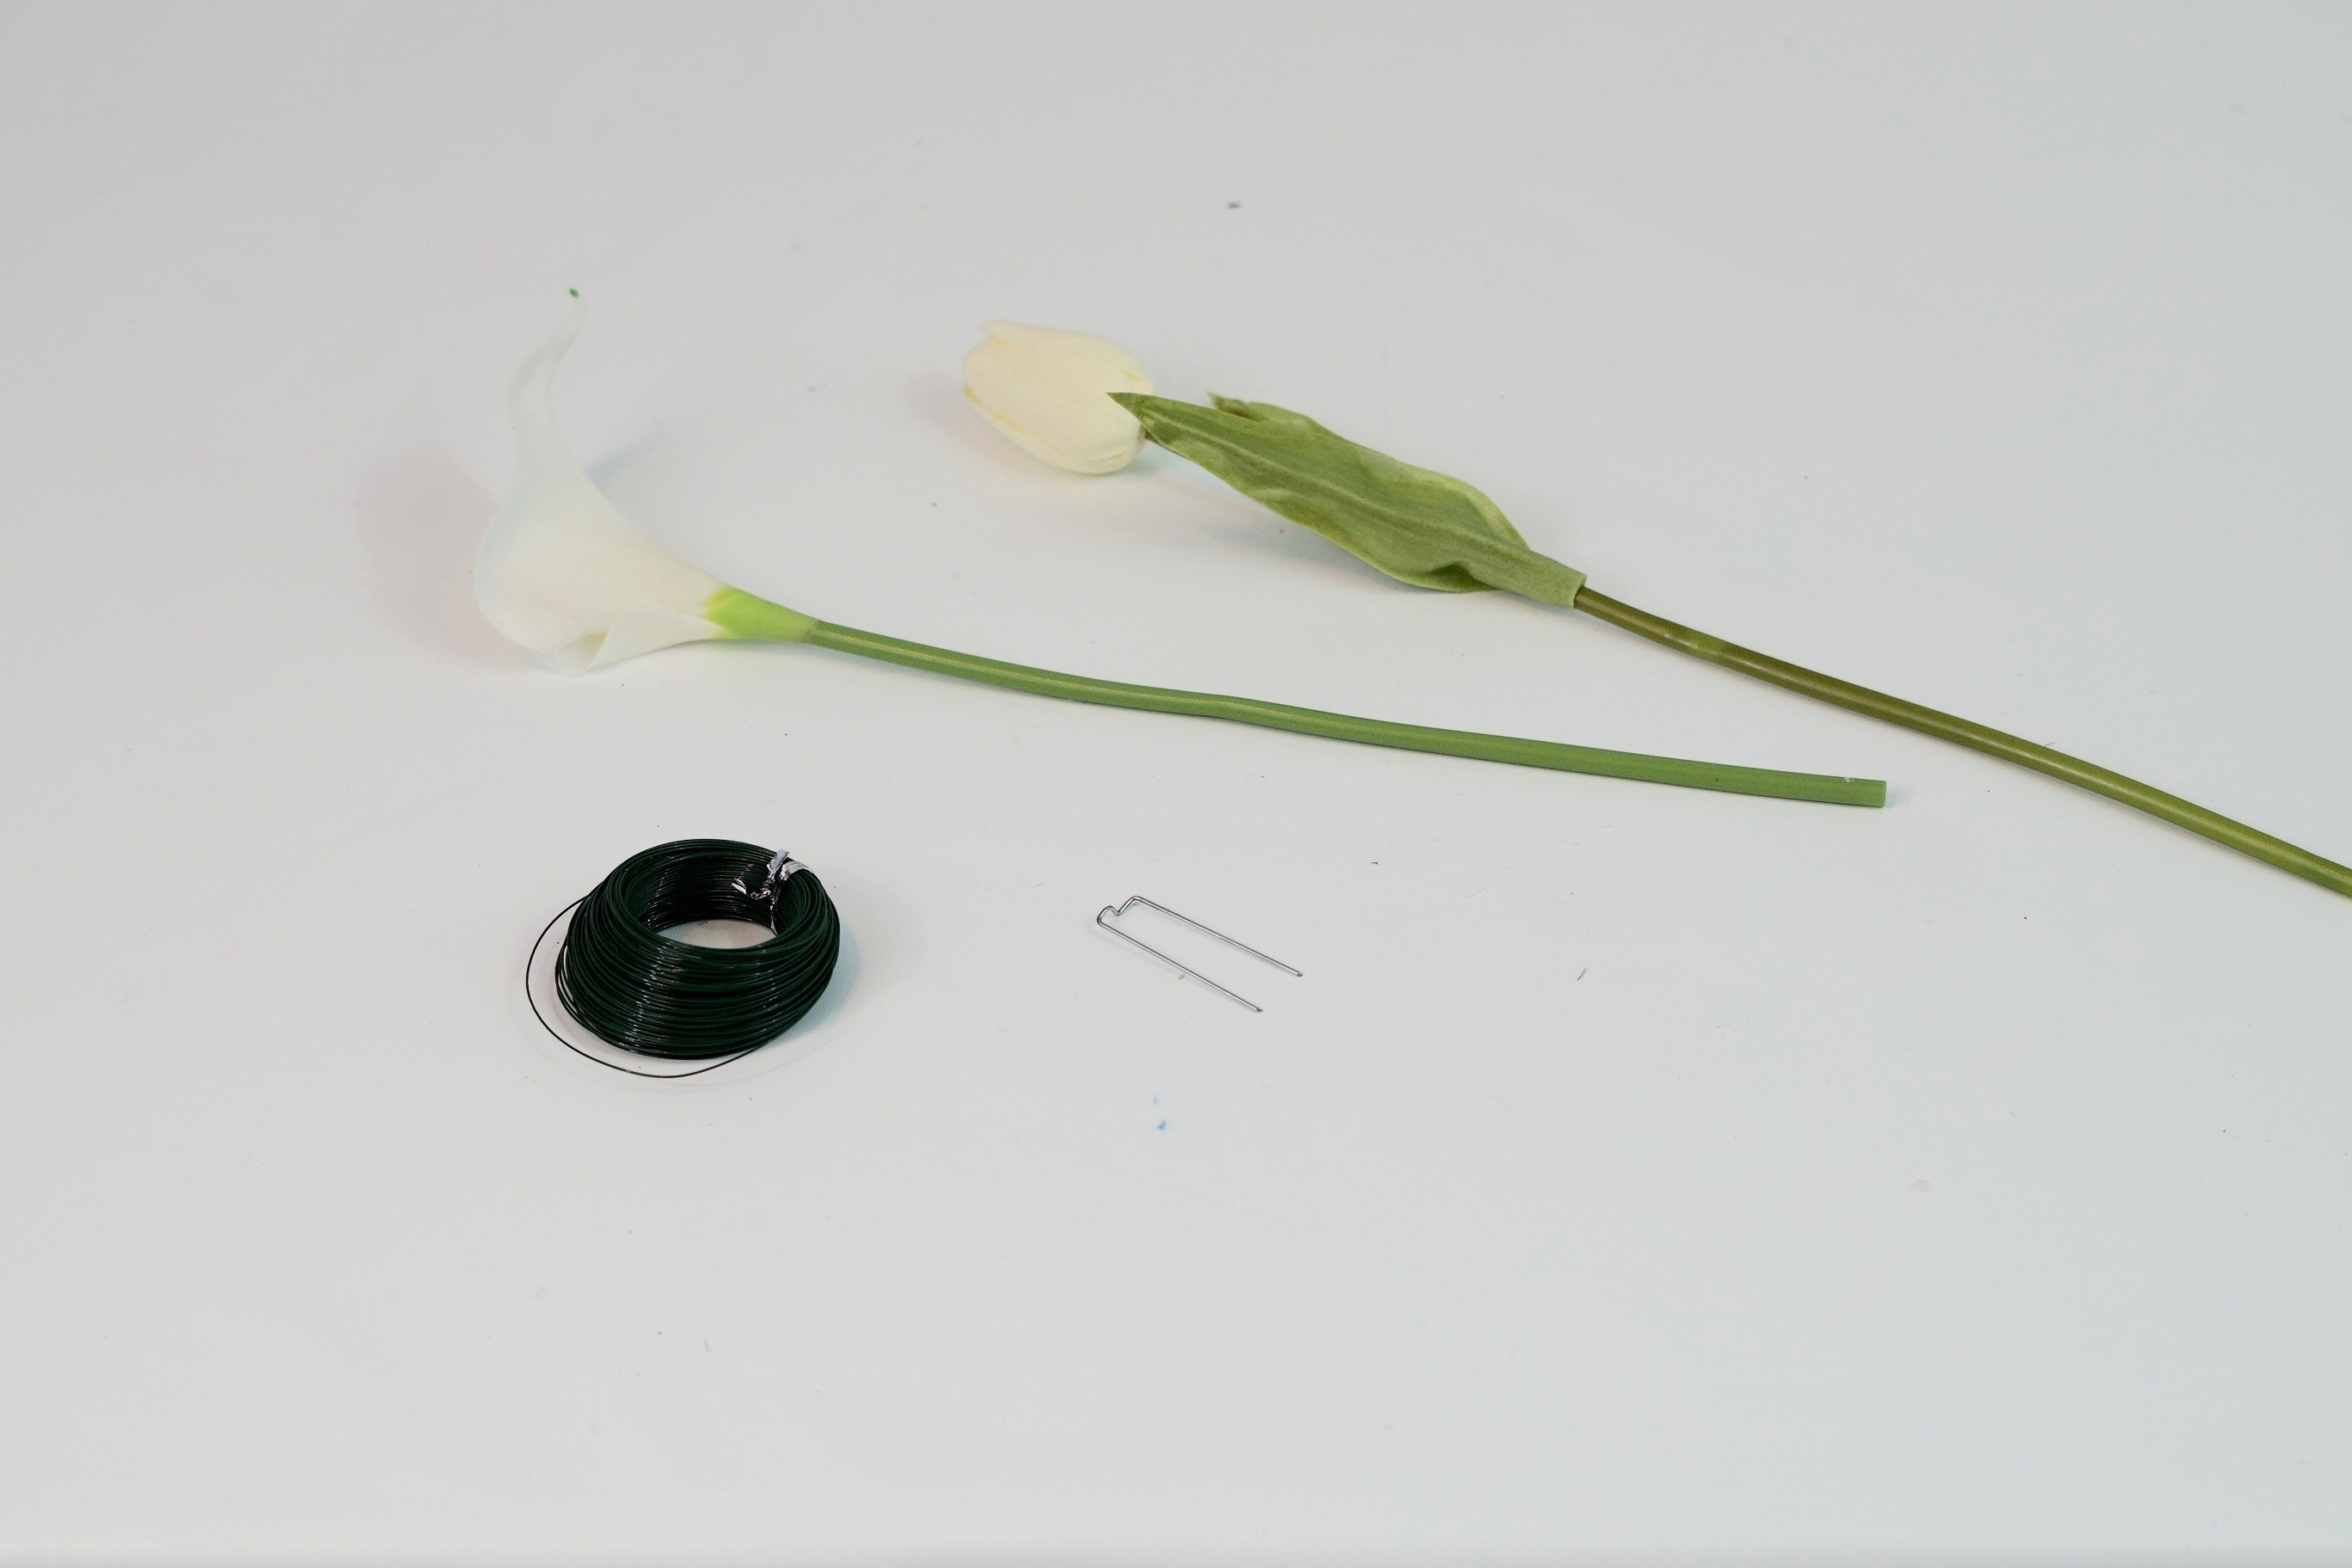
STEP 8:To attach the floral wire to the end of your calla lilies, open a floral pin and stick it completely through the end of your calla lily stem. Next thread your floral wire through and clip off your floral wire, leaving out a half and an inch. Remove 3 inches of your tulip’s stem. Now trim off the remaining plastic at about an inch. This leaves you with the wire stem to be able to attach it to the foam base.
Add ribbon and flowers to your base
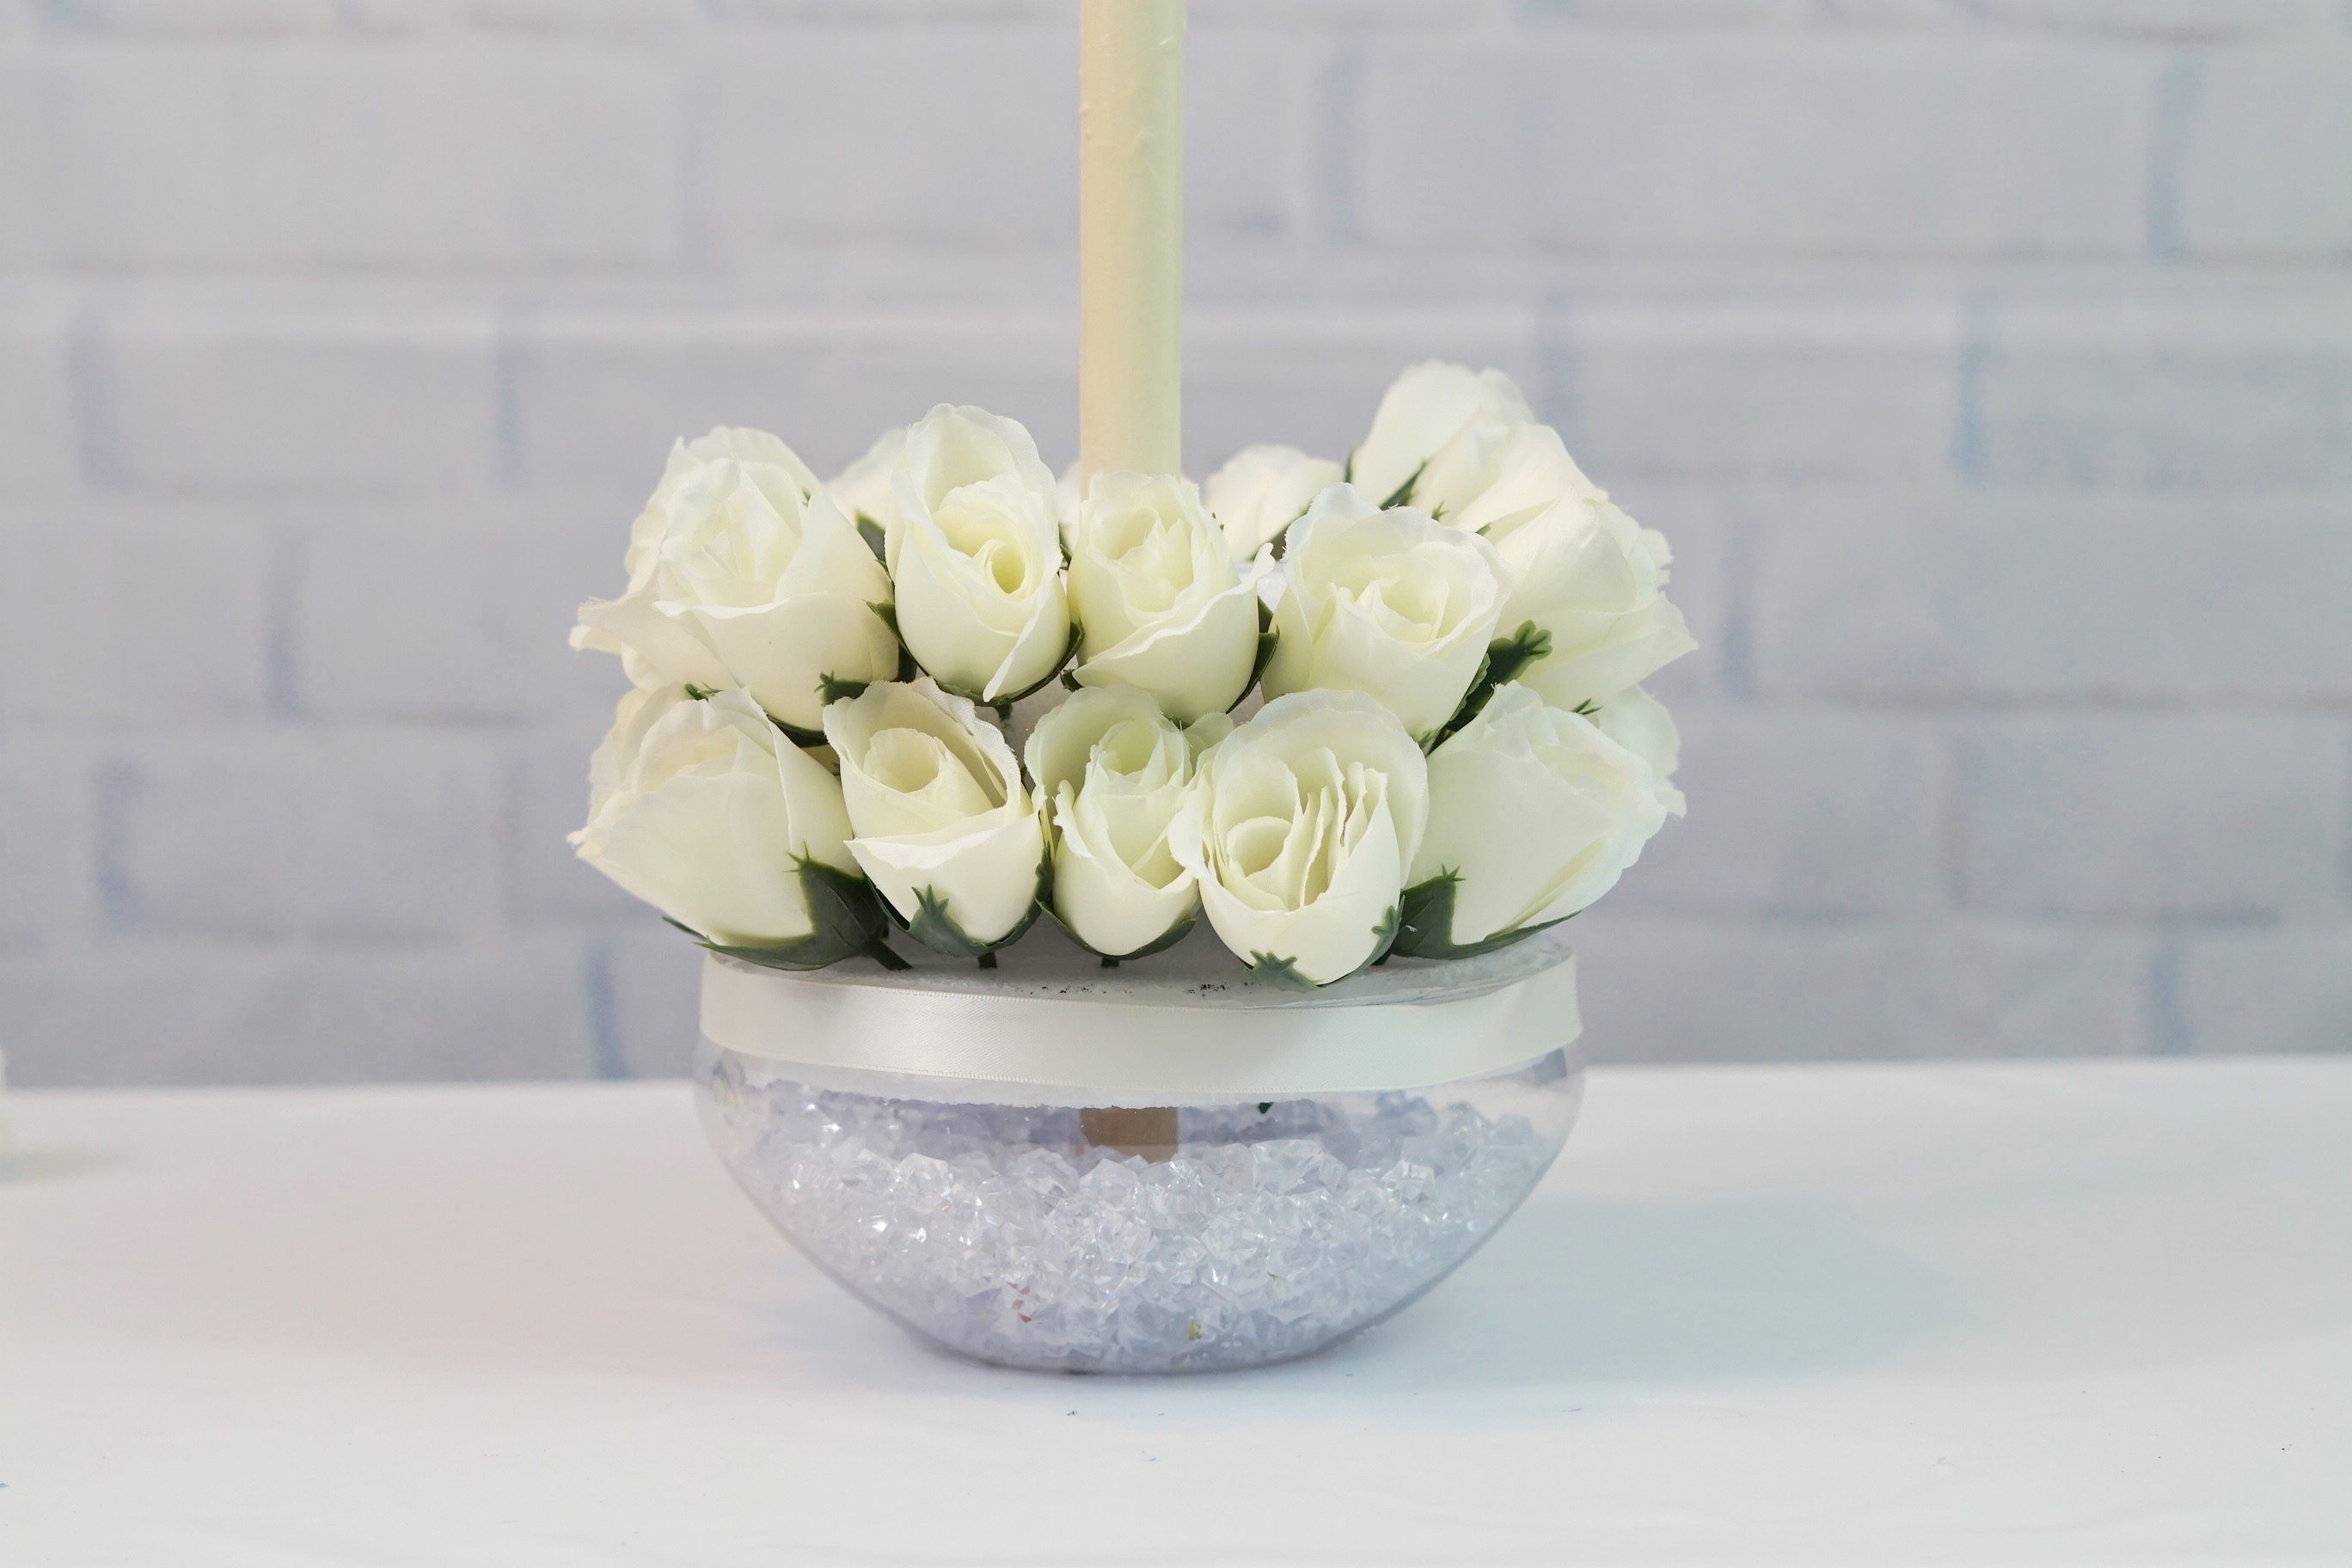
STEP 9: Wrap 5/8” satin ribbon to your plastic bowl rim. Attach two dozen white rose buds to the base foam disc and 6-8 tulips to your foam base cube. In addition, attach 4-6 dahlia blossoms and 4-6 hydrangea heads. To the top part of your wedding centerpiece, attach 4-6 dahlia blossoms and 6-8 hydrangea blossoms to your foam cube.
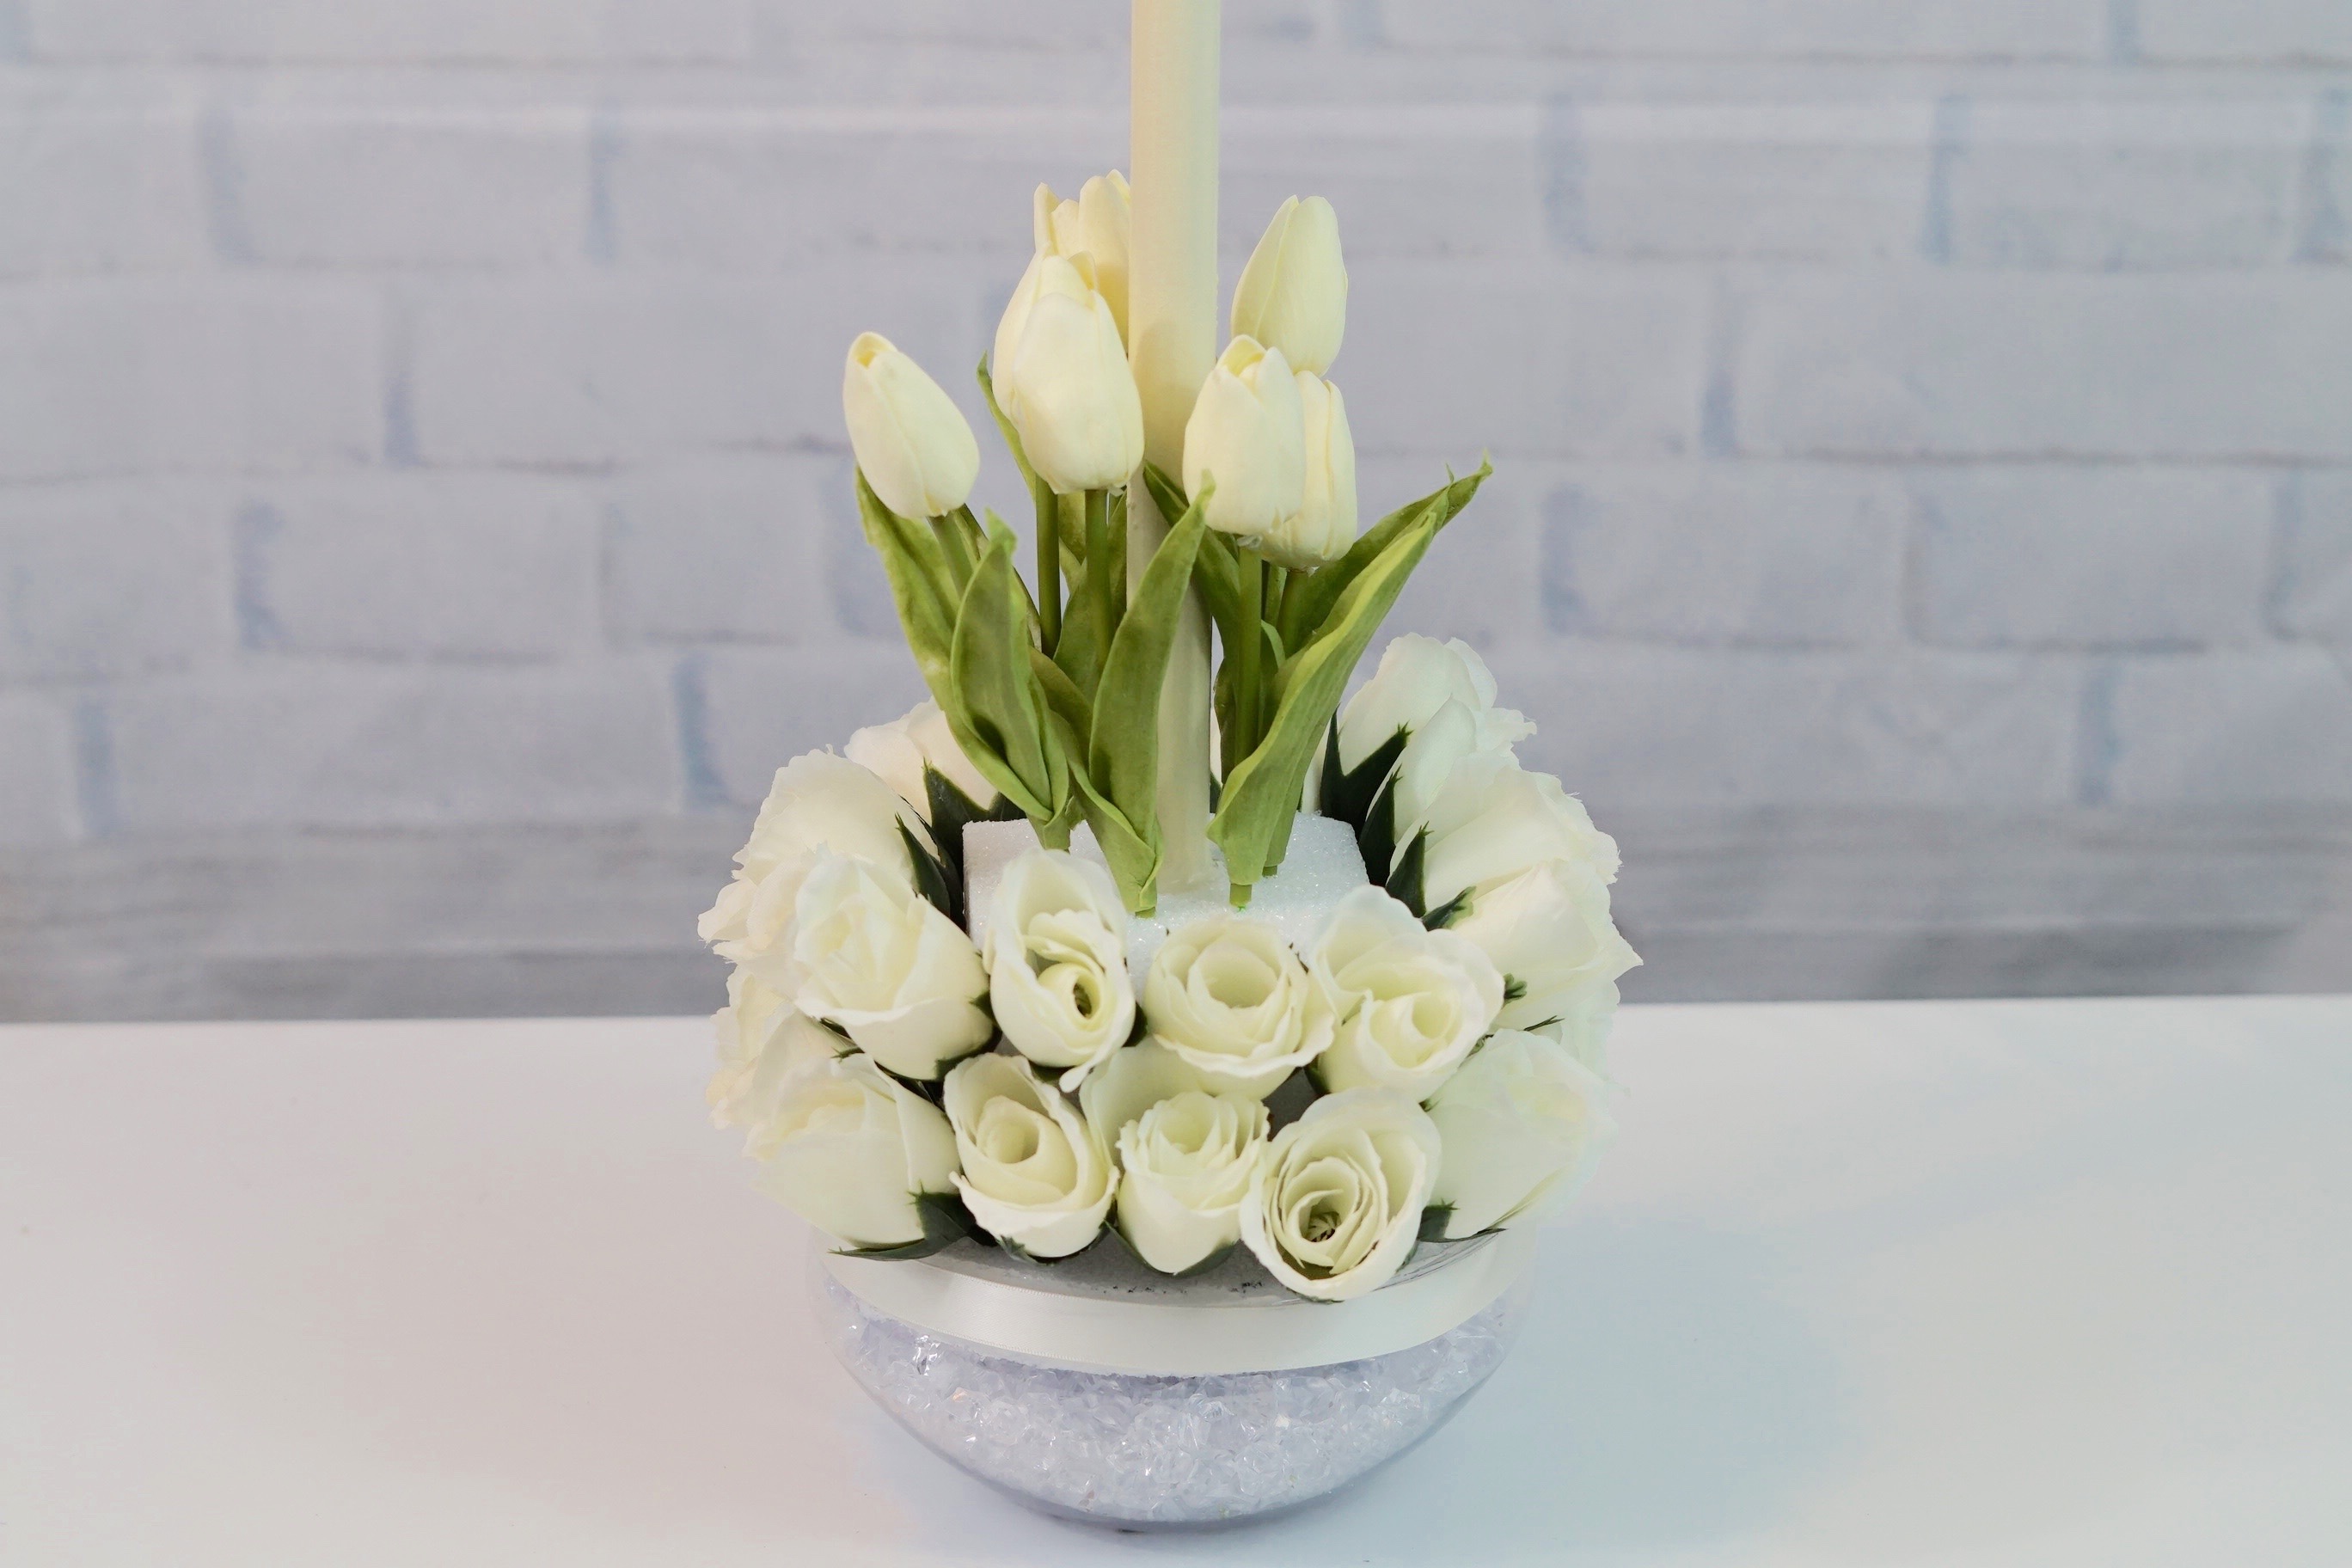
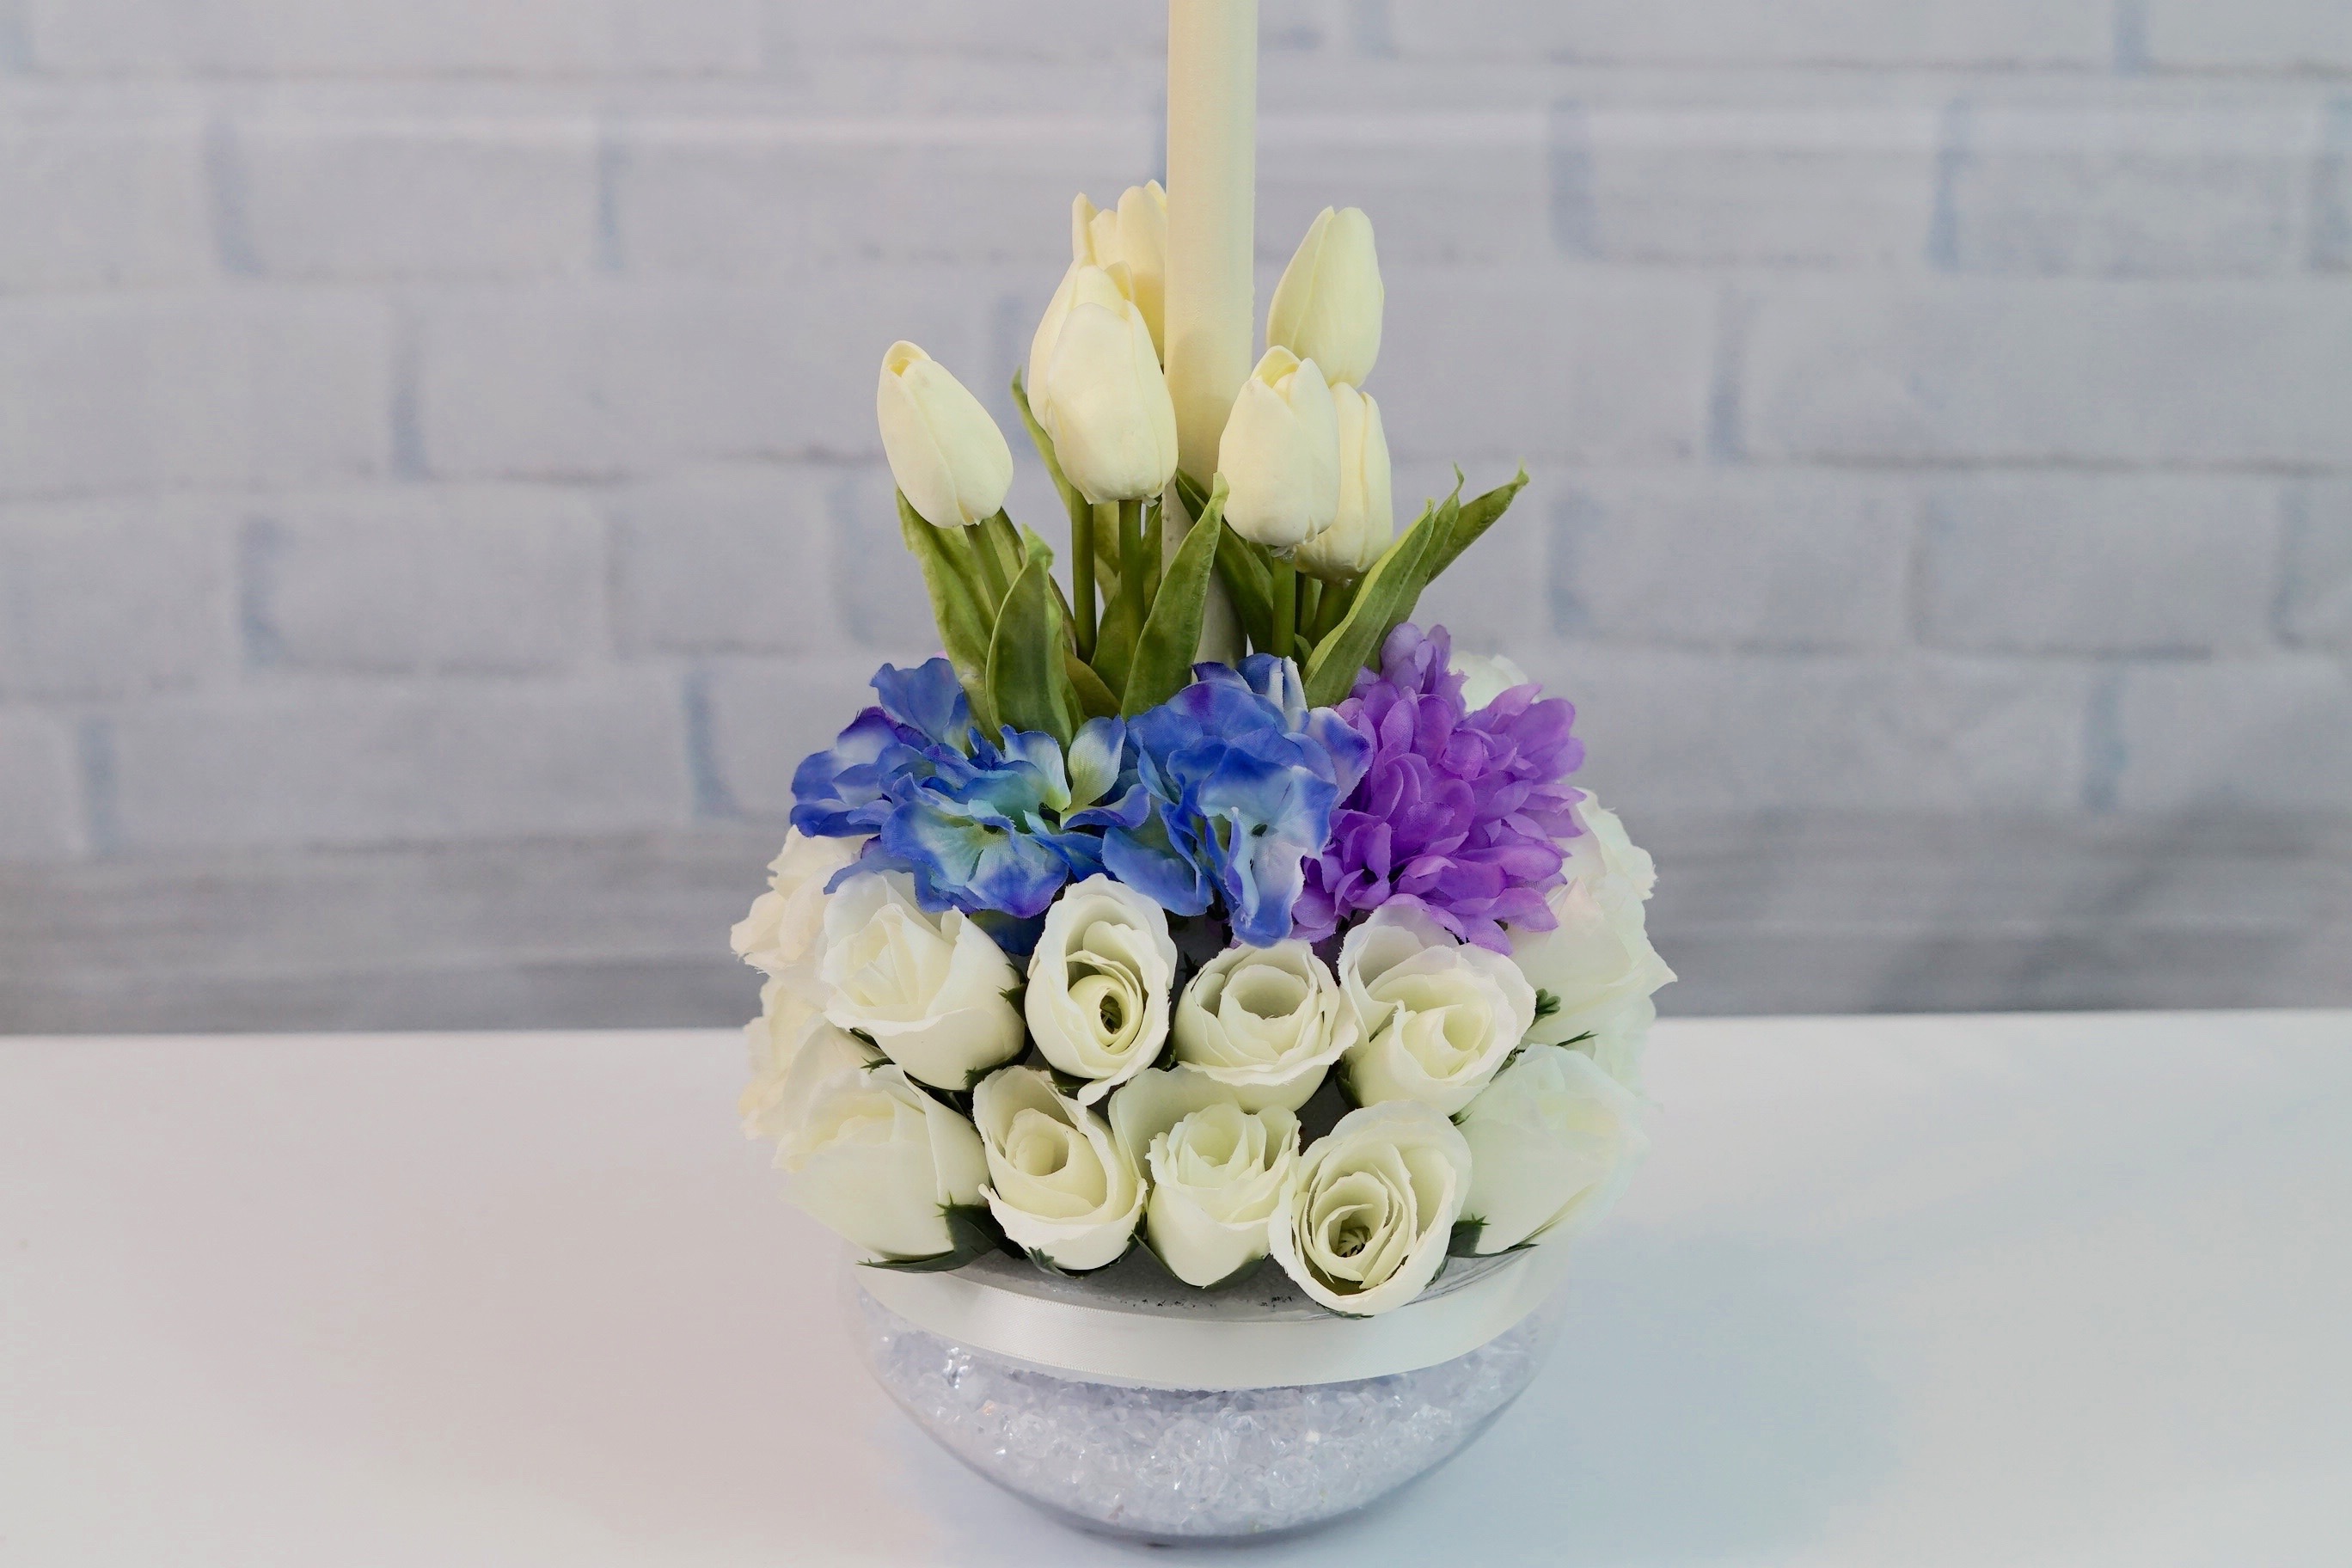
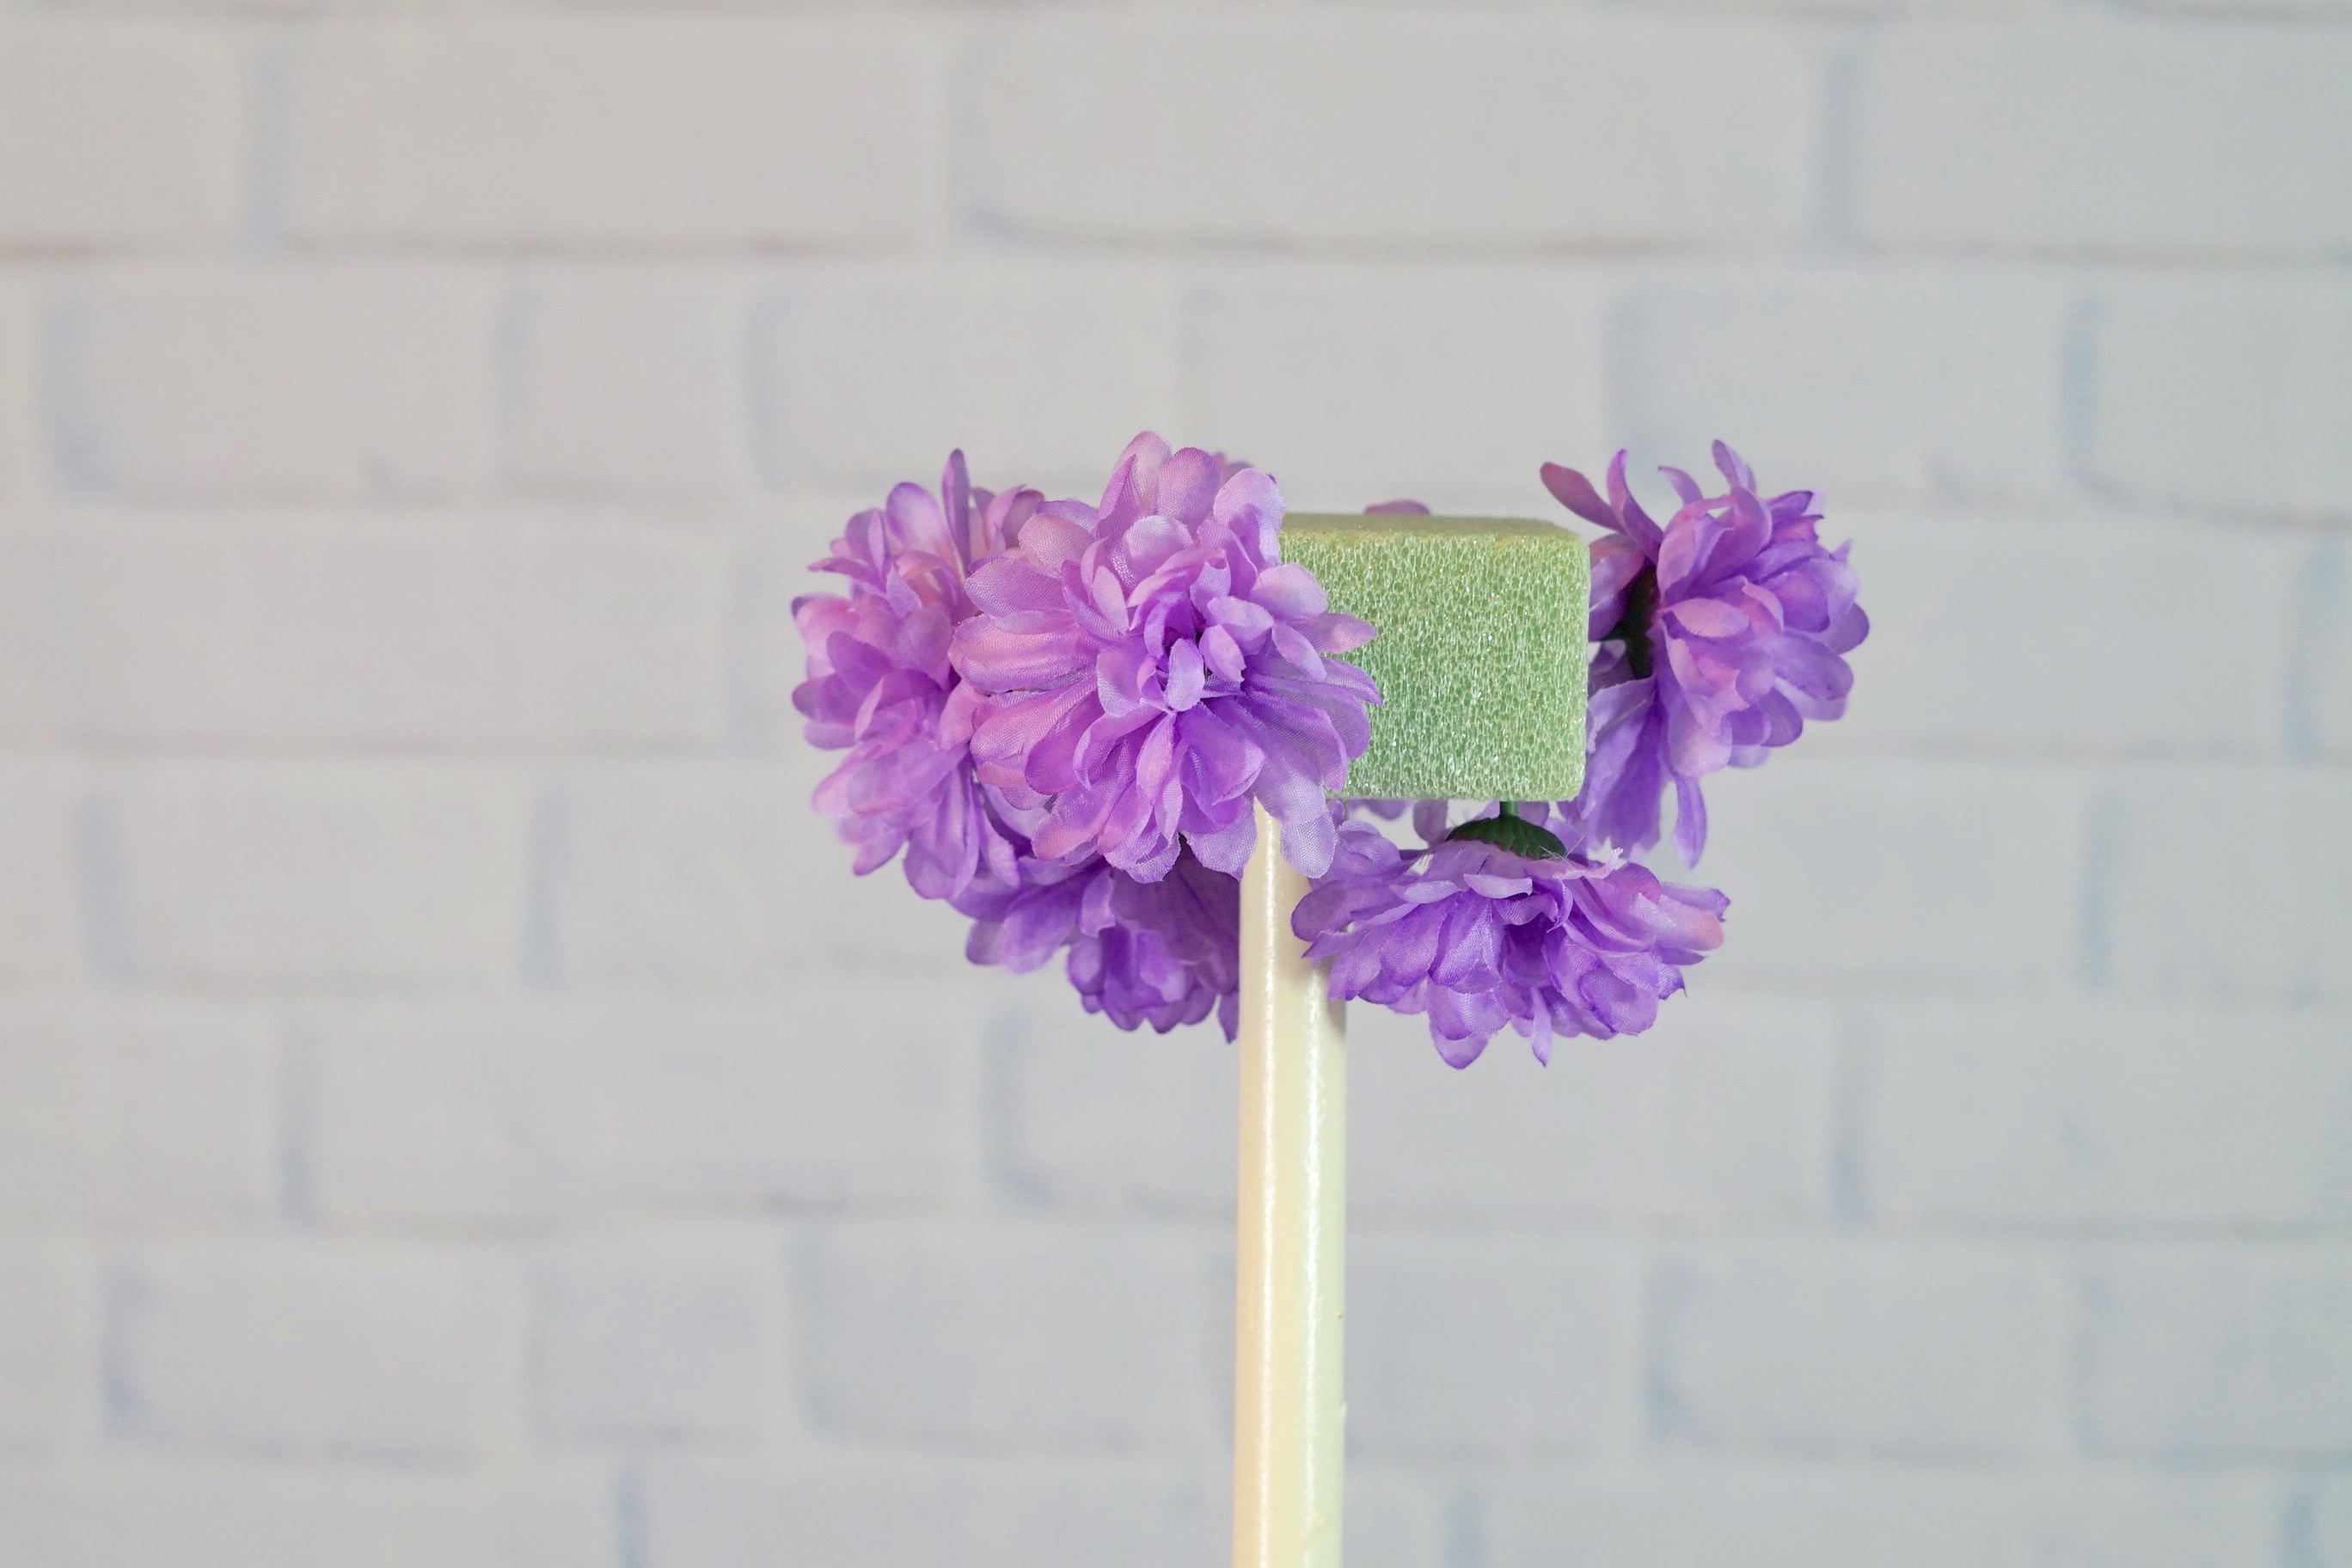
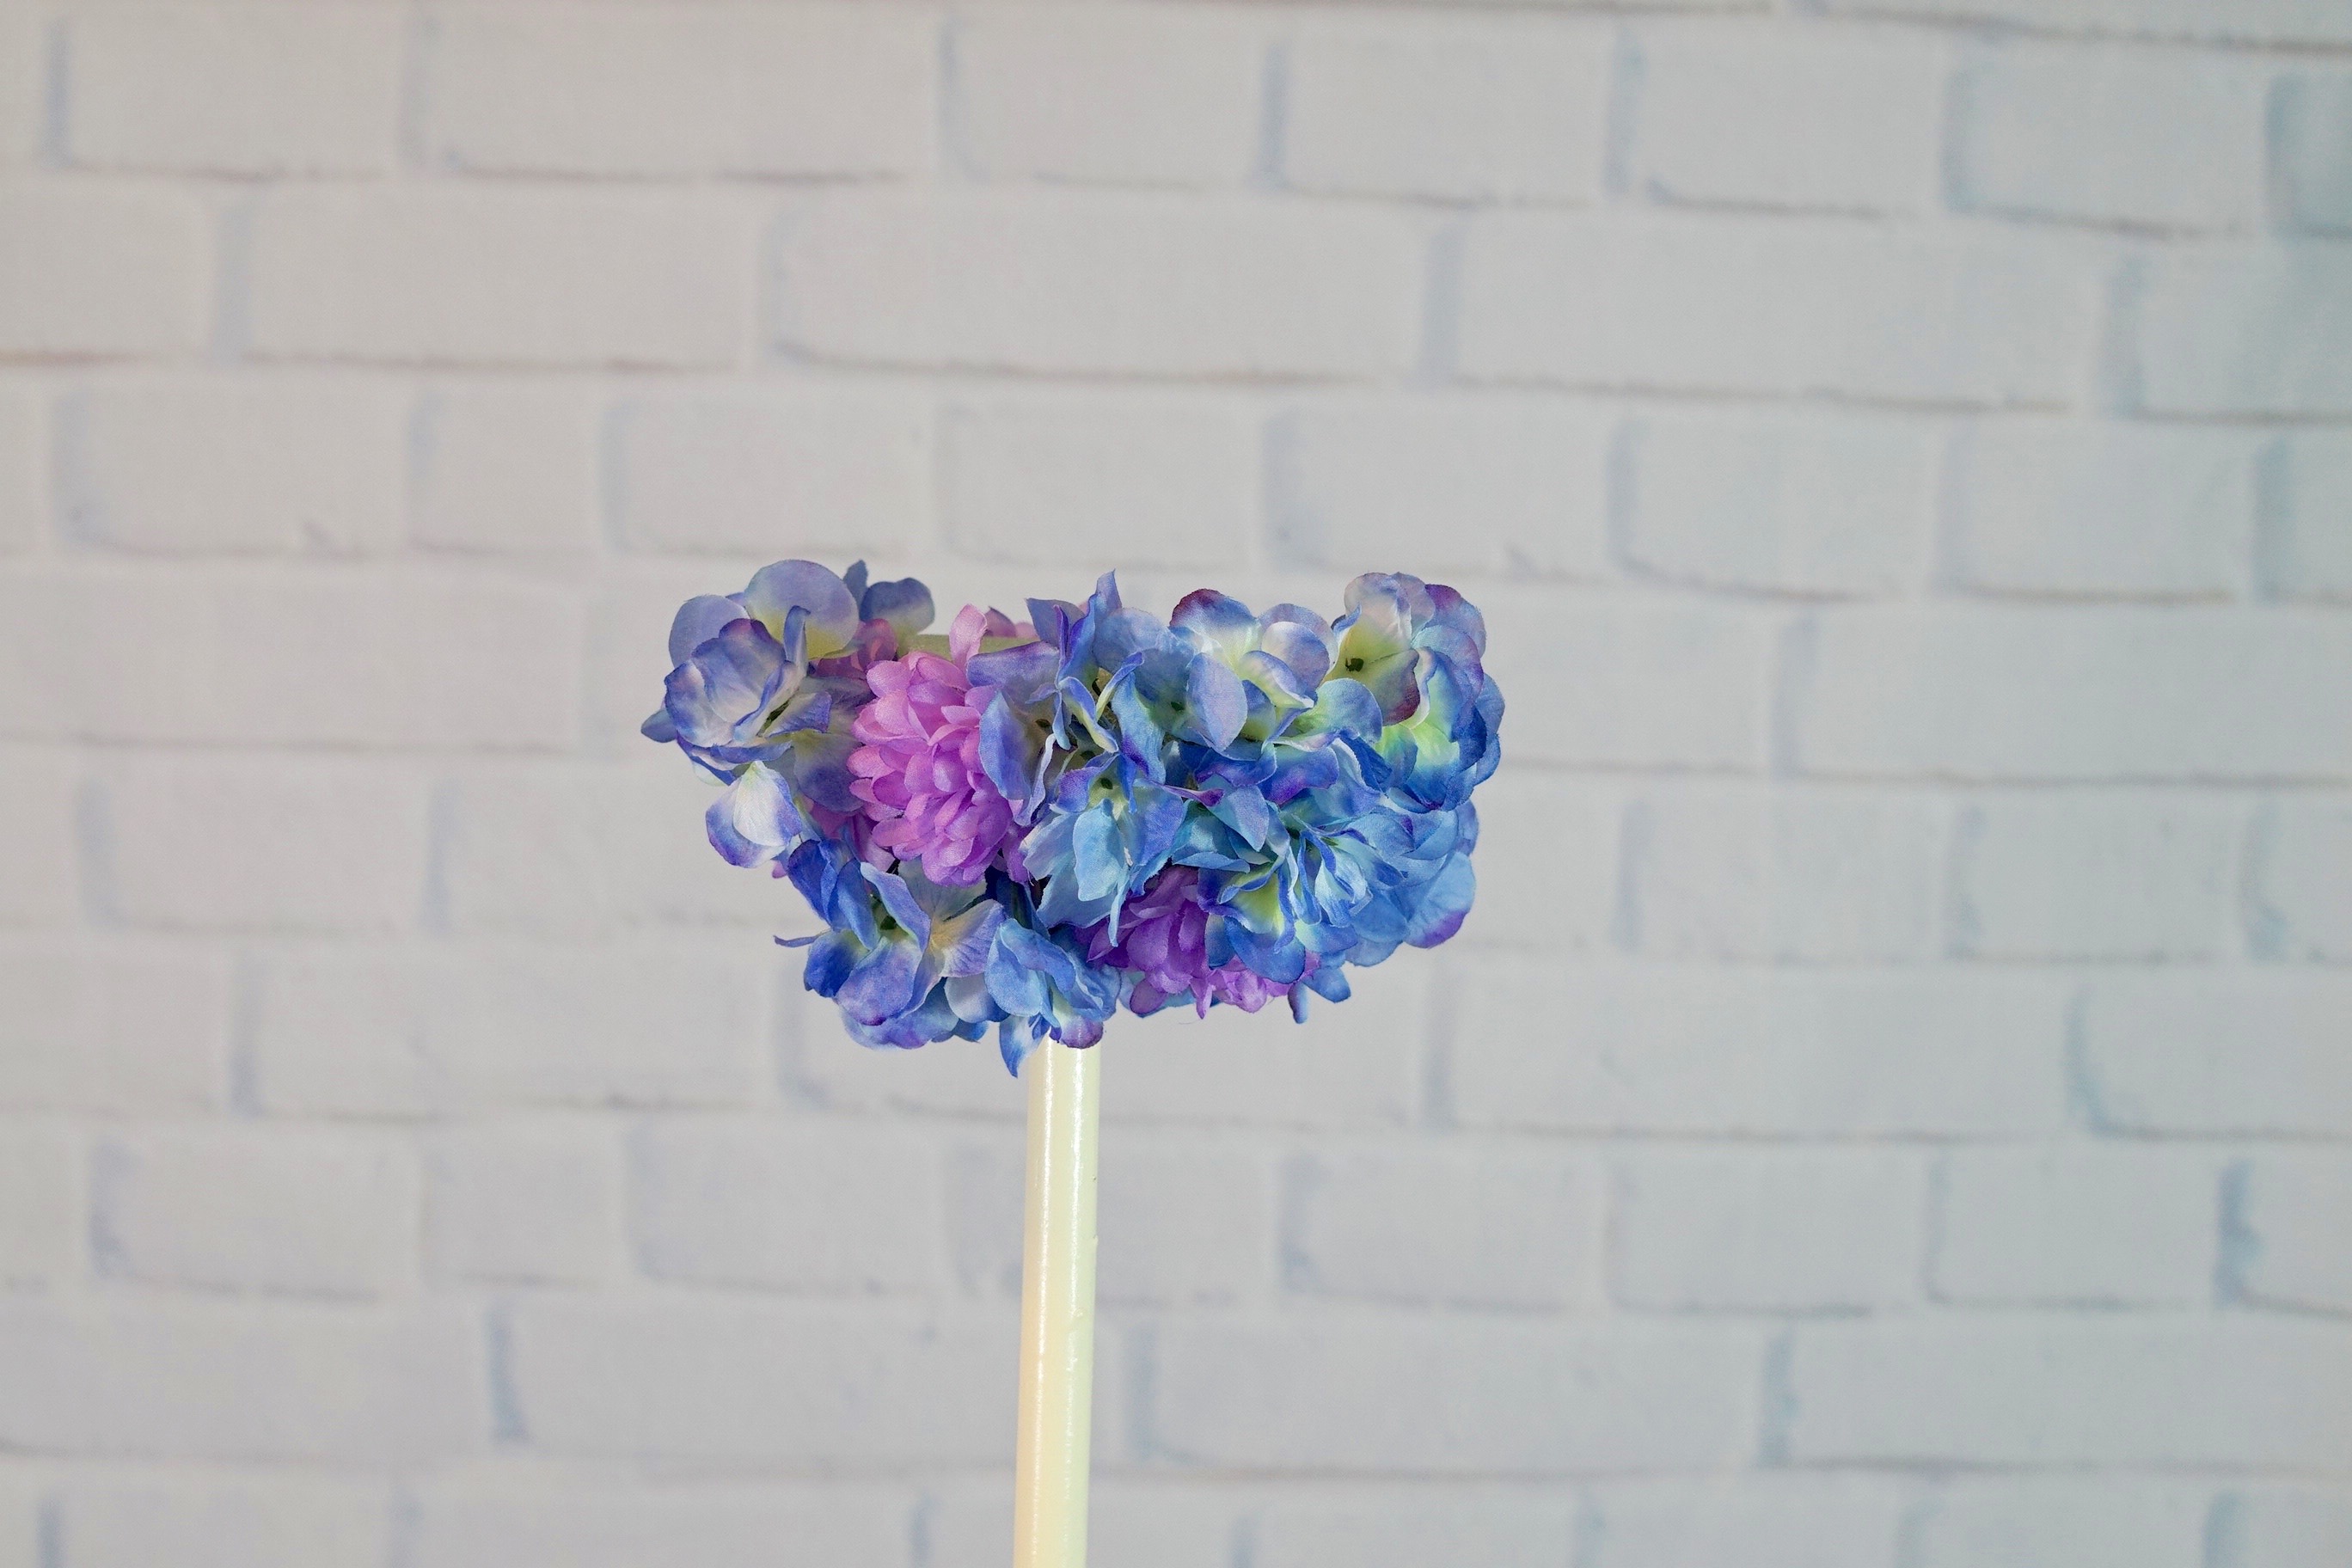
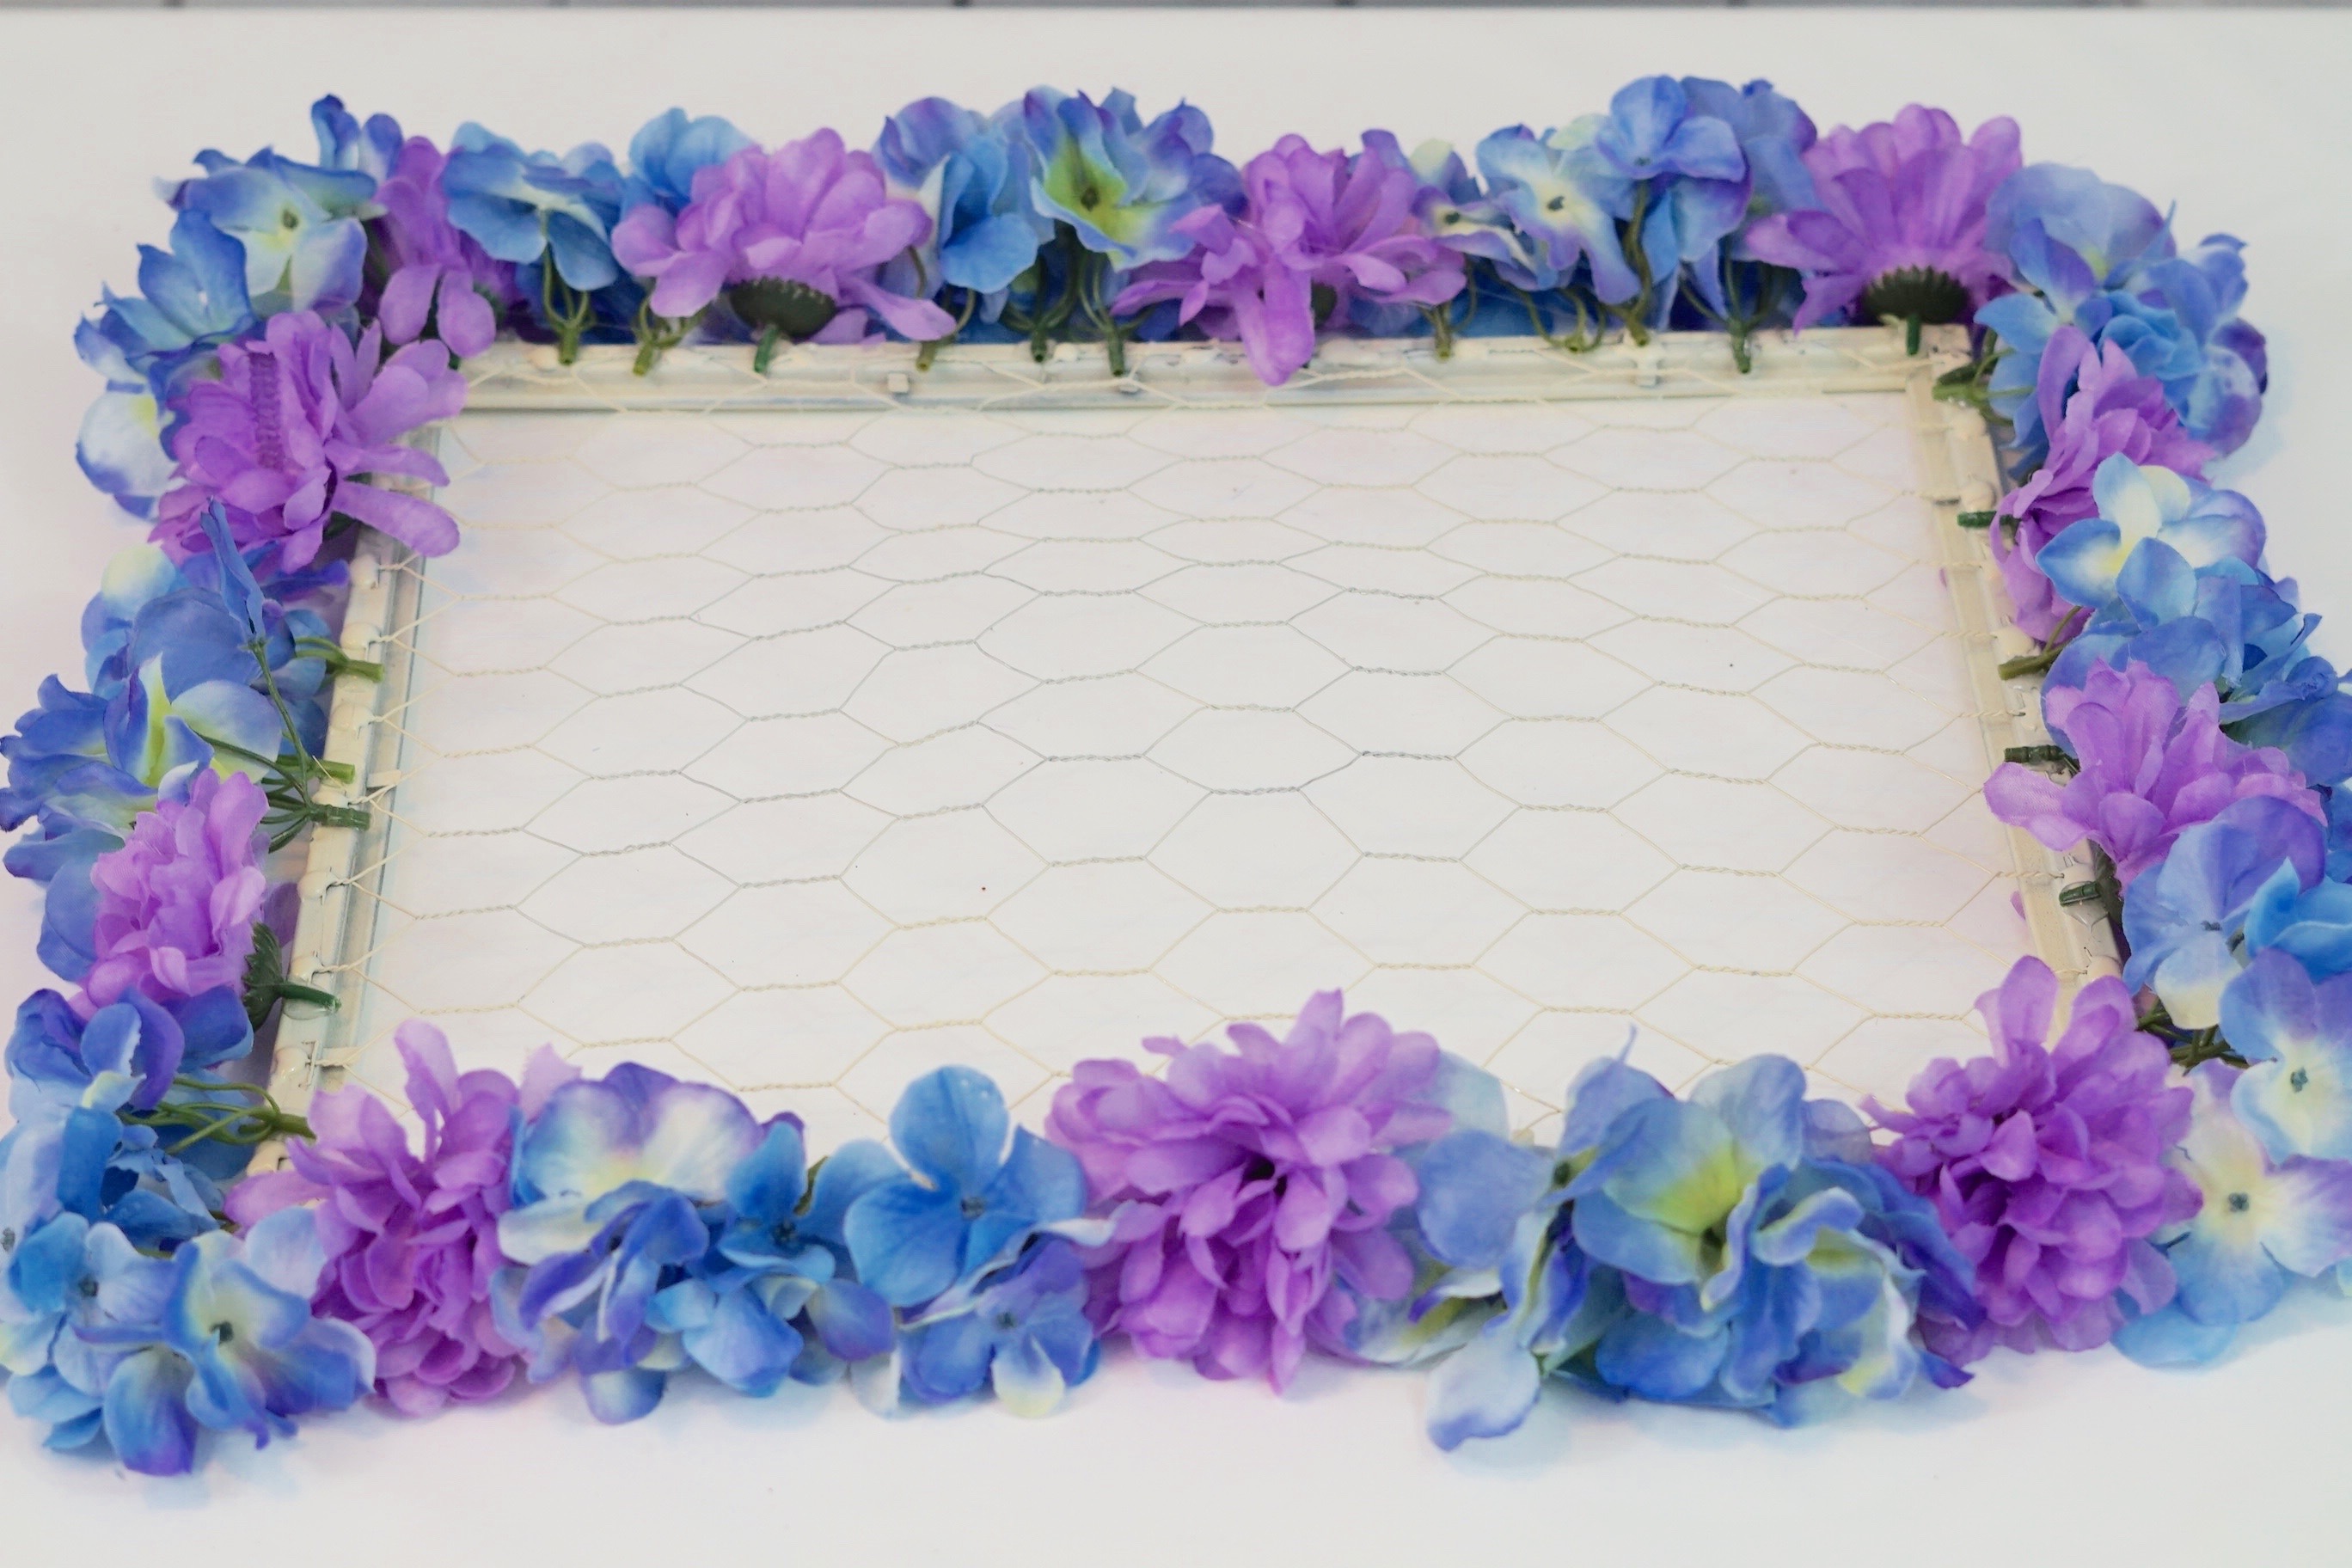
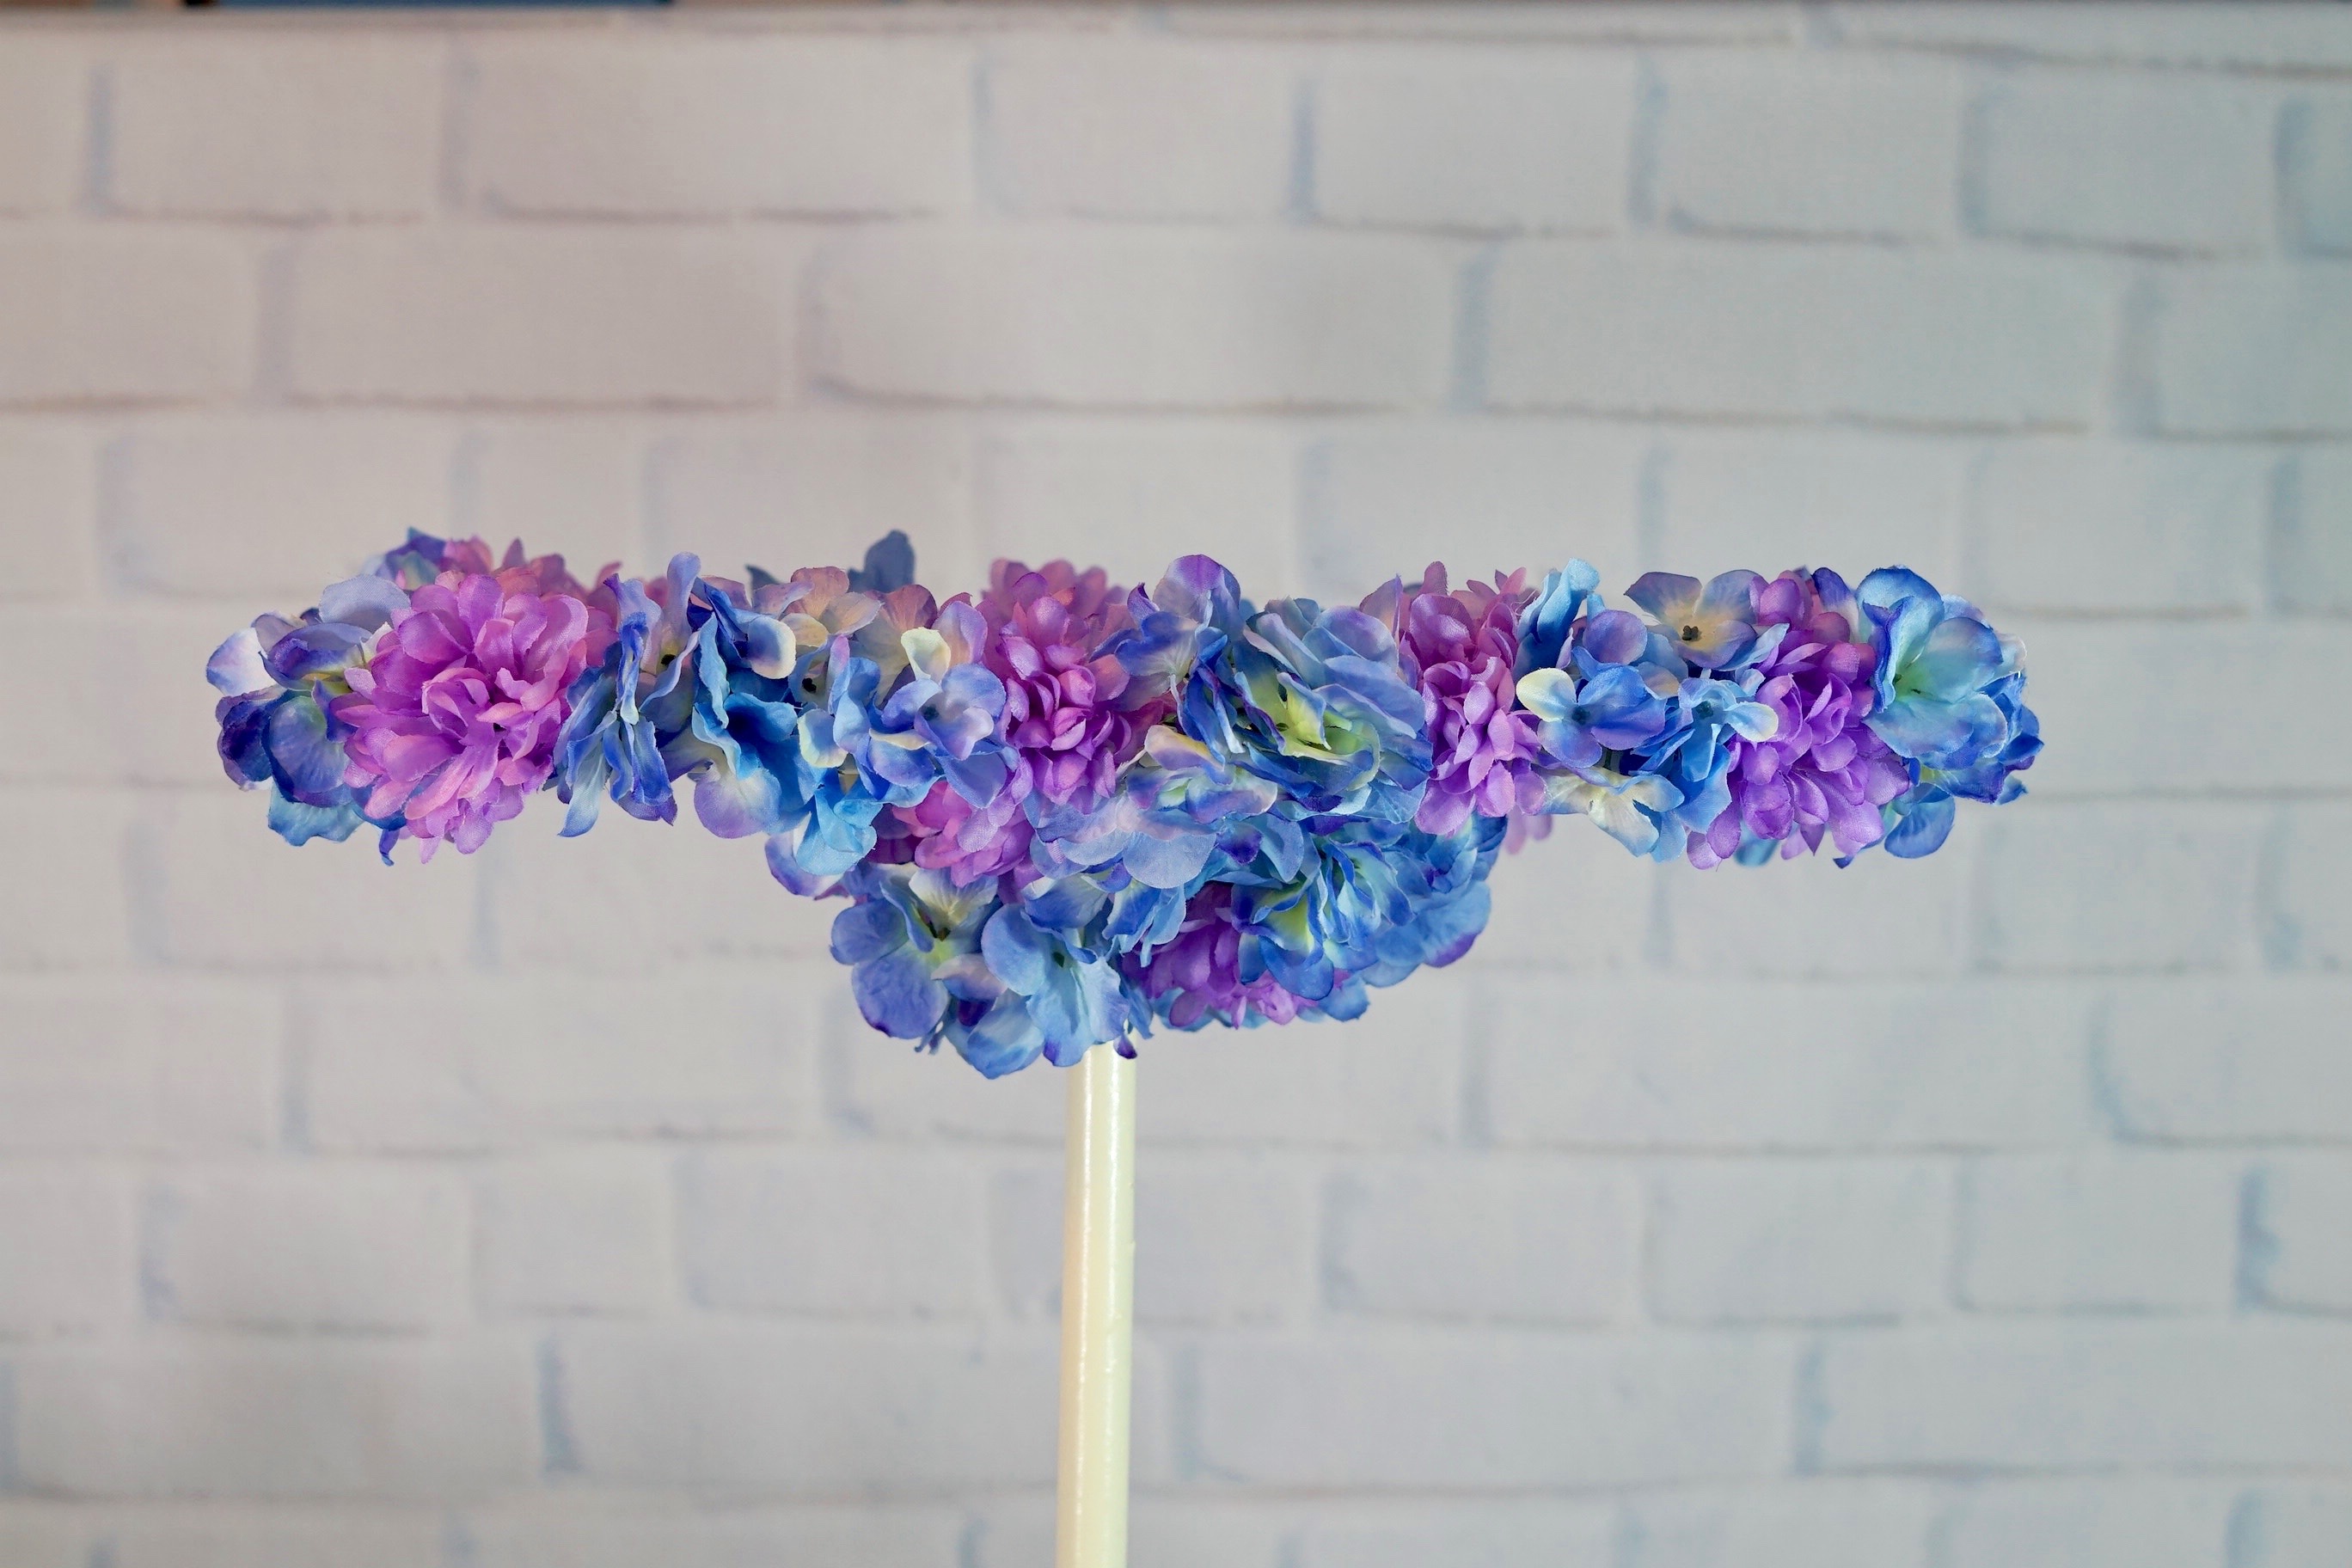
STEP 10: Spray paint your galvanized wire and frame with the same cream spray paint you used on your wooden dowel. Allow the paint to dry. Apply hot glue to the perimeter of the backside of your frame and then attach dahlia blossoms and hydrangea blossoms. Place your frame to the top of your foam cube frontside up using 6-8 floral pins to attach it to your cube.
Attach calla lilies to your galvanized wire
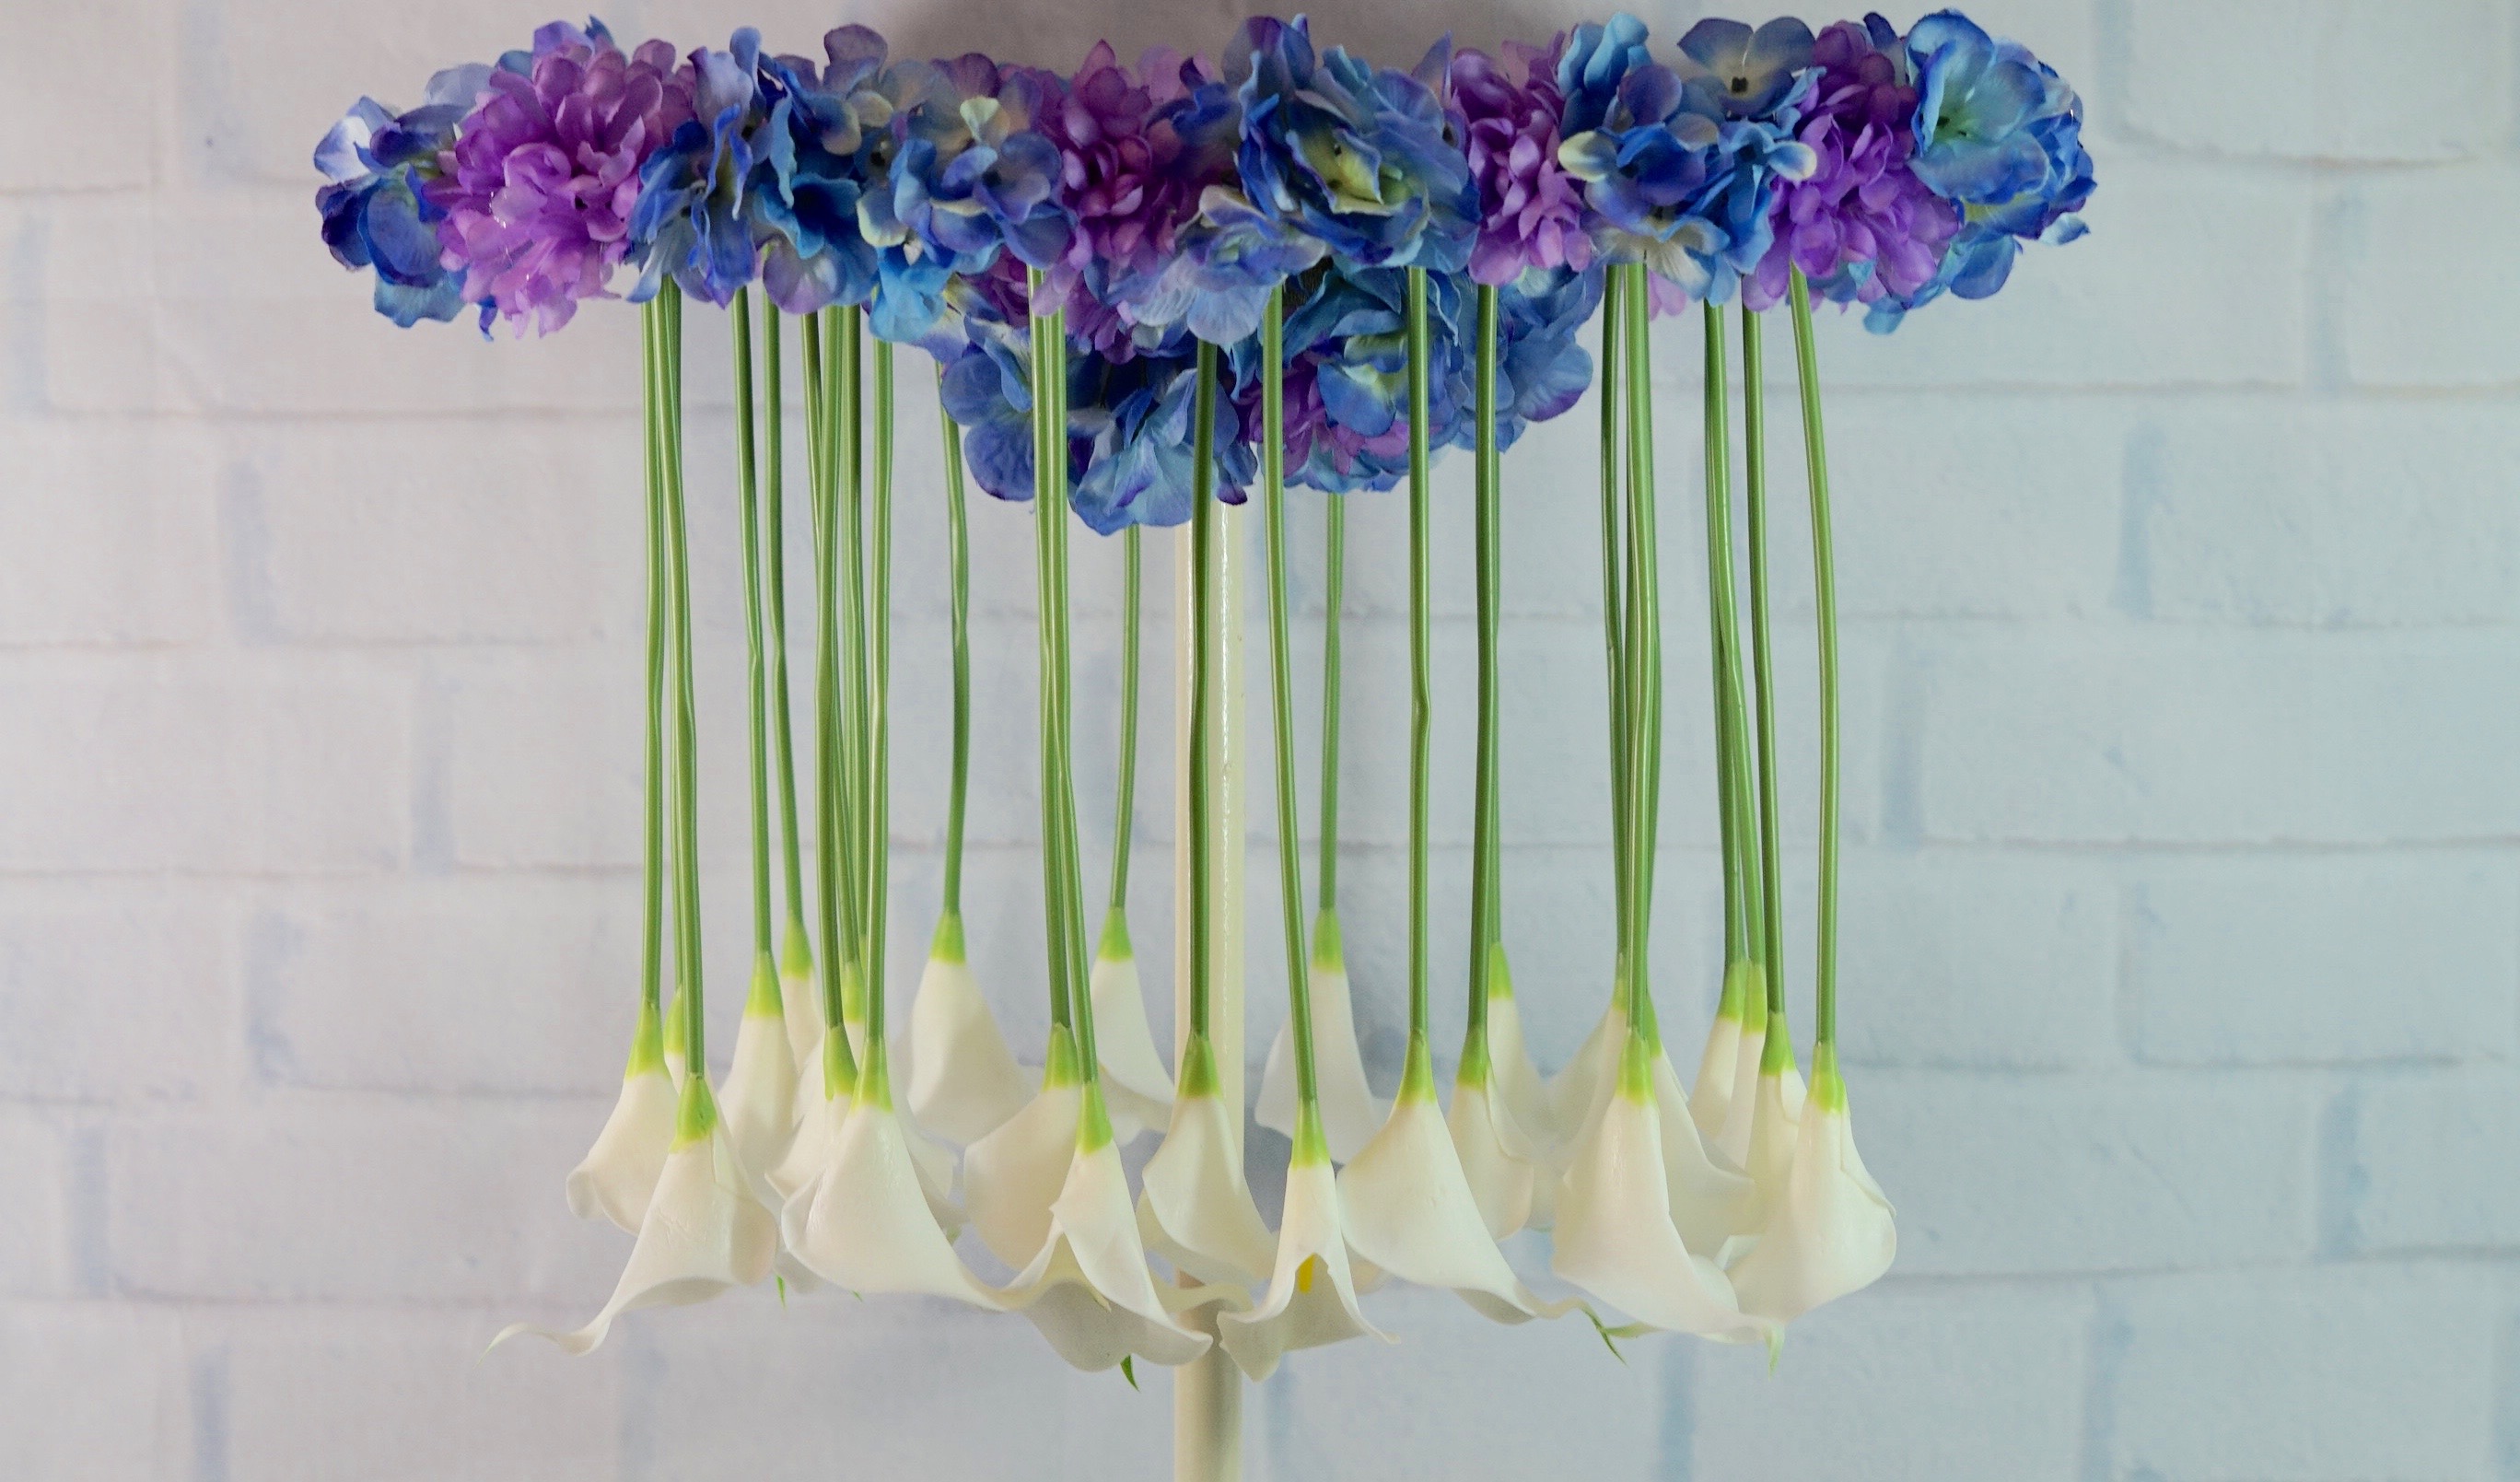
STEP 11: Finally, it’s time to attach 2-3 dozen calla lilies that have been pre-strung with floral wire to the galvanized wire by twisting the wire at the top and then folding the wire over. Attach your calla lilies by adding them in a rectangular pattern around the perimeter edge and then a rectangular pattern on the interior.
The pattern is as follows: Perimeter: 6 across the front, 4 down the side, and 6 across the back. Interior: 4 across the front, 2 to 3 on the sides, and then 4 across the back.
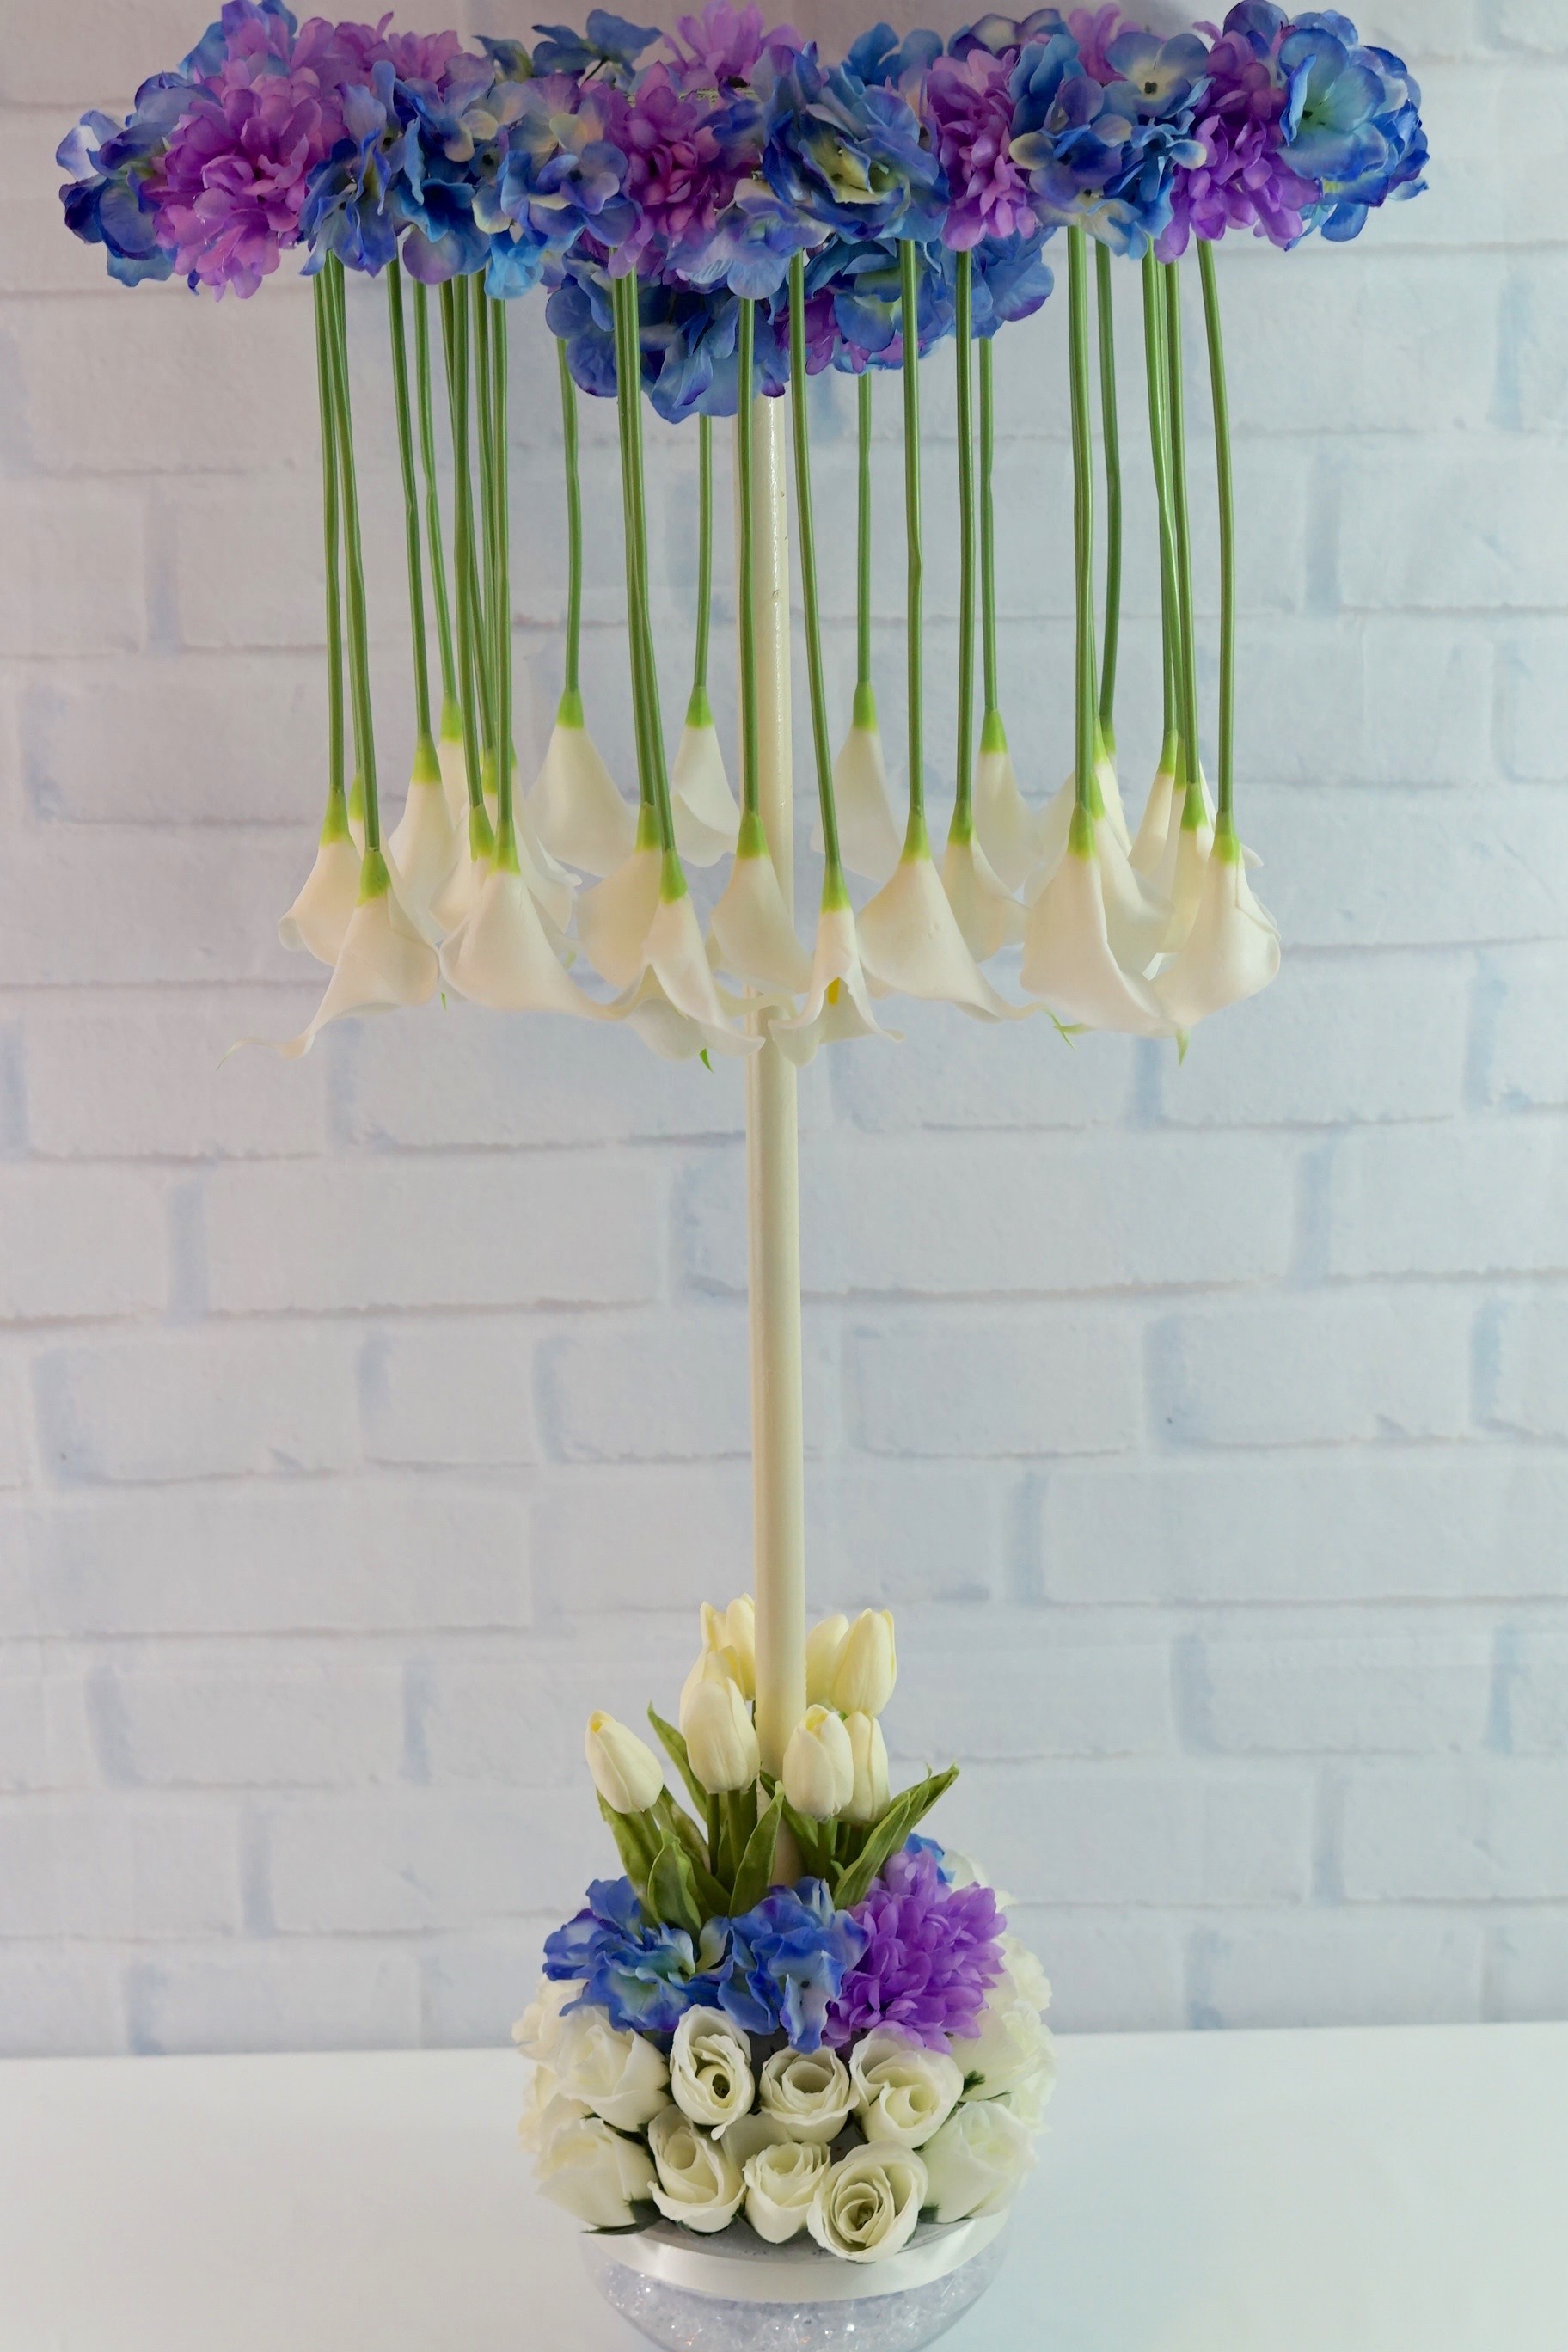
THE FINAL STEP
STEP 12: Set the table!
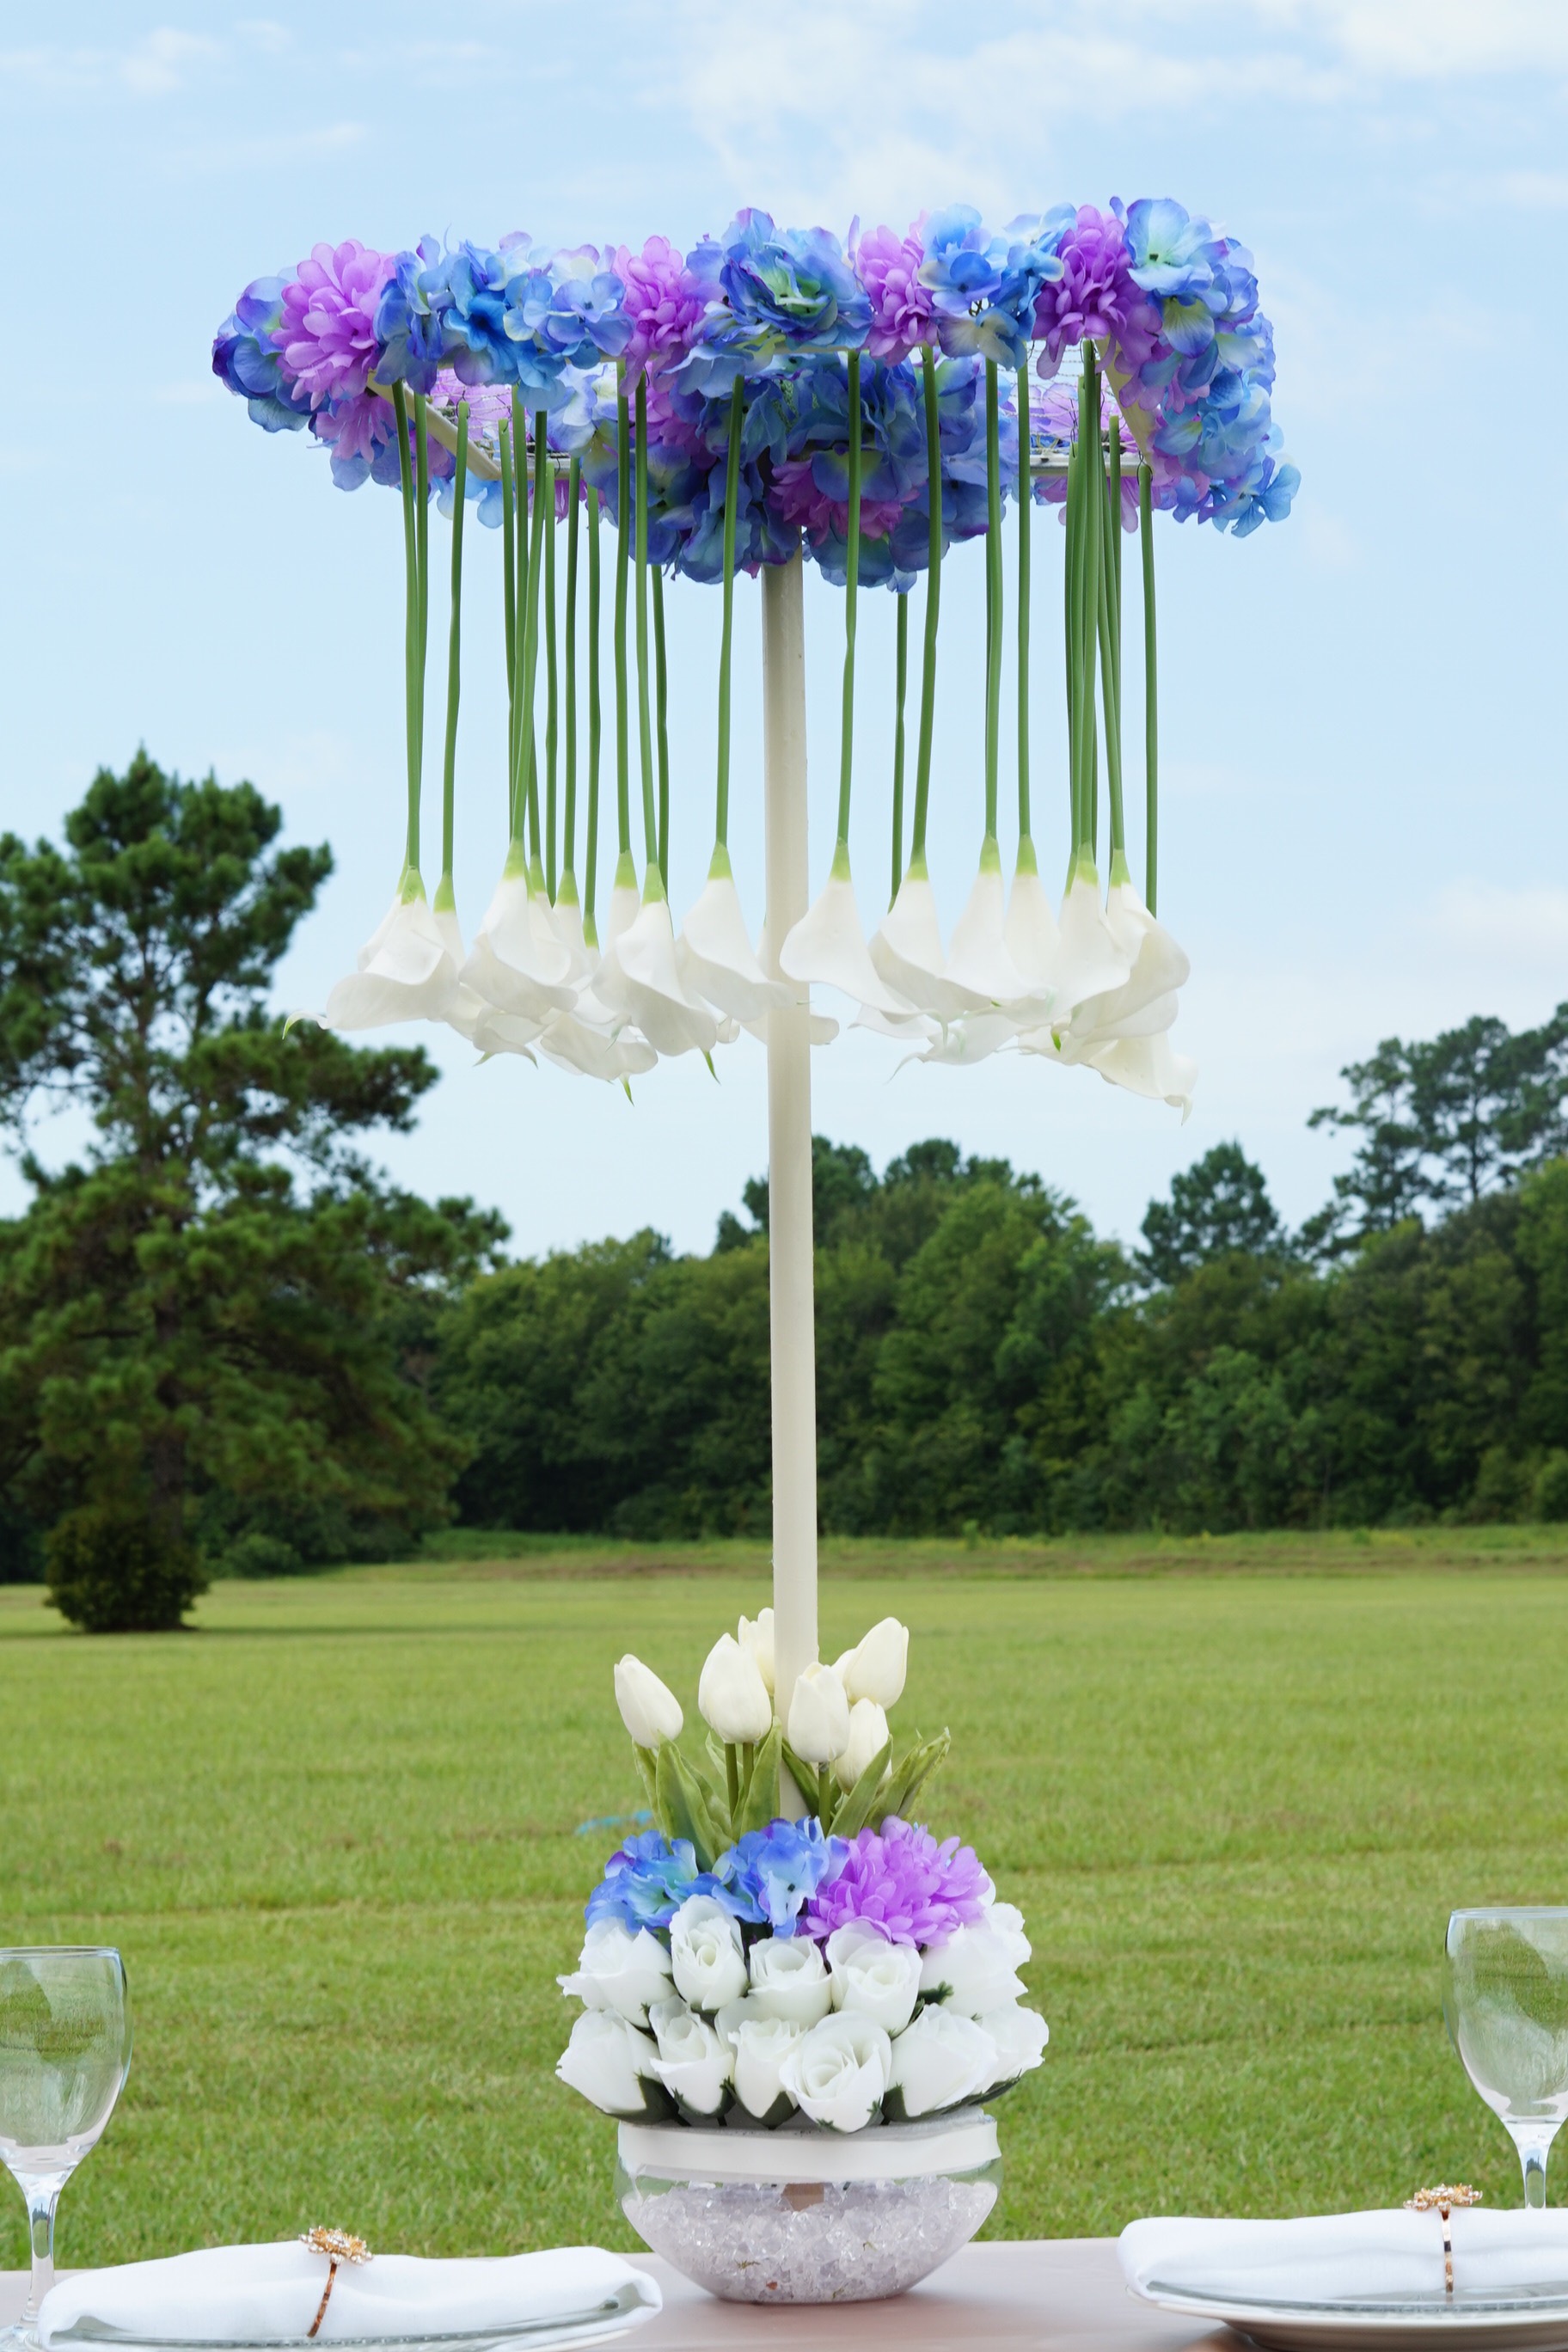
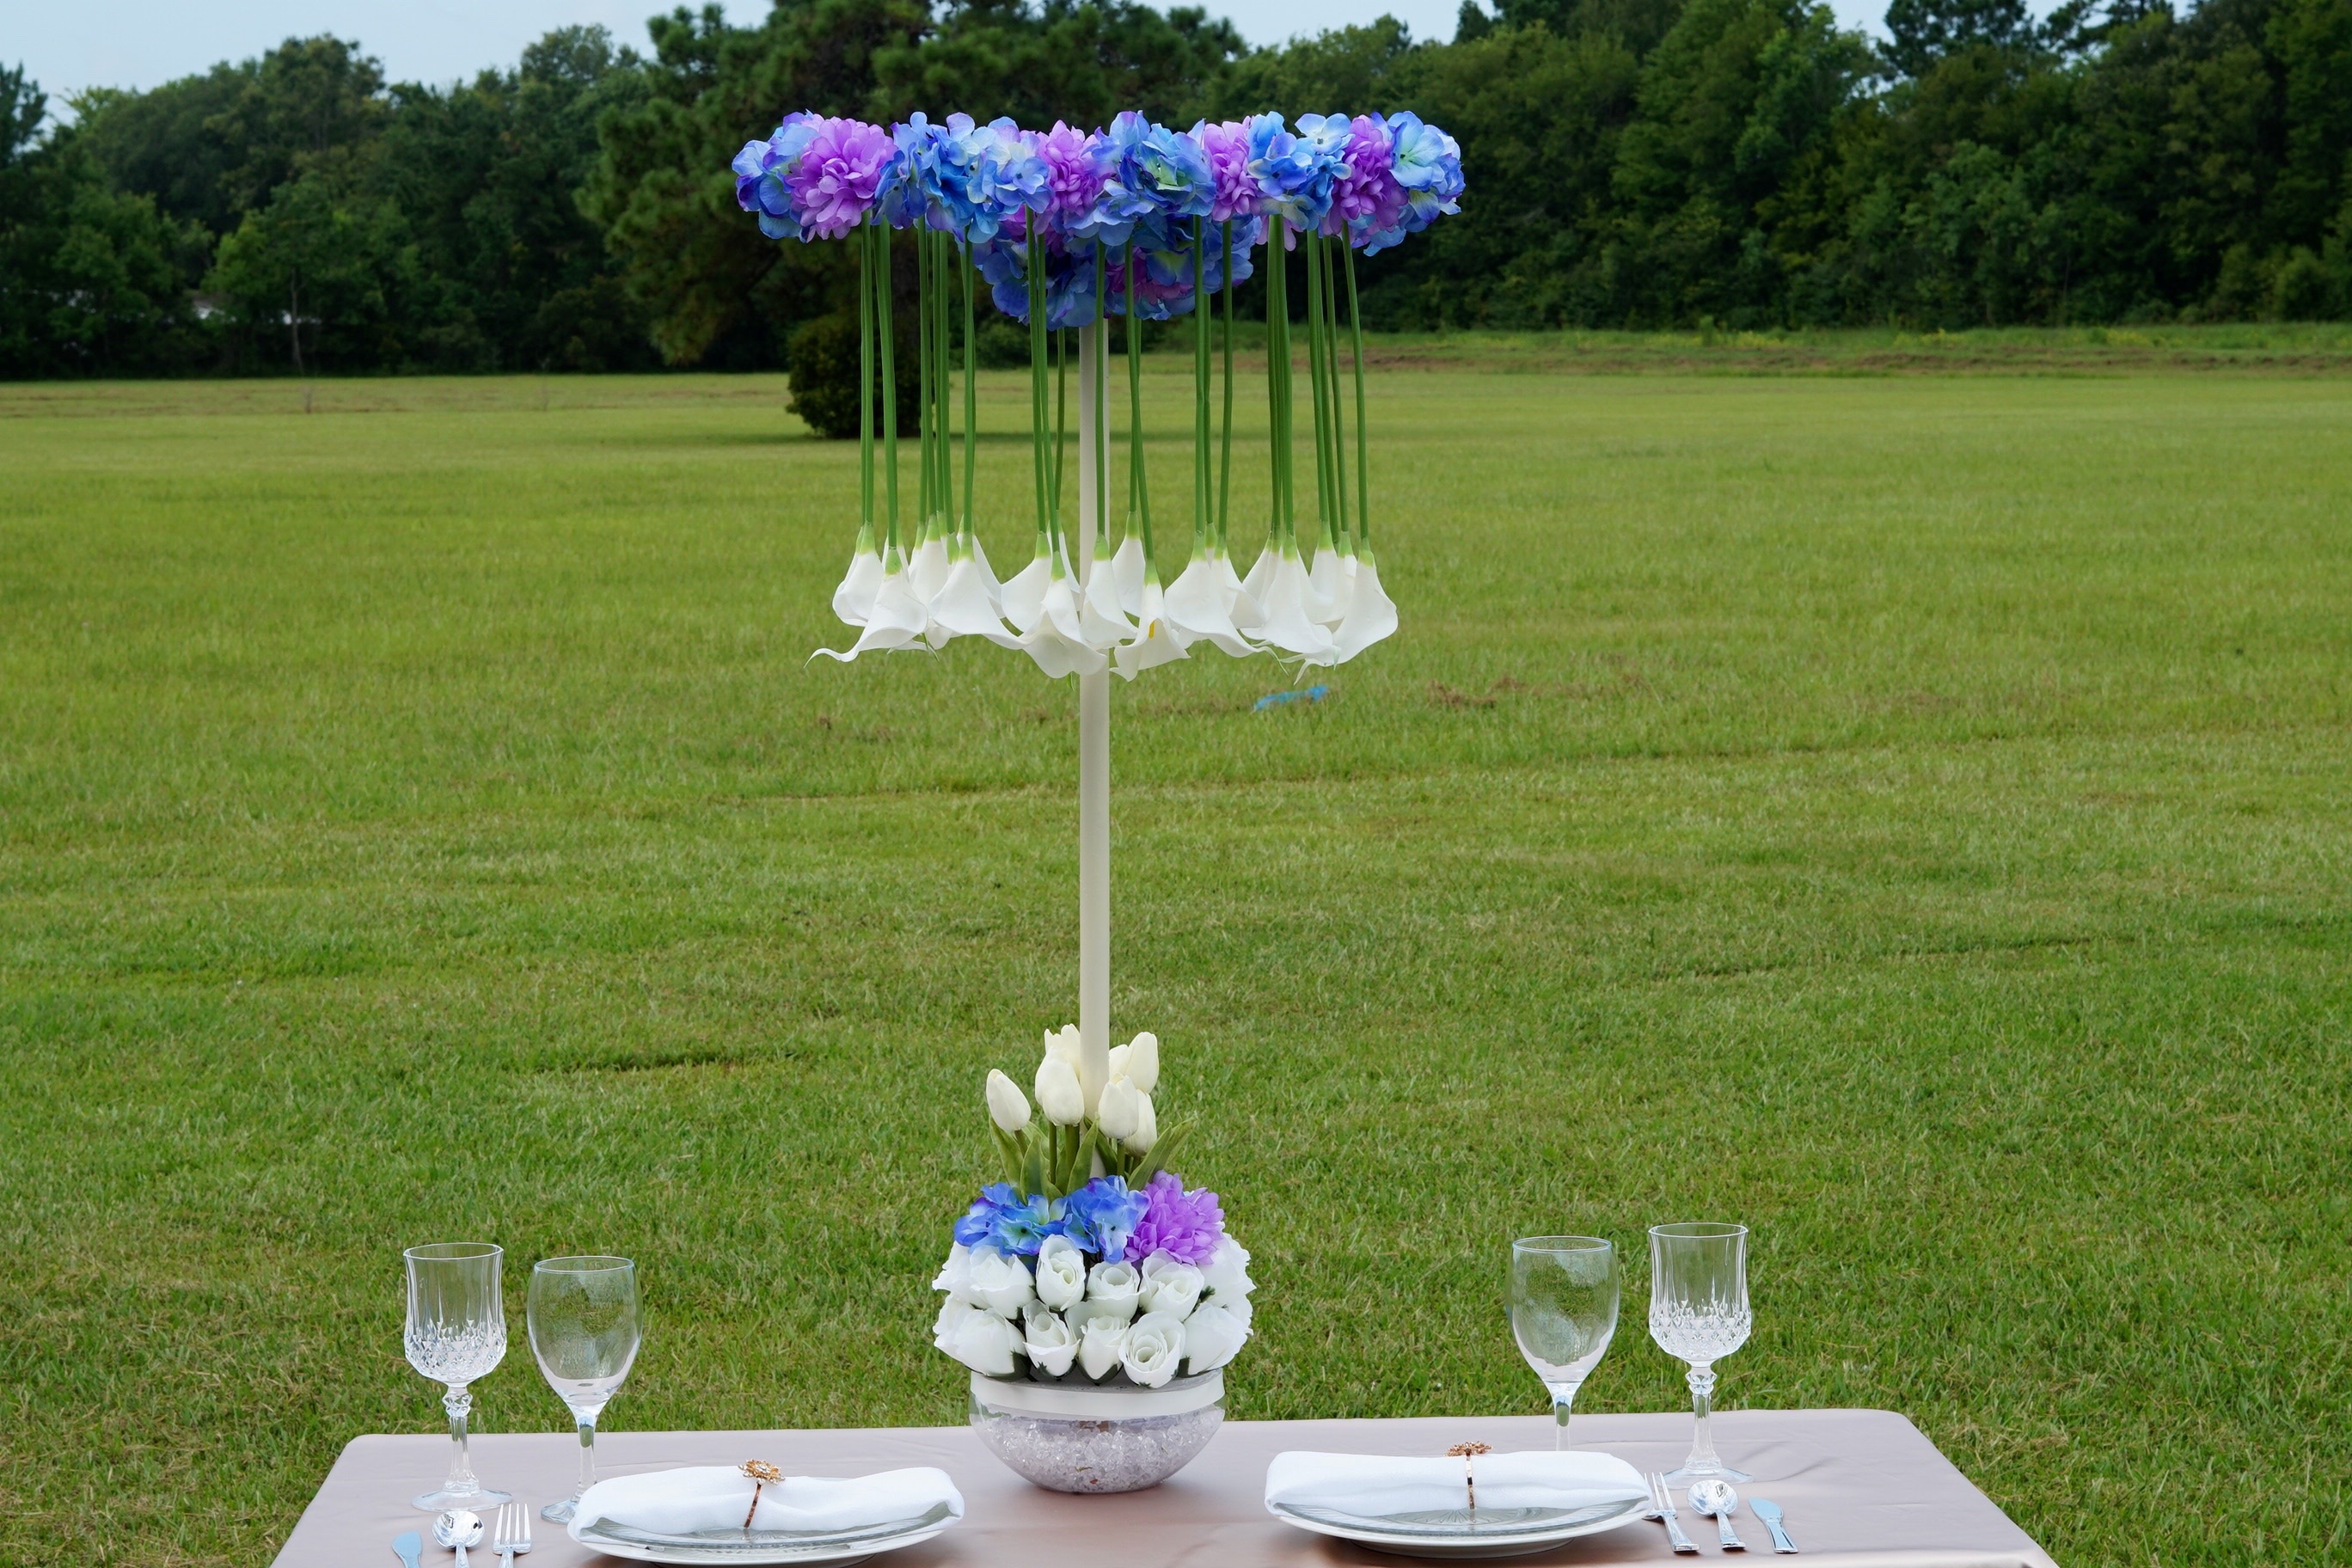
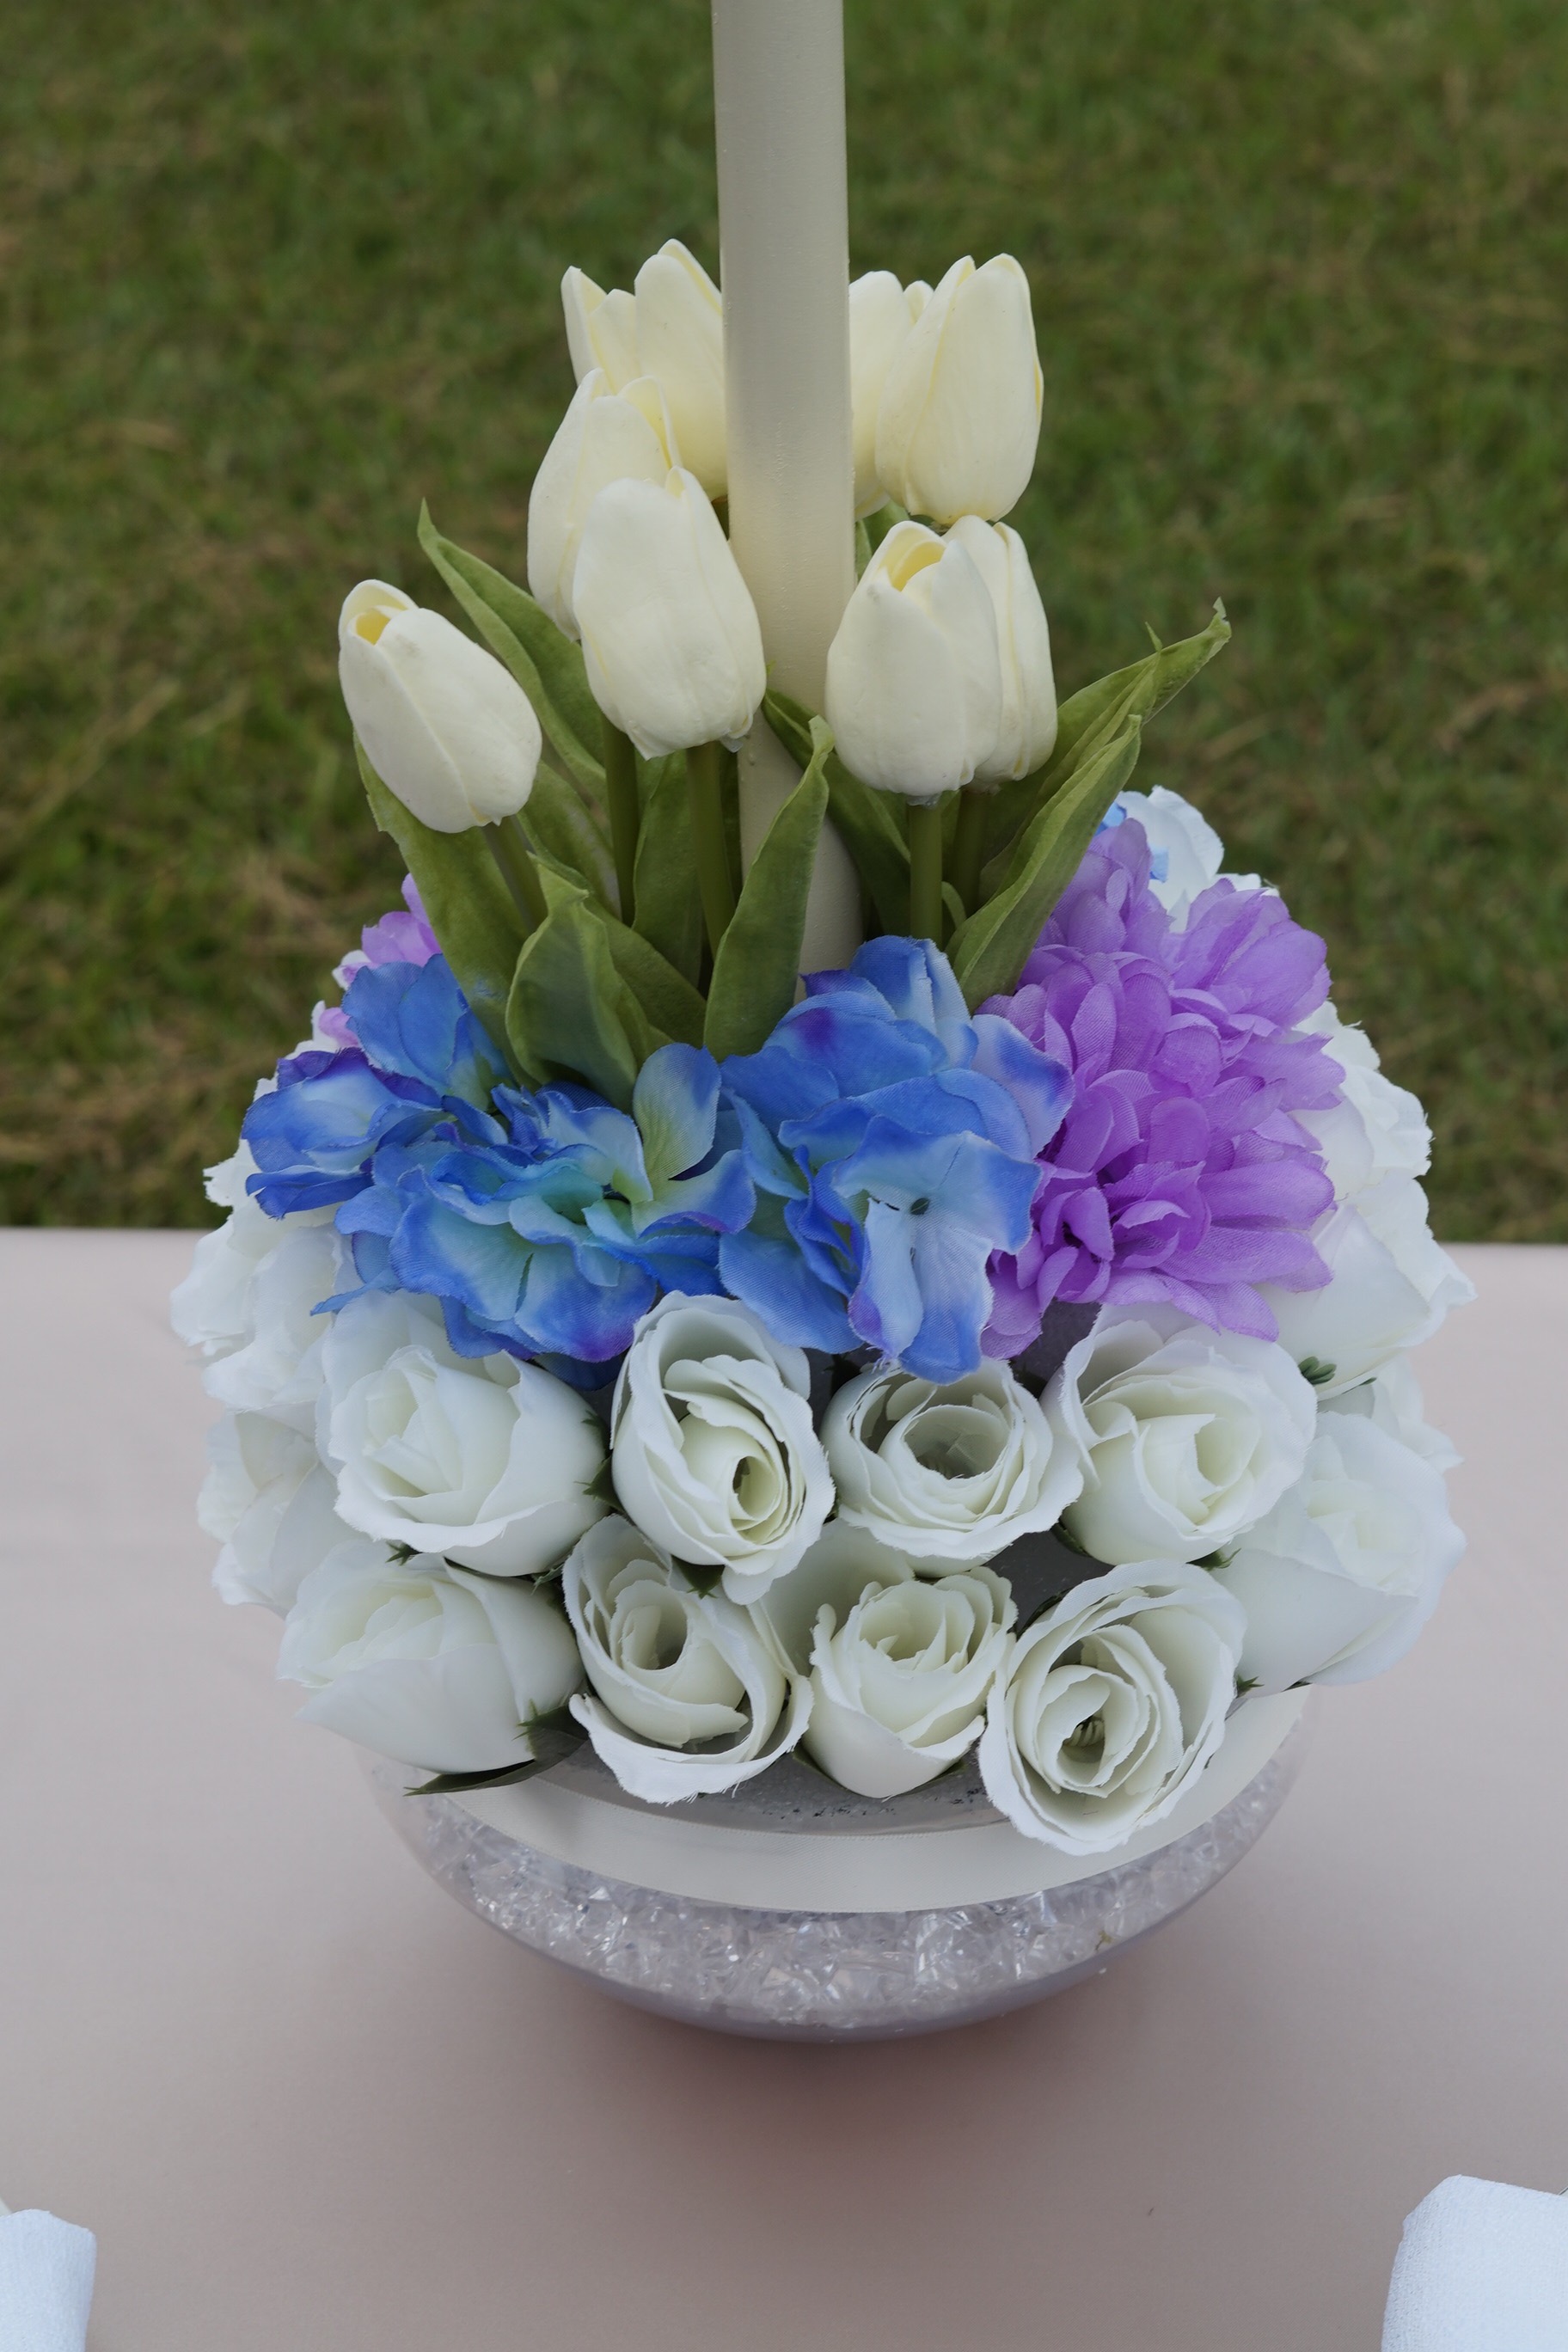
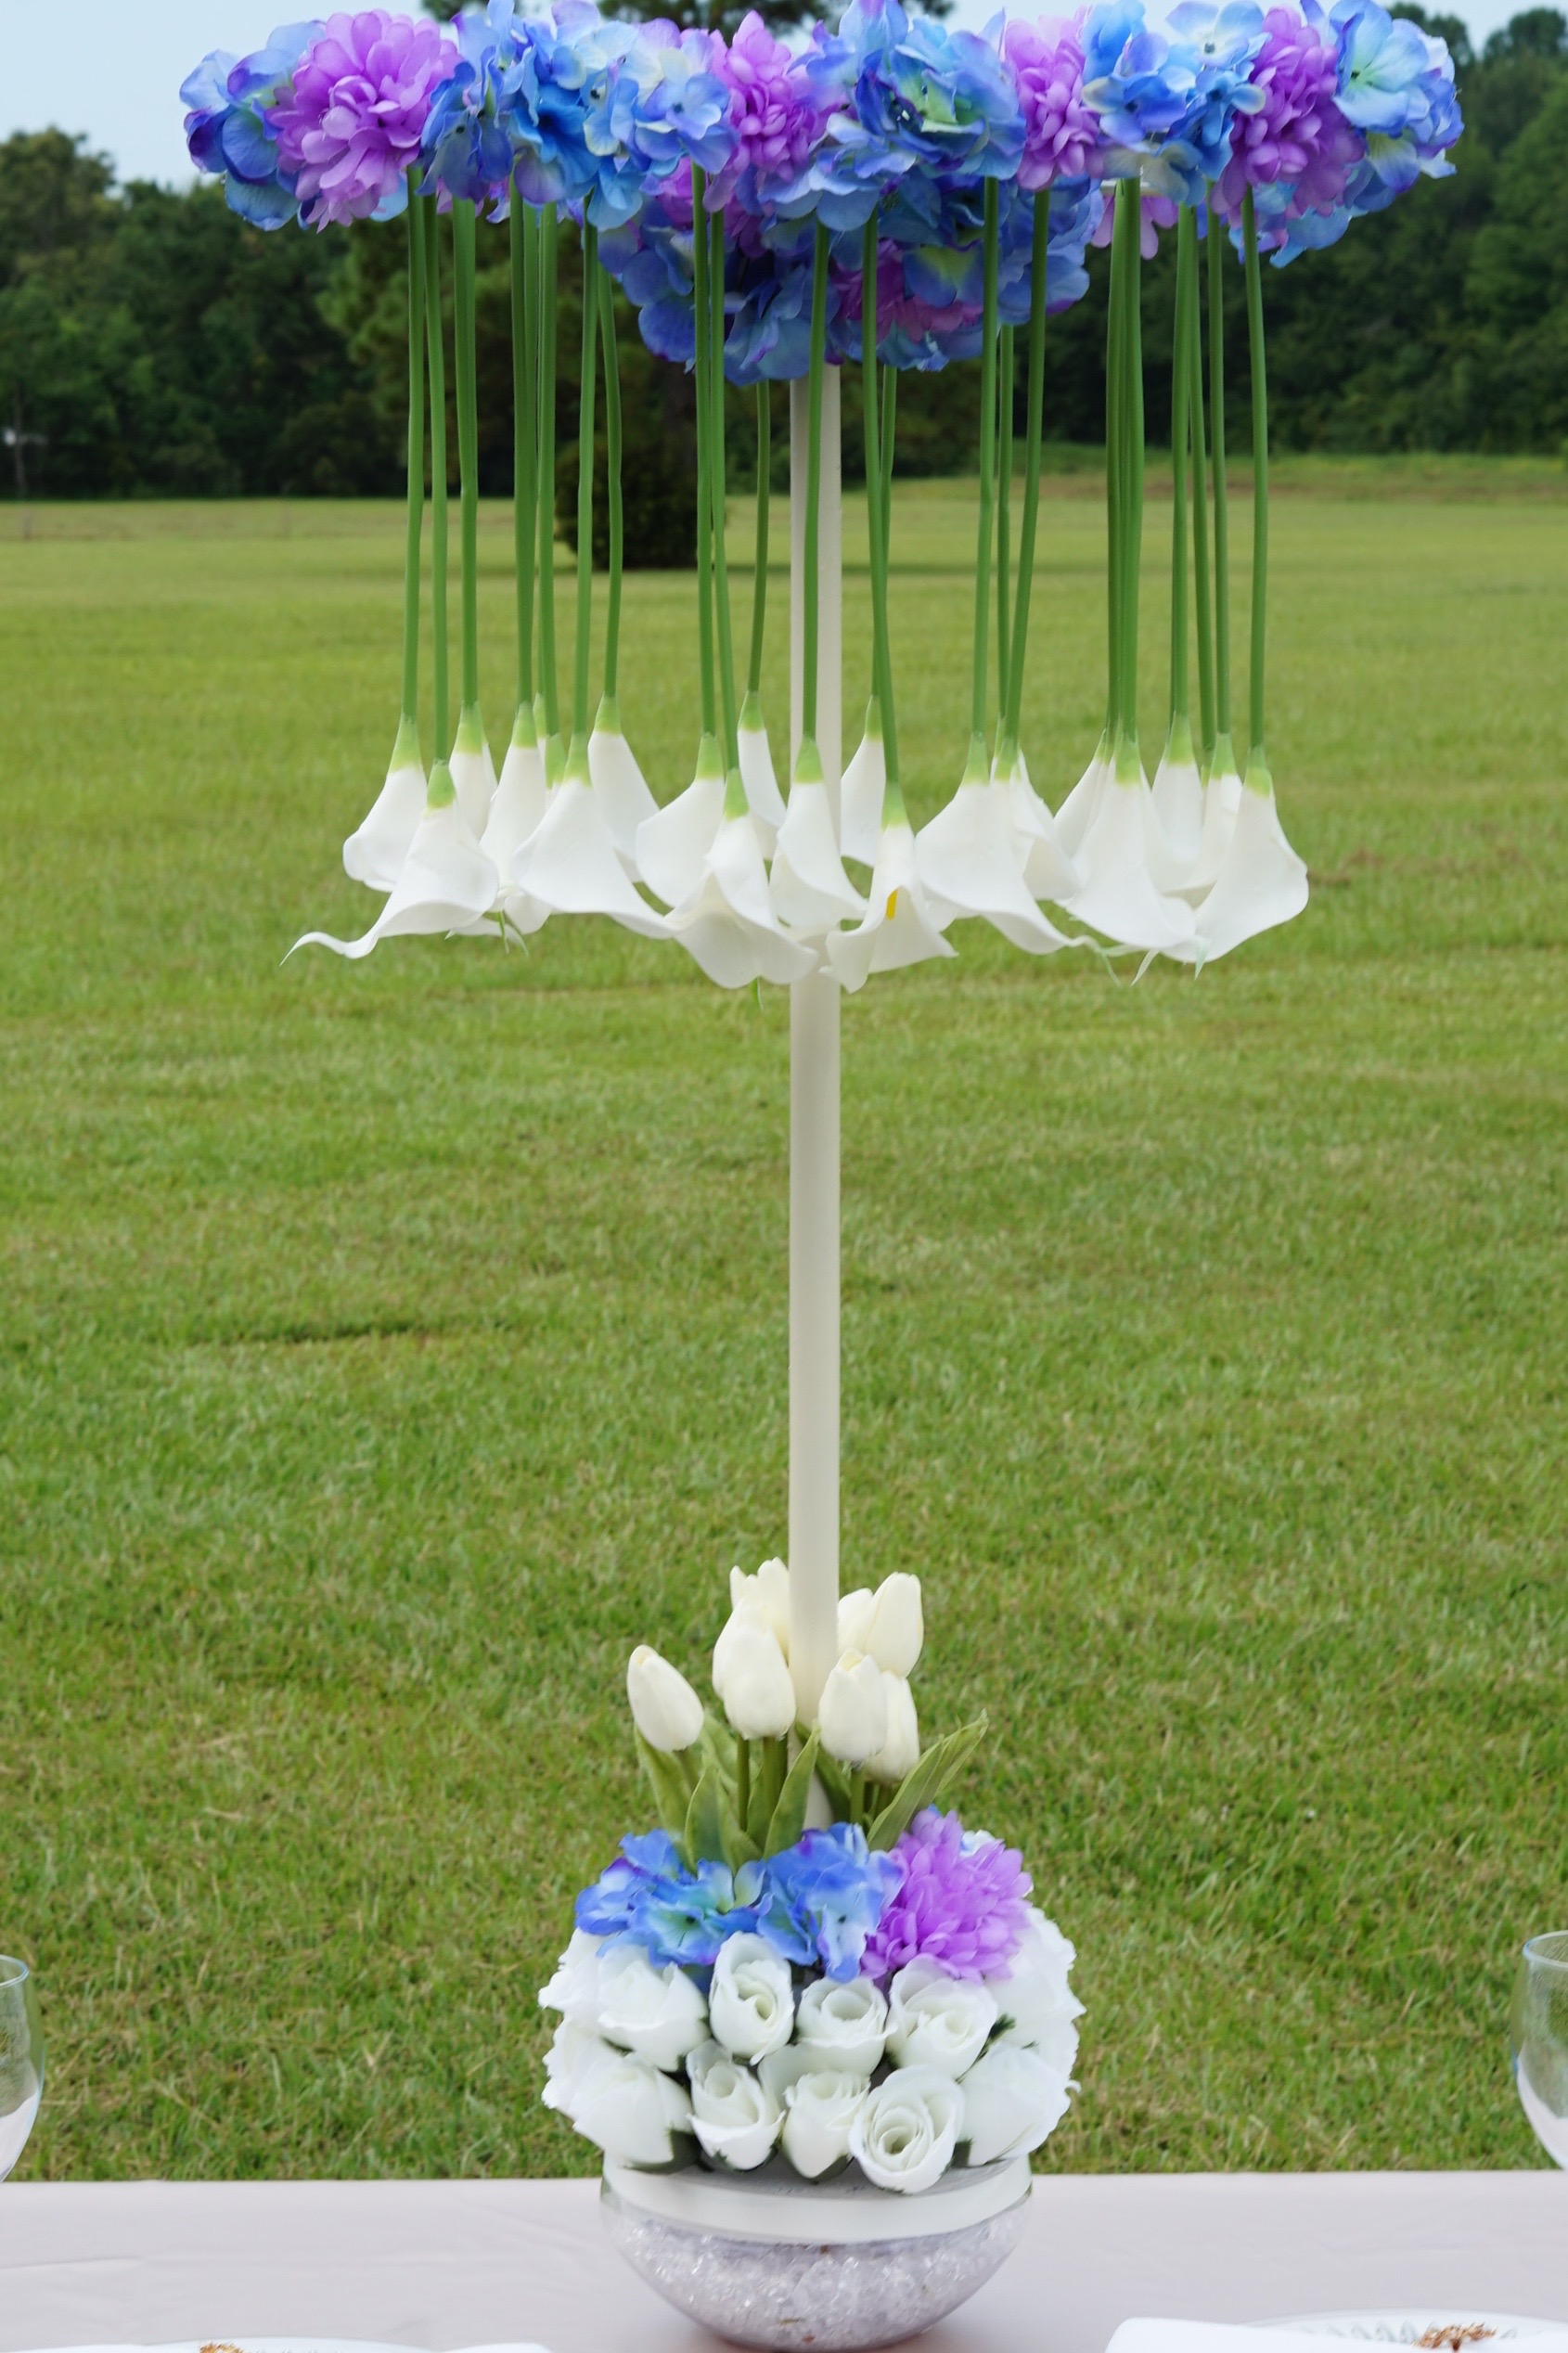
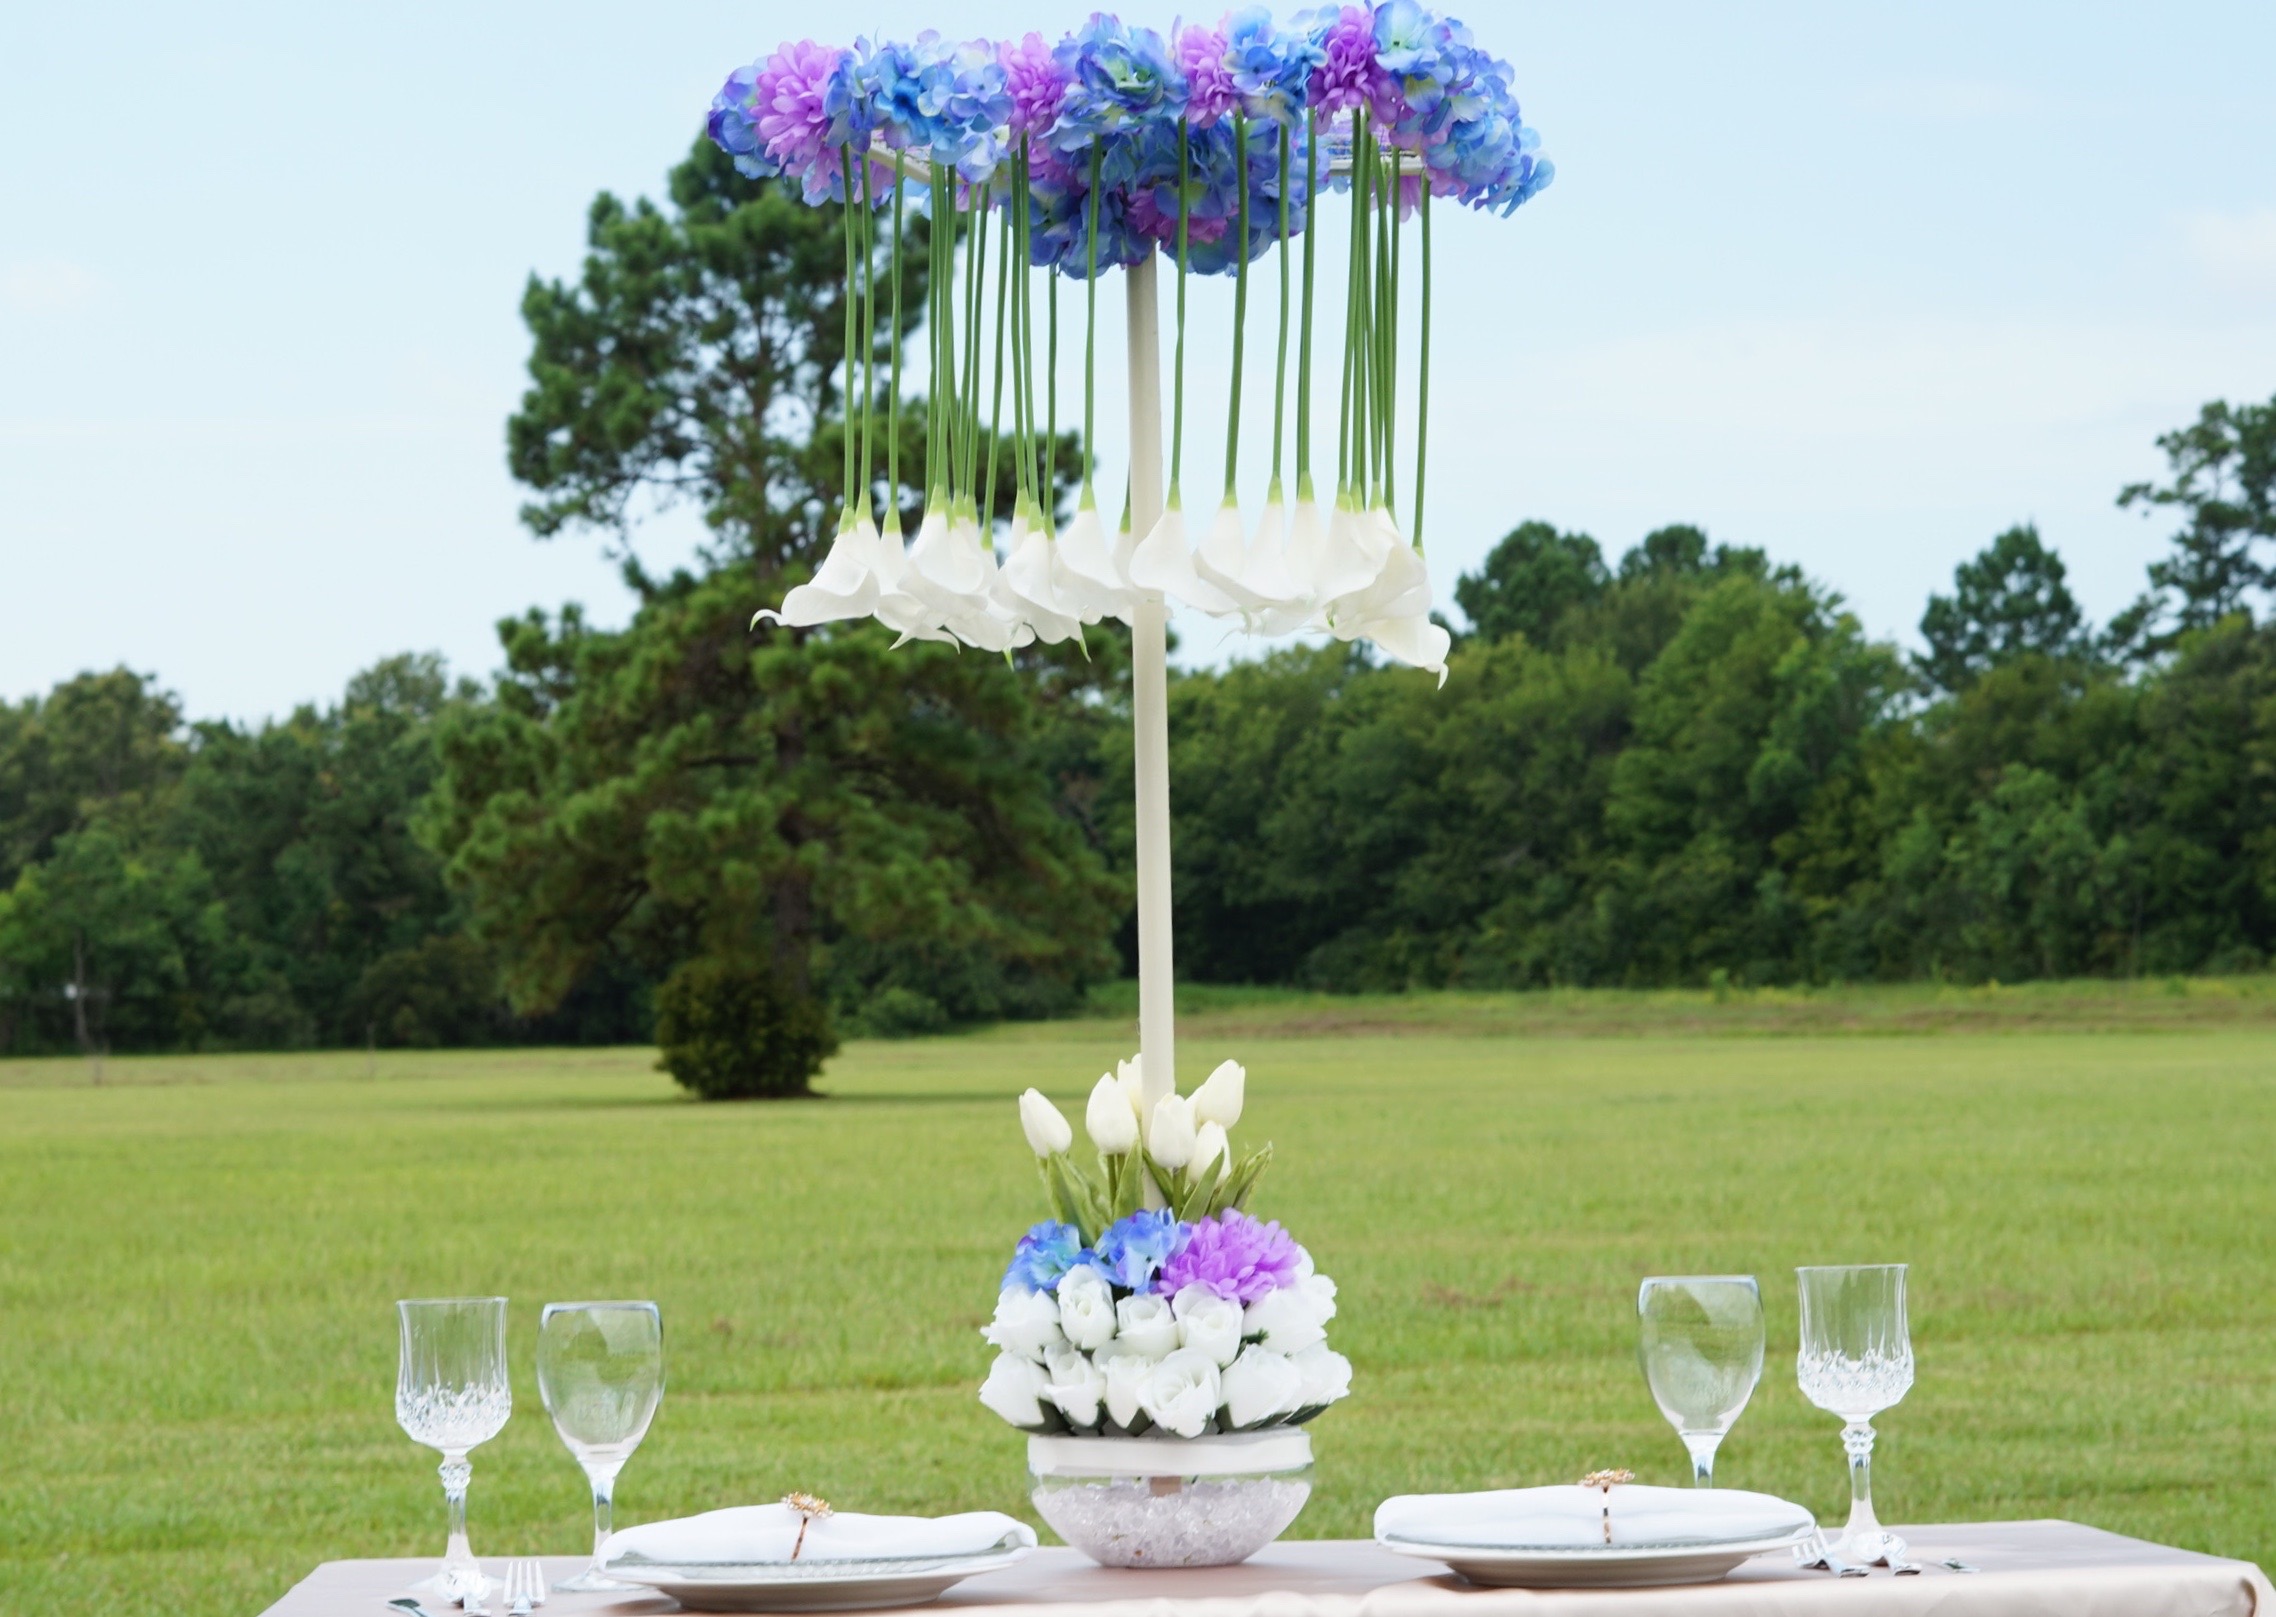
I absolutely love how this Tall Tulip Wedding Centerpiece turned out! The outcome is amazing and will definitely add that extra special touch to any wedding!
Don’t forget to sign up for Ebates to earn cash back on your online purchases. Planning a wedding is expensive, our goal is to help you stay within your budget and make every penny count. Click here to sign up for Ebates, and RIGHT NOW when you sign up, you will receive a $10 cash welcome bonus when you spend $25.00!
If you like the outcome please subscribe to our Youtube Channel for more DIY Videos and follow us on Facebook and Pinterest.
Need help with an upcoming project? Be sure to send us a project request!
“Remember When Every Penny Counts, Count on MissPlanIt”


