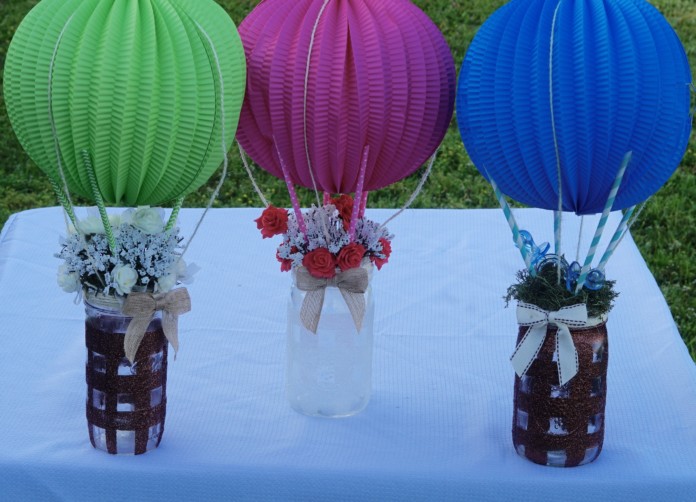
How better to celebrate a new baby than with this gorgeous DIY Up, Up, and Away Baby Shower Centerpiece? Inspired by the hot air balloon, this centerpiece is sure to bring you to new heights of creativity. Whether you are planning a baby shower for your daughter, best friend/friend, family member or co-worker, this centerpiece idea will create treasured memories for years to come! Special thanks to our friends at Paper Mart for sponsored products that helped bring this community member’s vision to life!
Let’s Get Started:
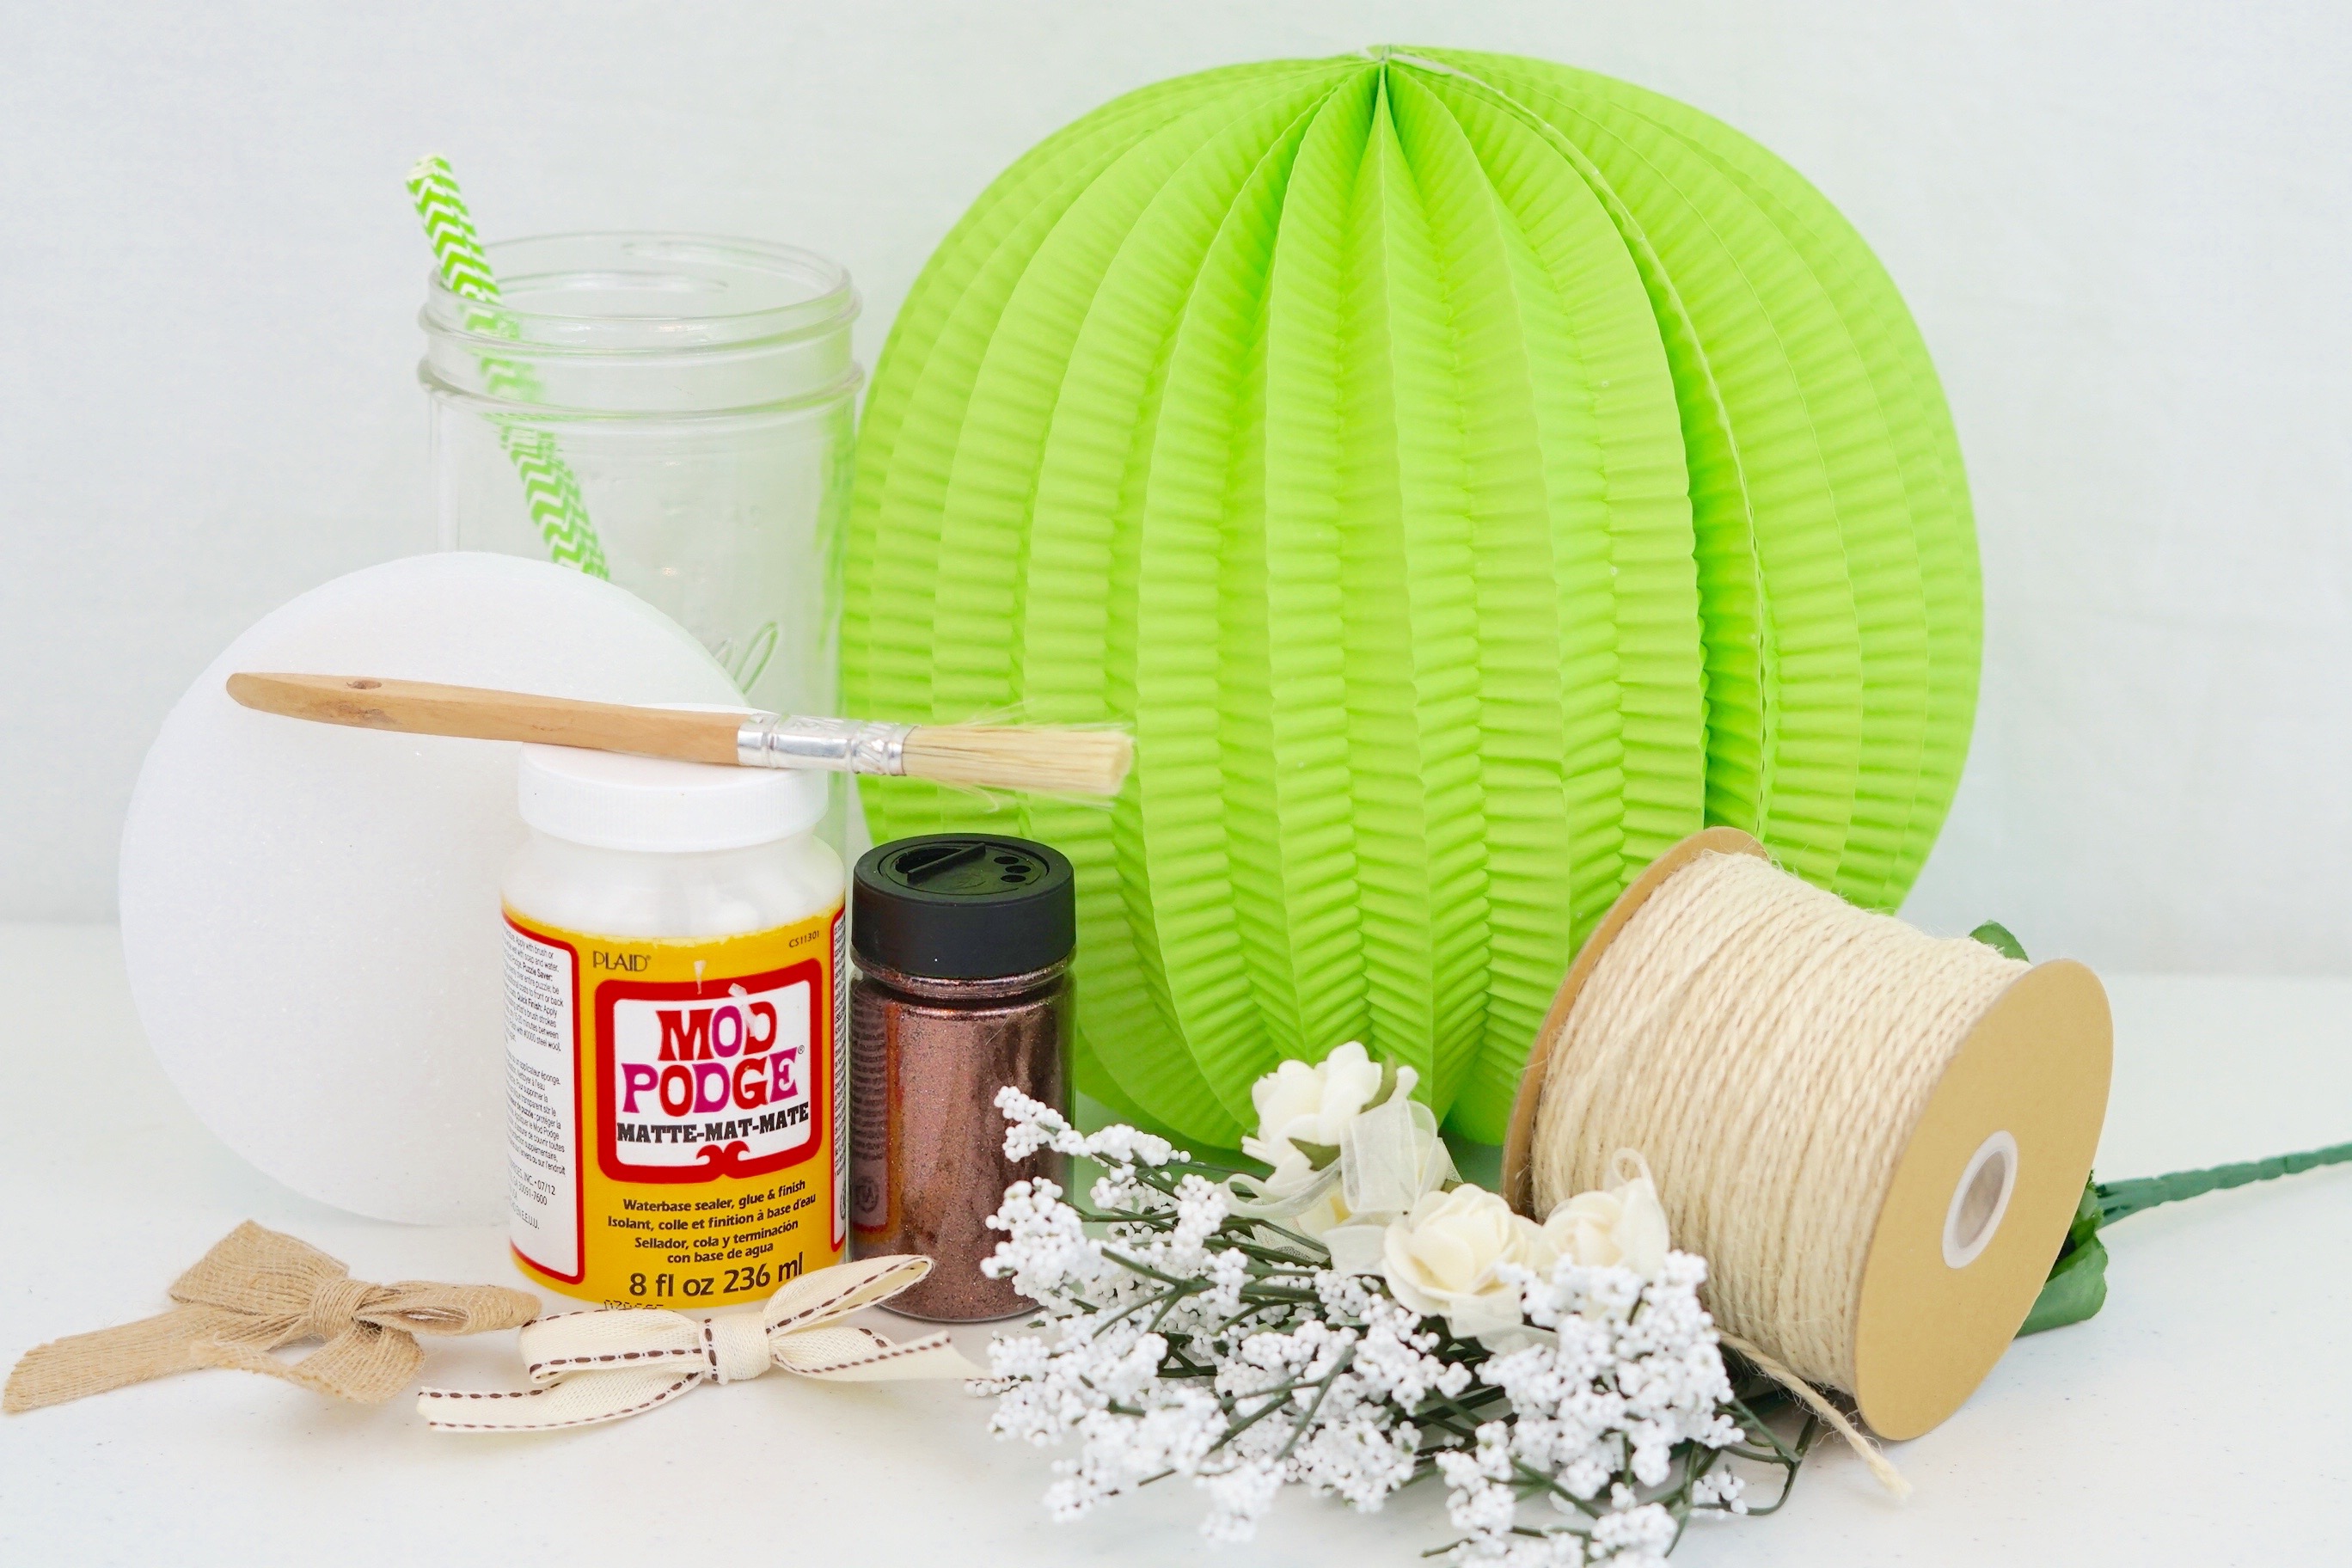
Supplies:
- Baby’s Breath
- Floral Pins
- Moss
- Acrylic Spray
- Mod Podge
- Foam Disc
- Glitter
- X-Acto Knife
- Sharpie
- Hot glue gun/glue sticks
- Mason Jars
- Paper Lanterns
- Chevron Paper Straws
- White Jute Twine
- Pre-Tied Bows
- Tack Glue Dot
- Glass Containers
Directions:
STEP 1: To create your basket theme on your wide mouth jar, simply apply tape and space it out horizontally, apply mod podge, and sprinkle glitter. Spray with your acrylic spray and then let it dry for 30 minutes to an hour. Now remove the tape.
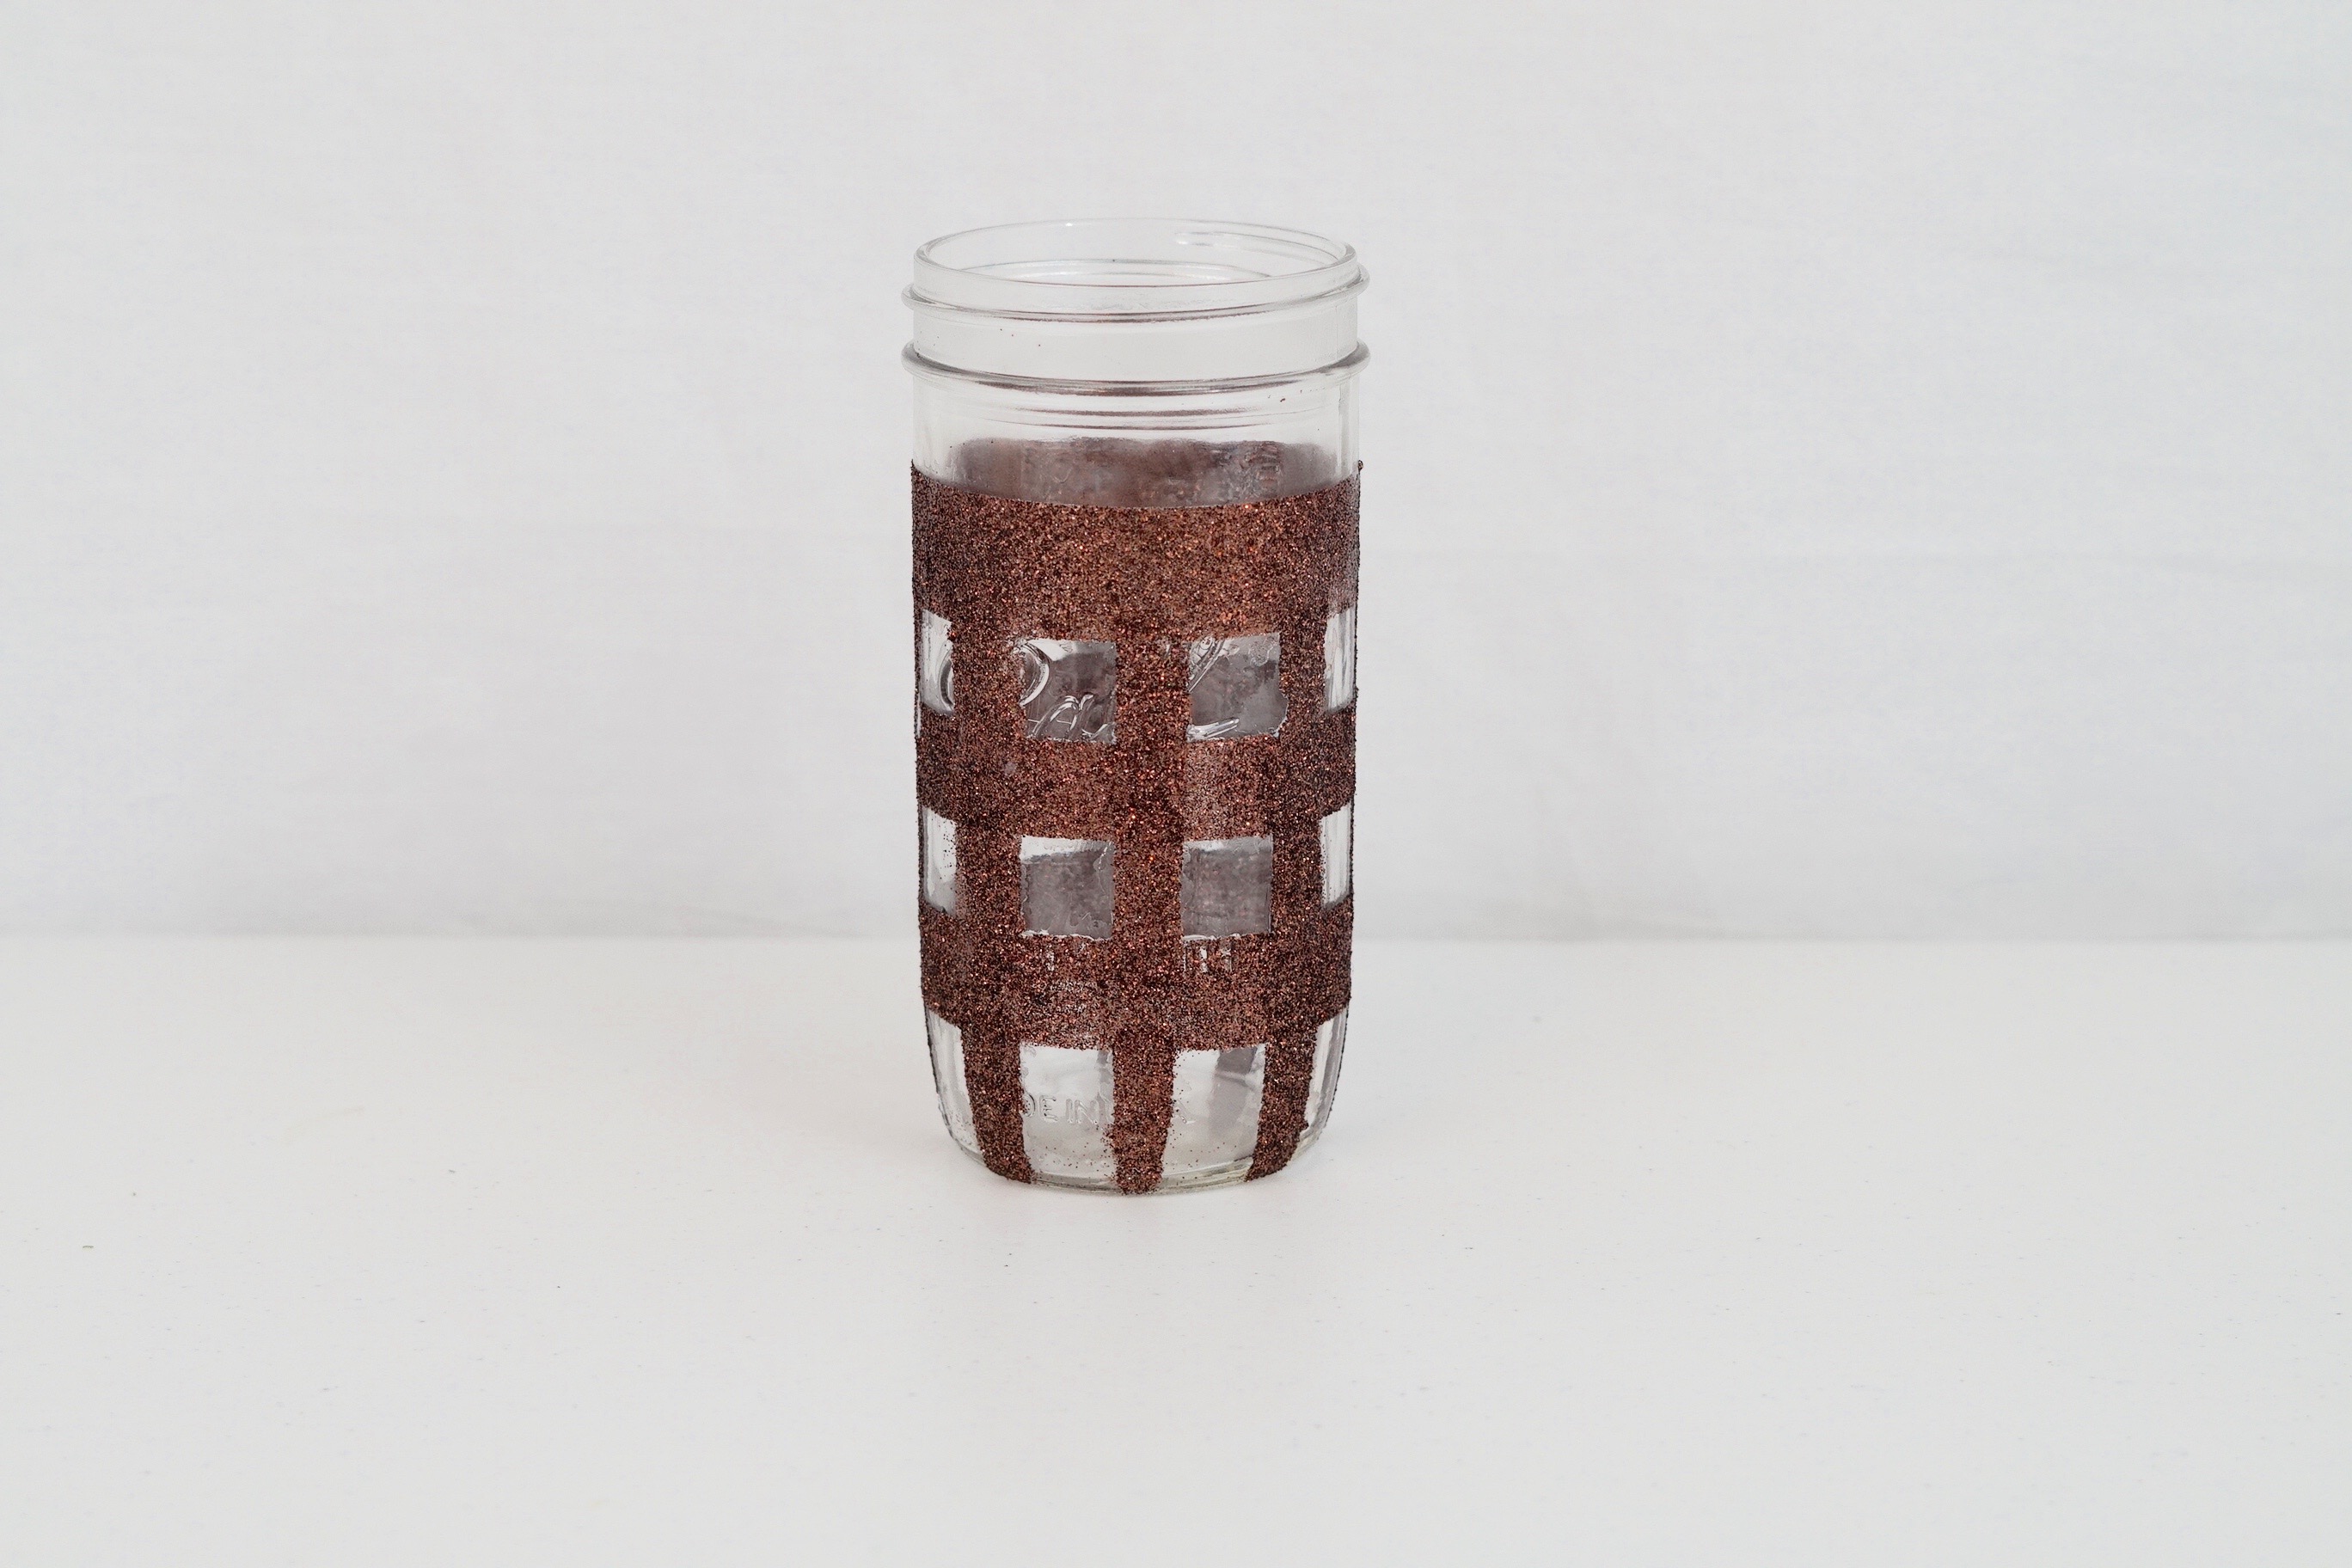
STEP 2: Complete Step 1 again but this time apply tape vertically.
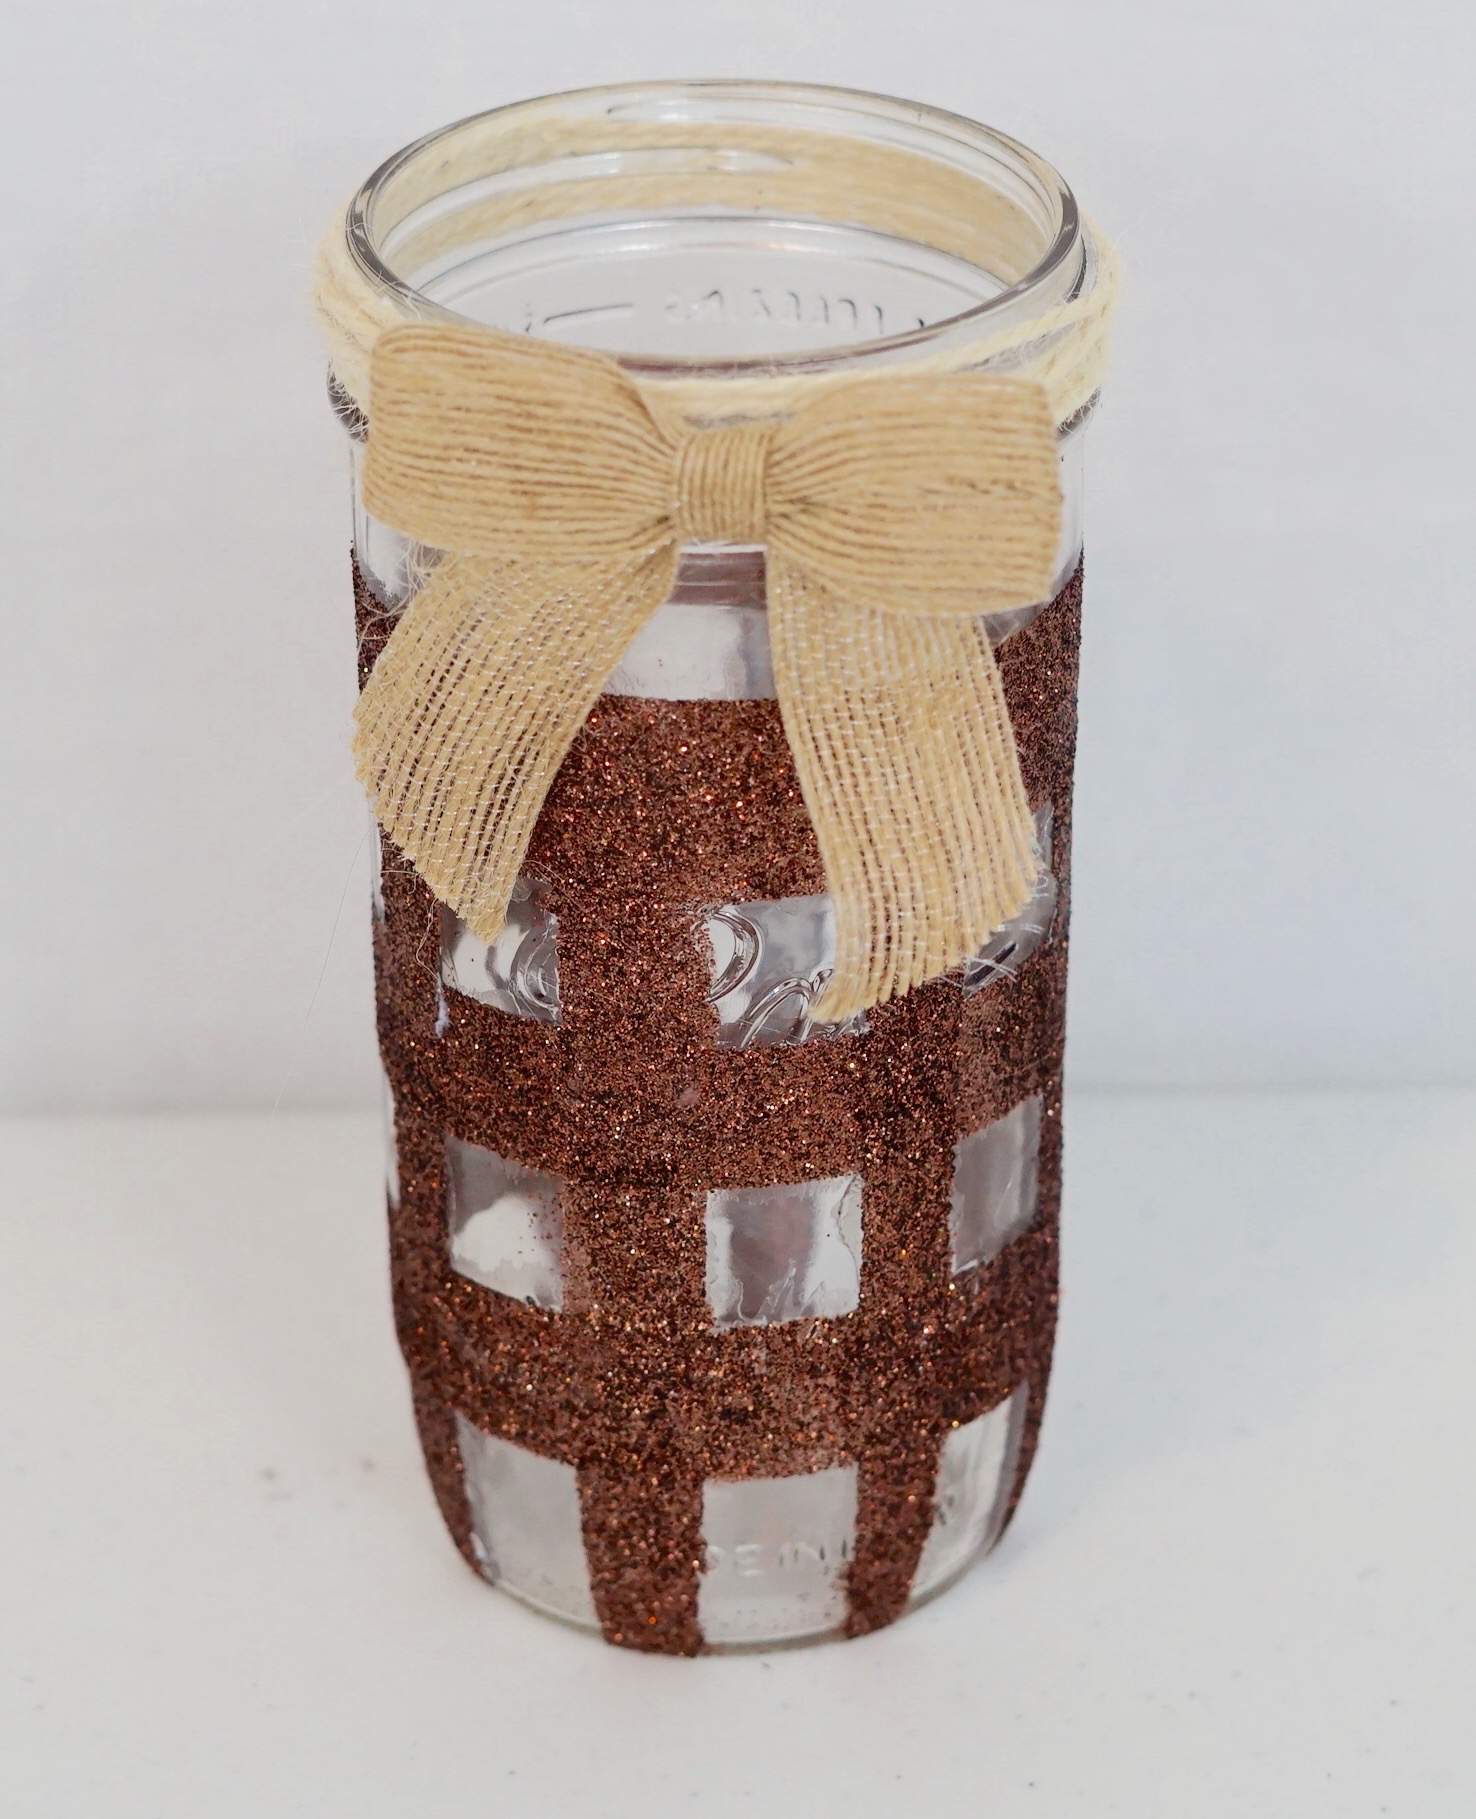
STEP 3: Wrap twine around the top of your wide mouth mason jar then attach bow. Secure with hot glue.
STEP 4: Apply mason jar lid on top of your foam and then trace with a sharpie then cut your foam out using an X-Acto knife.
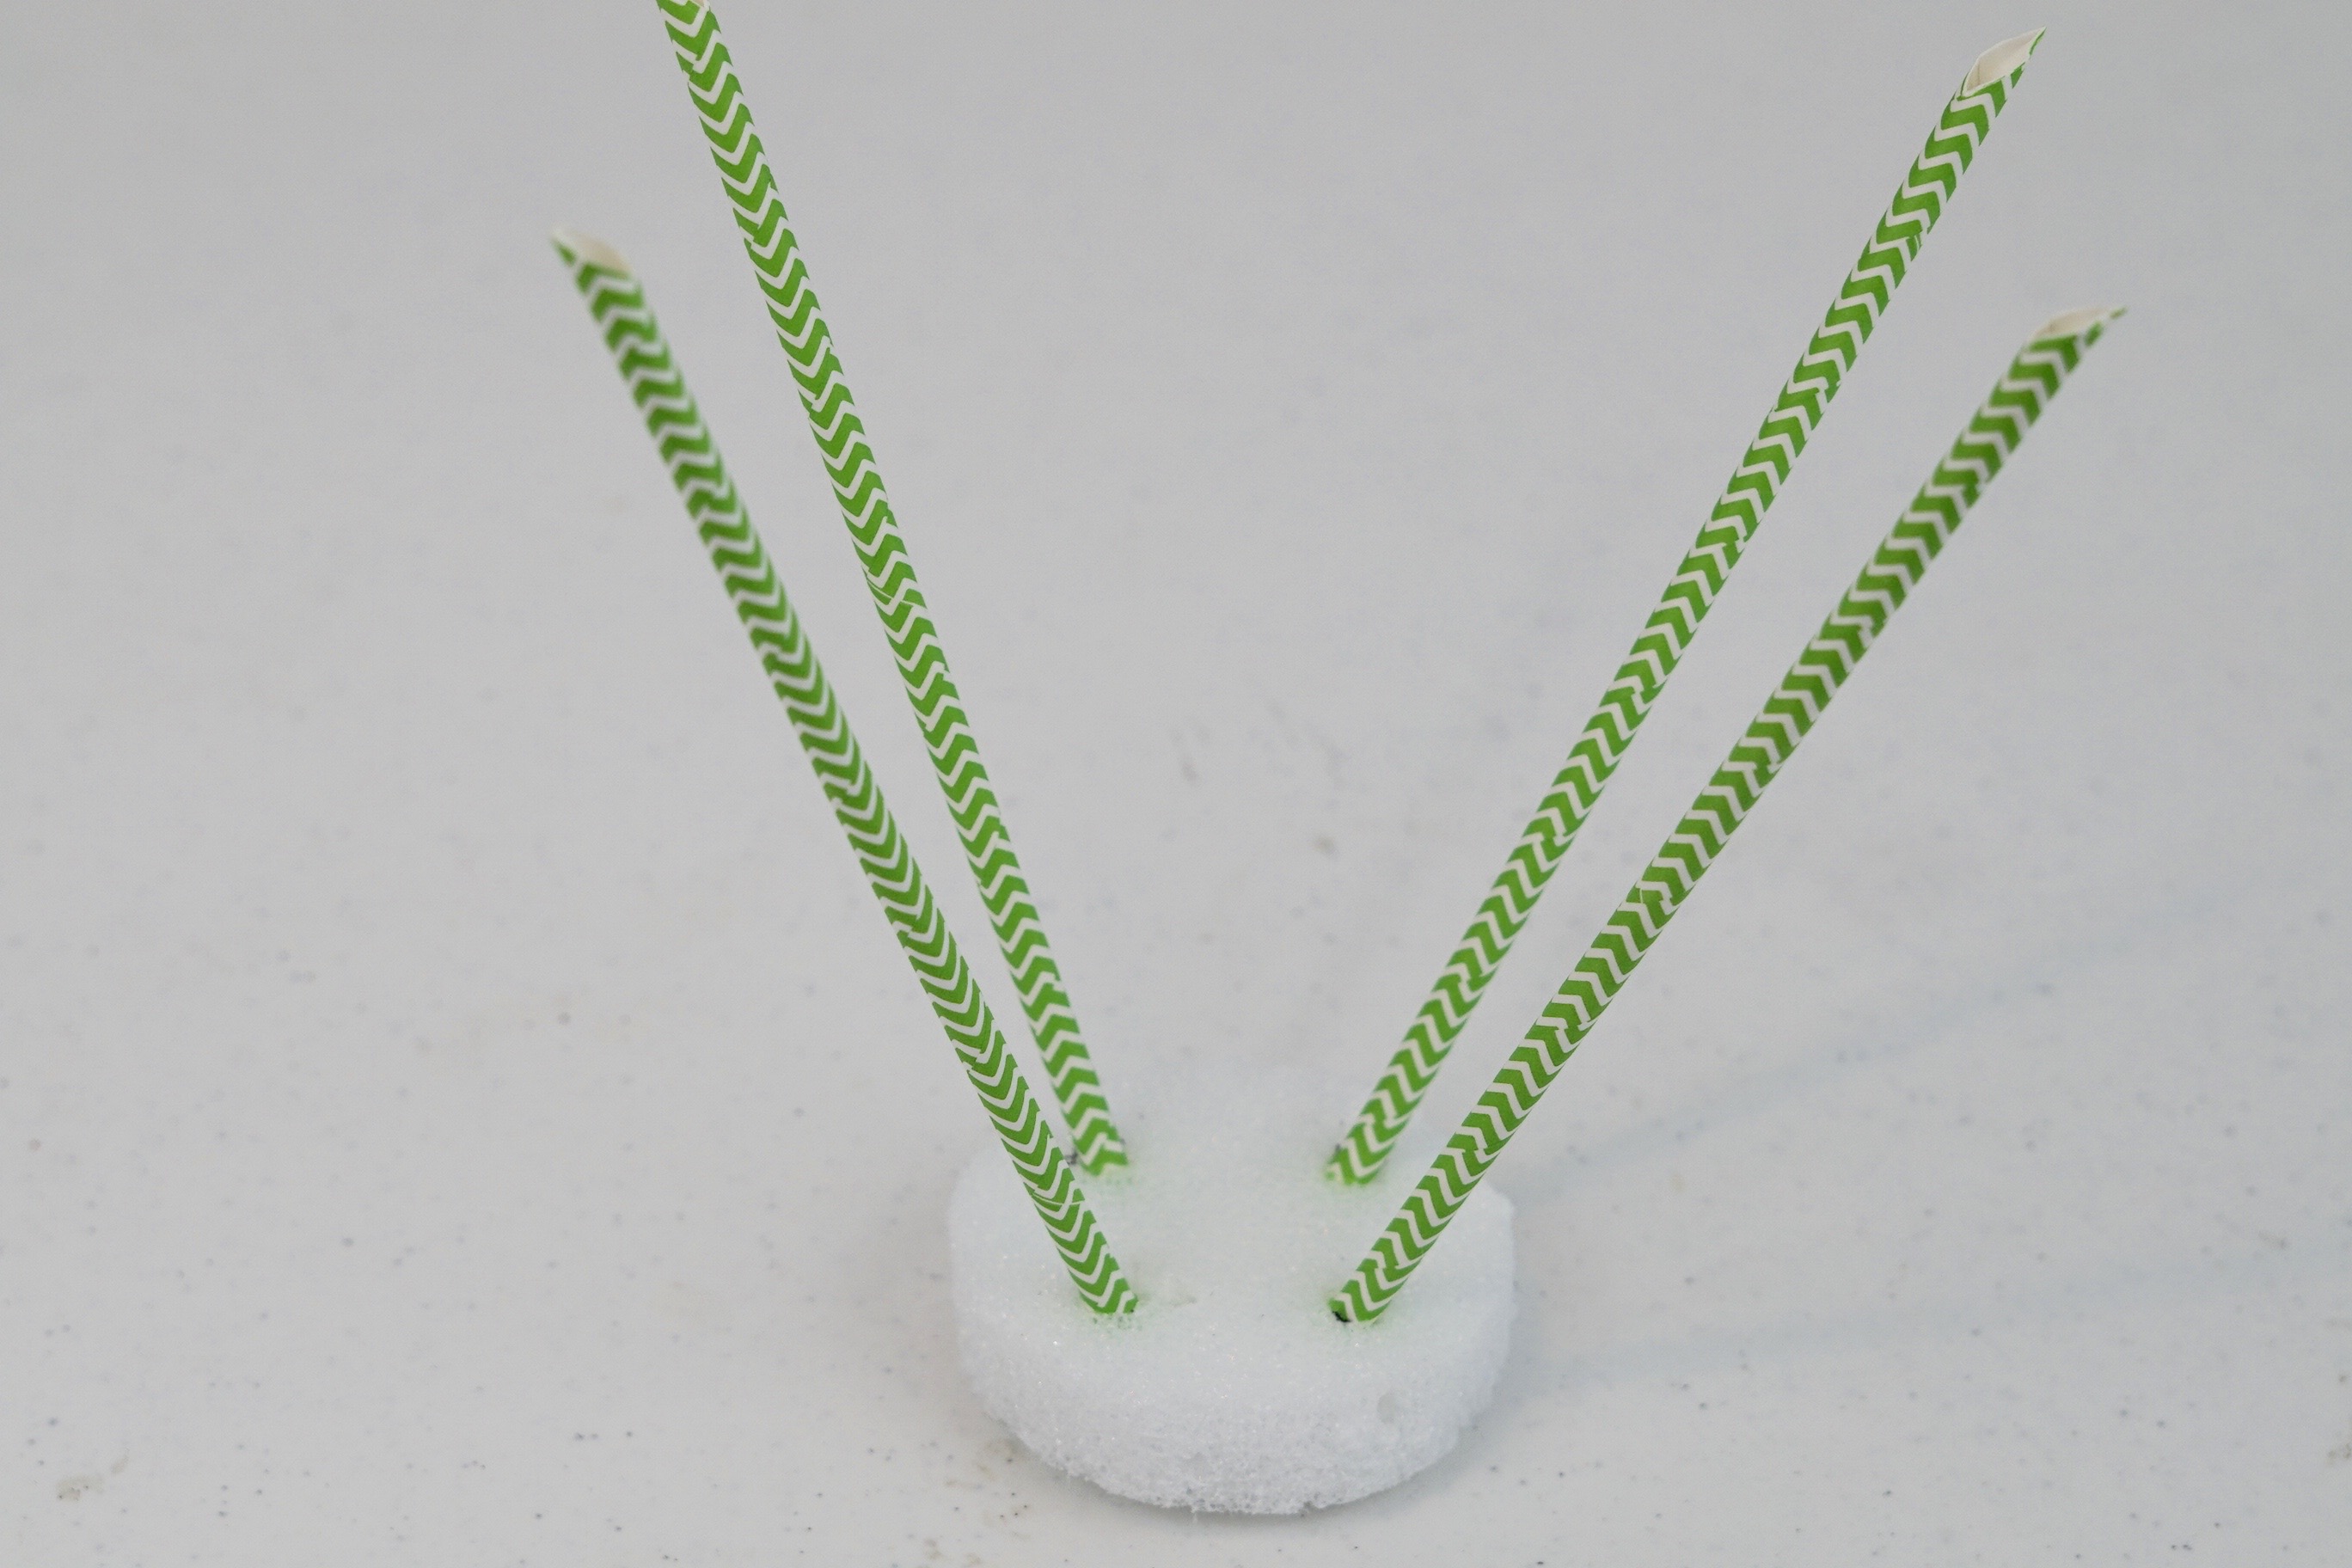
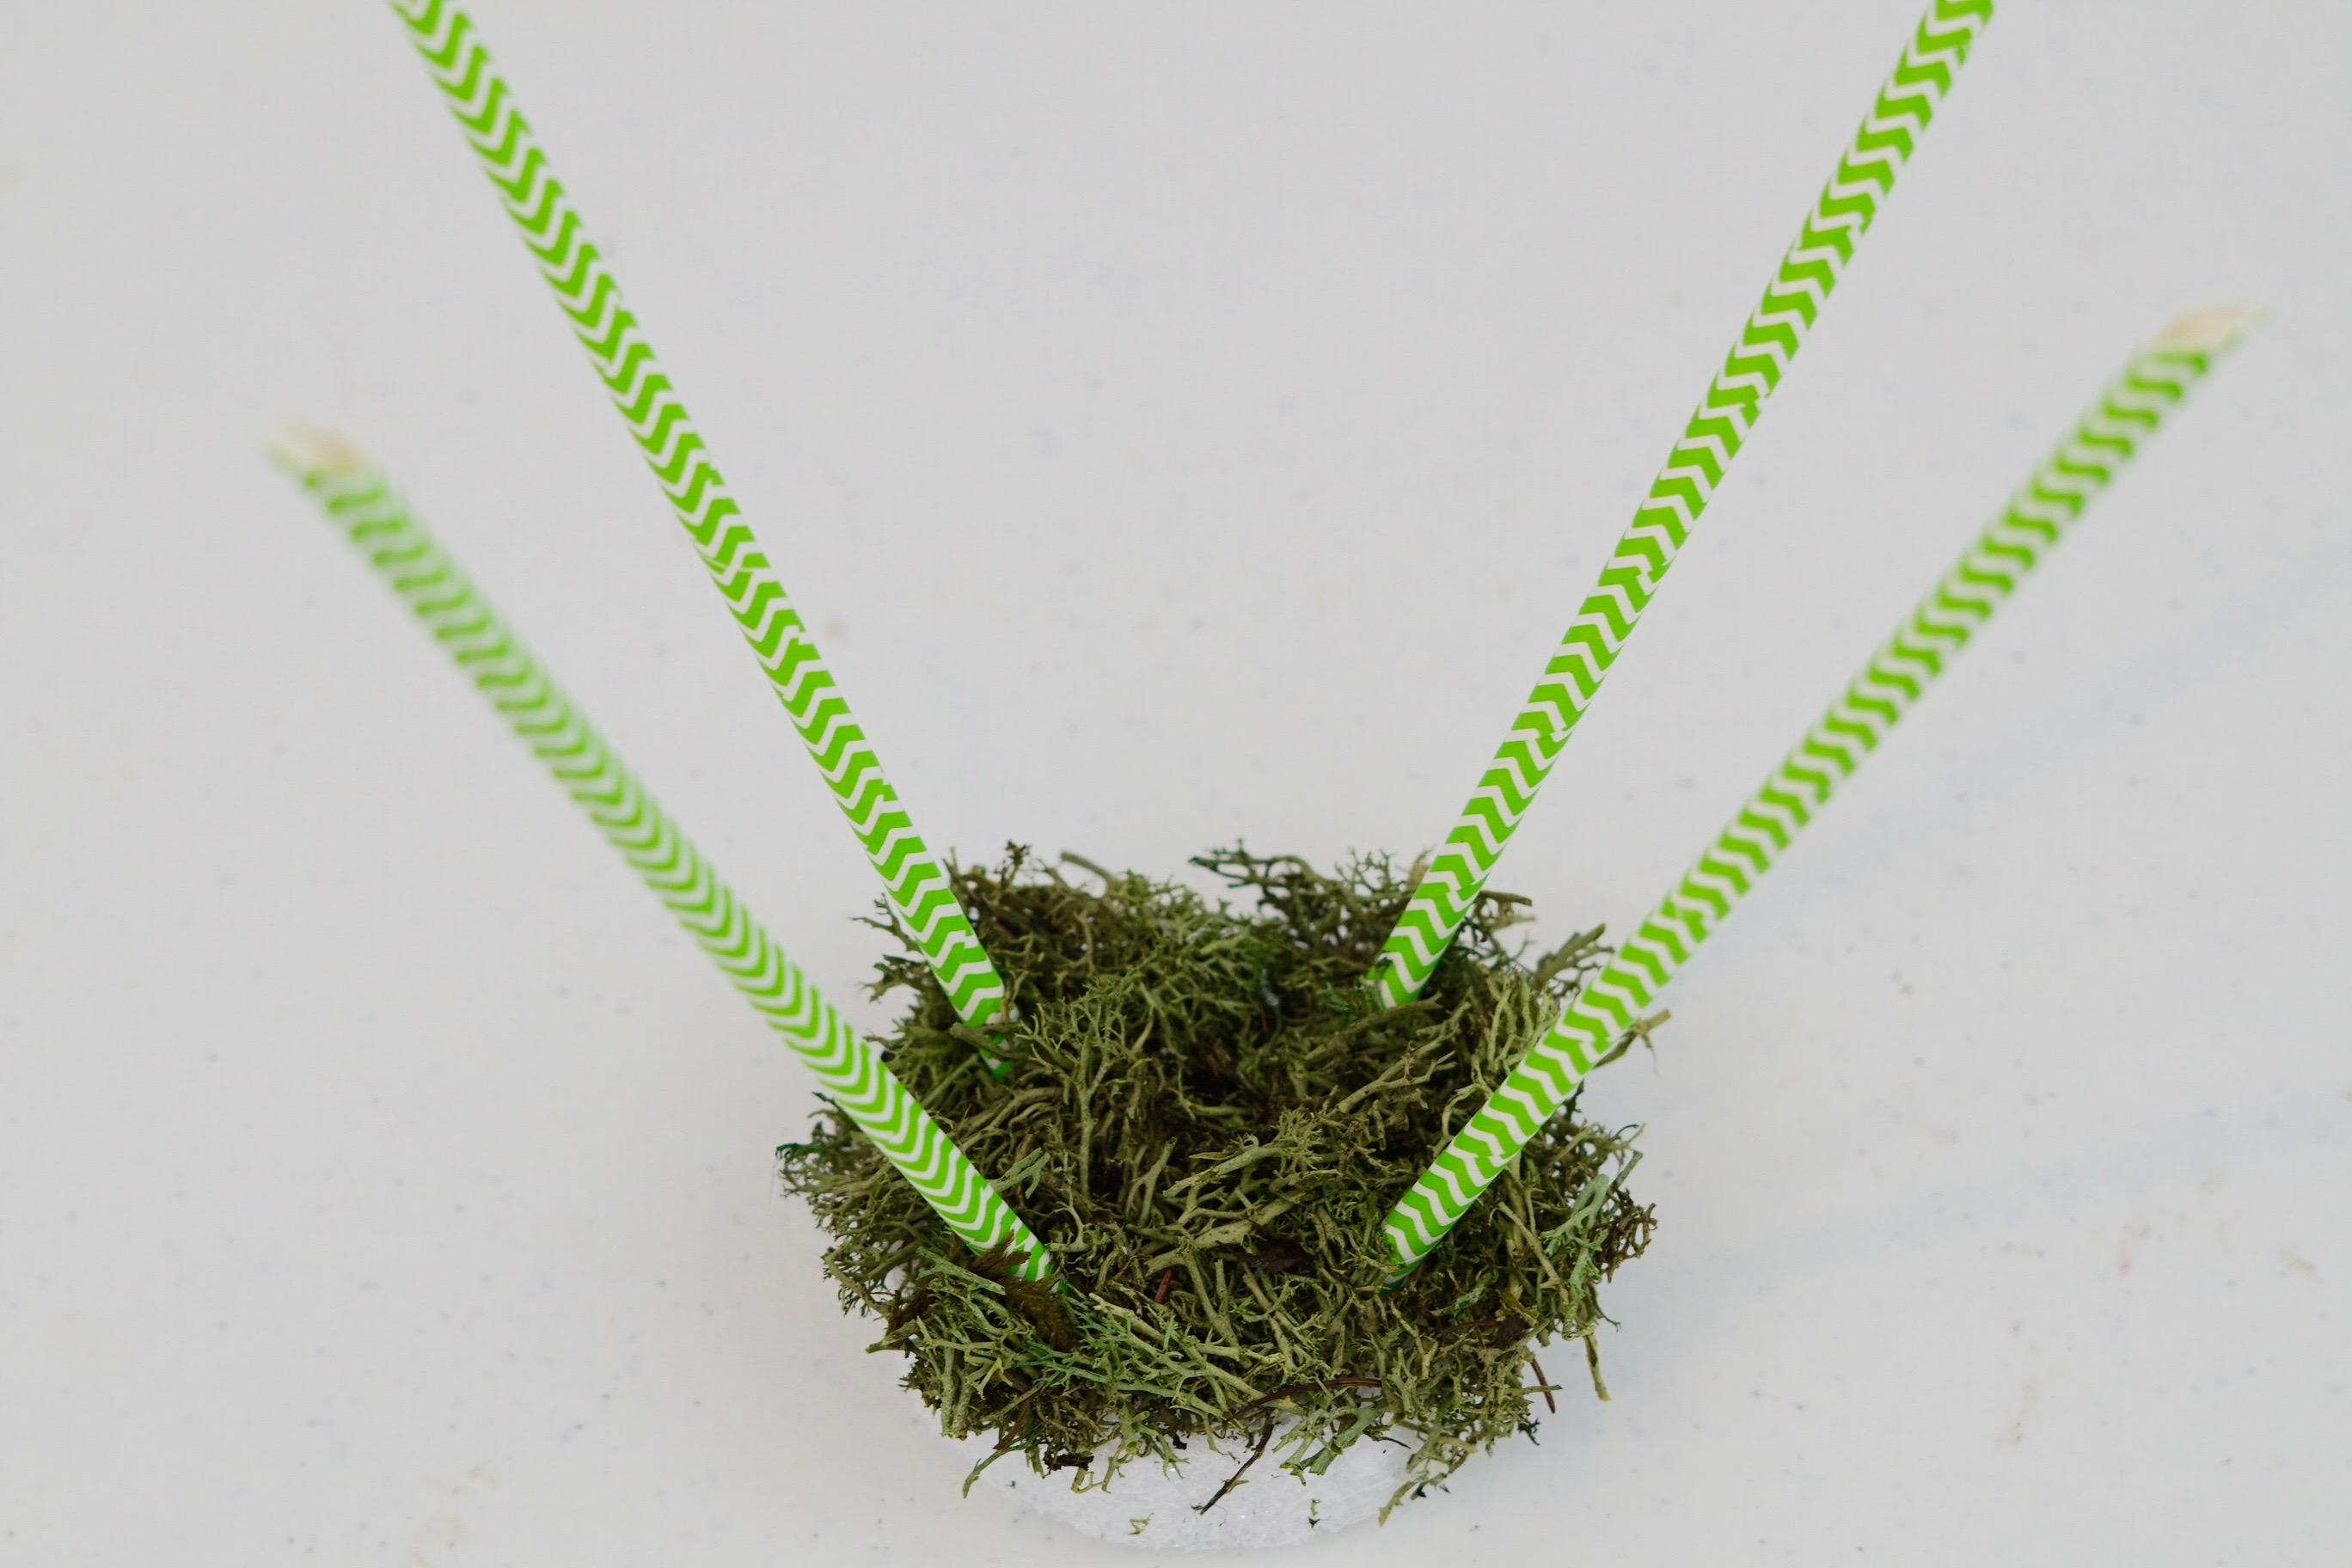
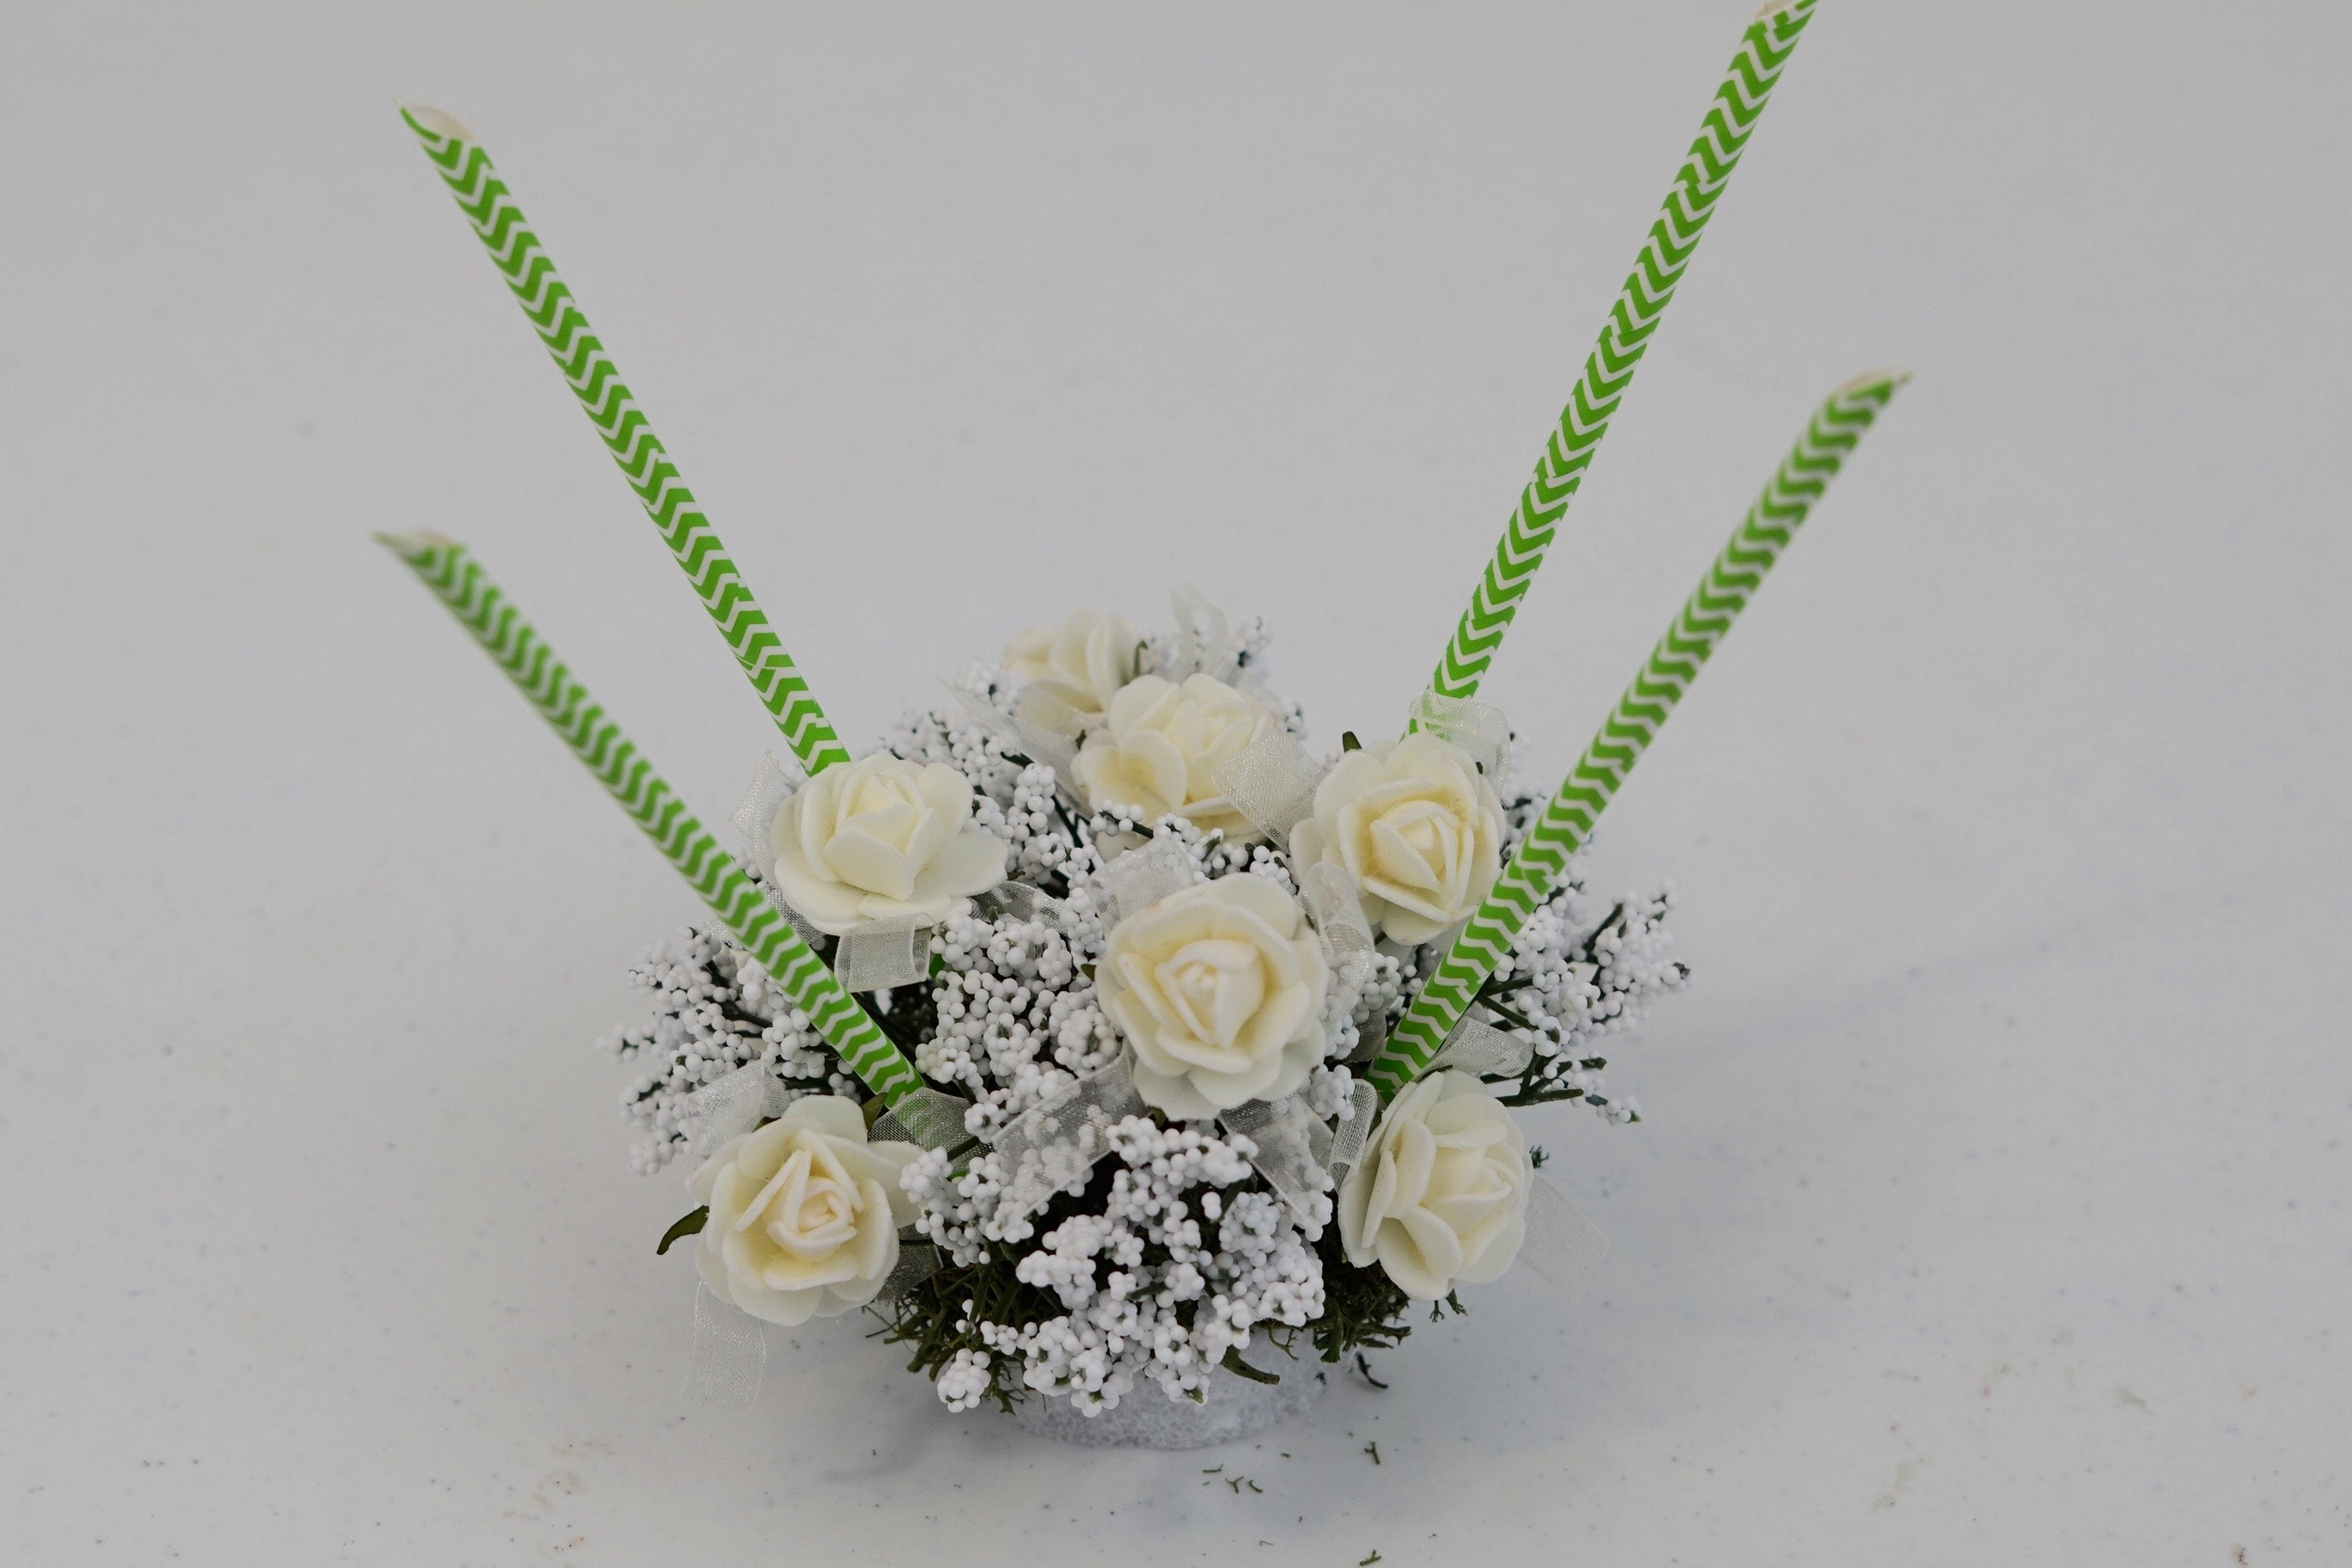
STEP 5: Mark your foam base at each corner, this will give you 4 marks. Cut the ends of your chevron straws at a diagonal and attach to foam base with hot glue. Apply hot glue to your foam base and then add moss, baby’s breath, and roses. Trim roses and baby’s breath stems and apply hot glue prior to inserting into foam.
STEP 6: Apply hot glue to the edges of your paper lantern, then close your lantern. Sit lantern on top of foam base. Chevron straws will secure lantern.
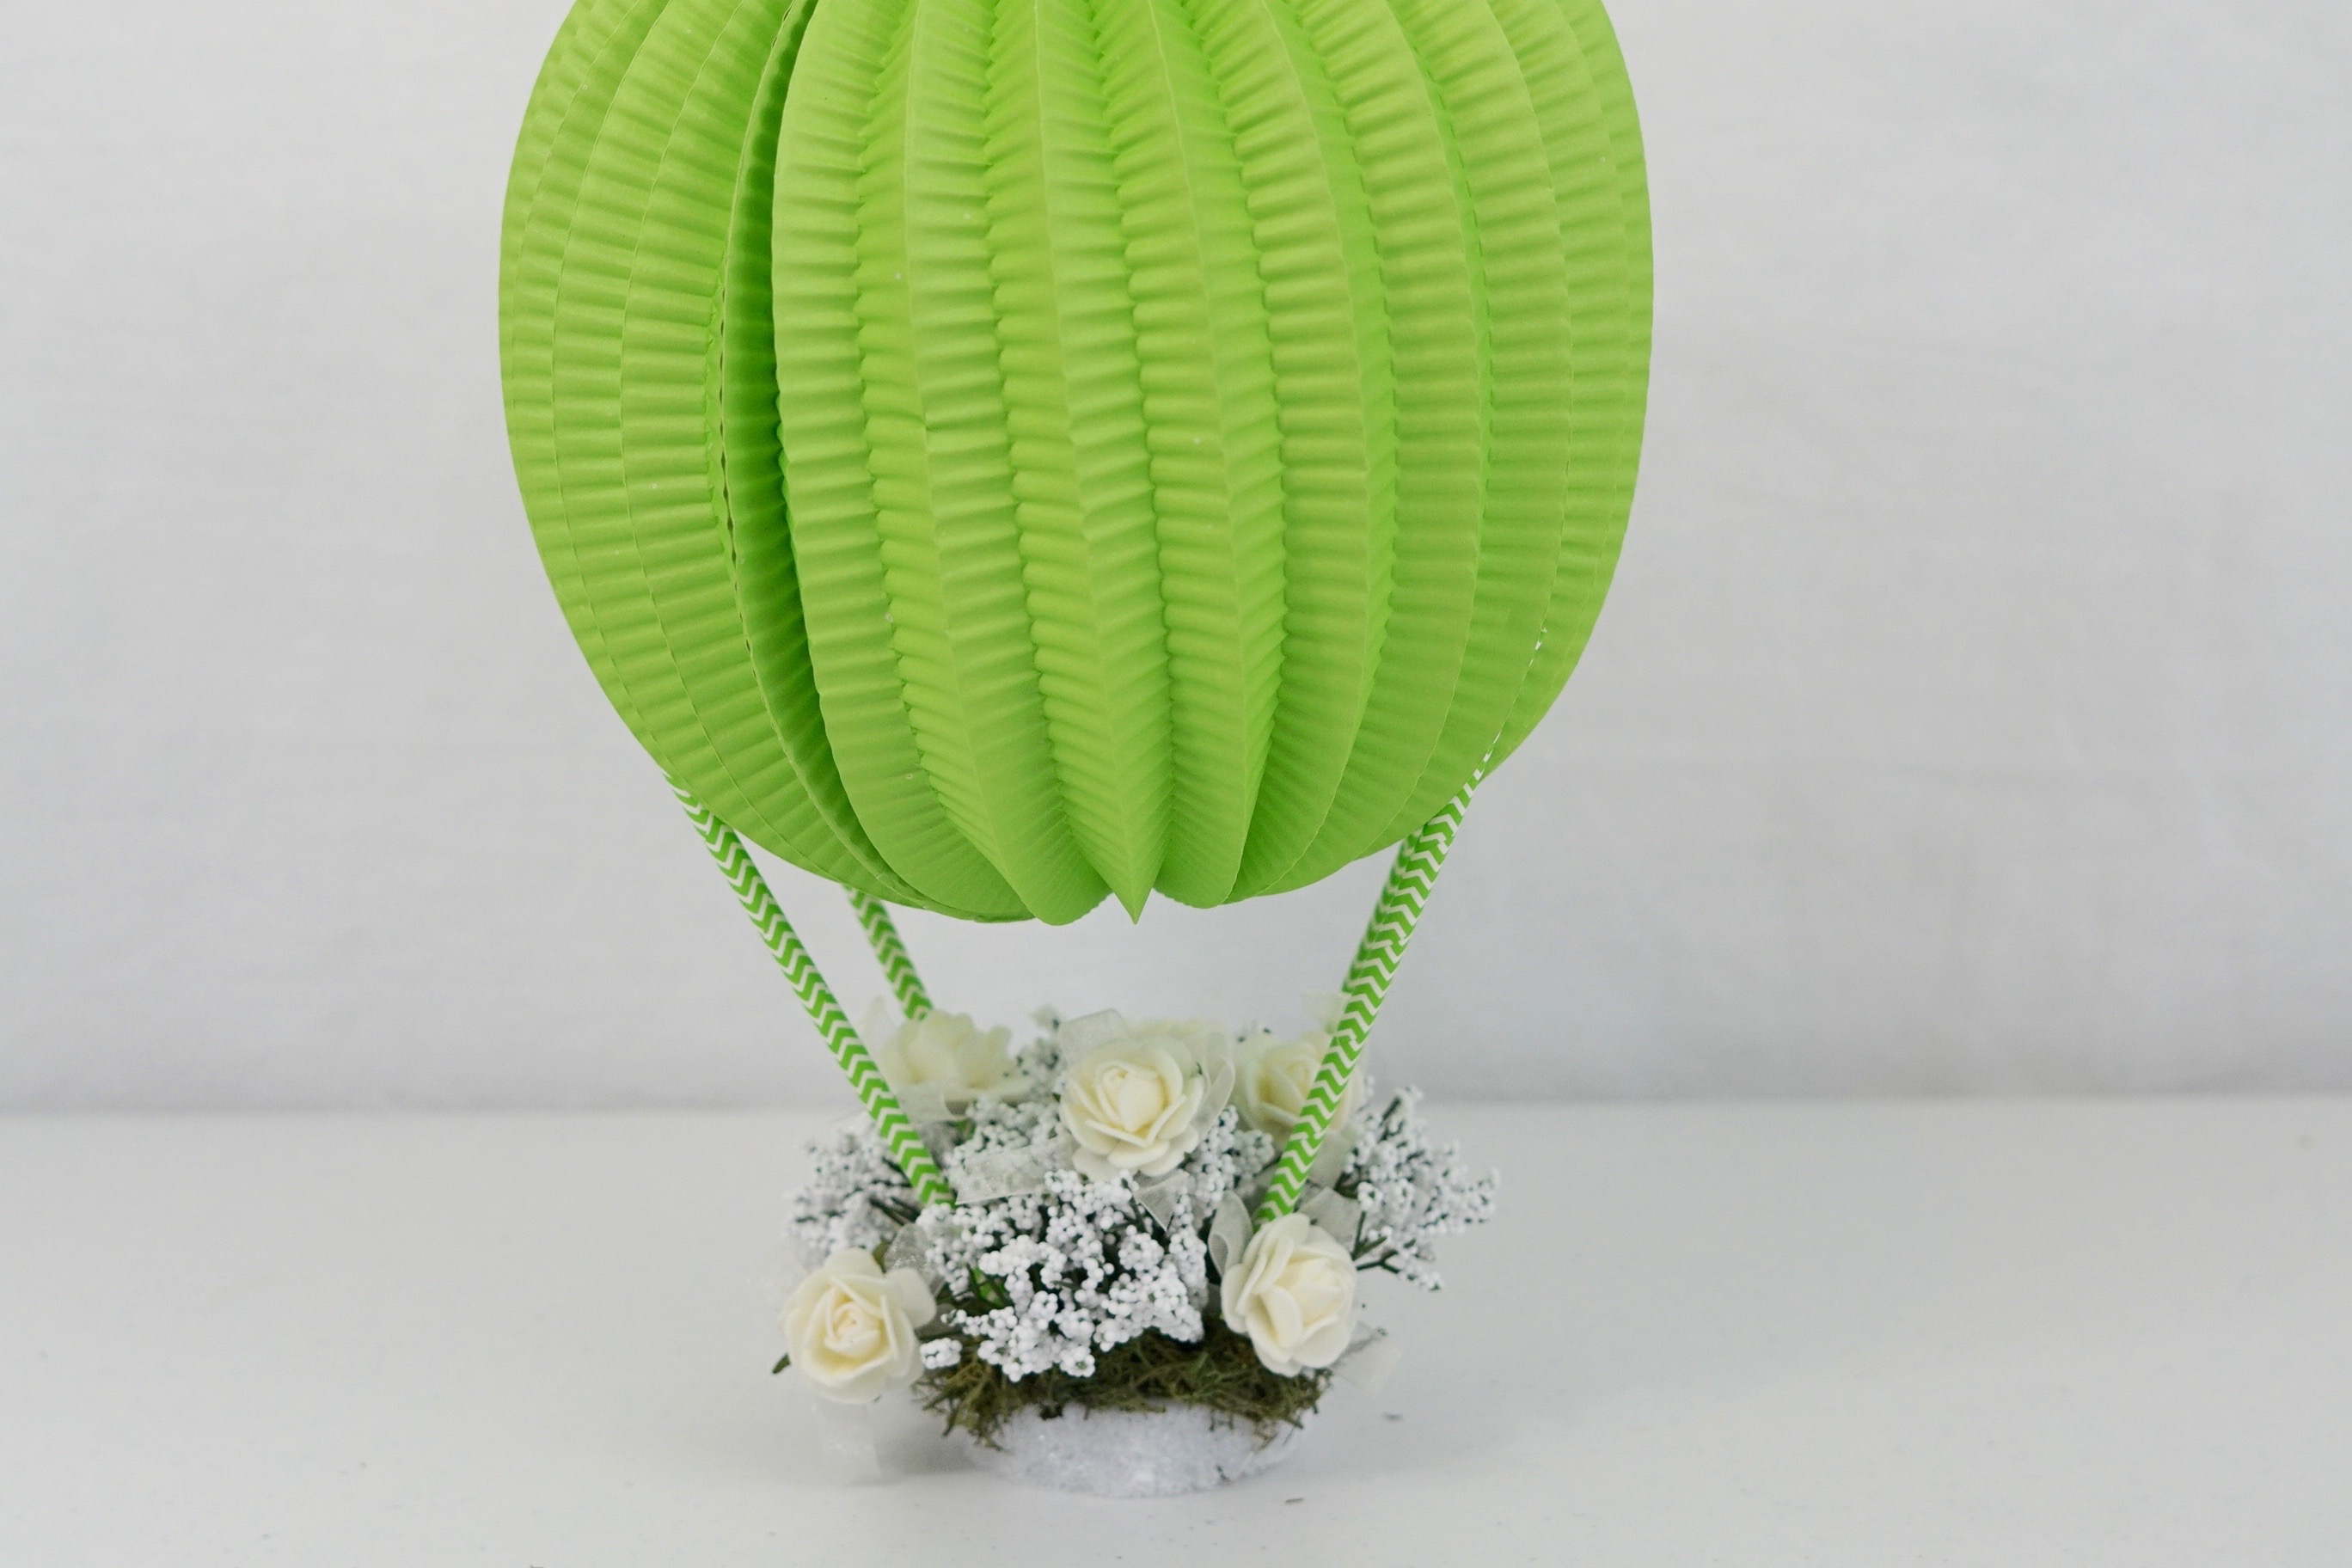
STEP 7: Wrap twine around lantern and secure to foam base with a trimmed down floral pin. Sit decorated foam base in mason jar, it should fit snuggly. This easy to do baby shower centerpiece can fit any theme, whether it’s for girl, for a boy, or a gender neutral theme. Your options are limitless!
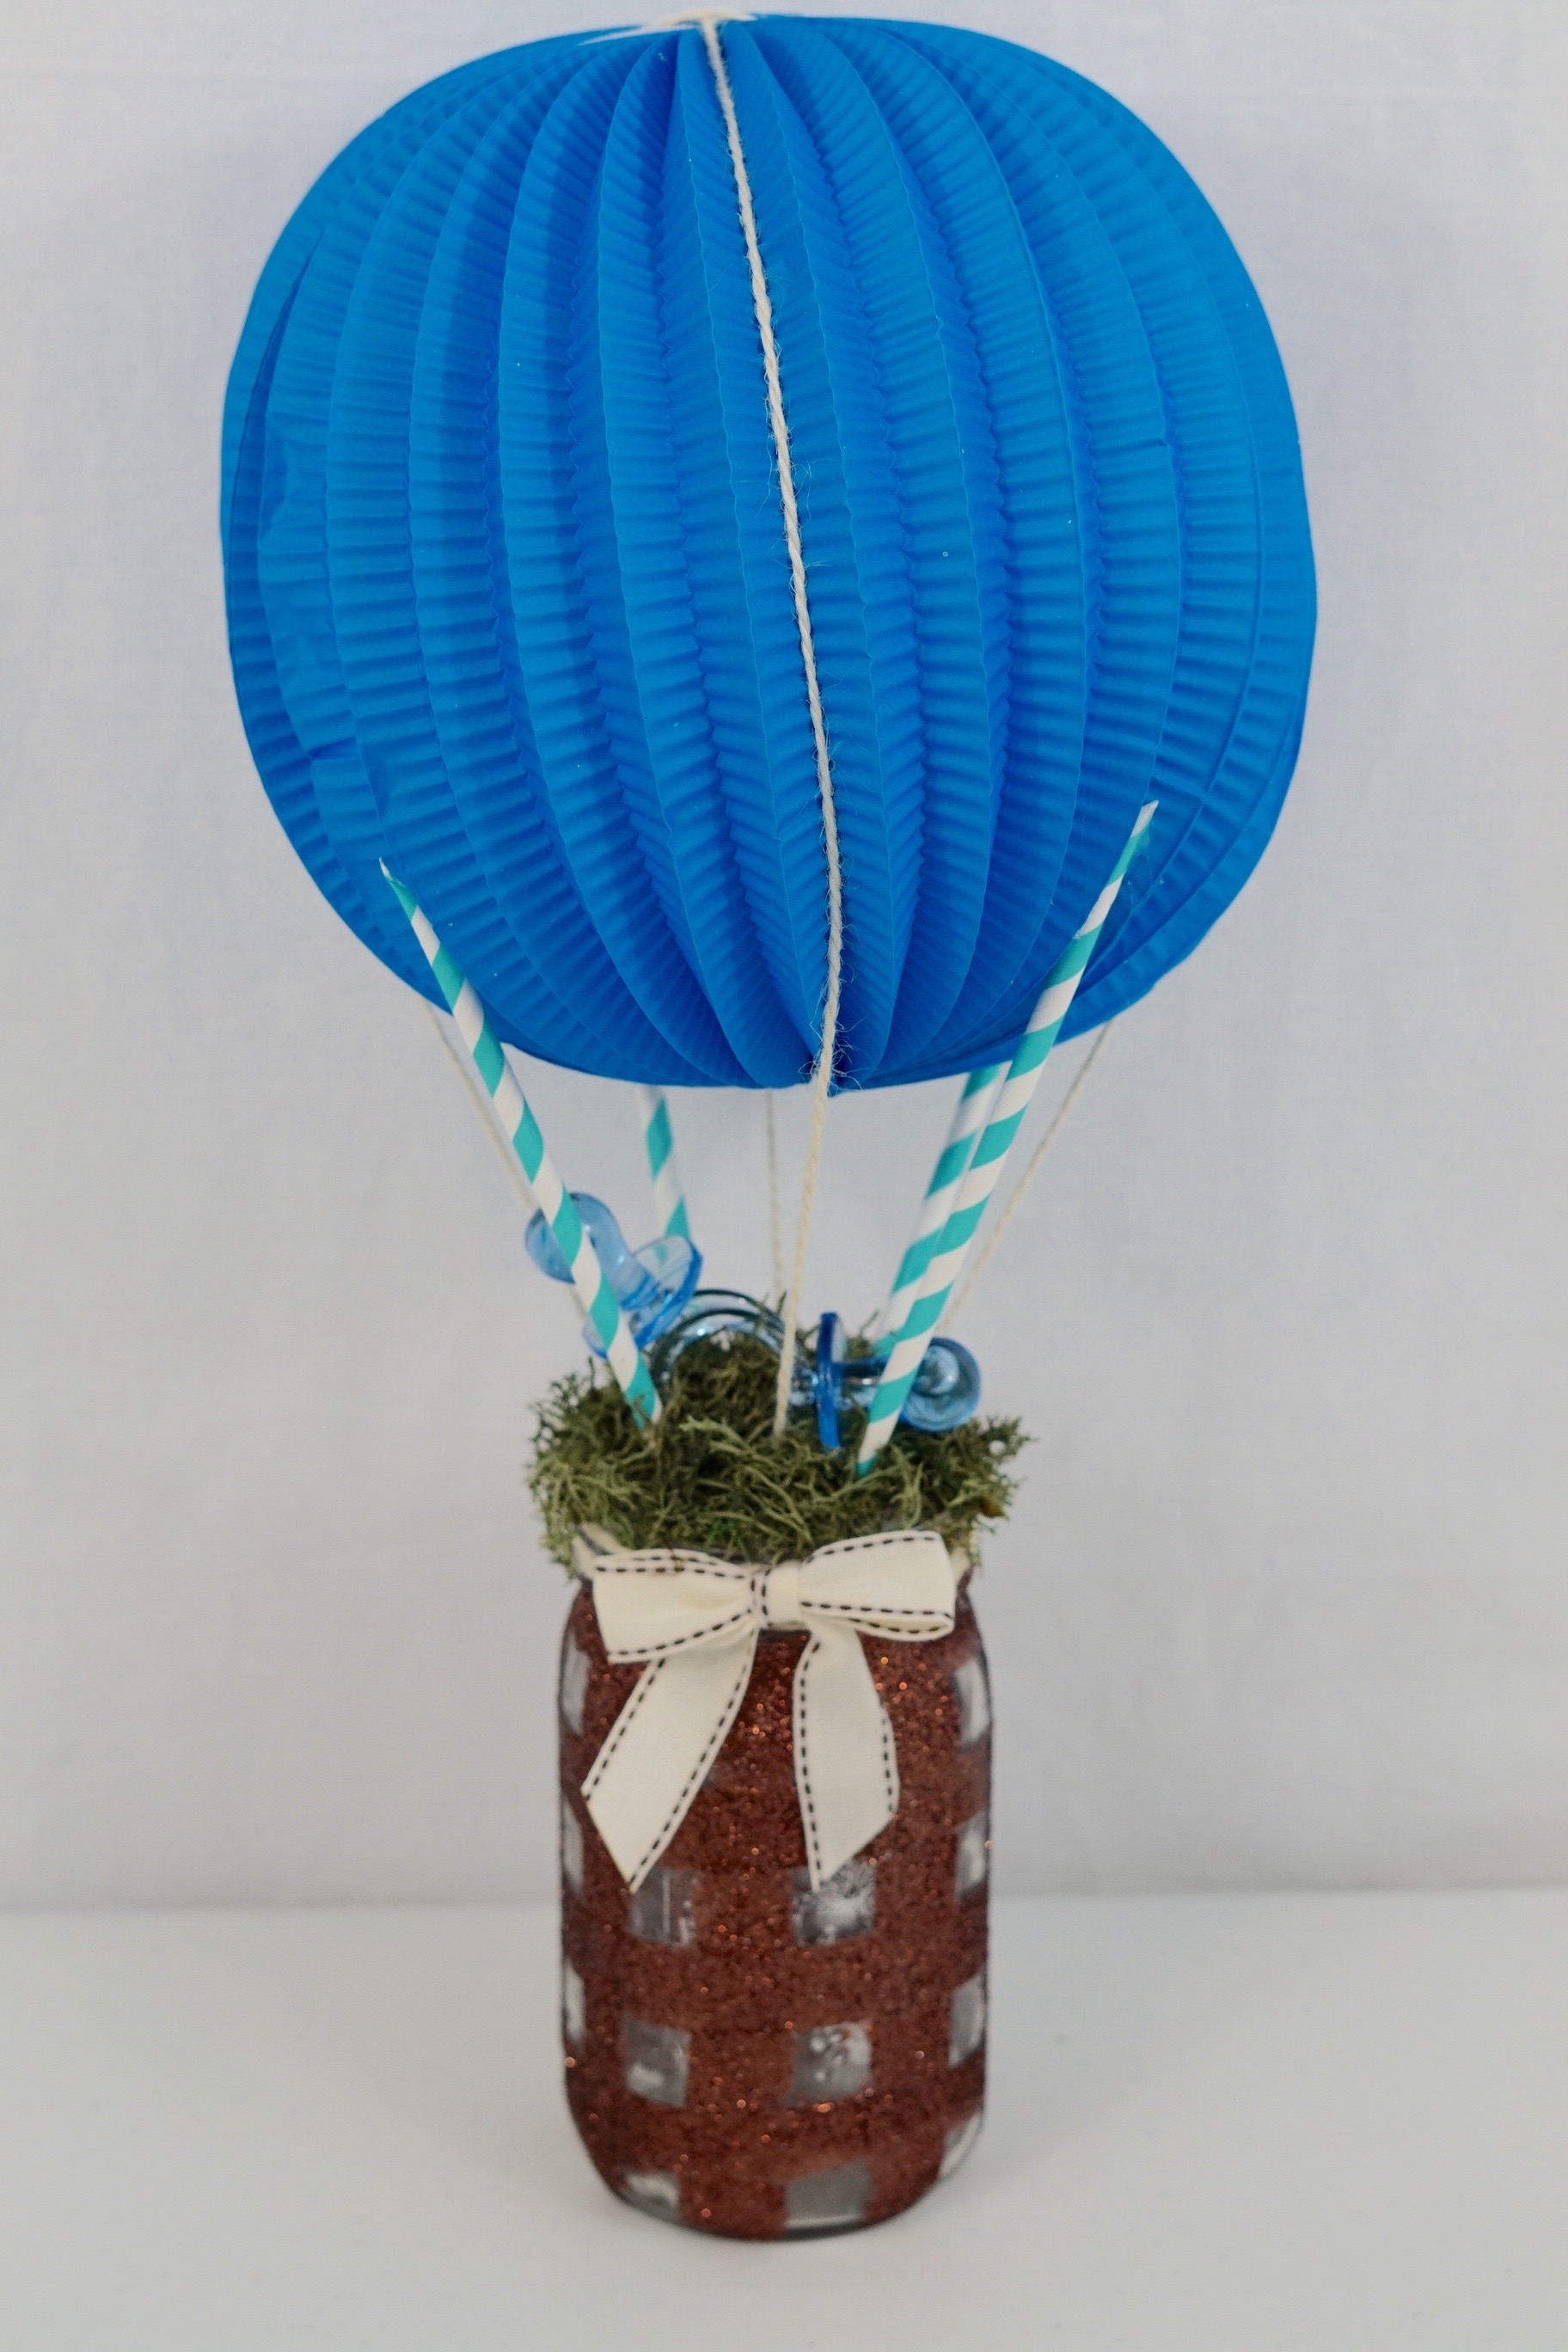
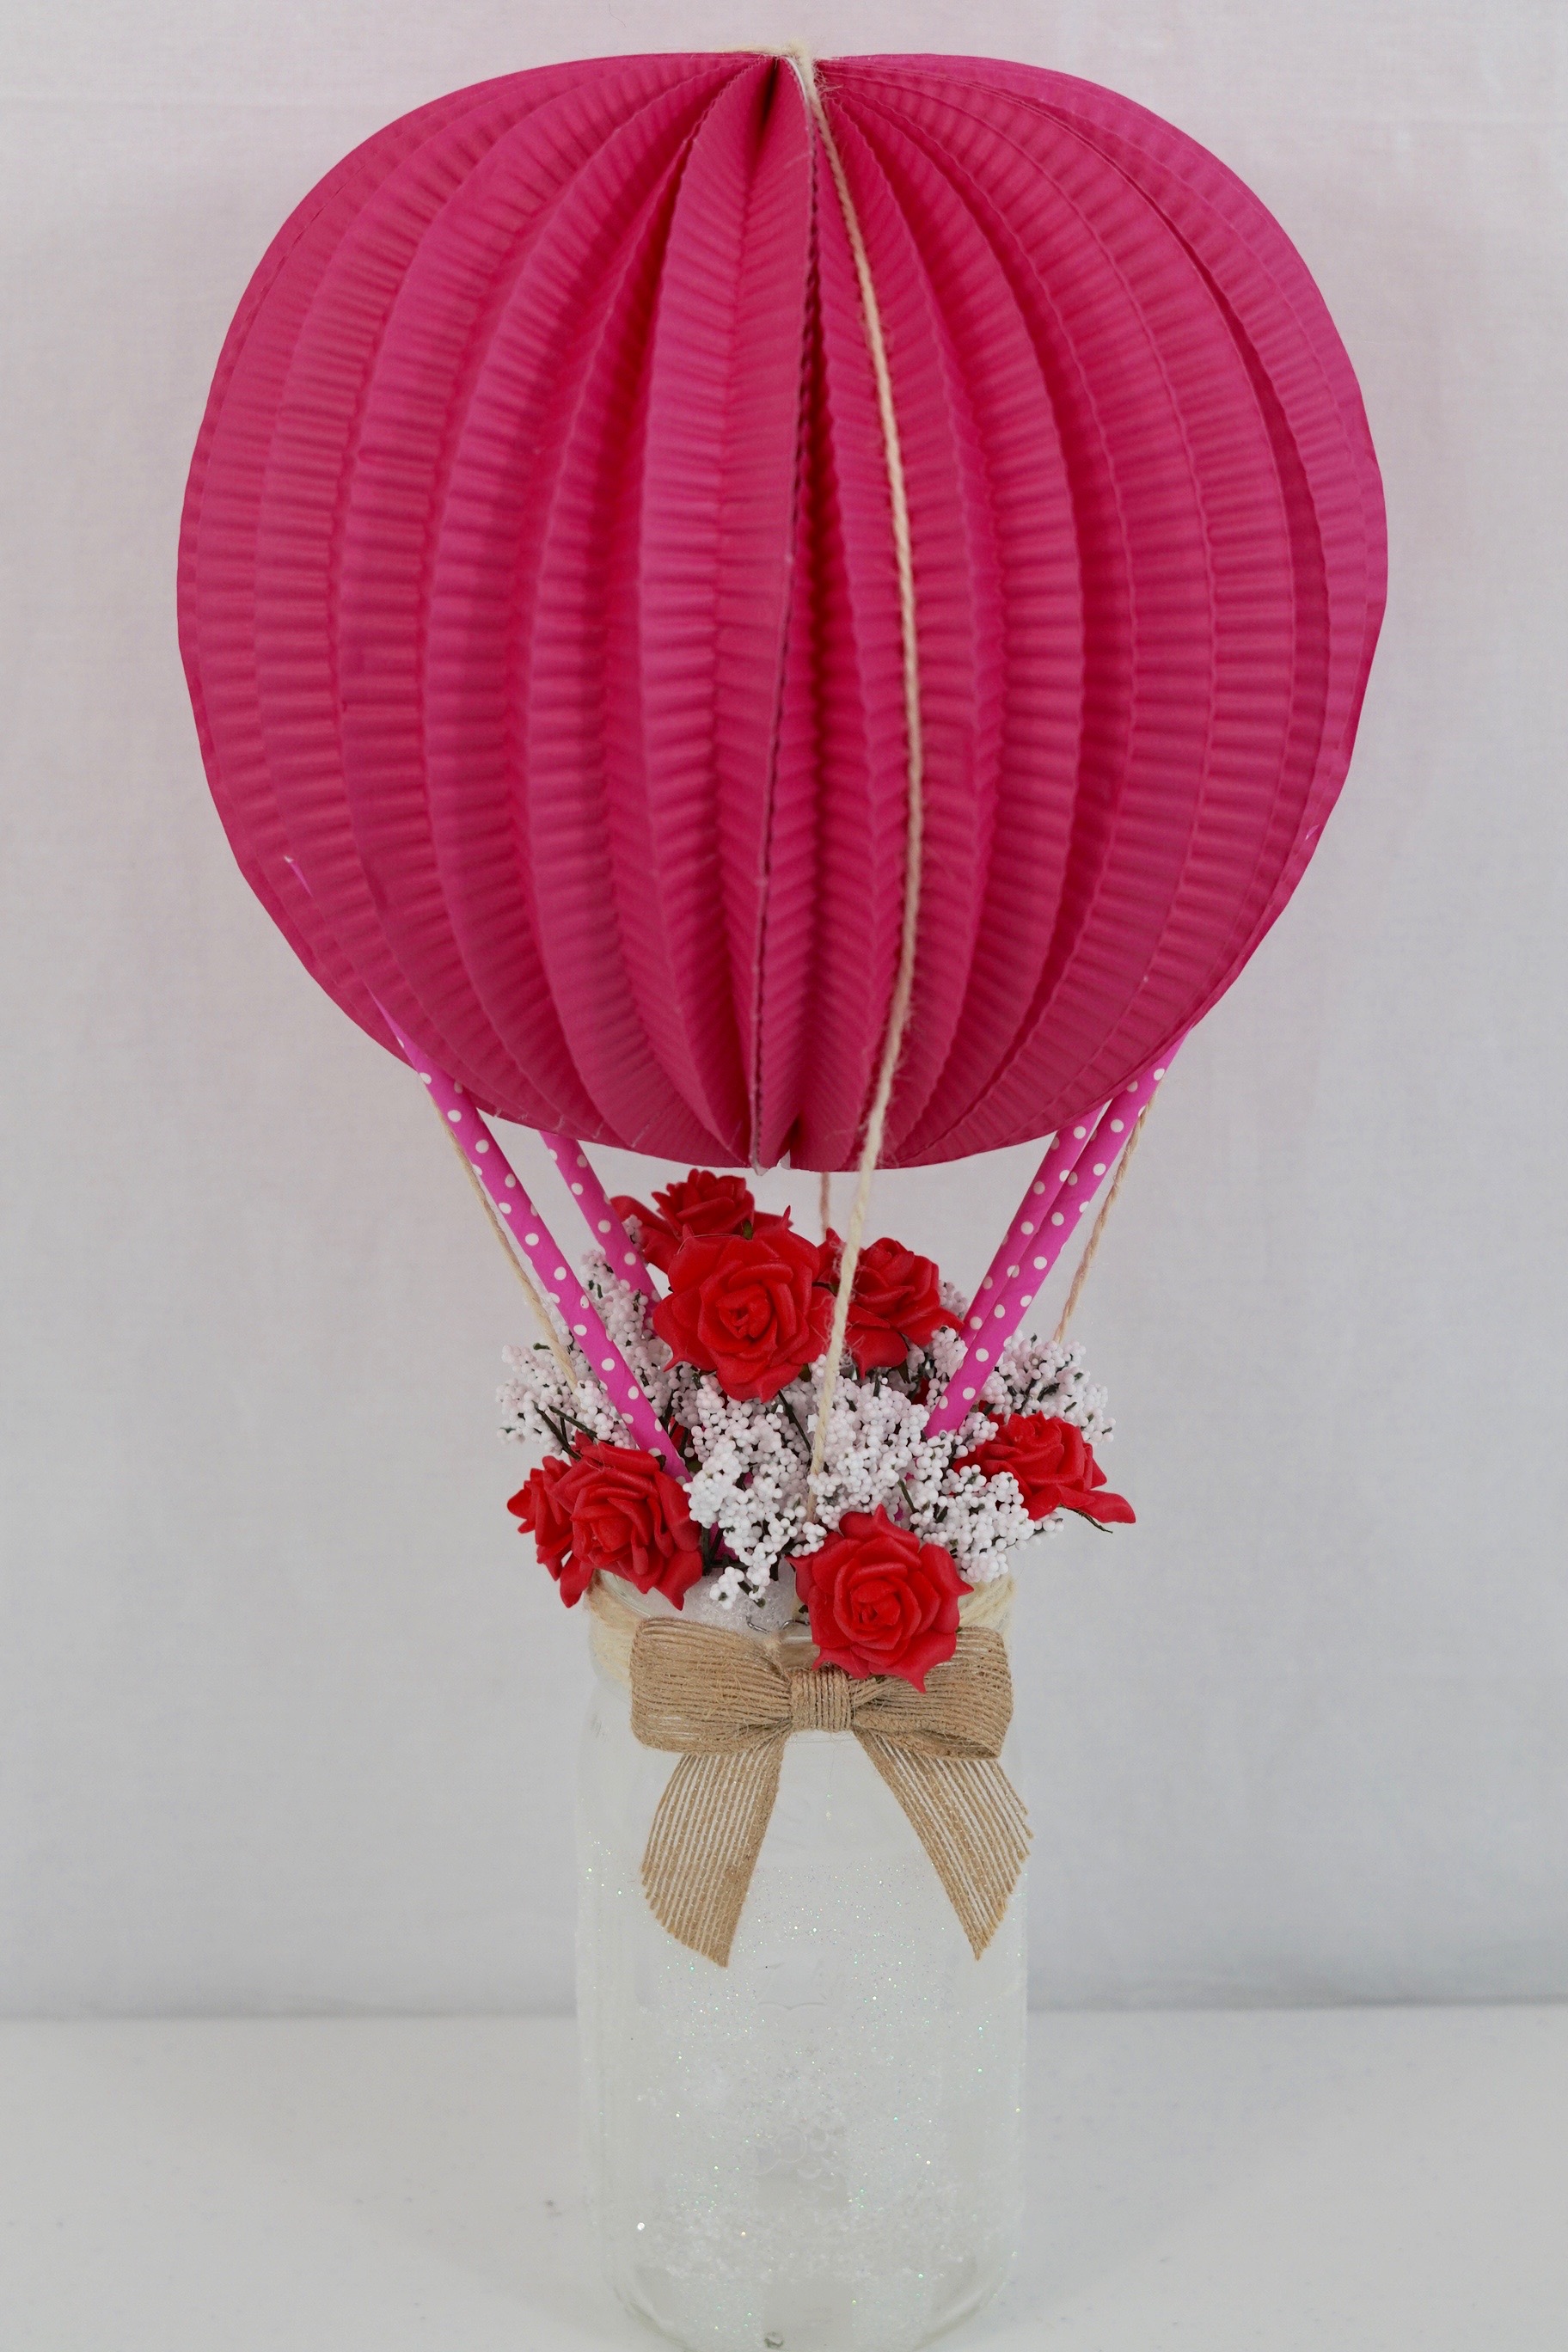
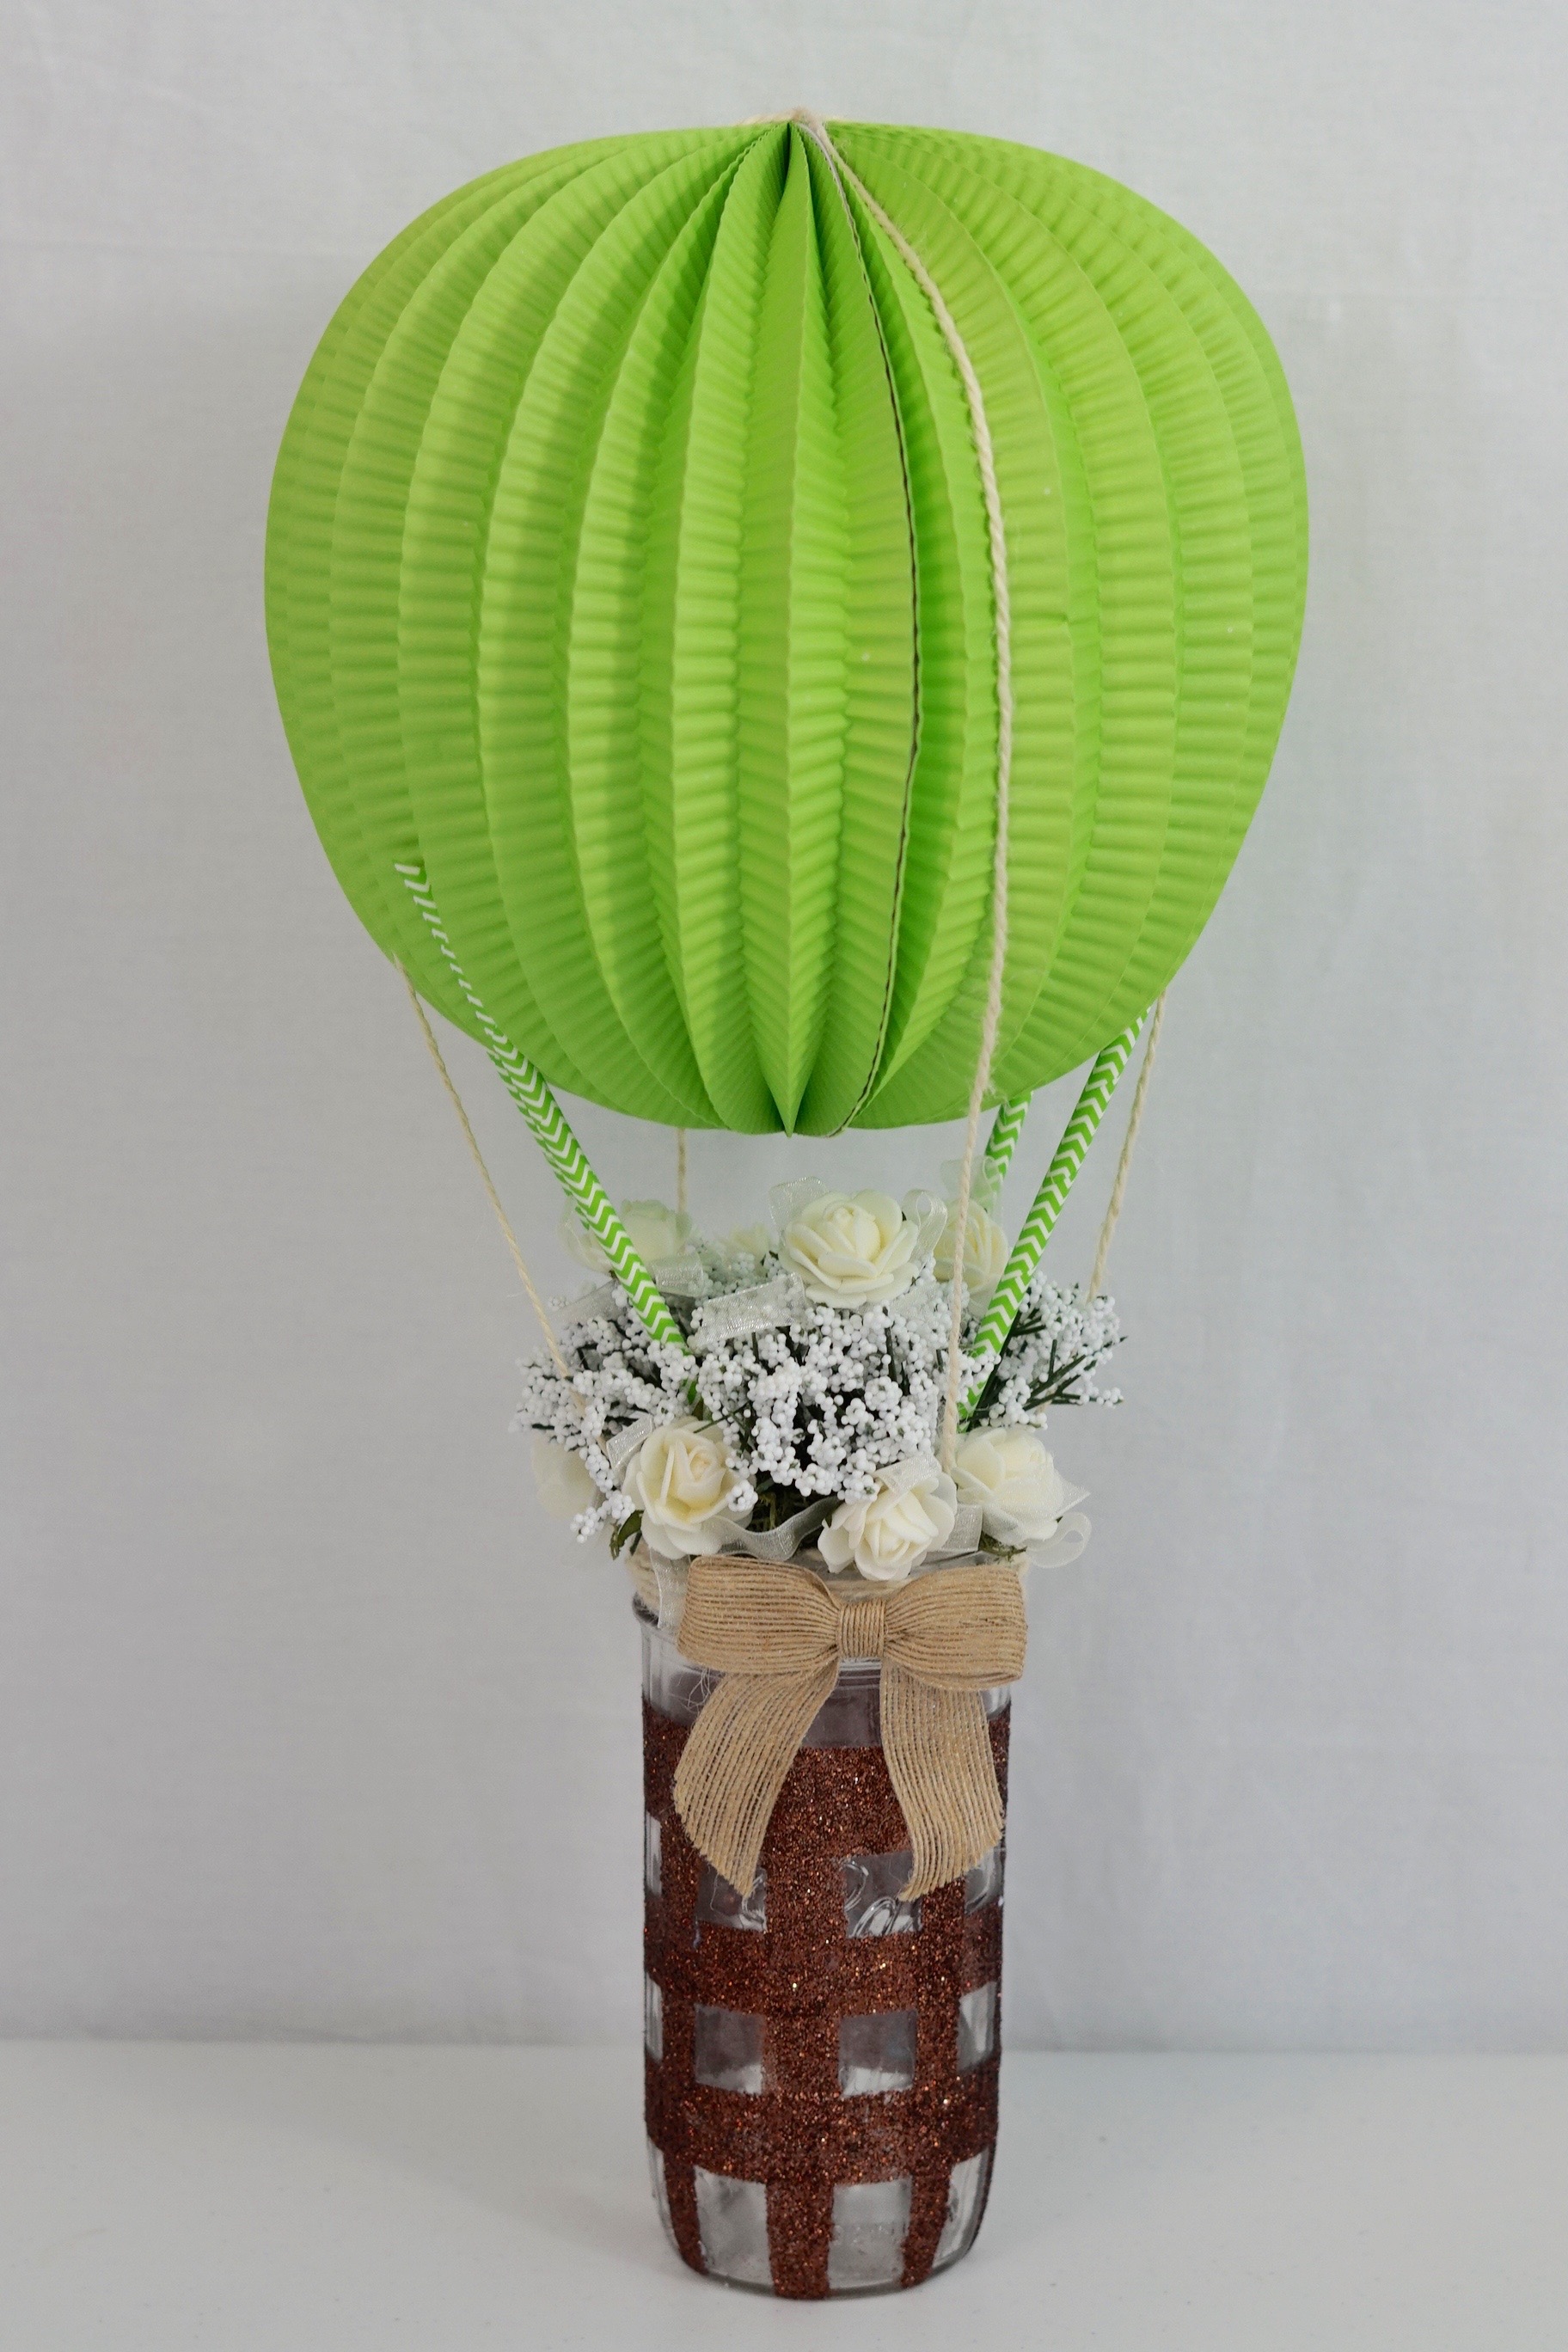
THE FINAL STEP
STEP 4: Set the table!
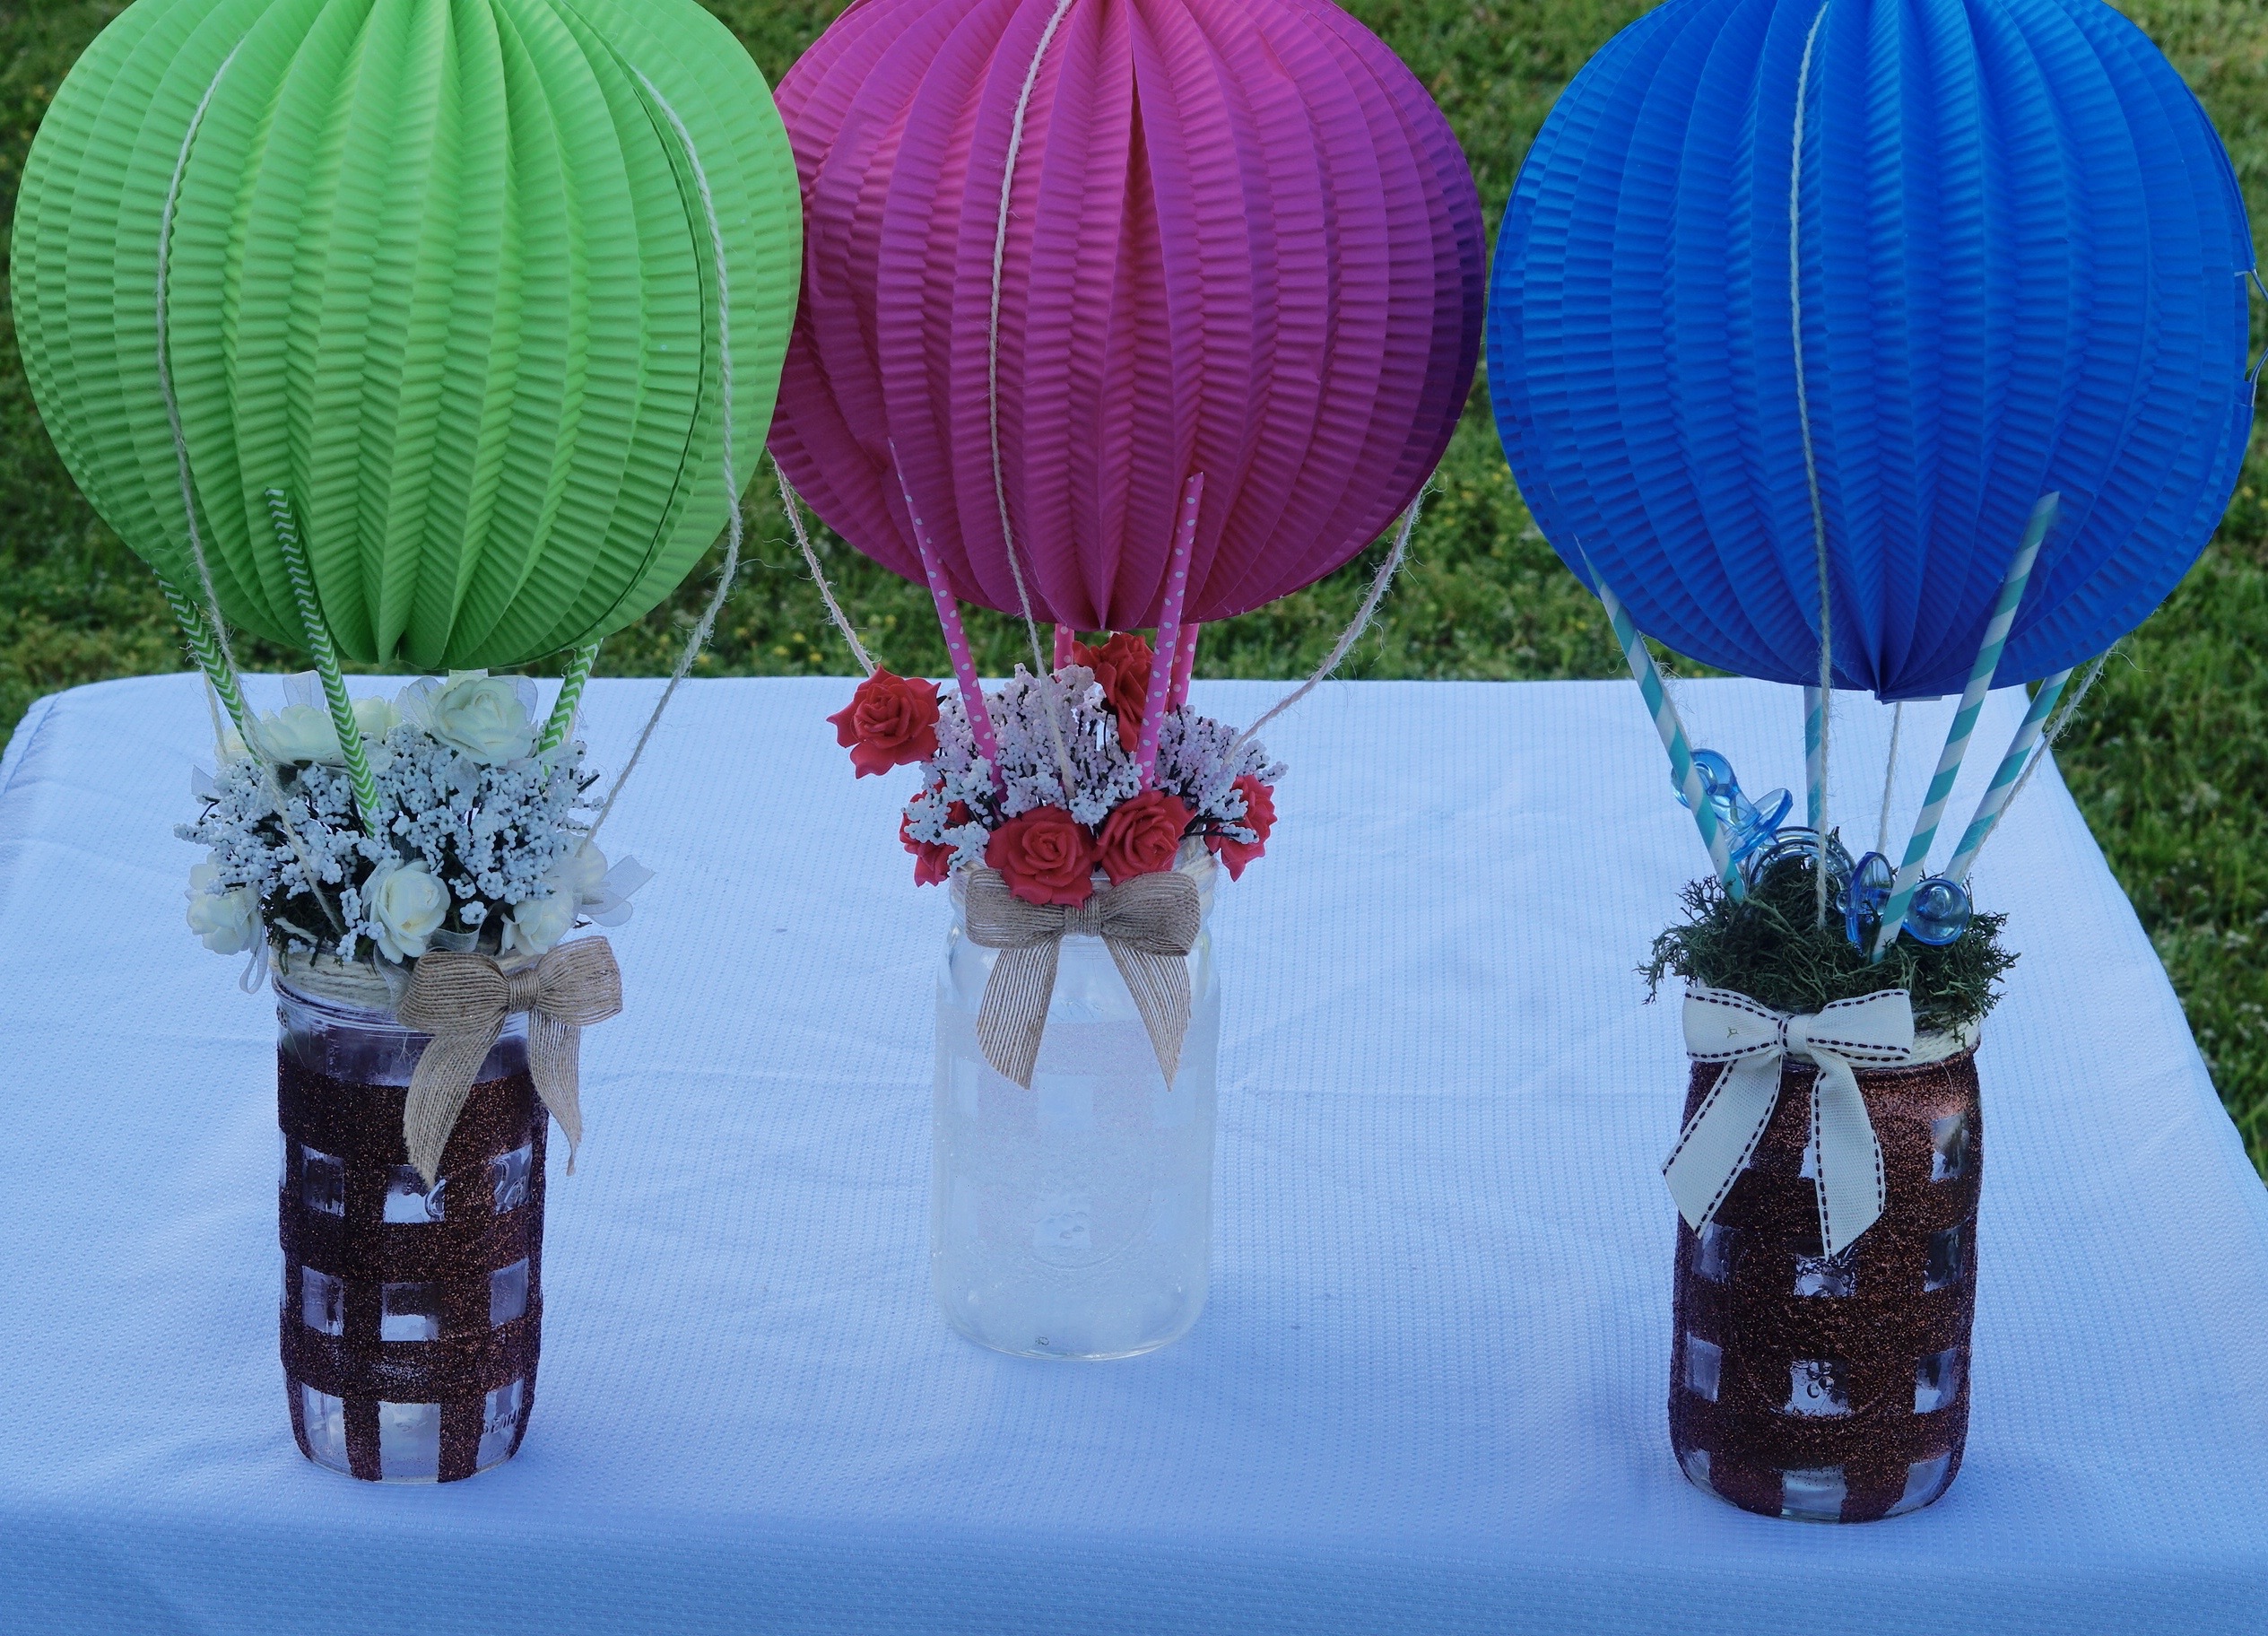
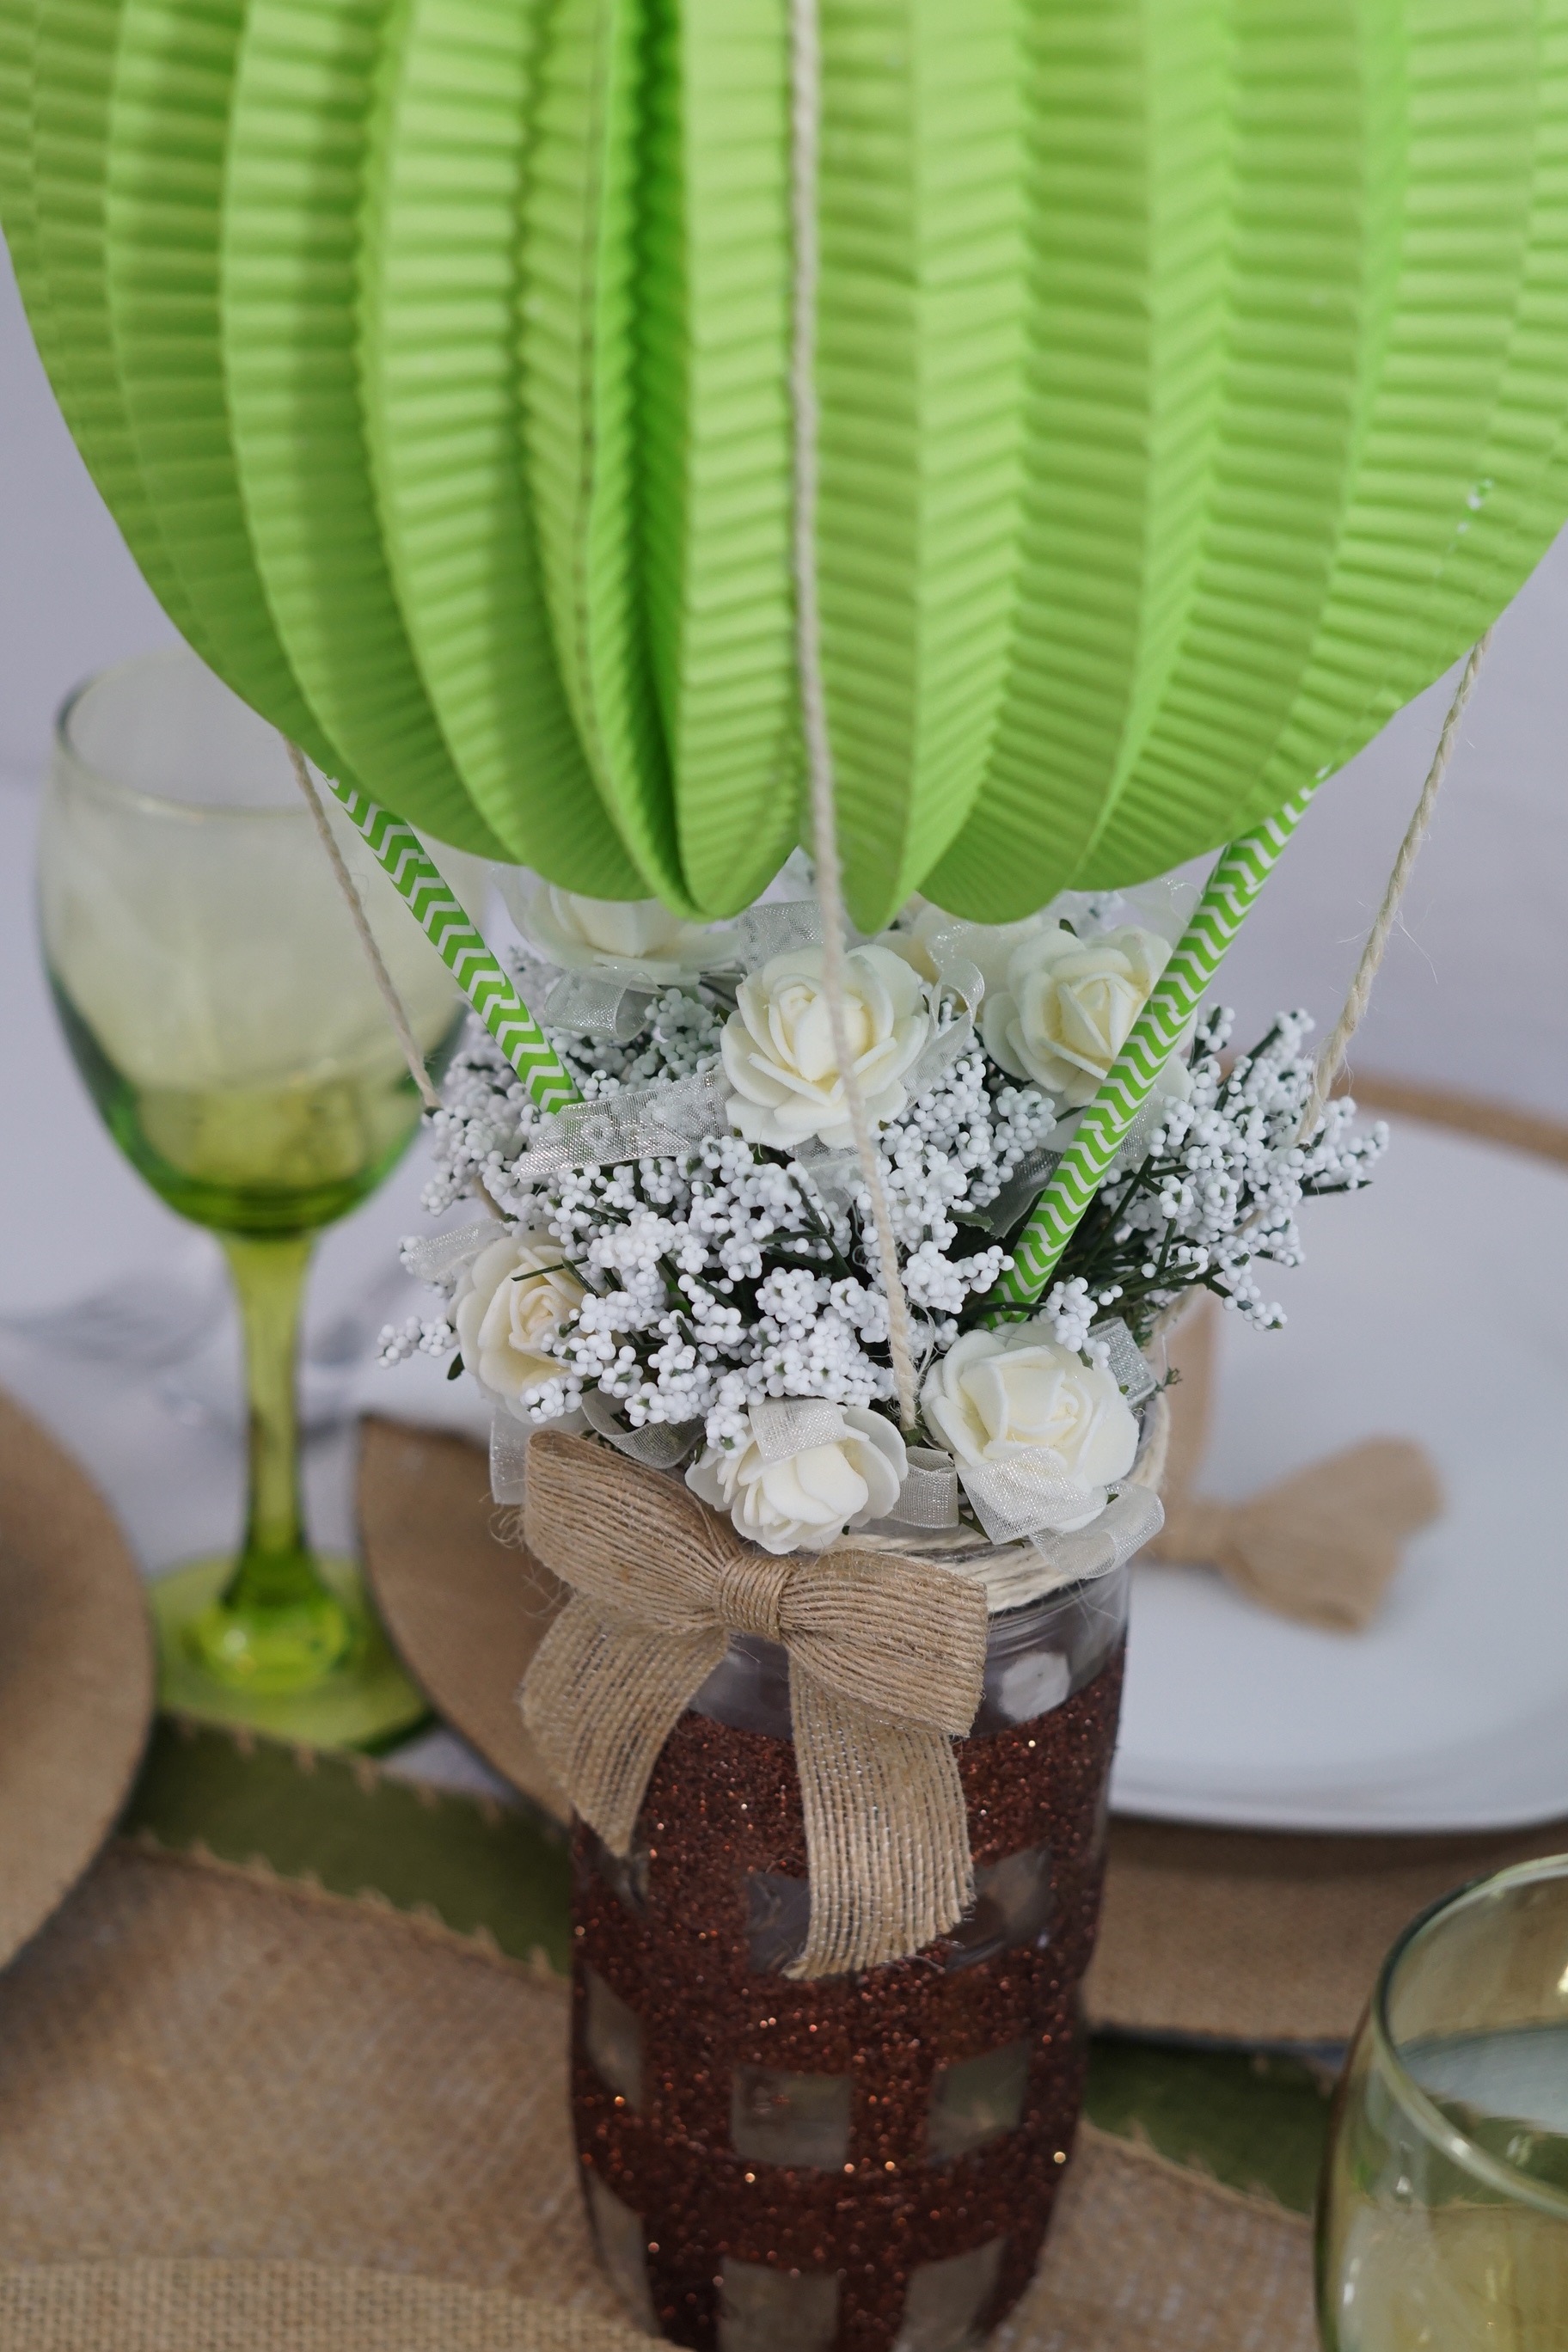
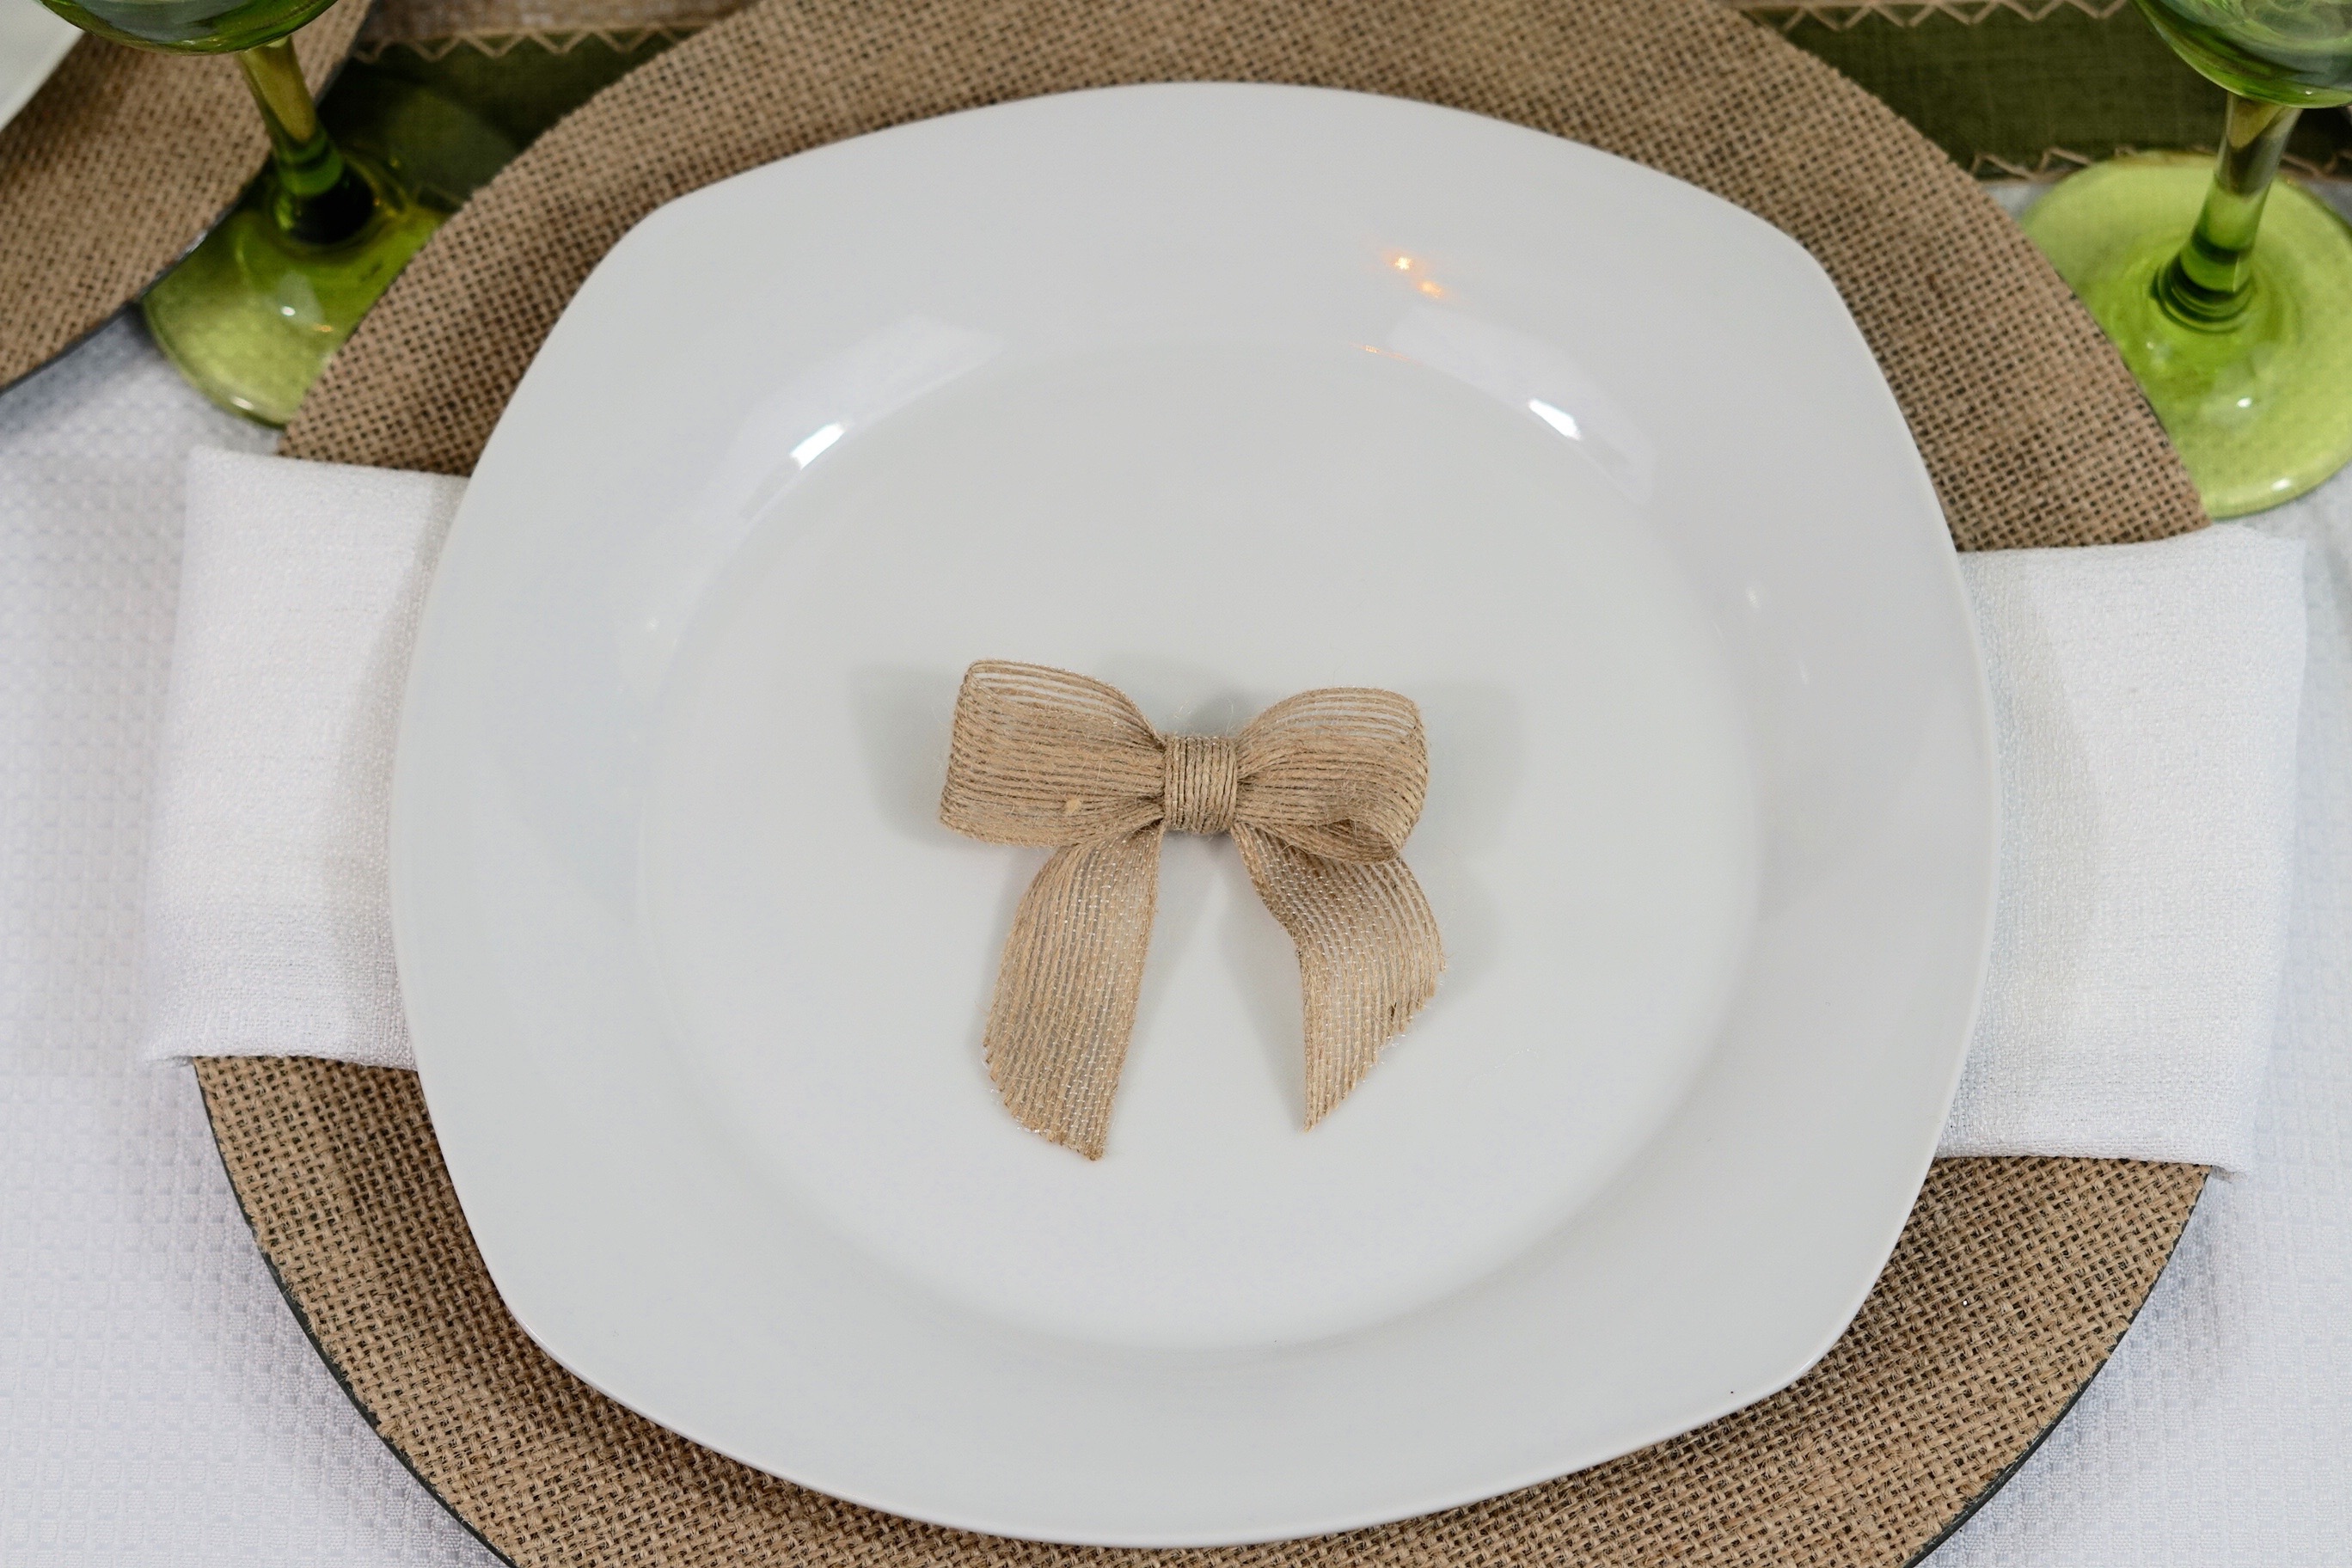
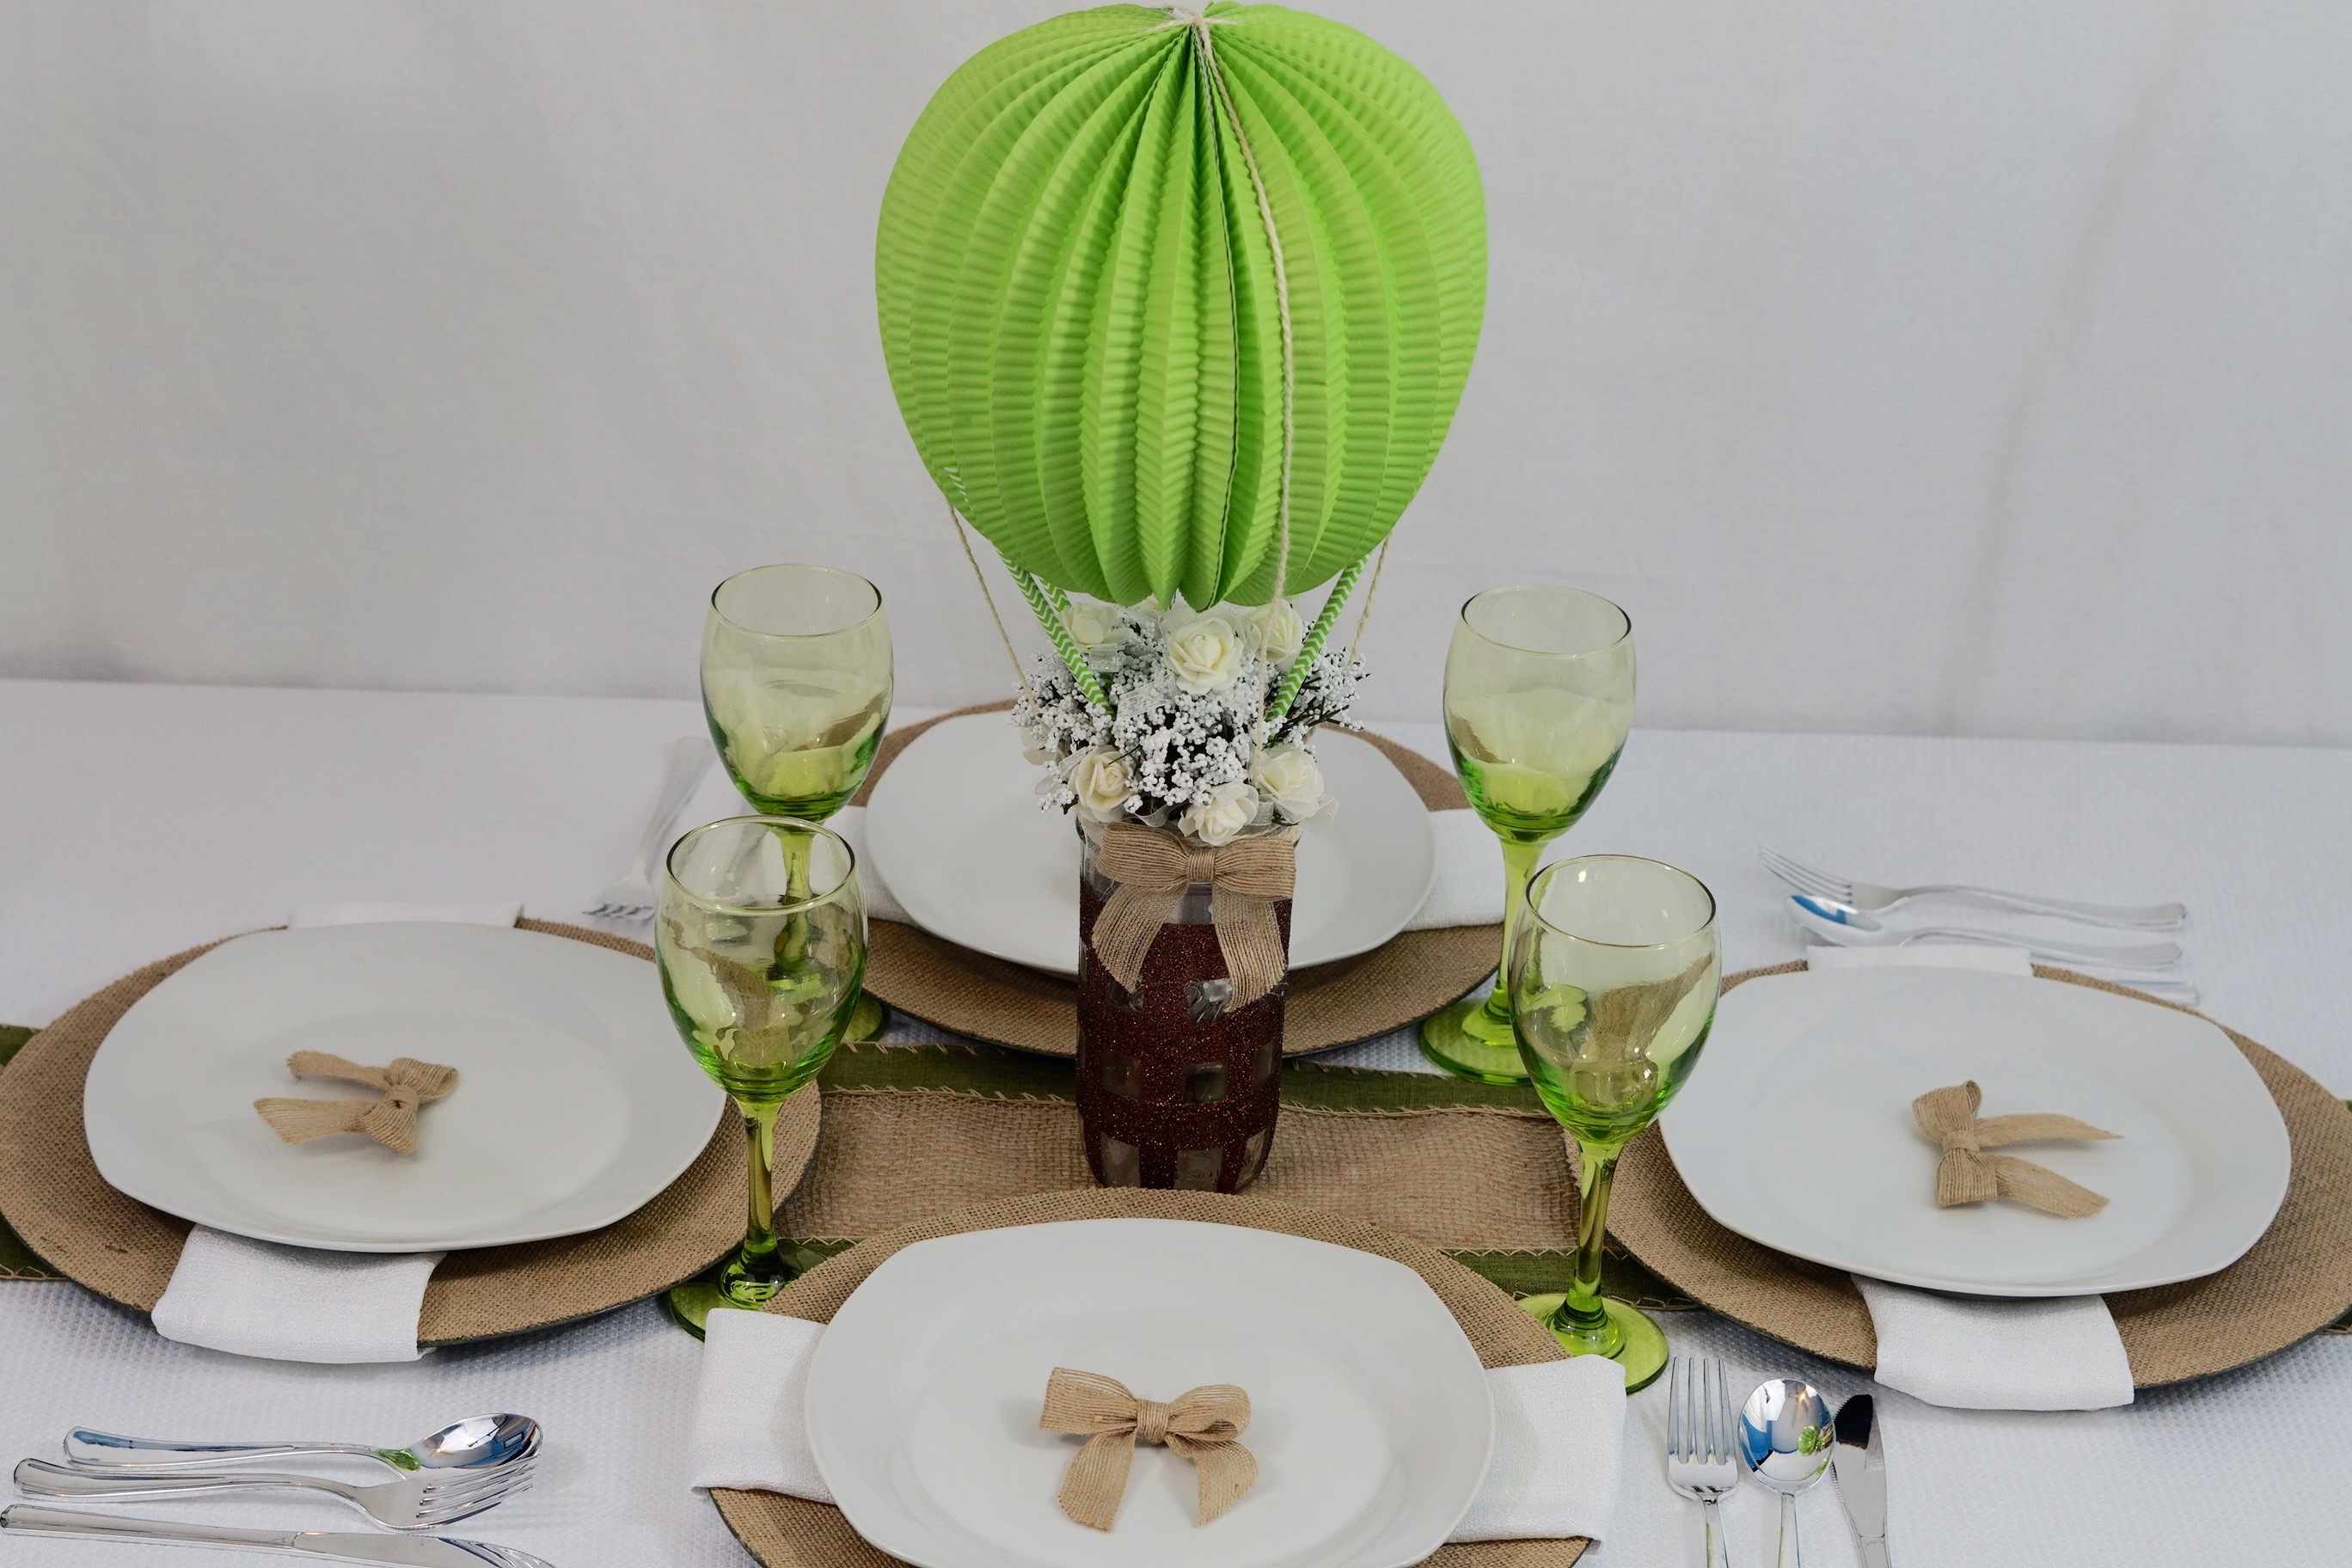
I absolutely love how this baby shower centerpiece turned out! If you like the outcome please let us know in the comments below? Also share your ideas on what you would have done differently?
Need help with an upcoming project? Be sure to send us a project request!
“Remember When Every Penny Counts, Count on MissPlanIt”


