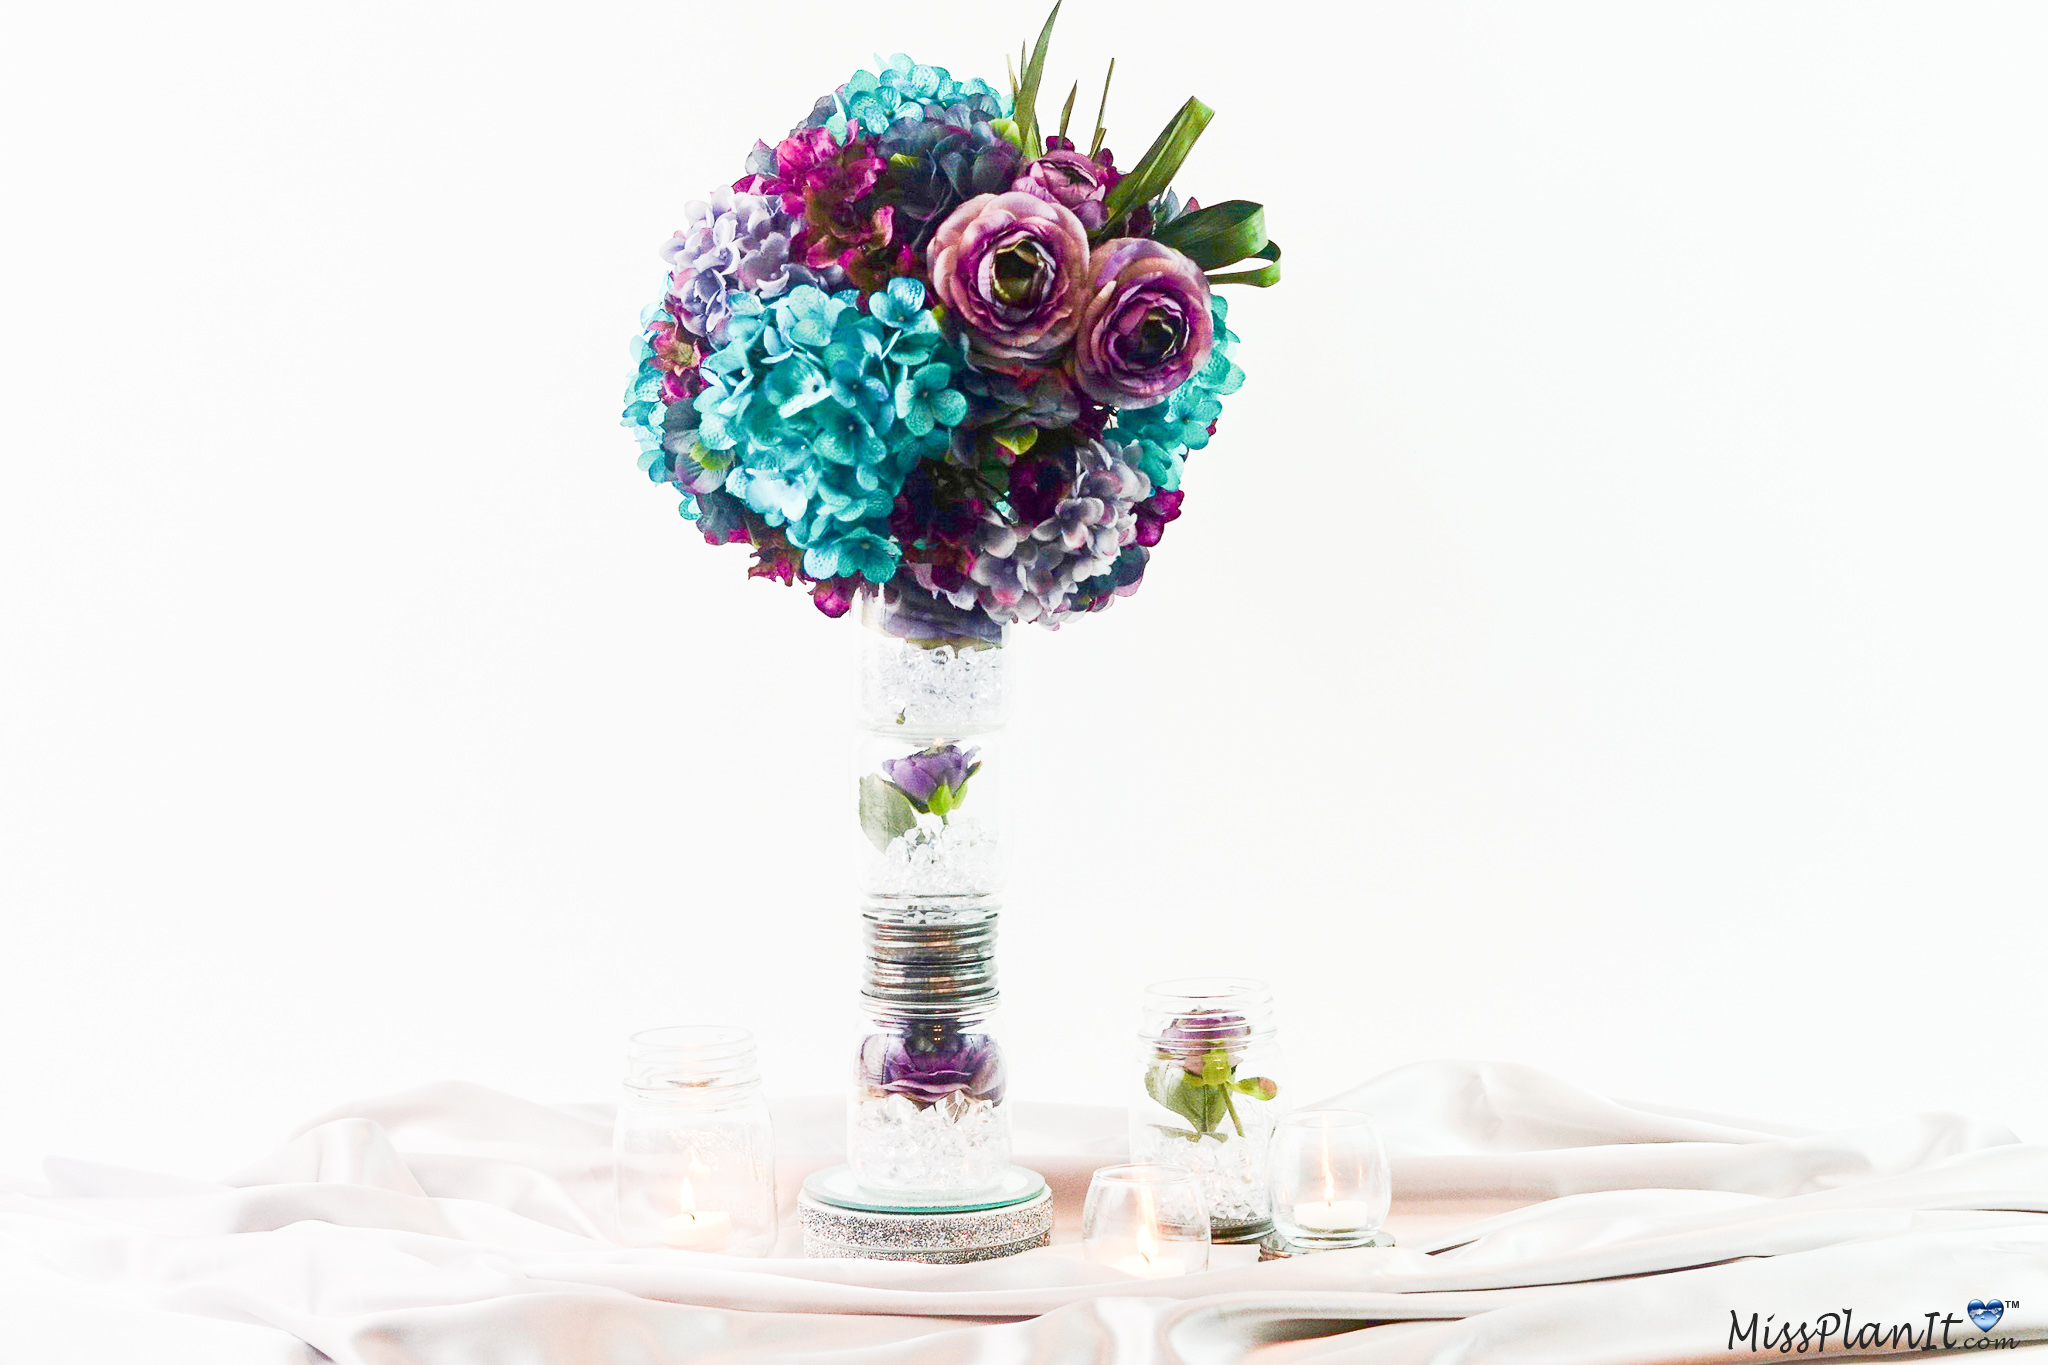
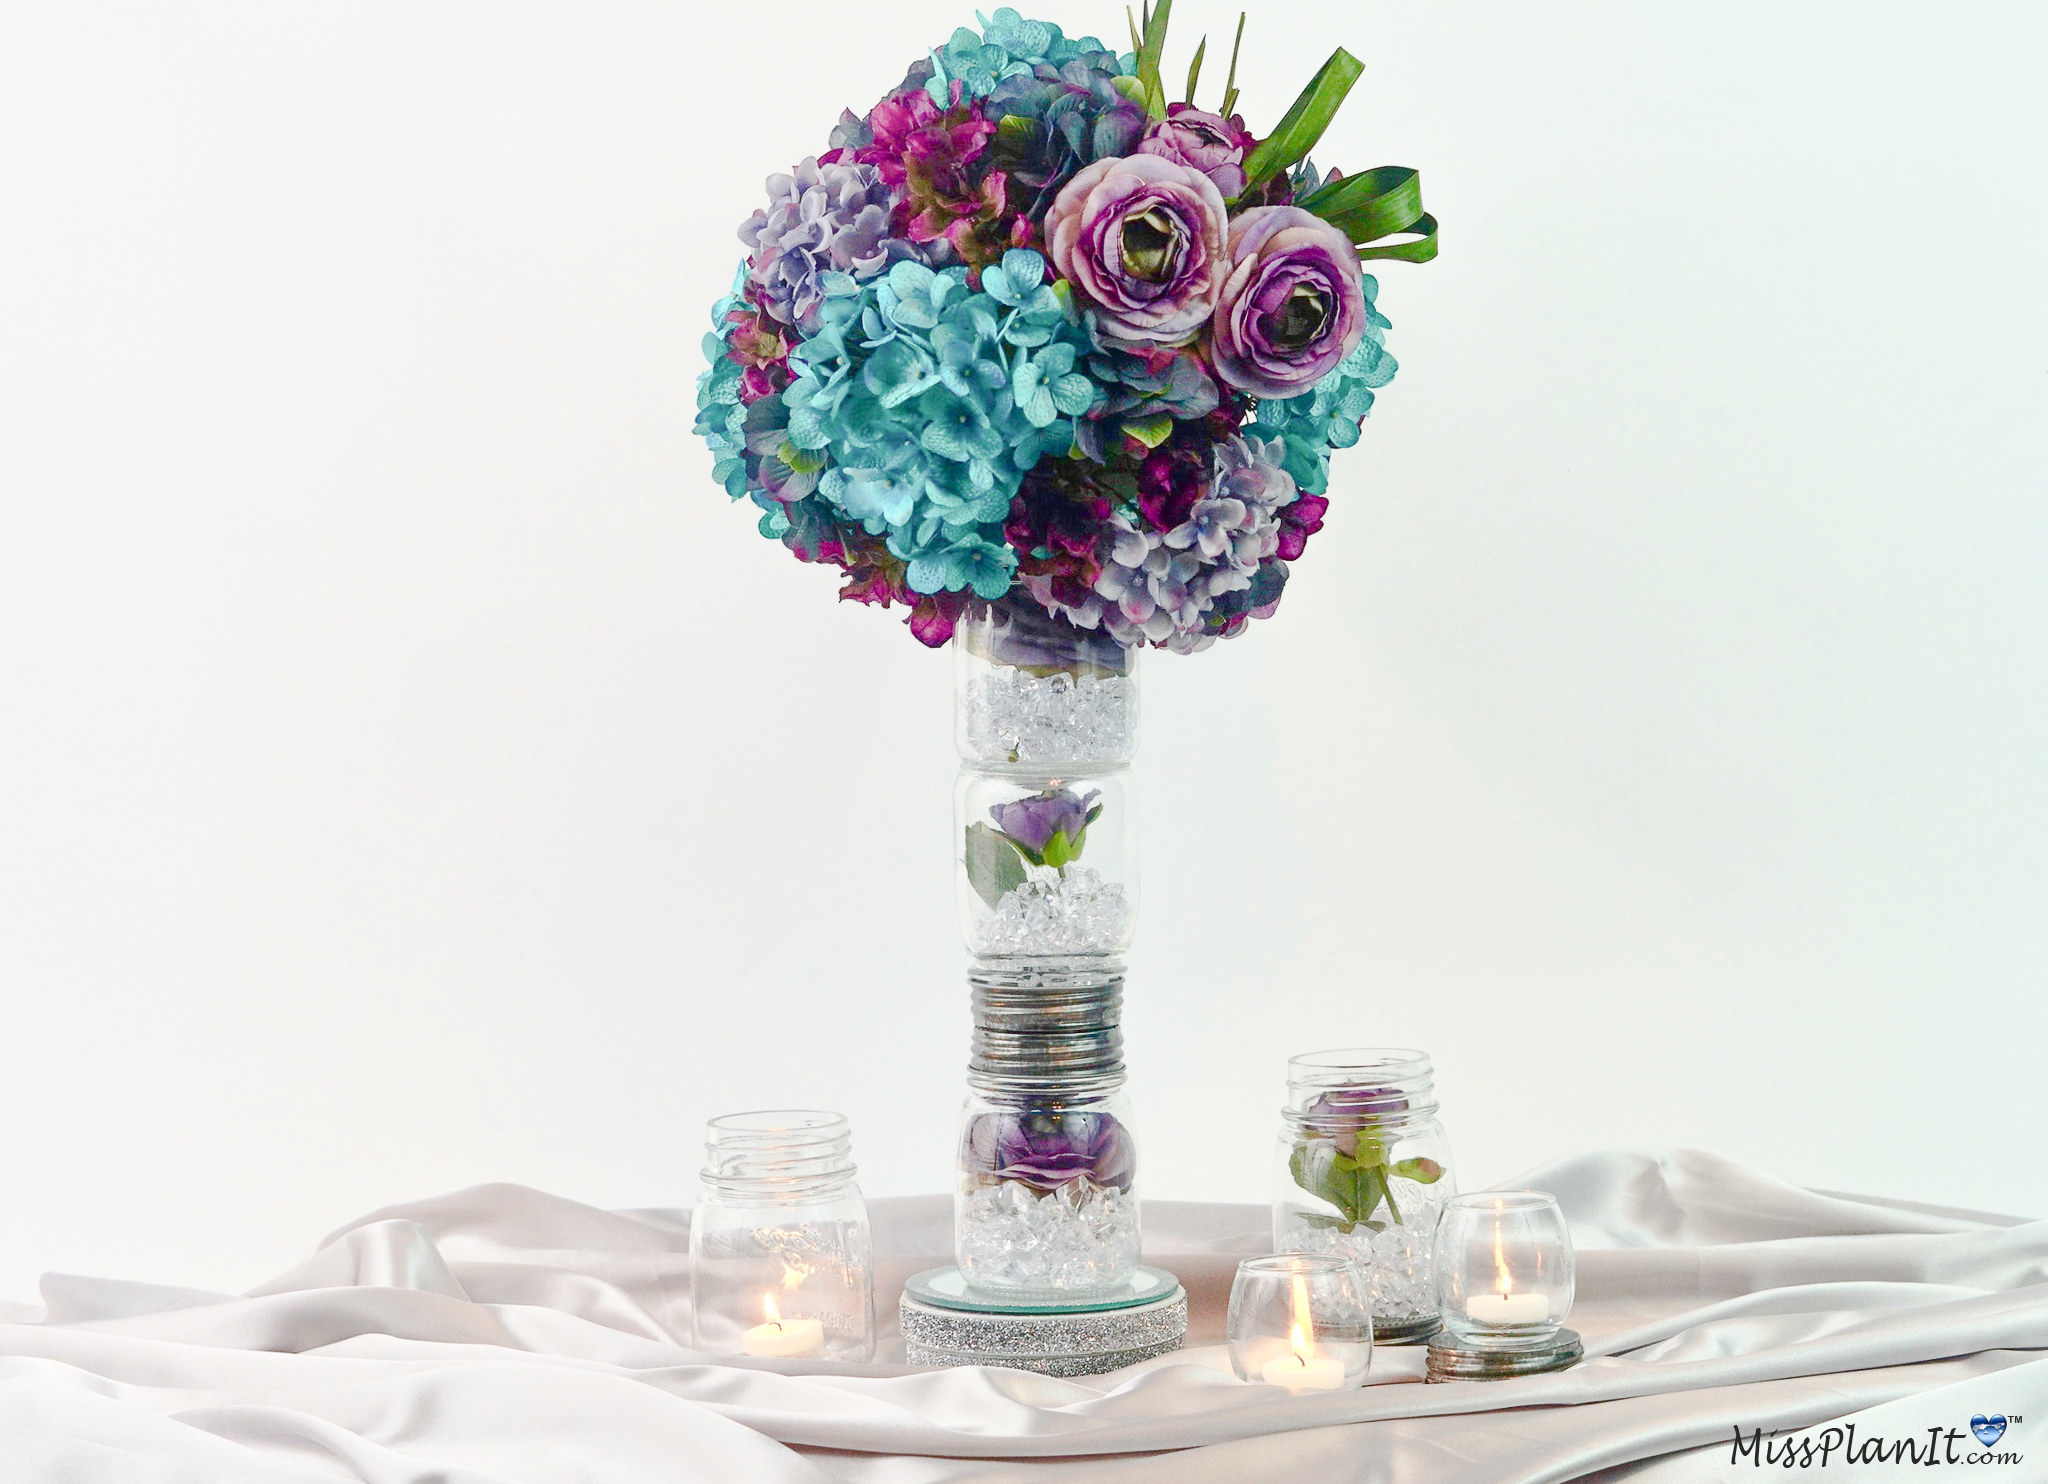
Mason jar wedding centerpieces are a great way to save big bucks on your wedding decorations. Typically you can pick up a mason jar for $1 or less at your local Dollar Store. Also there are several different things you can do with mason jars for your wedding. However, I picked these mason jars up from my local Hobby Lobby while they were 50% off for $1.14 each. They were perfect for stacking one on top of the other.
You may have seen a single mason jar filled with flowers or even a candle as a wedding centerpiece. Or maybe even a mason jar spray painted gold or silver.
But have you ever seen mason jars stacked one on top of the other and filled with flowers? I am super excited to share this week’s DIY with you. I will show you how to create mason jar wedding centerpieces in a different, cost-effective beautiful way.
Now let’s get started. For video instructions, please check out the video tutorial below!
[convertkit form=917377]

SUPPLIES:
4-inch White Foam Disks, 2-ct. Packs
Floral Garden 6-Stem Artificial Hydrangea Bushes, 16 in.
Stormy Blue Hydrangea Pick
Purple Hydrangea Pick
Wide Mouth Mason Jar – 8 Ounce
Green Styrofoam Ball – 5 3/4”
Purple Ranunculus Spray
Clear Crystal Filler
E6000 Clear Industrial Strength Adhesive – 2 Ounce
Silver Glitter Elastic Trim – 1/2”
Glass Mirror Candleholders, 5 in
For written instructions, please continue reading below:
How to Make a DIY Vintage Mason Jar Wedding Centerpieces
Directions:
STEP 1: The first step is to select 3 mason jars to use to create this wedding centerpiece. I am using three 8 oz. mason jars that are 4 inches tall. If you use more than 3 for your wedding centerpieces it will not be stable. So I don’t recommend using more than three/1 centerpiece. PLEASE ONLY USE THREE!
Add Crystal Dazzlers and Flowers Inside the Mason Jars
STEP 2: Next take one of your mason jars and fill it with crystal dazzlers, then place a ranunculus spray on top. You may need to trim the stem prior to placing it. Now screw the mason jar lid back on.
Take the second mason jar and place another ranunculus spray upside down in the jar. Trim the stem and then add crystal dazzlers on top. Put the lid on the mason jar, flip the mason jar over and shake the dazzlers to the bottom.
For the third jar complete the same steps as you did for the first jar. The only difference is you will not put the lid back on since you will hot glue your foam ball to this jar.
Attach Mason Jars with E6000
STEP 3: Apply E6000 to the rim of the first mason jar lid. Now attach the second mason jar, lid to lid. Allow them both to dry for 3 to 4 hours. Then attach the third mason jar with E6000, bottom to lid. Let this dry for an additional 3 to 4 hours before proceeding to the next steps.
Create the Base to Add Additional Height
STEP 3: Your wedding centerpiece will be about 13 inches tall. Once the flowers are added it will be about 20 inches. But if you want it even taller, let me show you a simple trick.
To add additional height to your wedding centerpiece, you will use two 4 inch foam discs and one candleholder mirror. Hot glue silver ribbon to the rim of each disc. Once your centerpiece is completed, you will stack the two foam disc one on top of the other and the mirror on the very top. Then you can place your wedding centerpiece on top of the mirror once it’s completed.
Hot Glue Foam Ball to the Rim of the Top Mason Jar
STEP 4: Make an indention by pressing your 5 inch foam ball on the rim of the mason jar. Cut out about a quarter of an inch of the indented area and then hot glue it to the mason jar rim.
Add the Flowers to the Foam Ball
STEP 5: Attach 4-6 teal hydrangea heads, 4-6 light purple hydrangea heads, and 12-16 eggplant colored hydrangea blossoms. Fill in any empty space with hydrangea blossoms. Also attach 2-4 ranunculus sprays.
Tip: As an option, you can add a whisper grass bow to your wedding centerpiece. You will do this by taking two of the whisper grass, twist them into a bow, and then attach them to the foam ball with a floral pin.
THE FINAL STEP
STEP 6: Set the table!

I absolutely love how this DIY Vintage Mason Jar Wedding Centerpieces turned out! The outcome is amazing and definitely gives you an extra special touch to your wedding!
If you like the outcome please subscribe to our Youtube Channel for more DIY Videos and follow us on Facebook and Pinterest.
Need help with an upcoming project? Be sure to send us a project request!
“Remember When Every Penny Counts, Count on MissPlanIt”
