What better way to walk down the wedding aisle than with beautifully lit wedding aisle pillars. And DIY’ing your own wedding aisle pillars can save you a ton of money. This allows you to reinvest the money you save into other important aspects of your wedding planning, like your upcoming honeymoon.
This week I will show you how to make your money stretch and how a little can go a long way and produce amazing results with this week’s DIY wedding aisle pillars project. For video instructions, check out the video tutorial at the end of this post!
BUT WAIT!
Before we get started I want to share an awesome tip on how you can earn cash back with your online purchases for all the items you will need to complete this project!
As our saying goes “When Every Penny Counts, Count on Miss PlanIt.” Furthermore, we love to save money and get great deals. Prior to us purchasing anything online, we check out Ebates, find the store, click the current deal for that store and complete our purchase.
If you have never used Ebates, you are MISSING OUT. So for this project, you would go to Ebates.com, sign up, and then type in the store you plan to purchase from.
Consequently, when completing a purchase through Ebates you earn cash back that you can have mailed to you or sent via PayPal. Be sure to check it out! Click here to sign up for Ebates, and RIGHT NOW when you sign up, you will receive a $10 cash welcome bonus when you spend $25.00!
Since you were already going to complete your purchase online, why not get some cash back on things you already planned to purchase!
[convertkit form=917377]
Let’s Get Started:
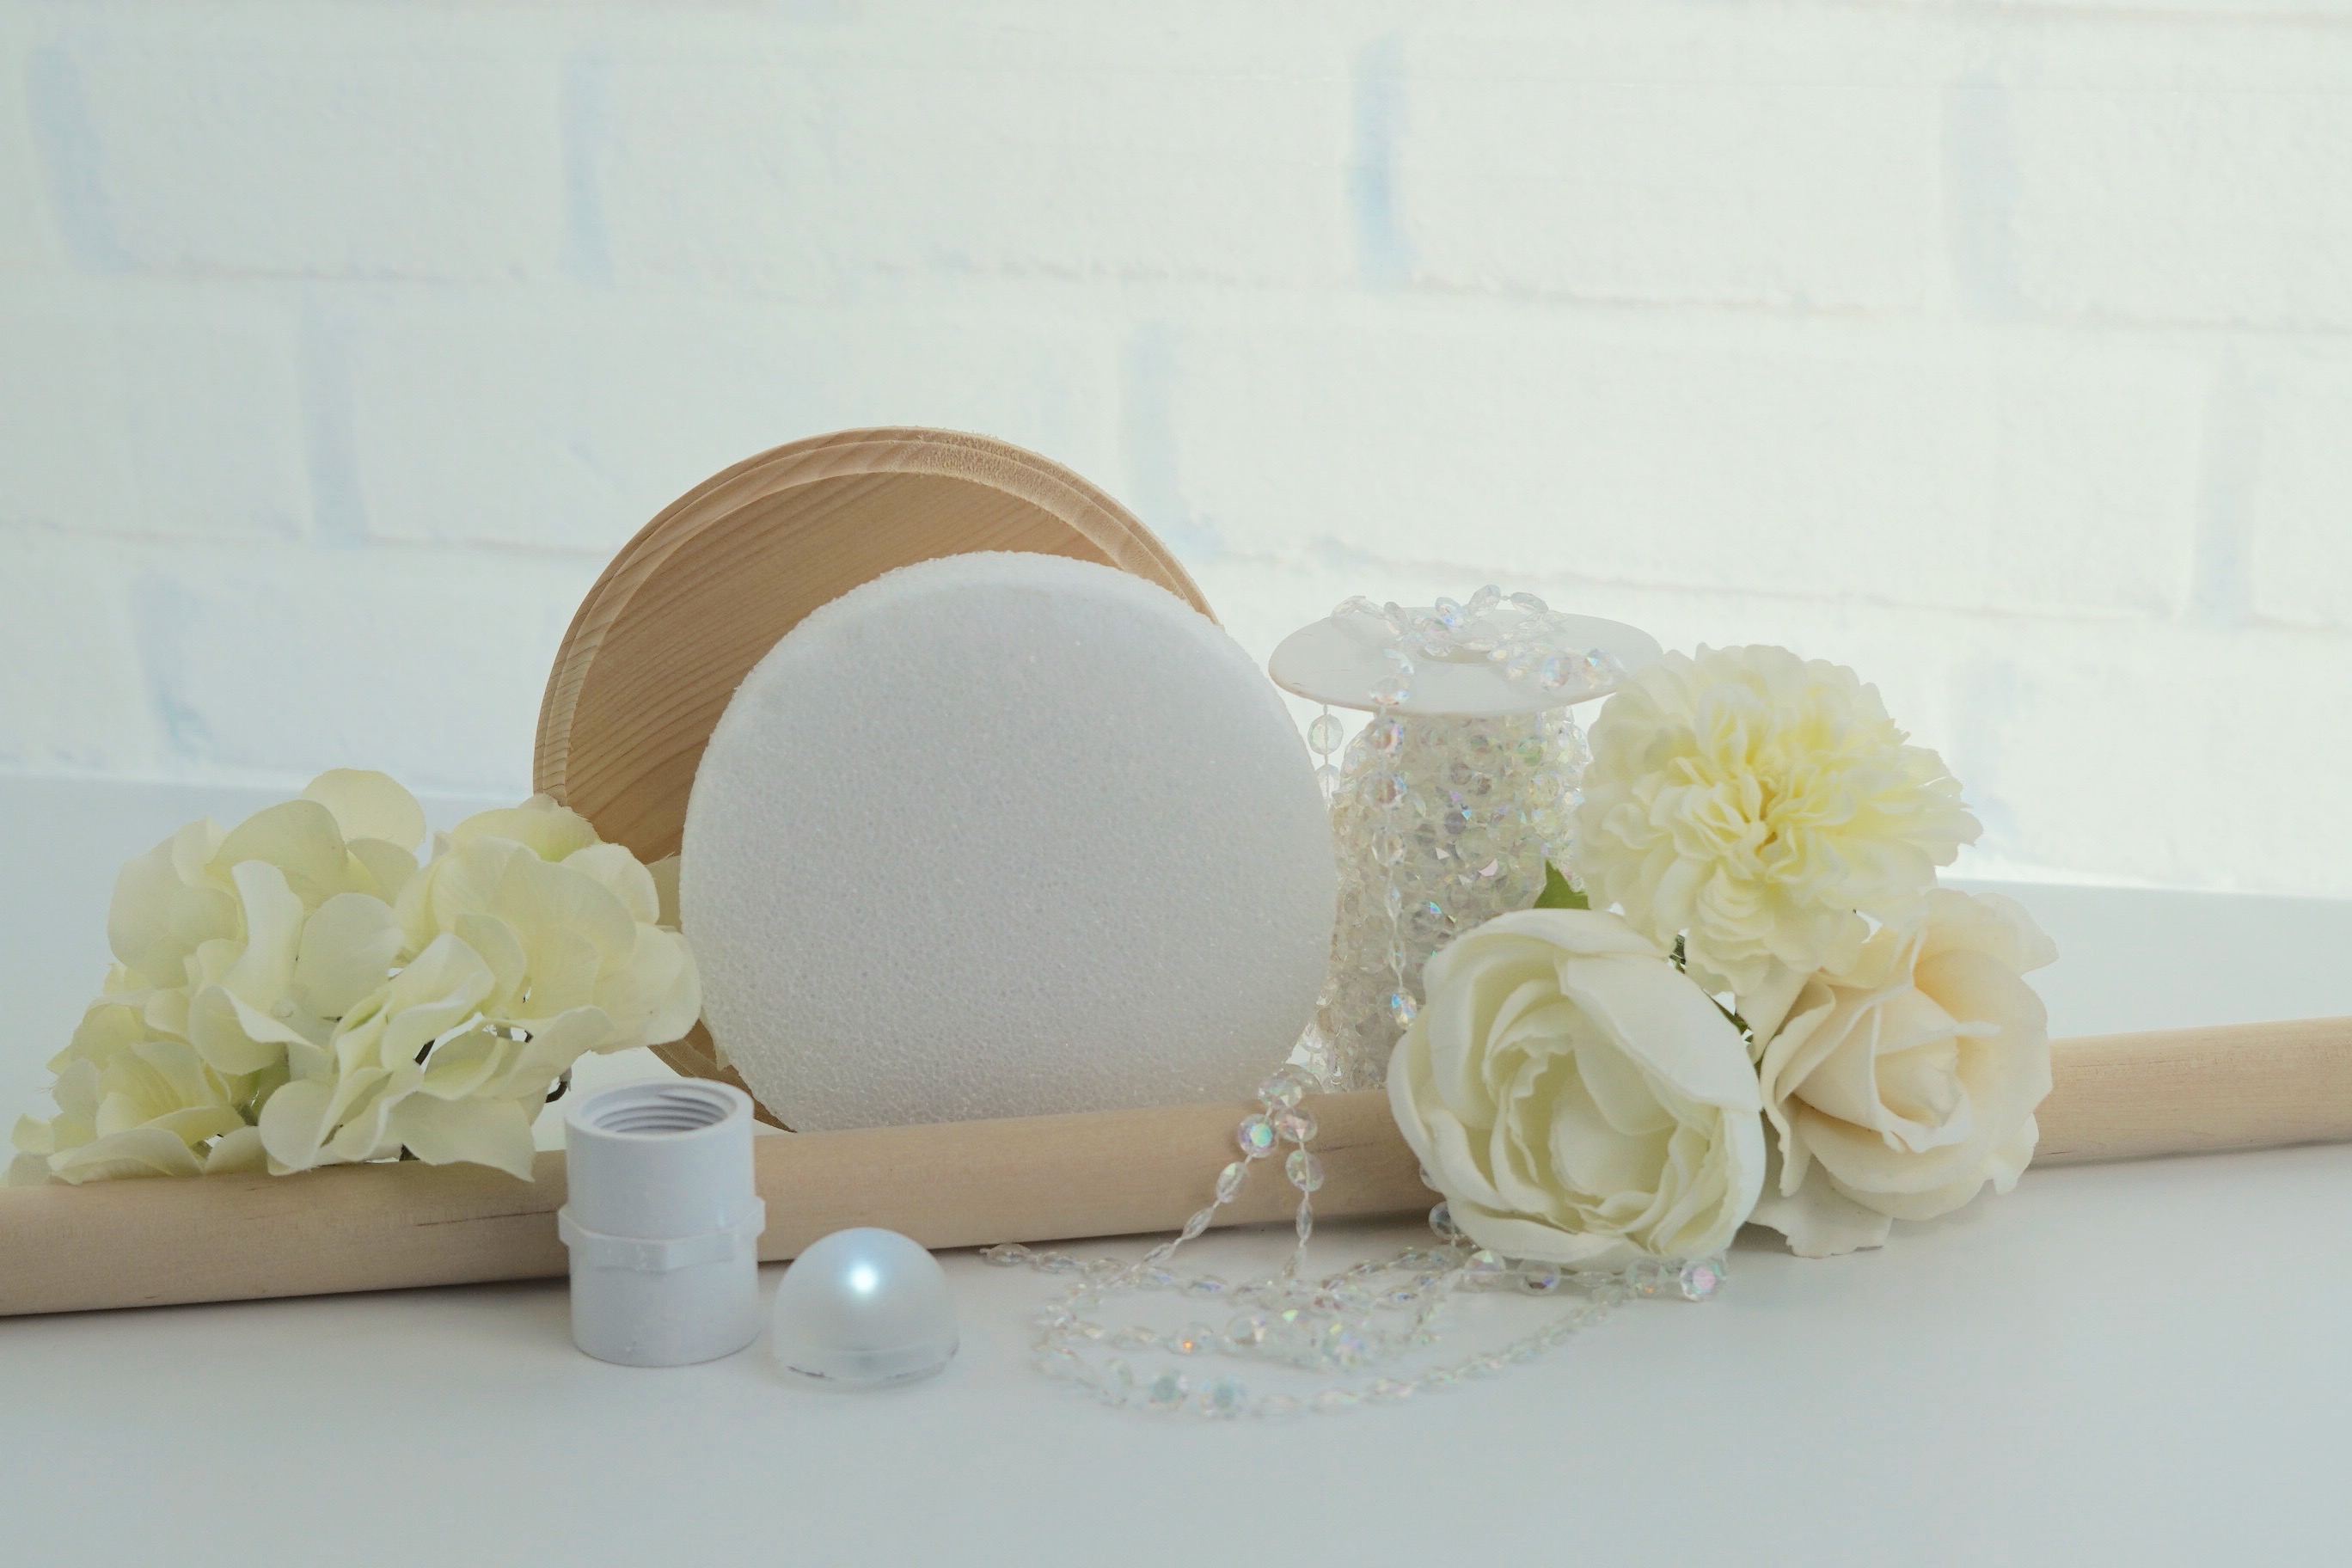
Click our affiliate links below to purchase the supplies needed for this project:
2-Round Wood Plaque – 6 3/4”
2-Styrofoam Disc – 6”
1-Hardwood Dowel – 1 1/8” X 36”
1-Silver Krylon Metallic Spray Paint
1-Luminessence Flameless Battery-Operated LED Tealight Candles
2-7-stem Carnations with Baby Breath, Artificial Flower (Cream)
2-5- Heads Hydrangea Beautiful Artificial Flower Bunch
1-5- Heads Artificial Peony Silk Flower
1-Silk Rose White 10 Heads Artificial Flower
1-1-KUPOO 99 ft Clear Crystal Like Beads
2-Charlotte Pipe 2-in x 1-1/2-in dia PVC Schedule 40 Coupling Fitting
1-Router Saw
How To Make DIY Wedding Aisle Pillars
Directions:
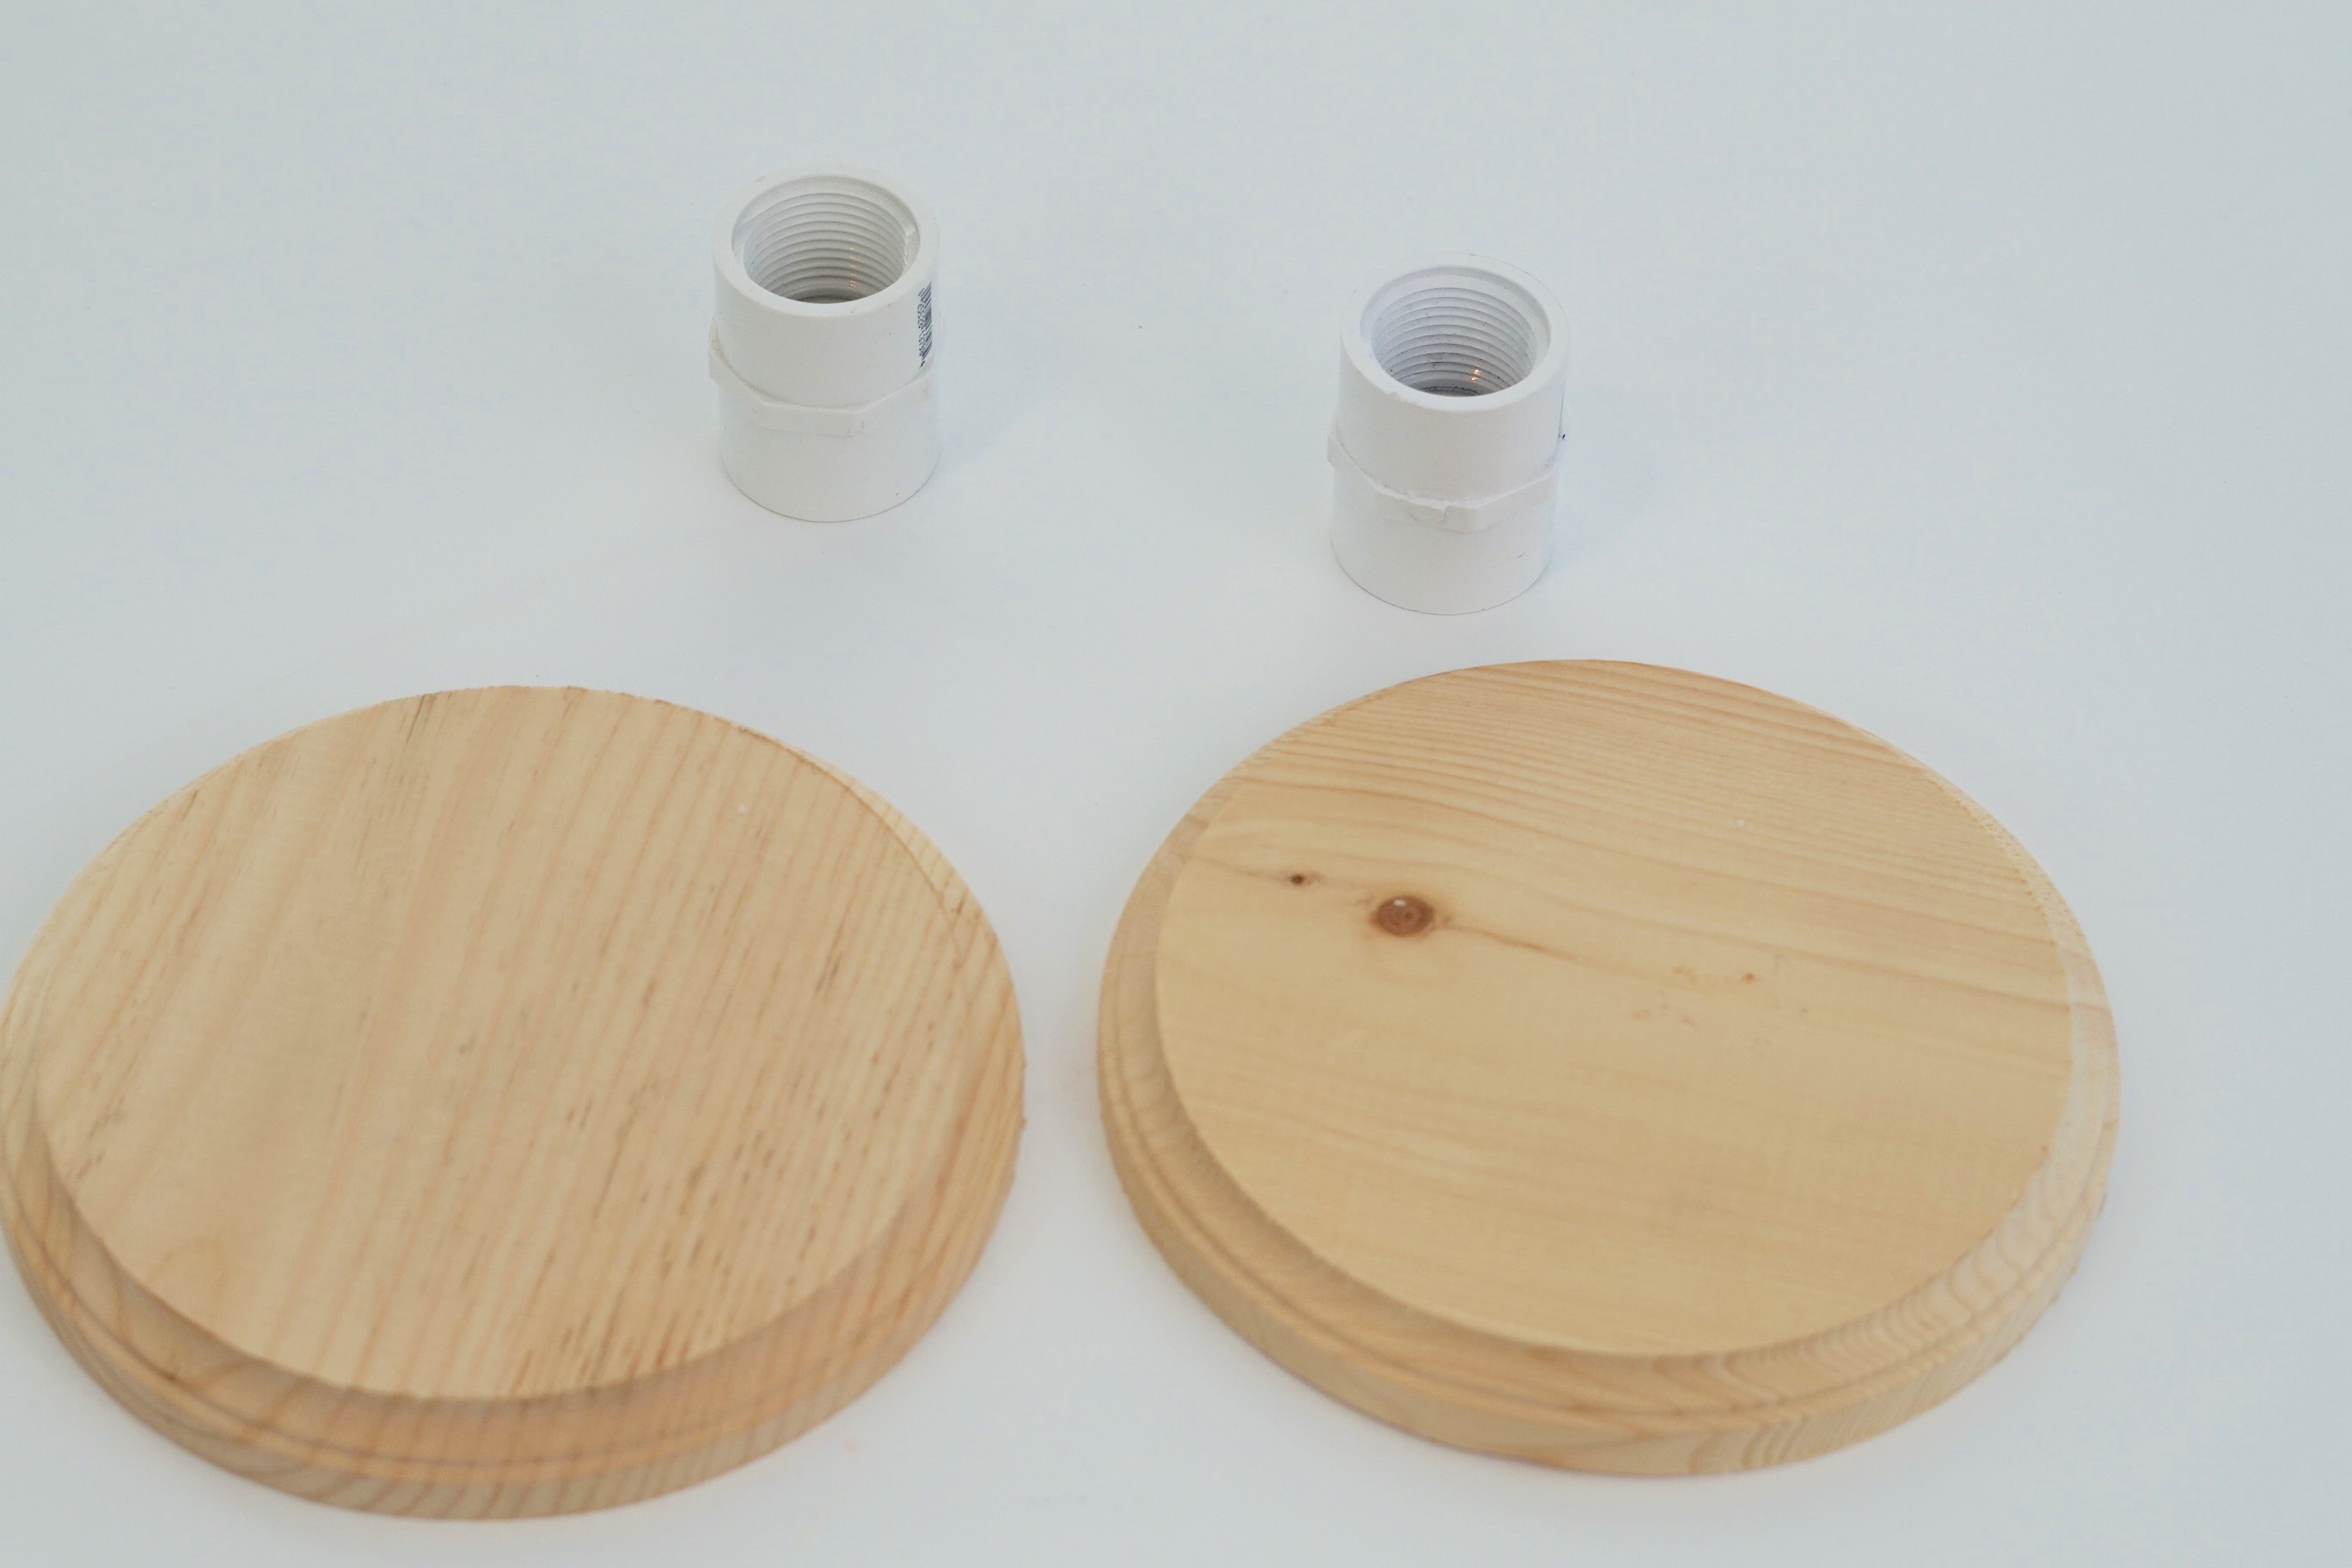
STEP 1: First we are going to create our base and our top to our stand. Take a router saw and cut a circle in your two round wood plaques. Add hot glue to each wood plaque circle and attach your coupling fitting to each.
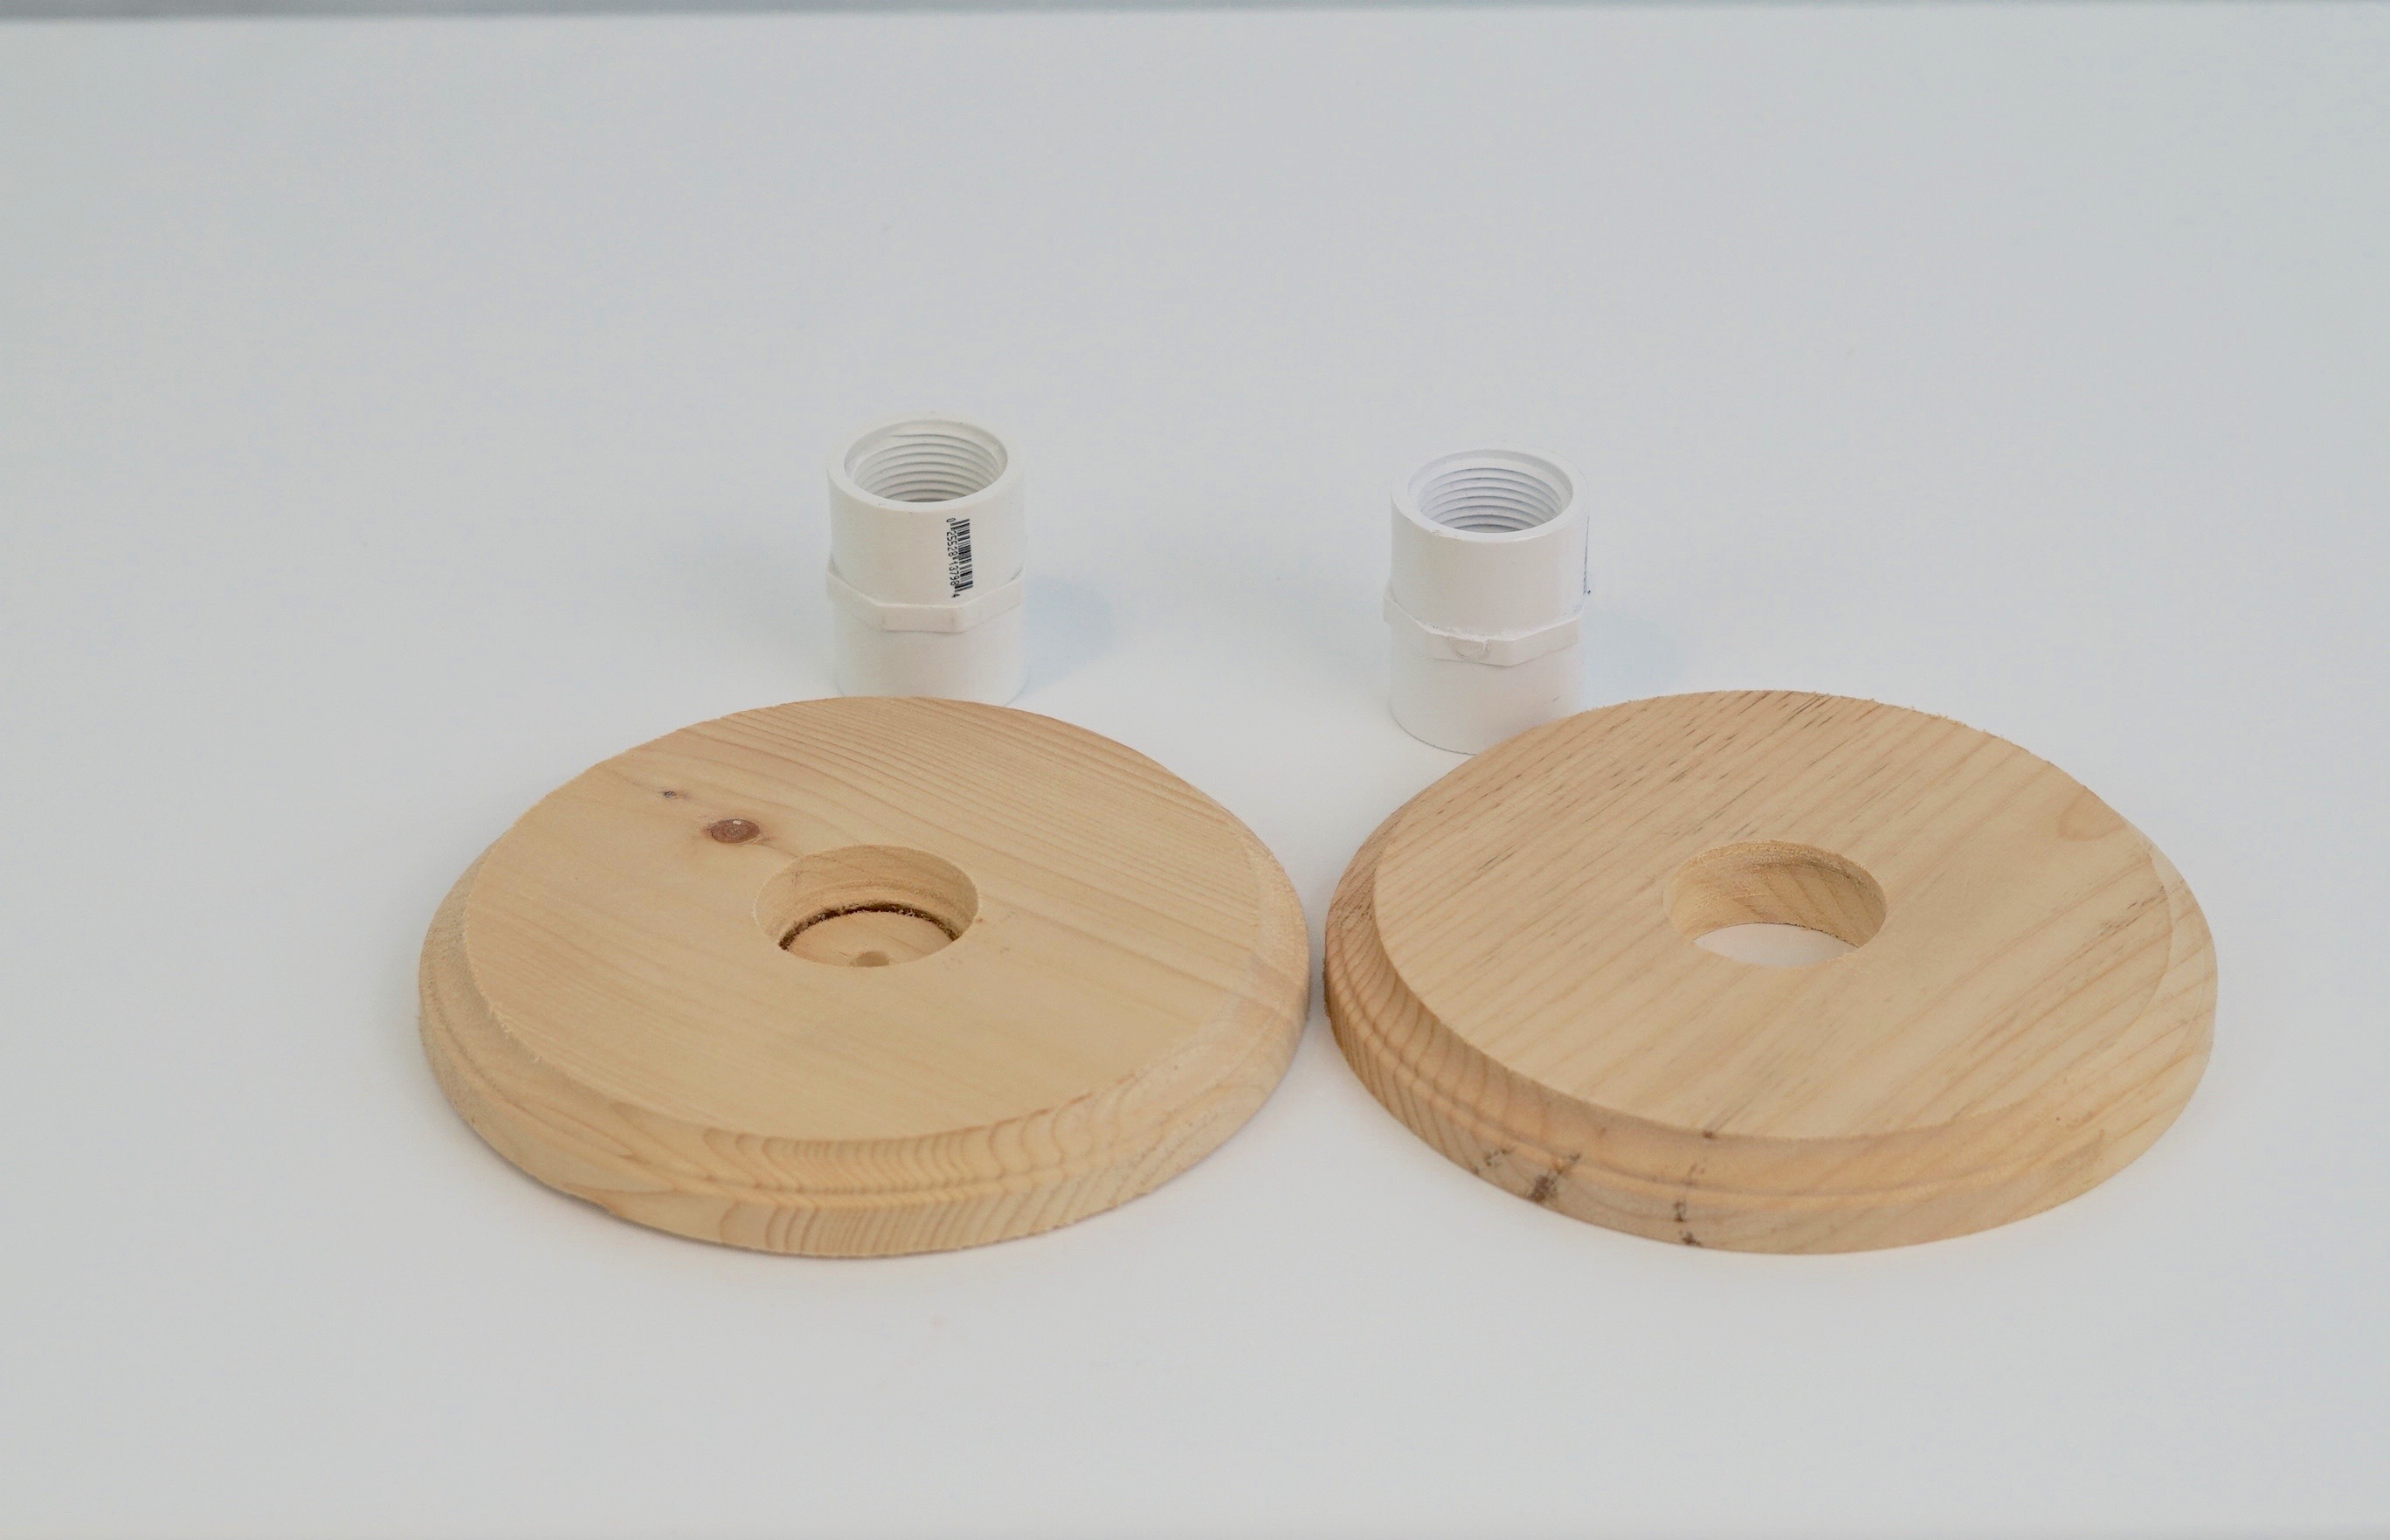
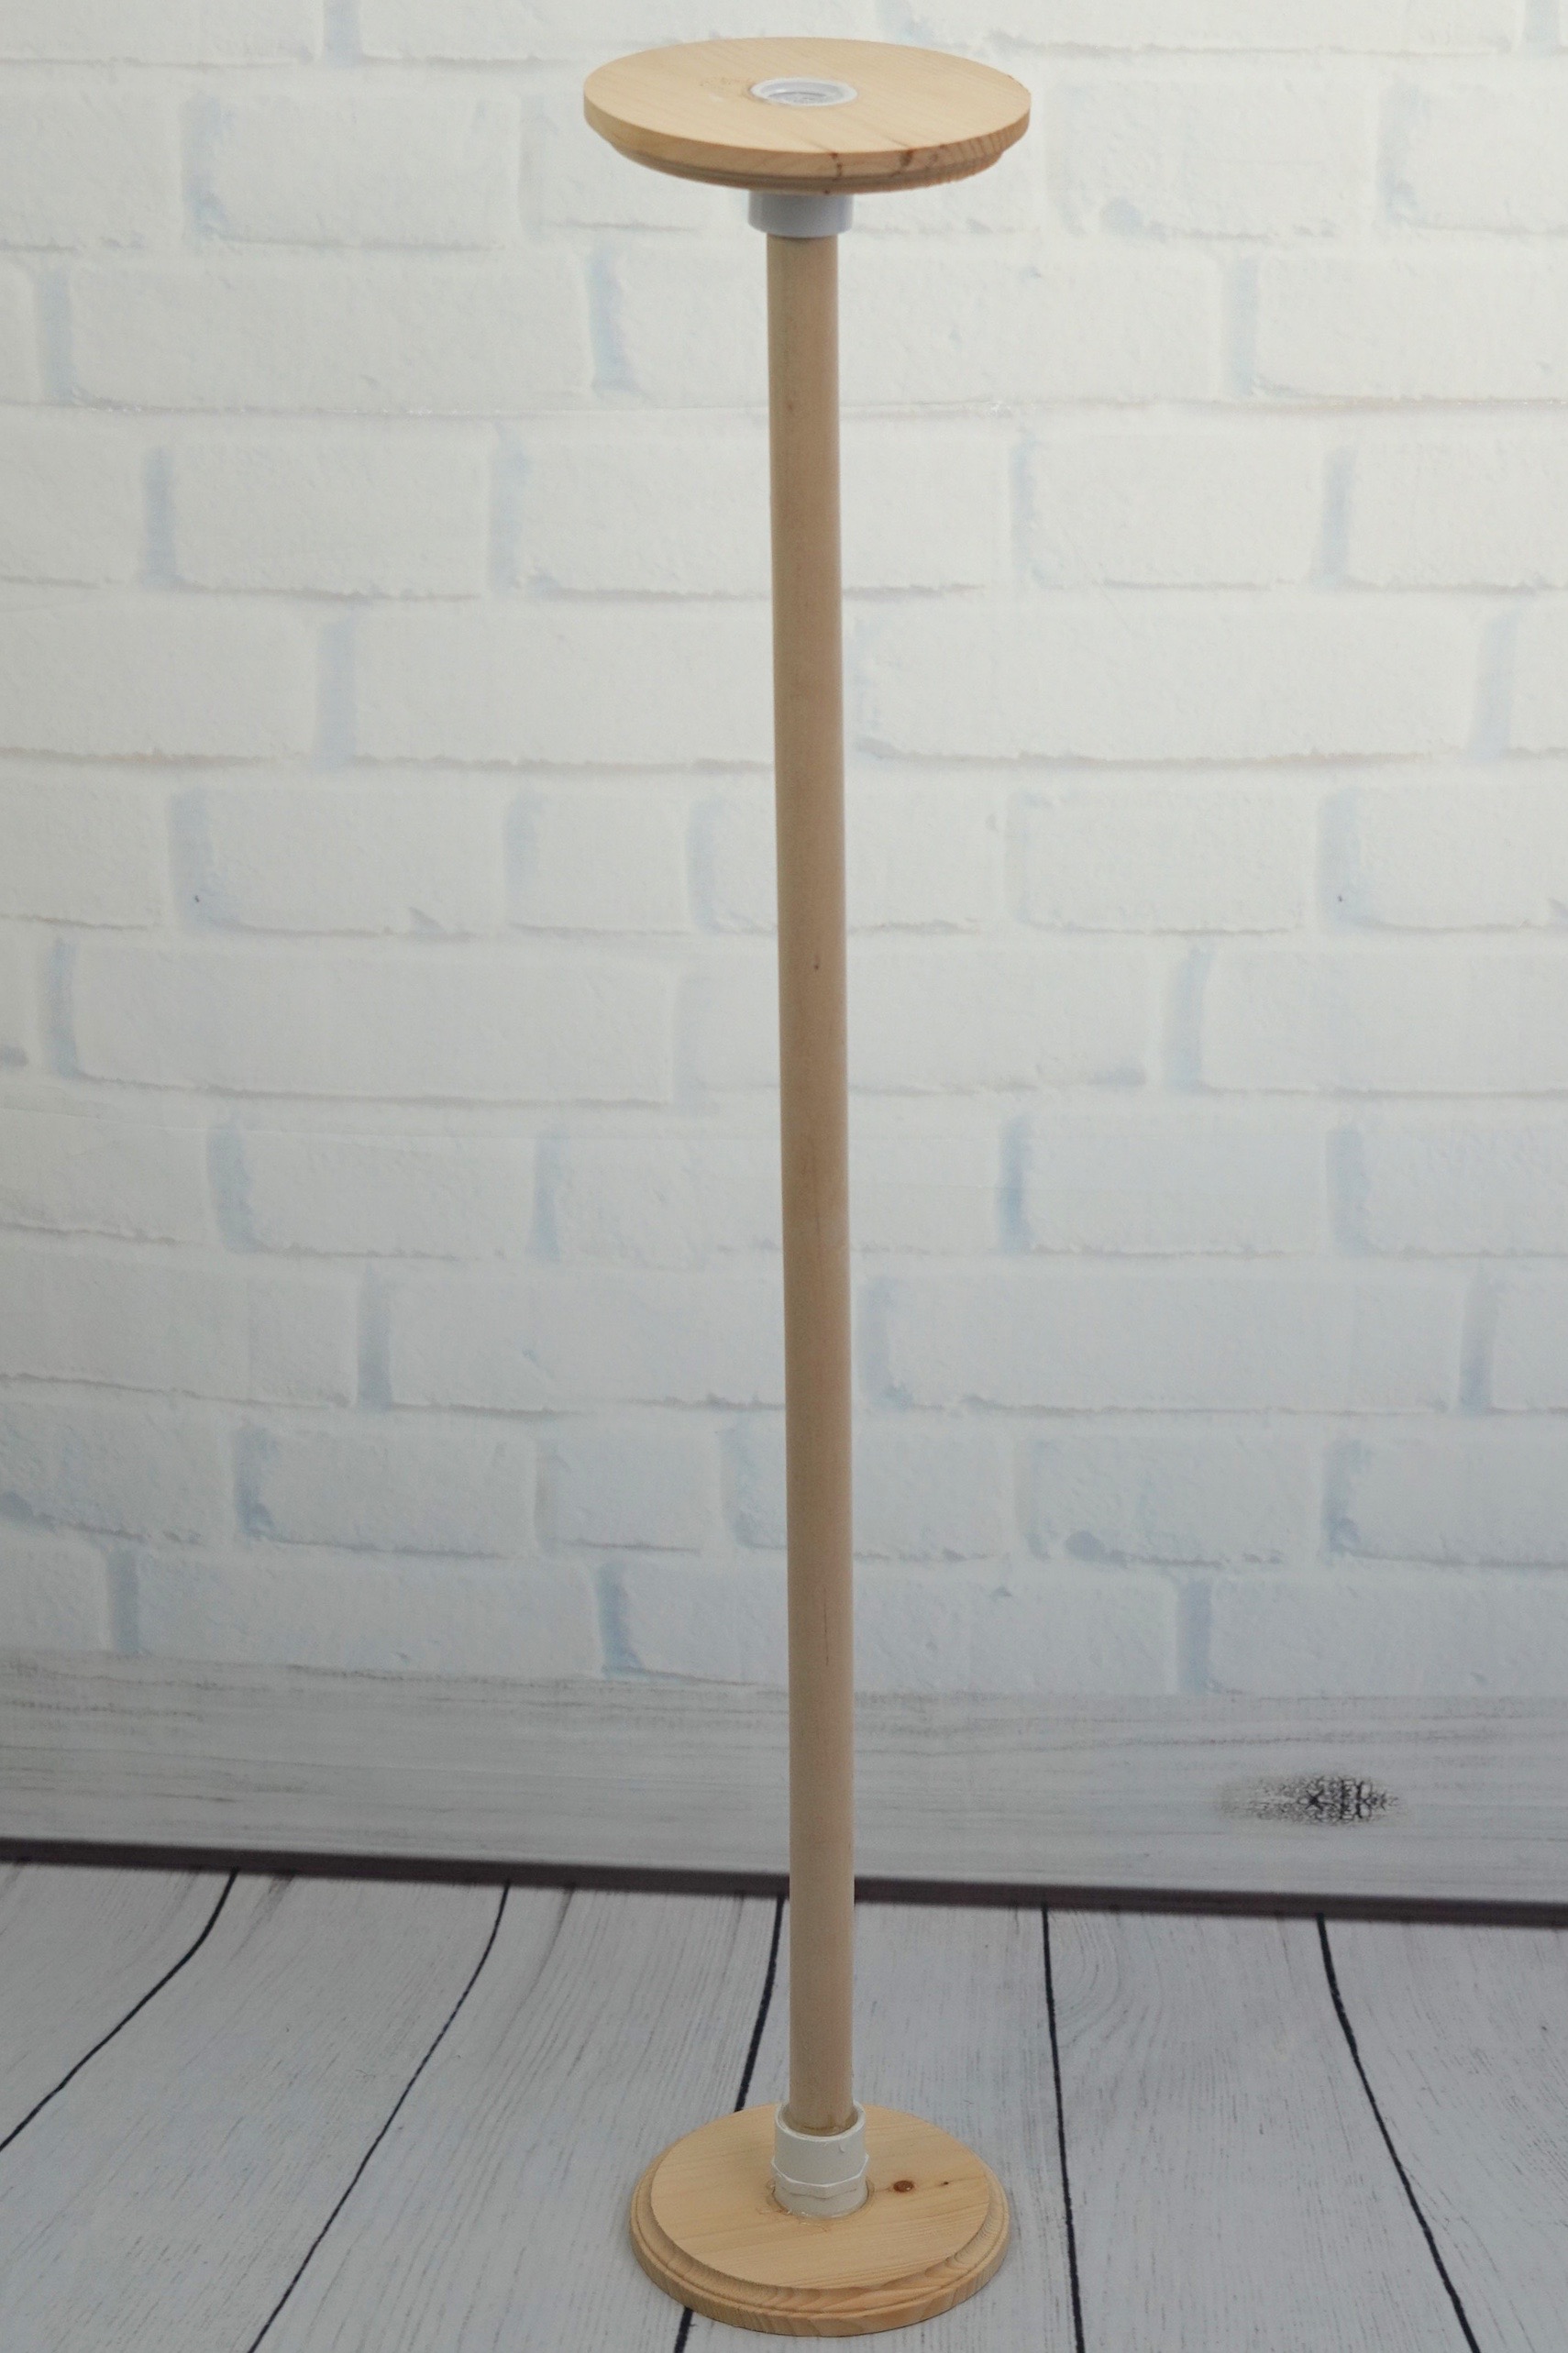
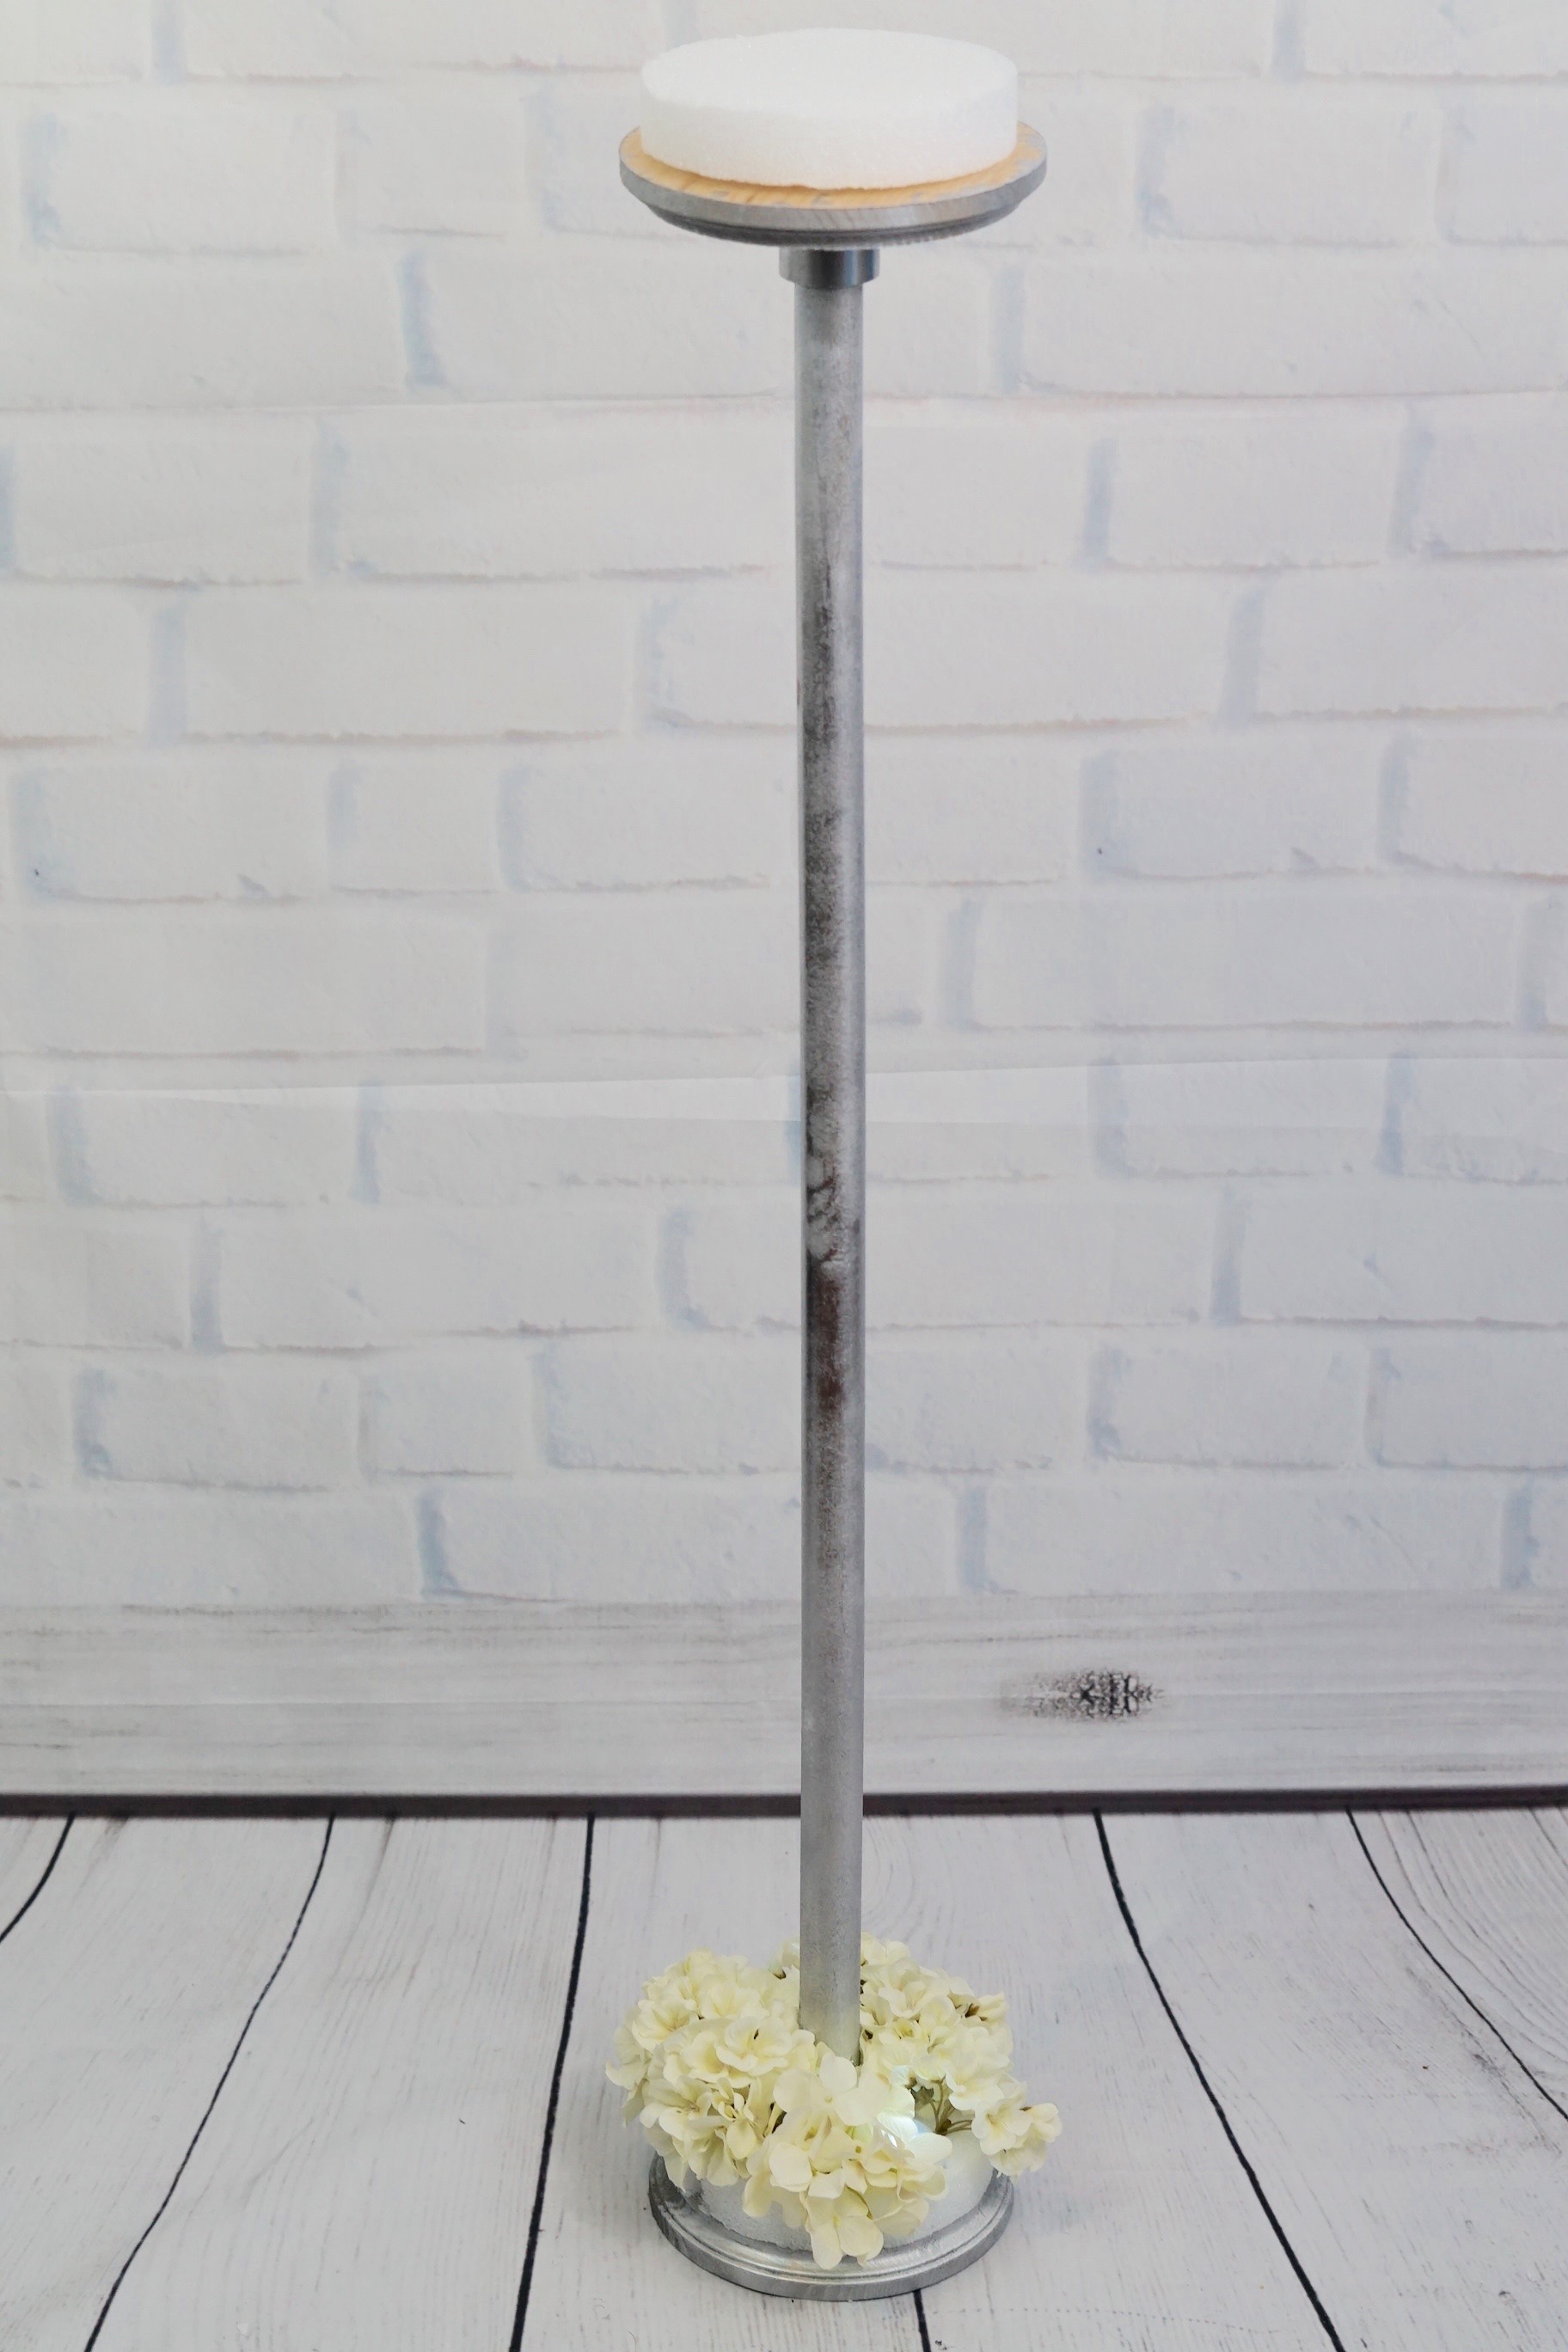
Attach your wooden dowels and spray paint your stand with silver foil spray paint
STEP 2: Next attach your wooden dowels to the base and the top of your stand using hot glue to secure it. Use a level to make sure your wooden dowel is nice and even. Then spray paint your entire stand with silver foil spray paint.
Reconstruct your foam disc
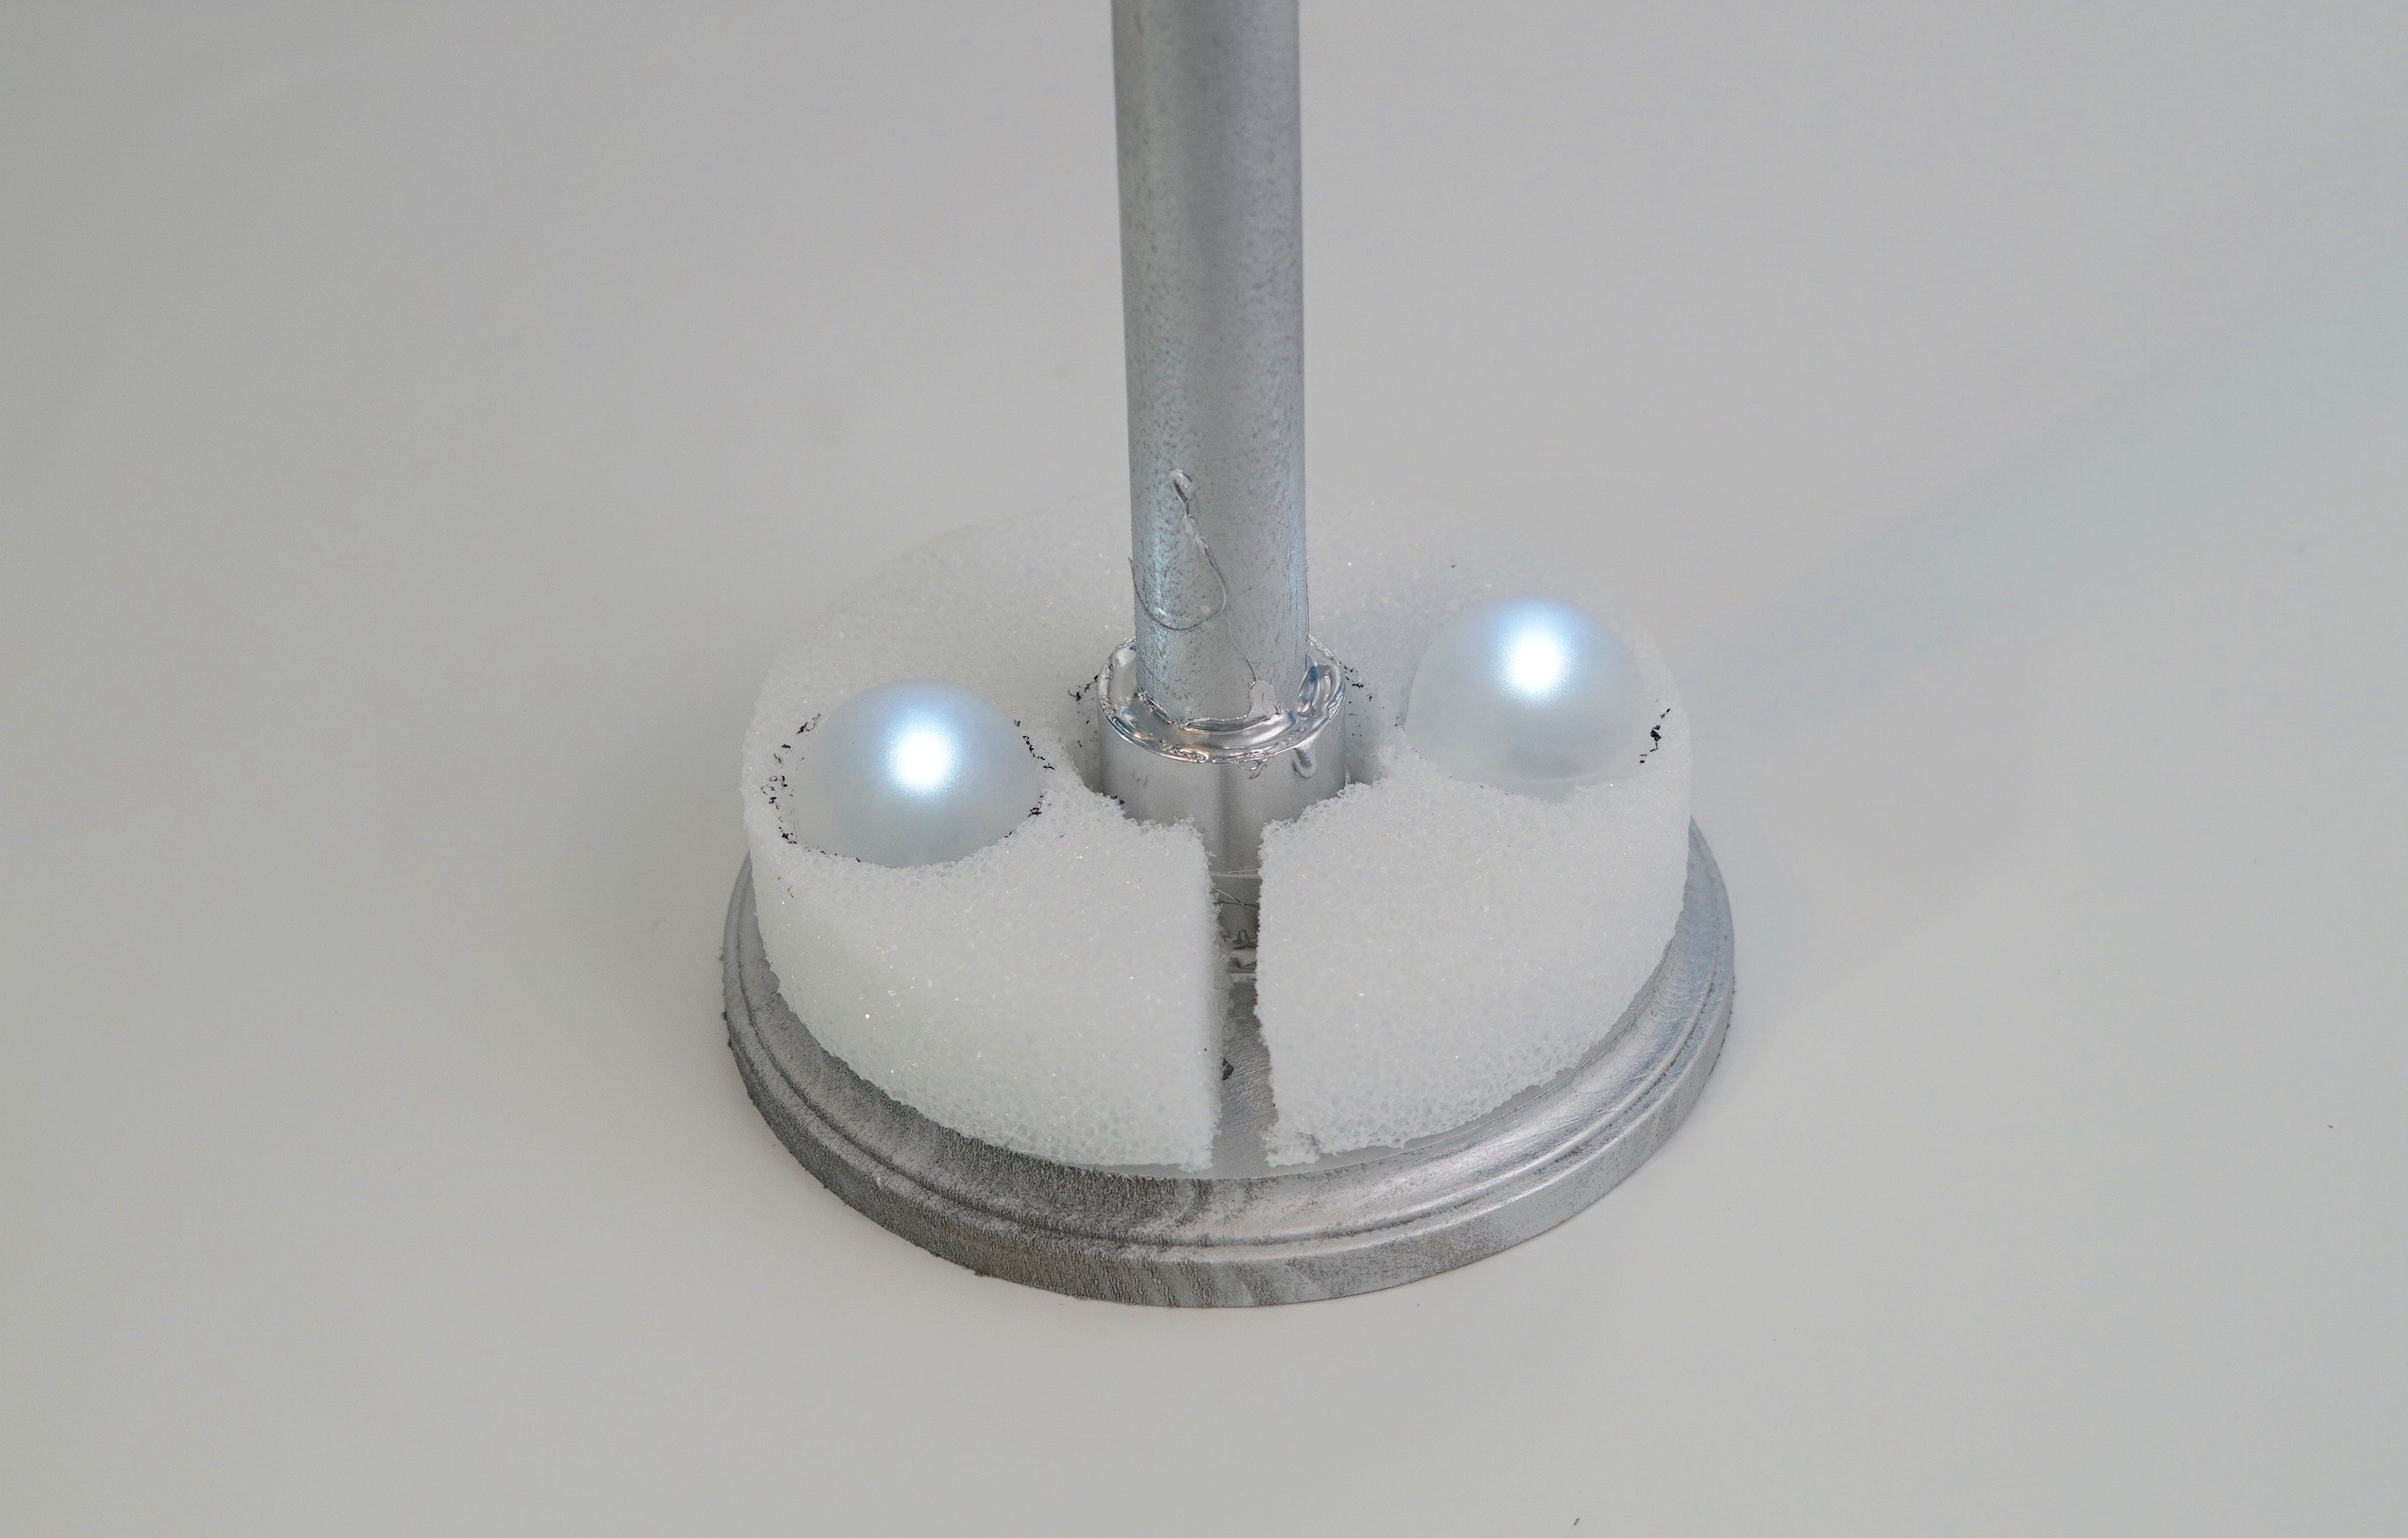
STEP 3: Take one of your 6 inch foam disc, place an LED dome light on top in three different spots and trace around it. You now have 3 circles. Cut out the two outer traced circles with a foam cutter just enough to place your LED dome lights. Cut the entire middle circle out. Now cut your foam in half.
Add your LED dome tealights
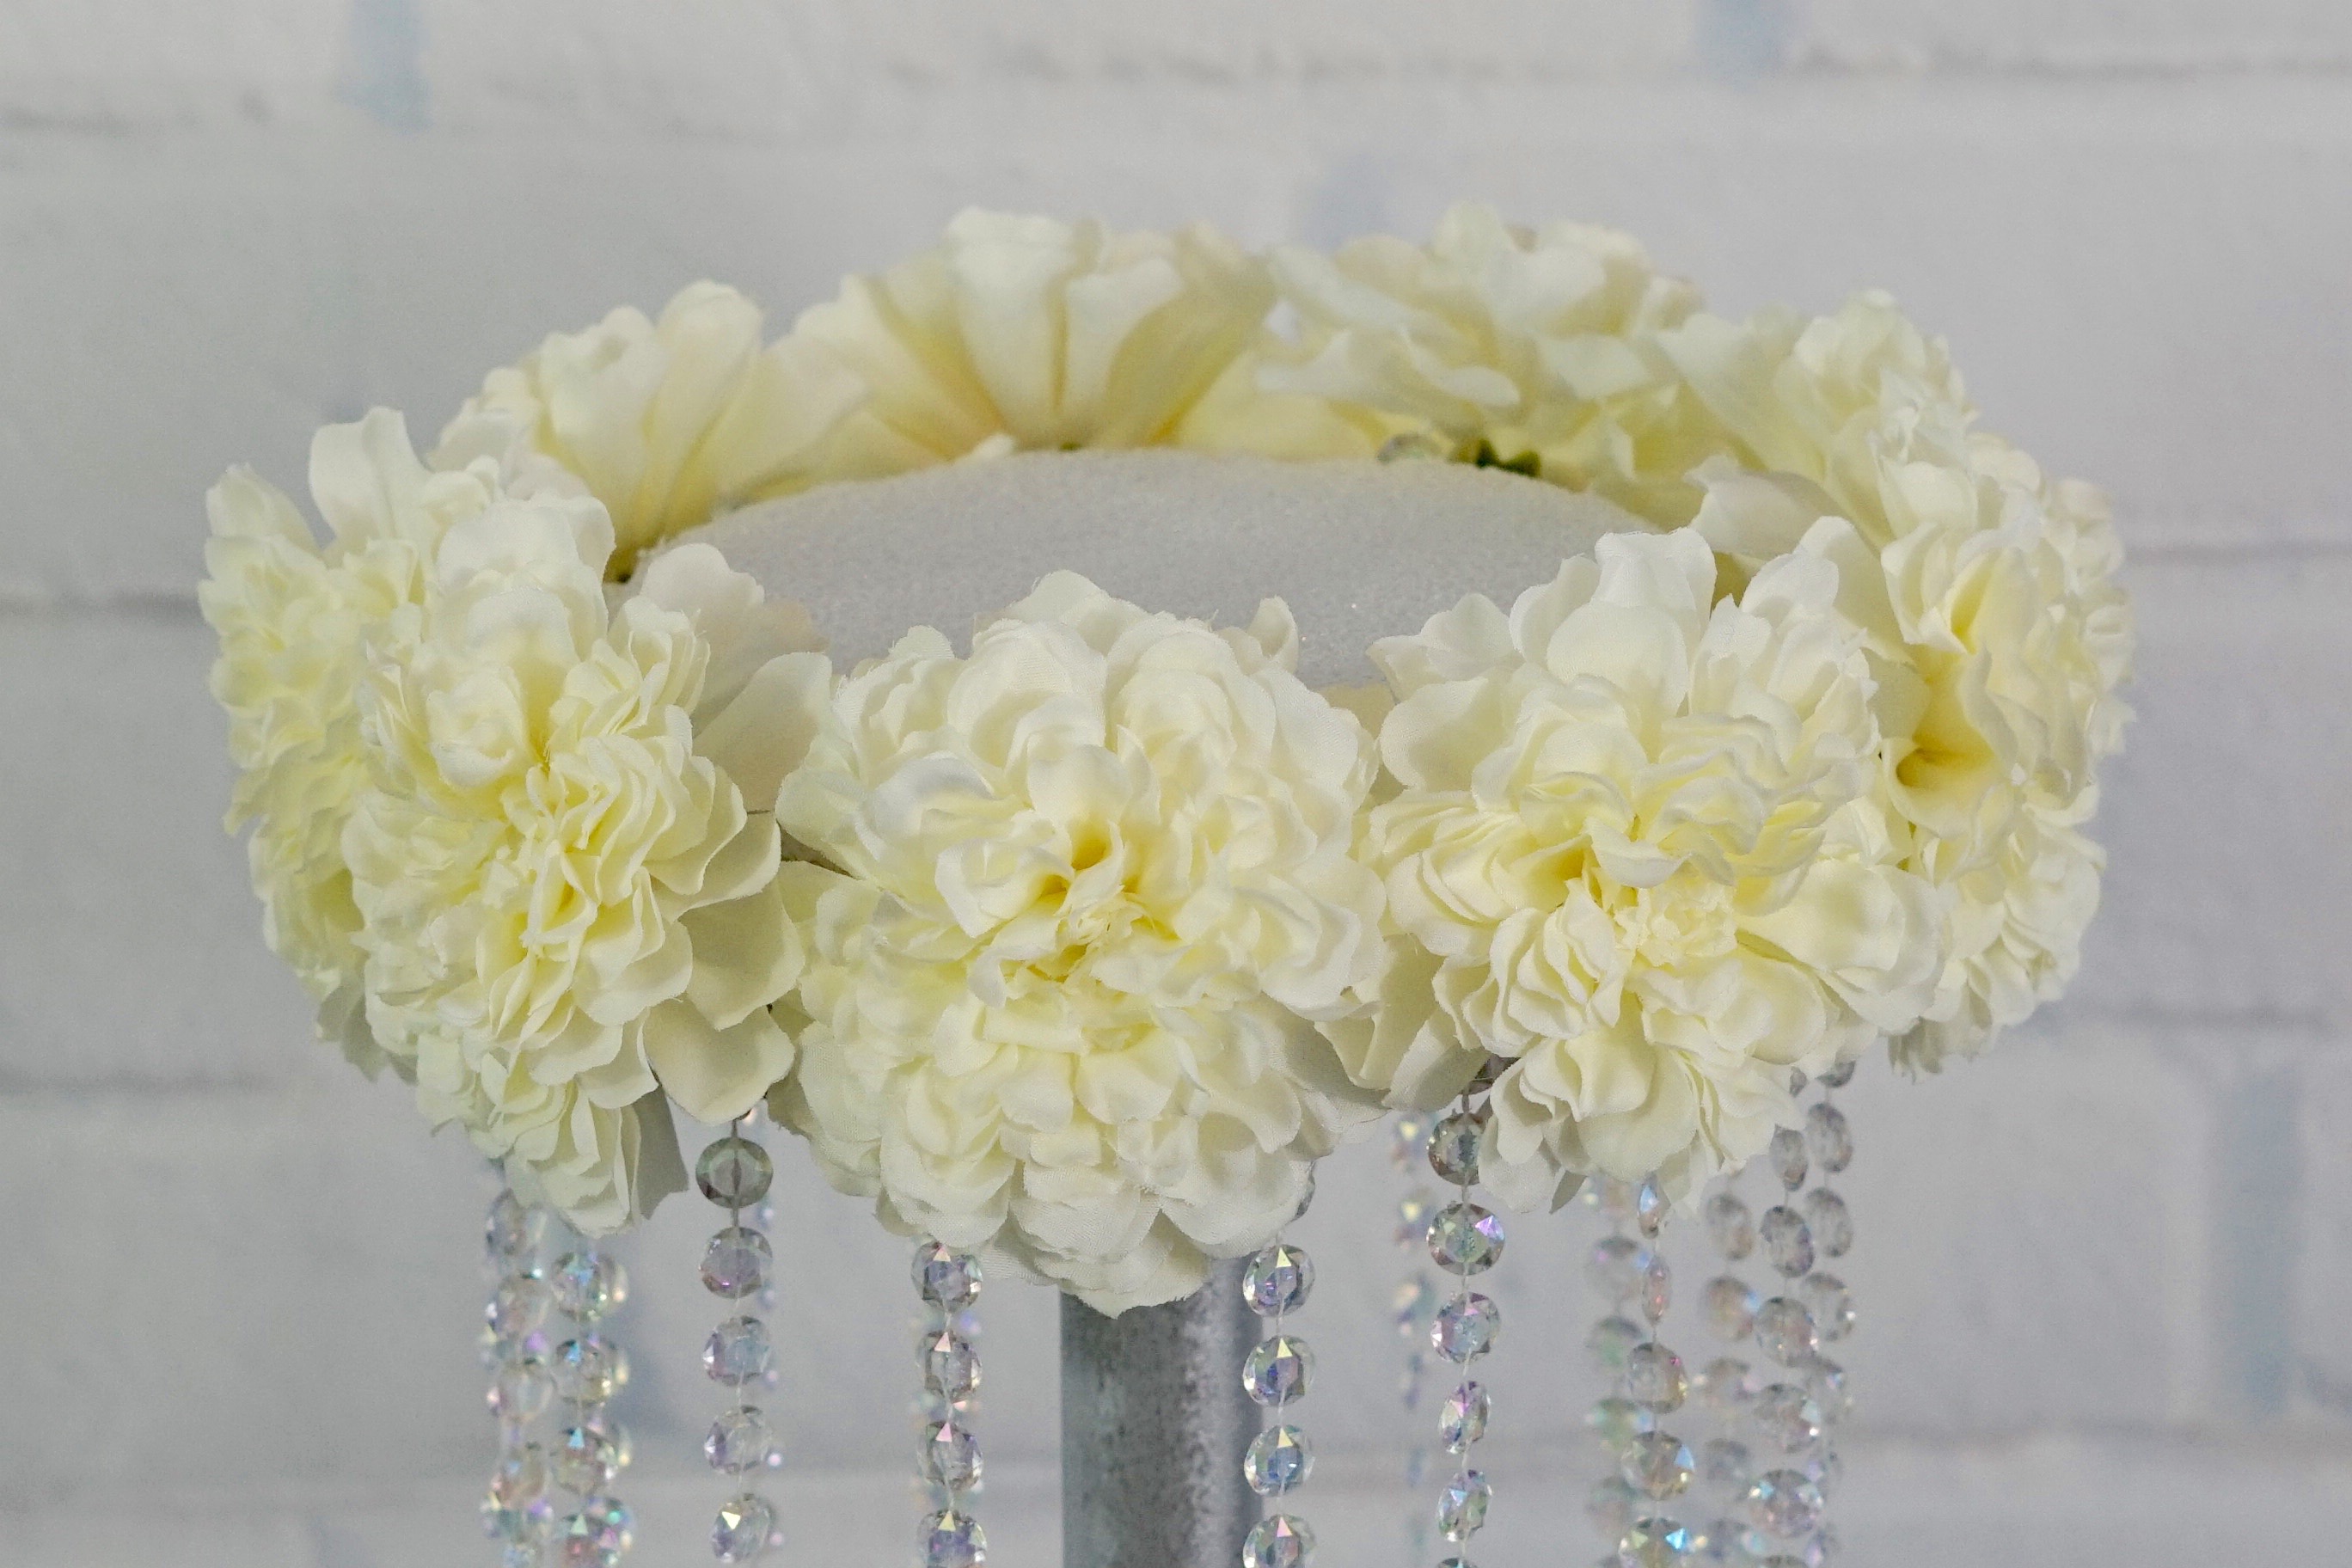
STEP 4: Attach your foam to the base by adding hot glue, put 1/2 on one side and the other half on the other side. Next add your LED dome lights to the outer circles. Now attach 4-6 hydrangea heads to cover the top of your base foam disc. Next hot glue another 6 inch foam disc to the top of your stand.
Hot glue your garland gem strands
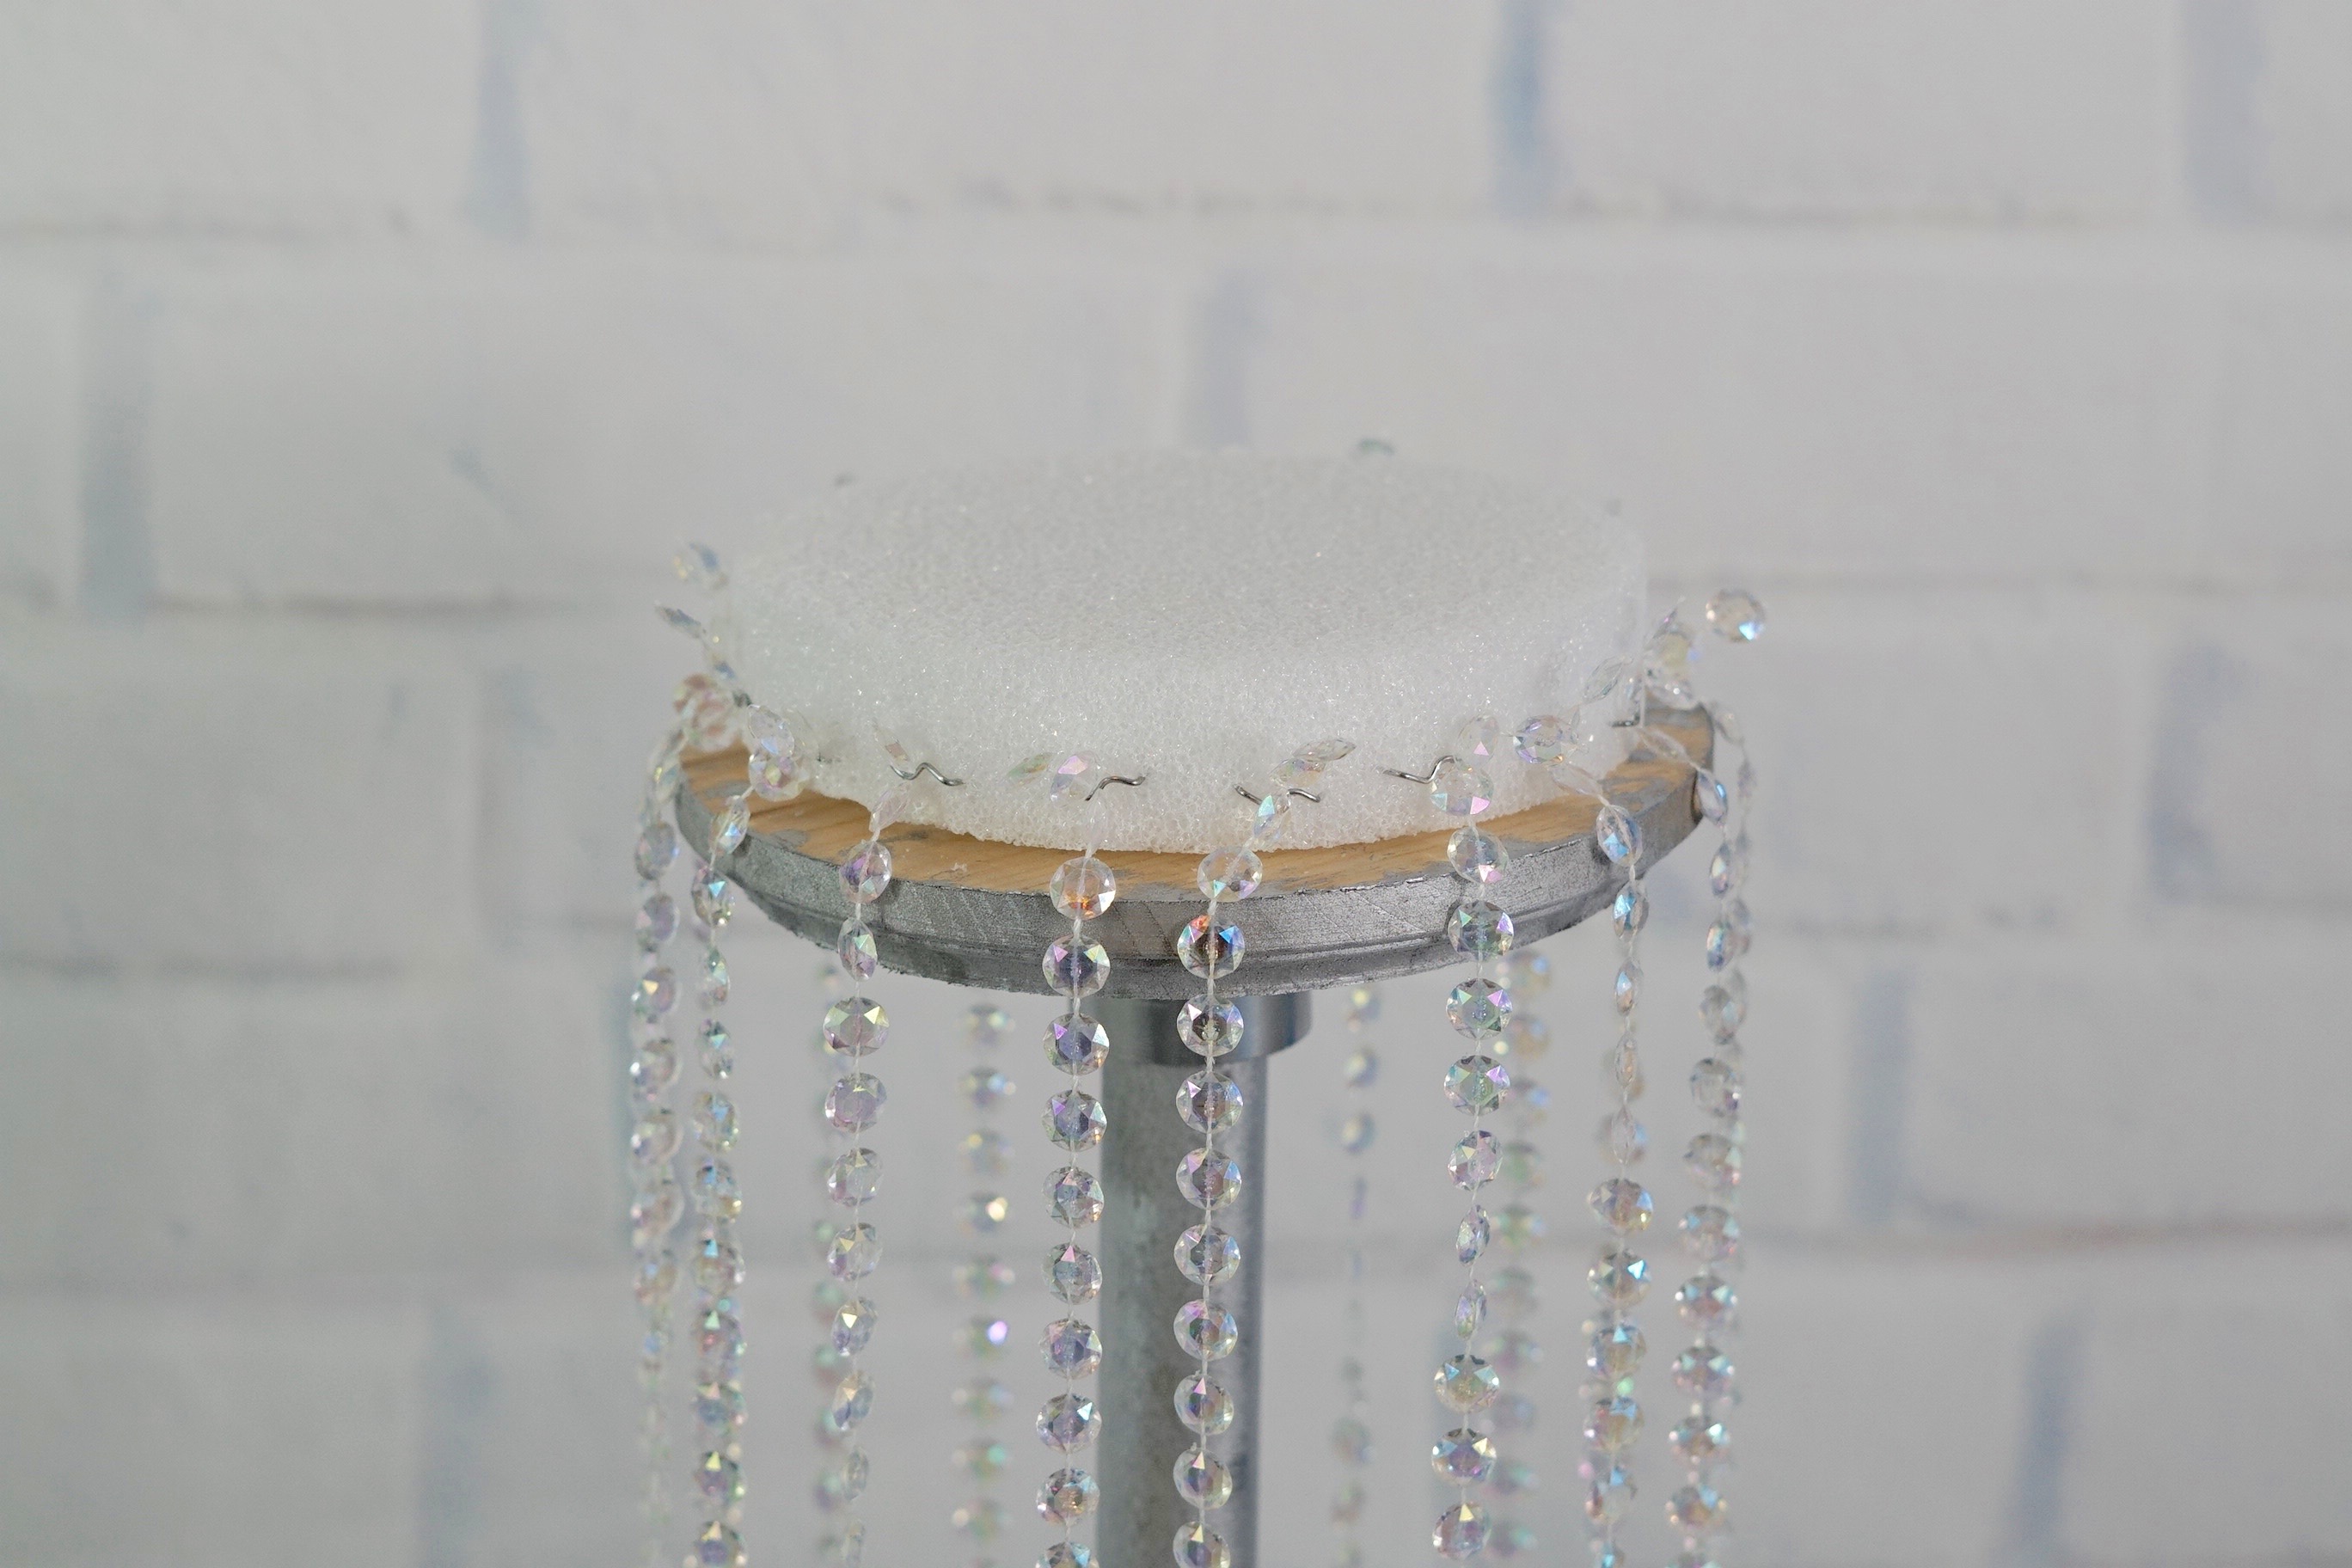
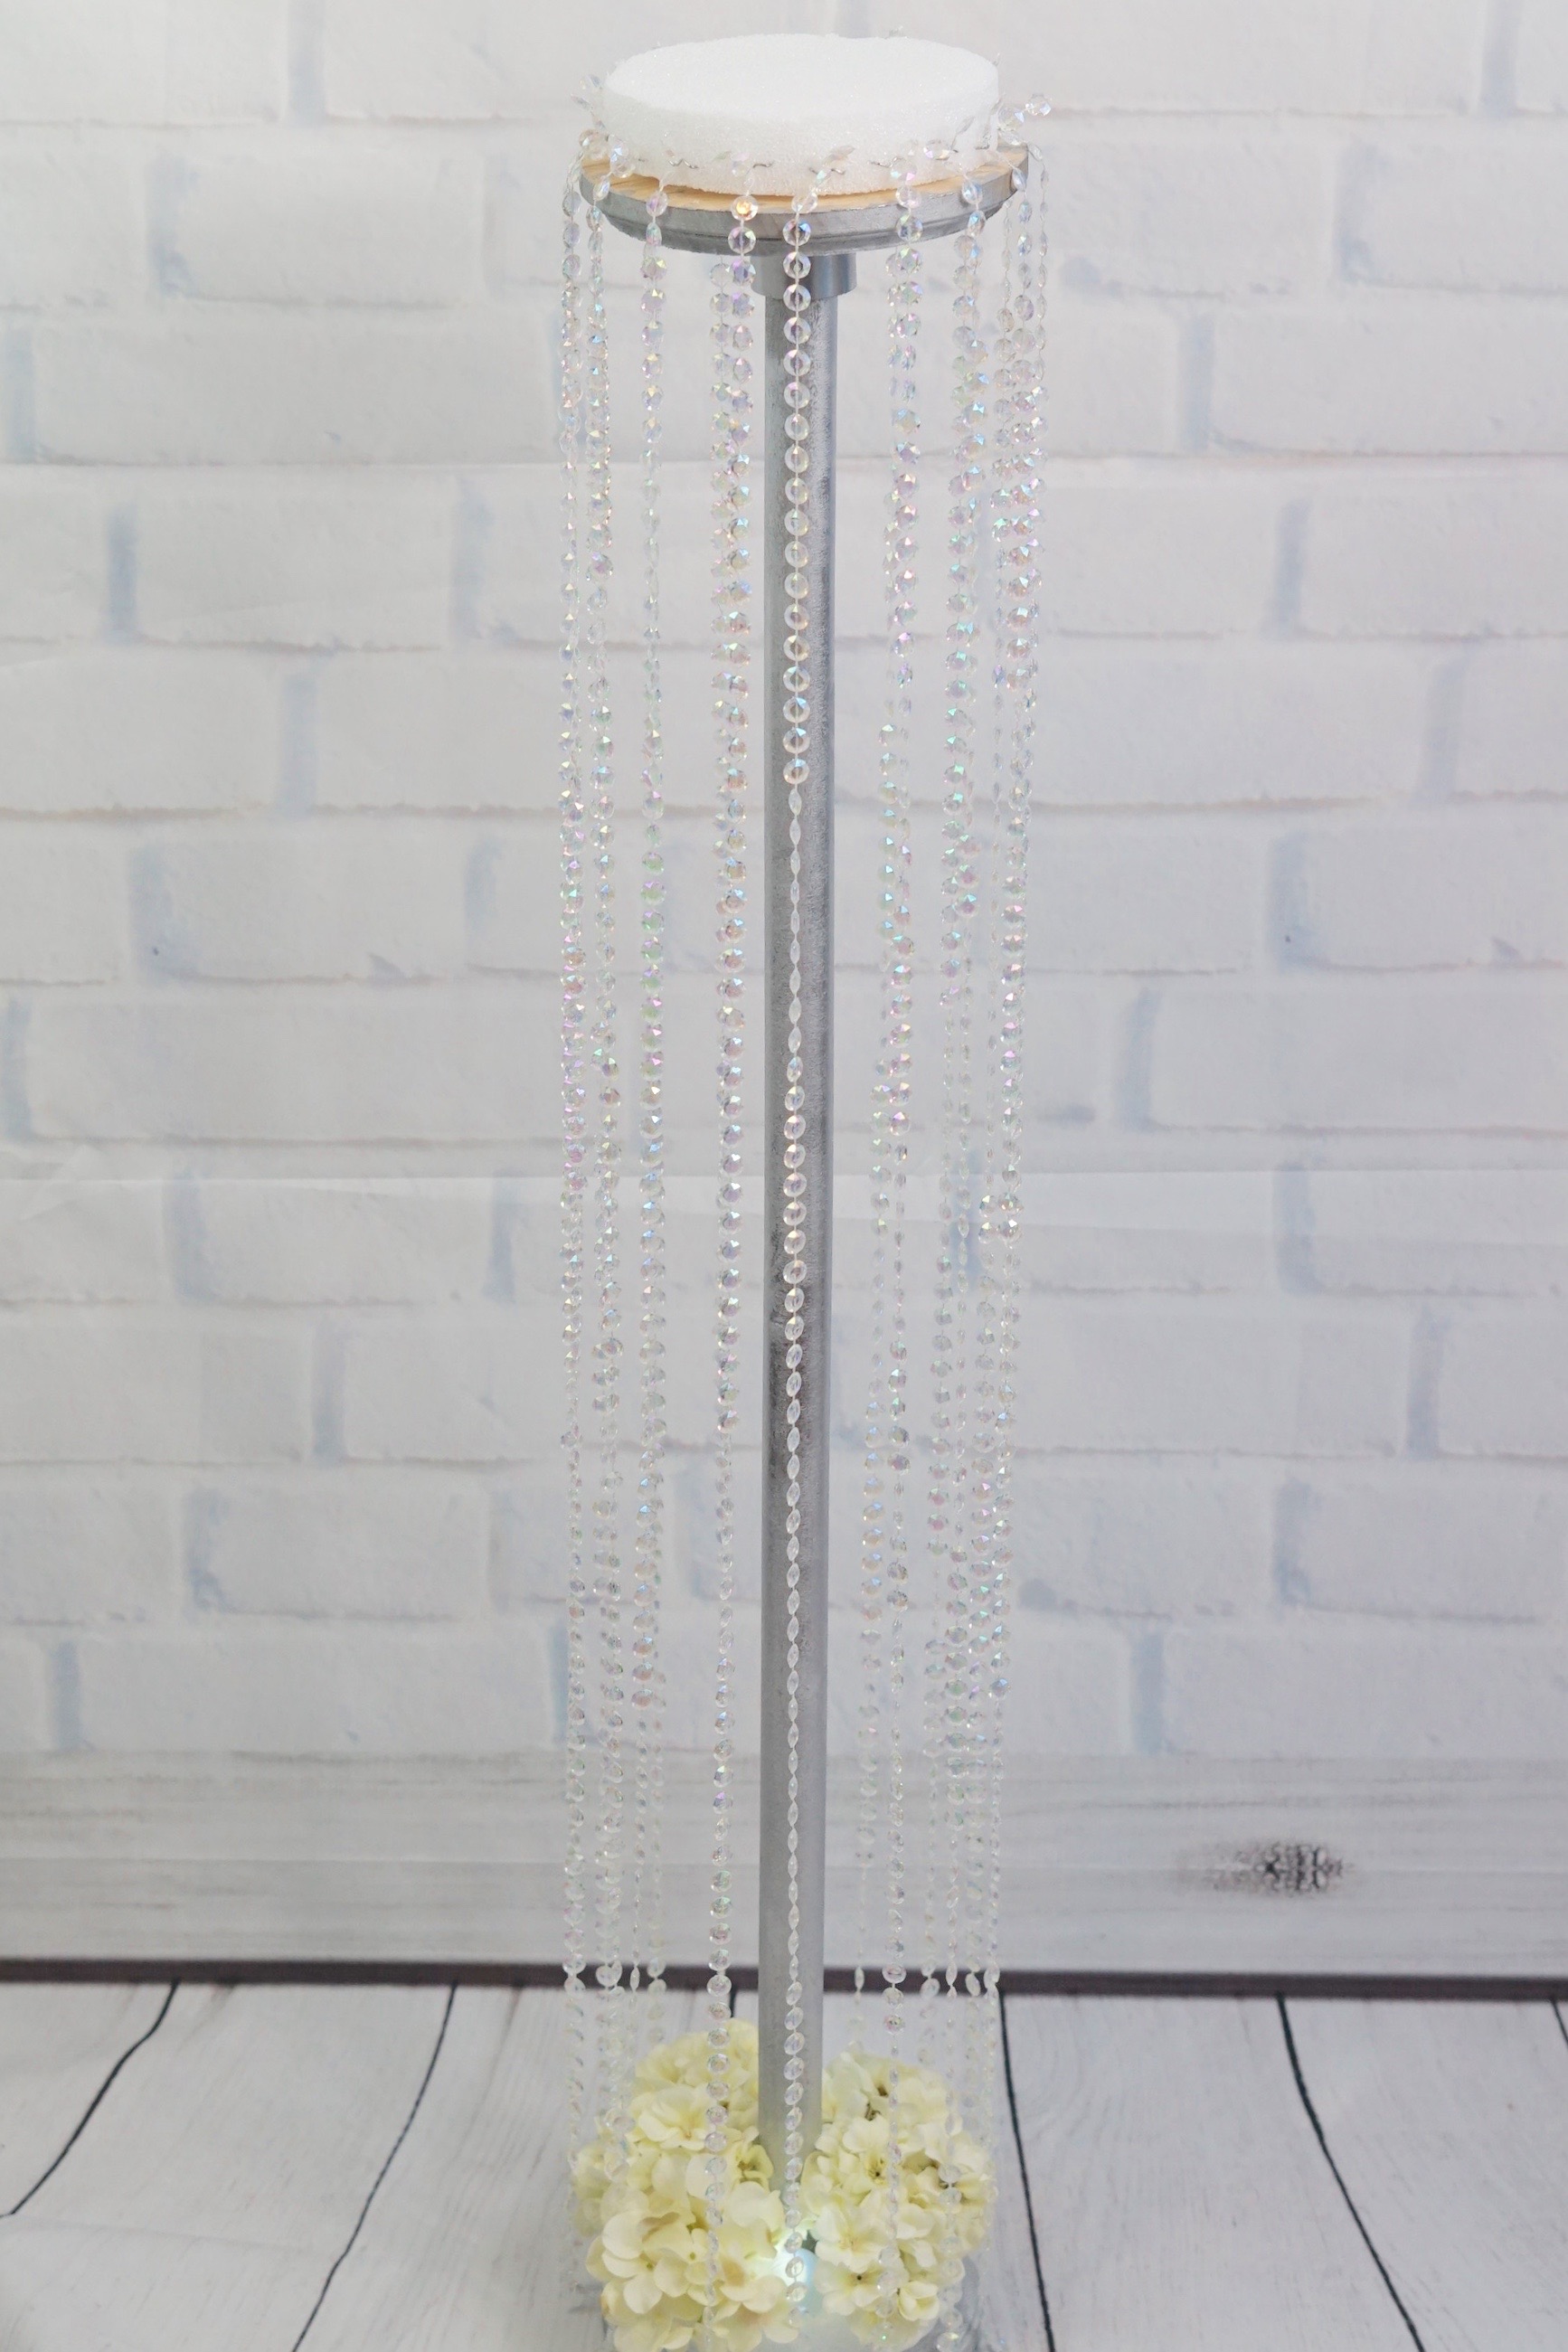
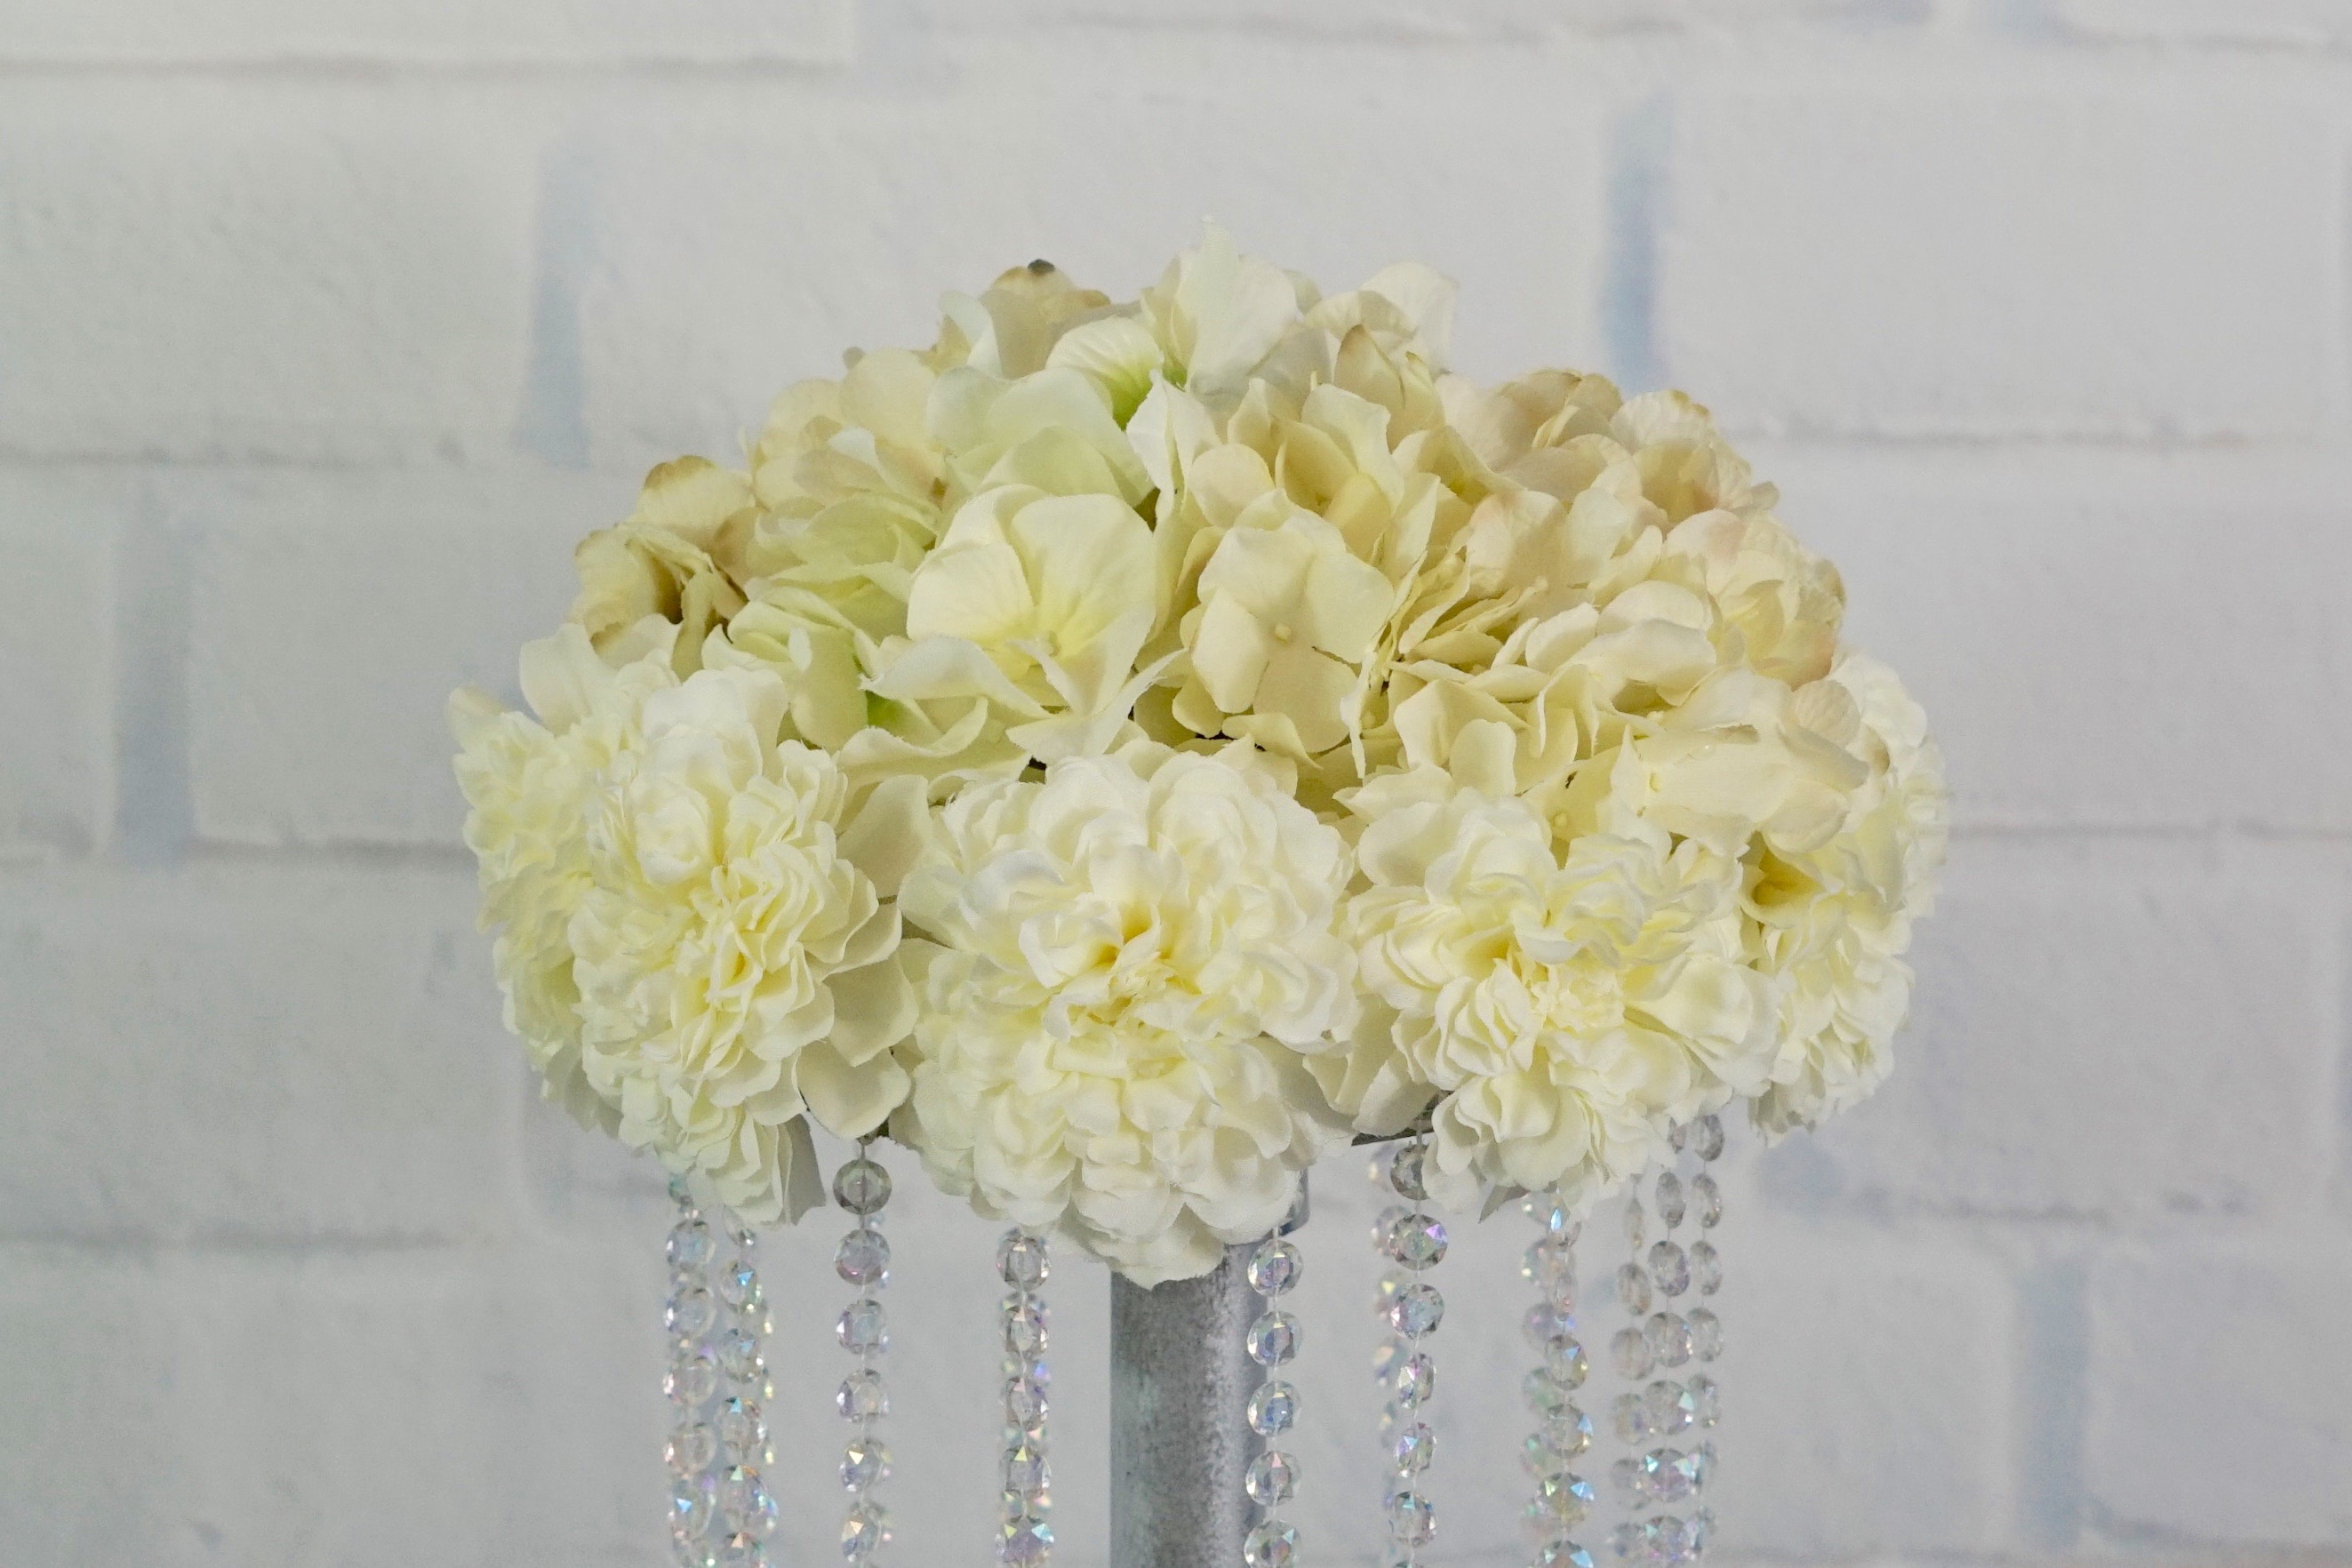
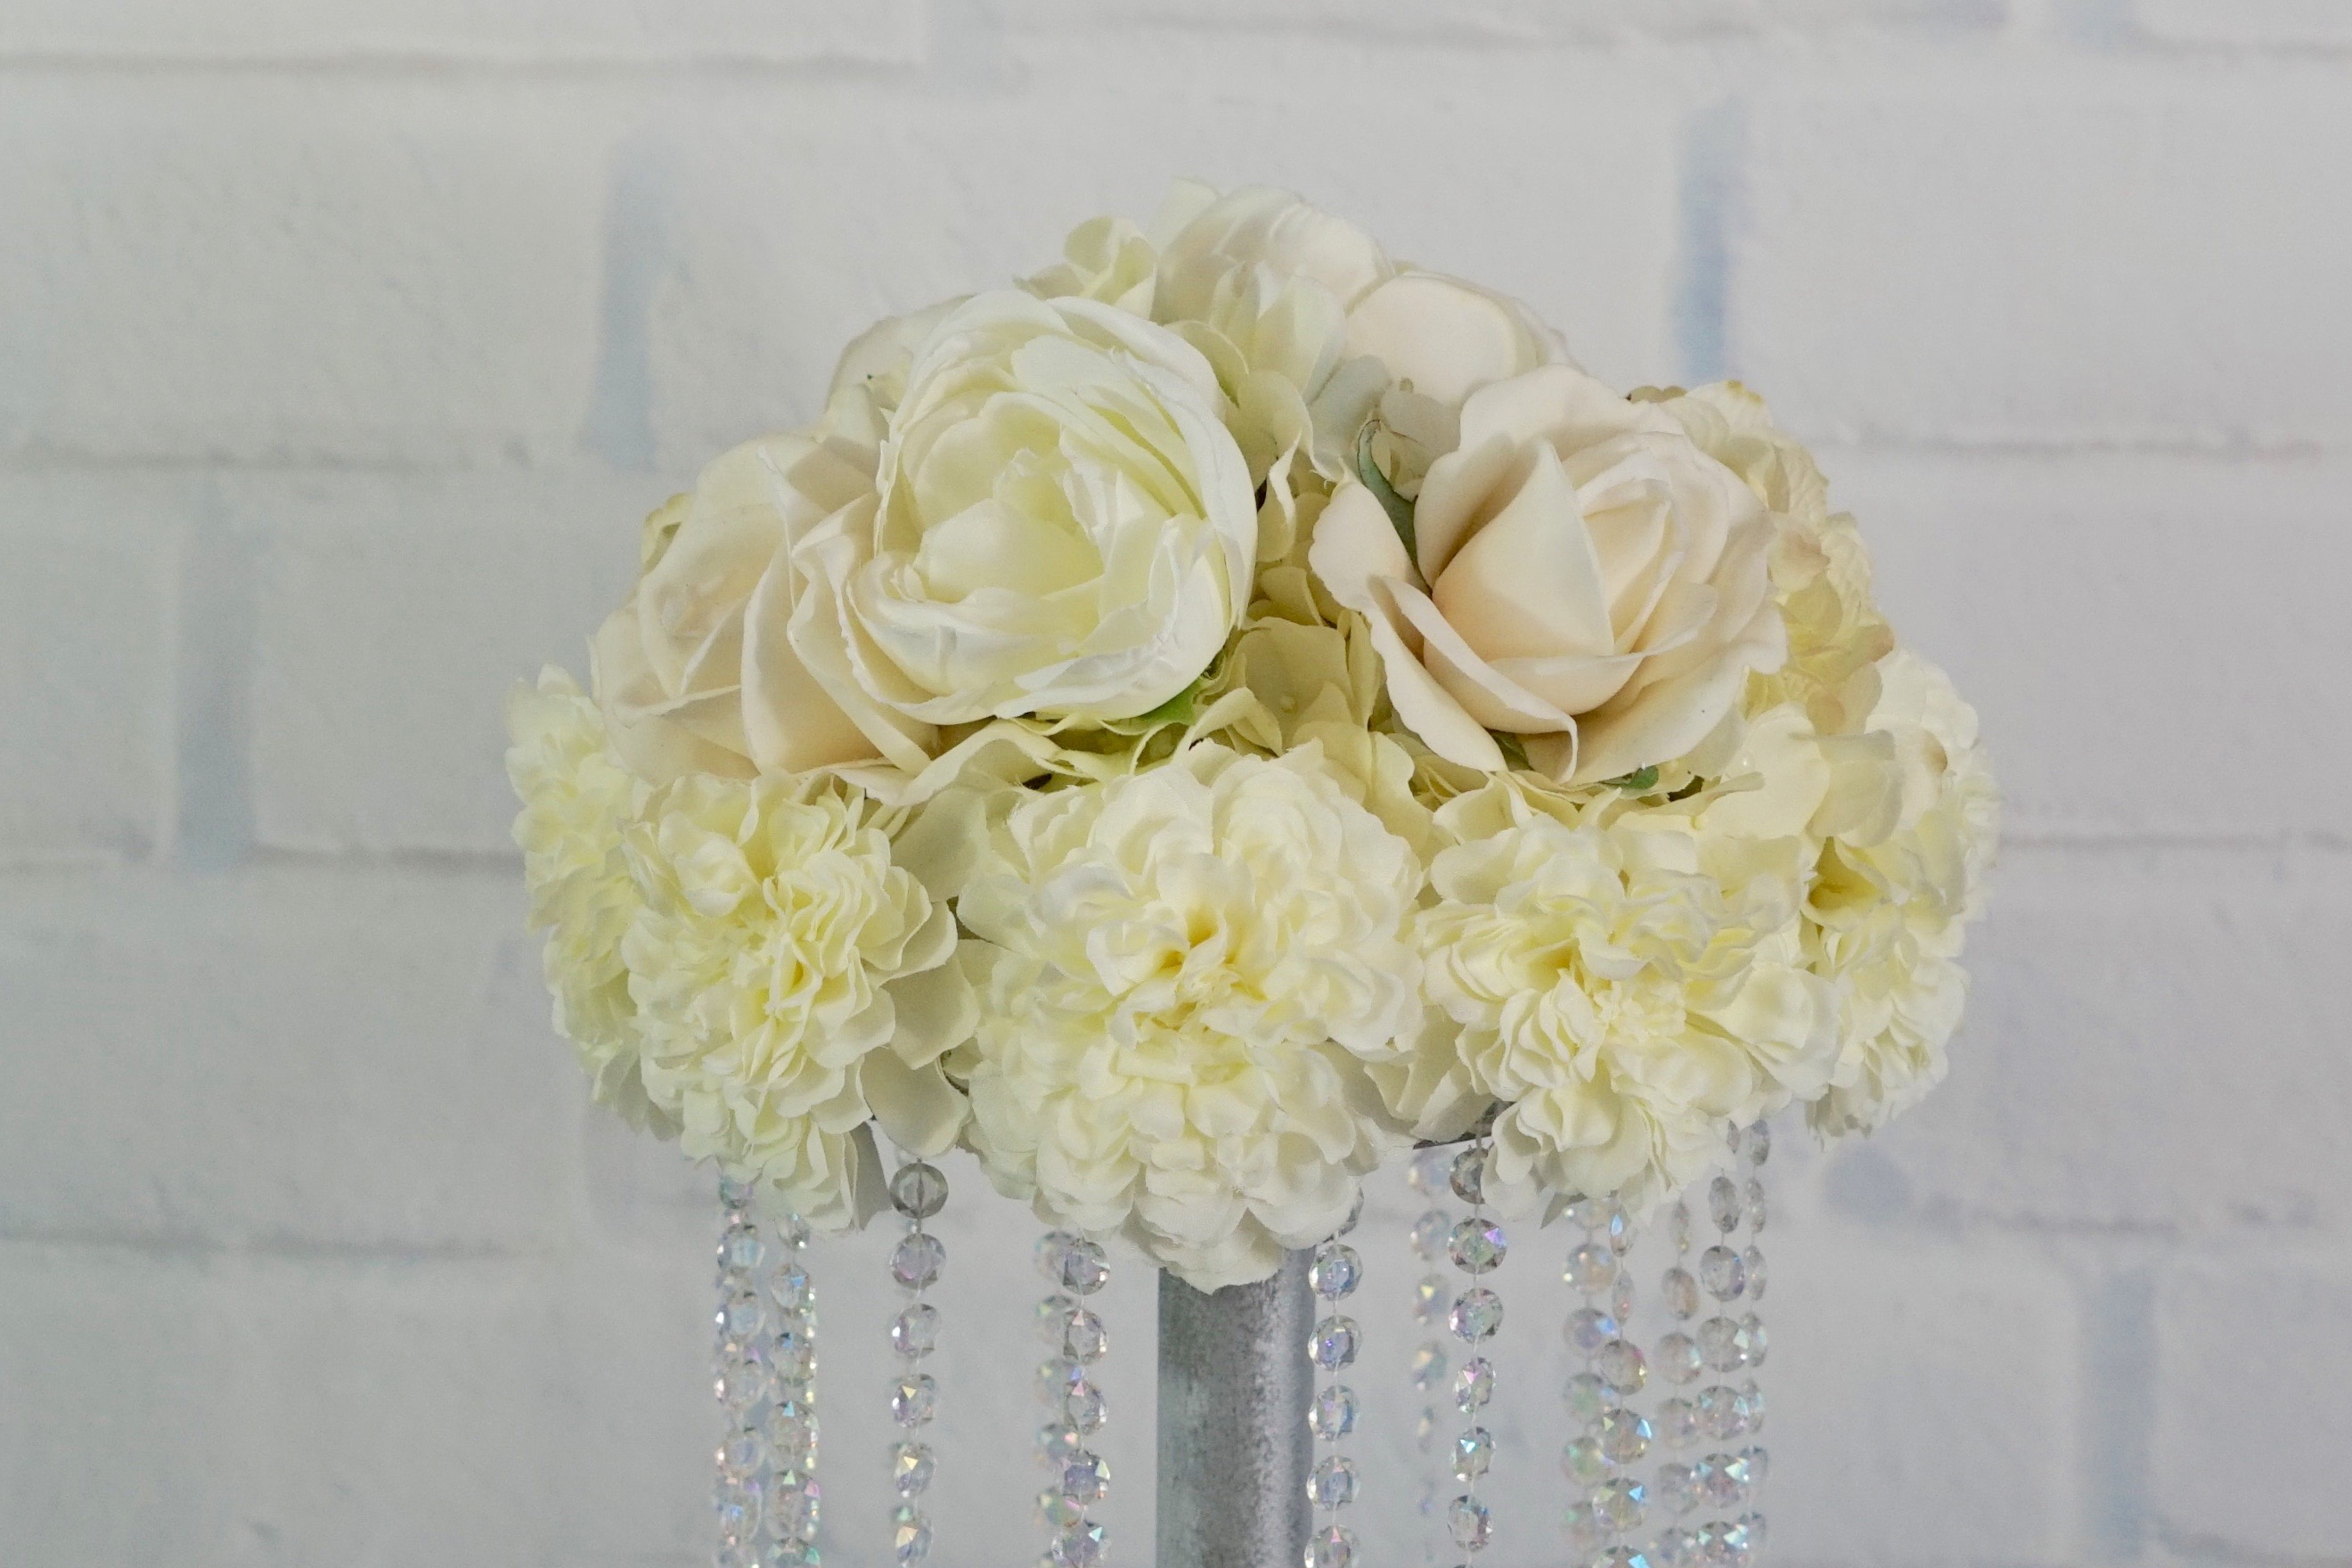
STEP 5: Cut 14-16 two and 1/2 inch gem strands. Next attach your gem garland about a 1/2 inch apart on your foam disc using floral pins to secure them. Attach 6-8 carnations, 2-4 medium hydrangea heads, 2-4 roses, and 2-4 peonies to the top wedding stand foam disc.
Complete the look of your base foam disc
STEP 6: To the base foam disc, attach the gem strands using floral pins and then attach 6-8 medium hydrangea heads.
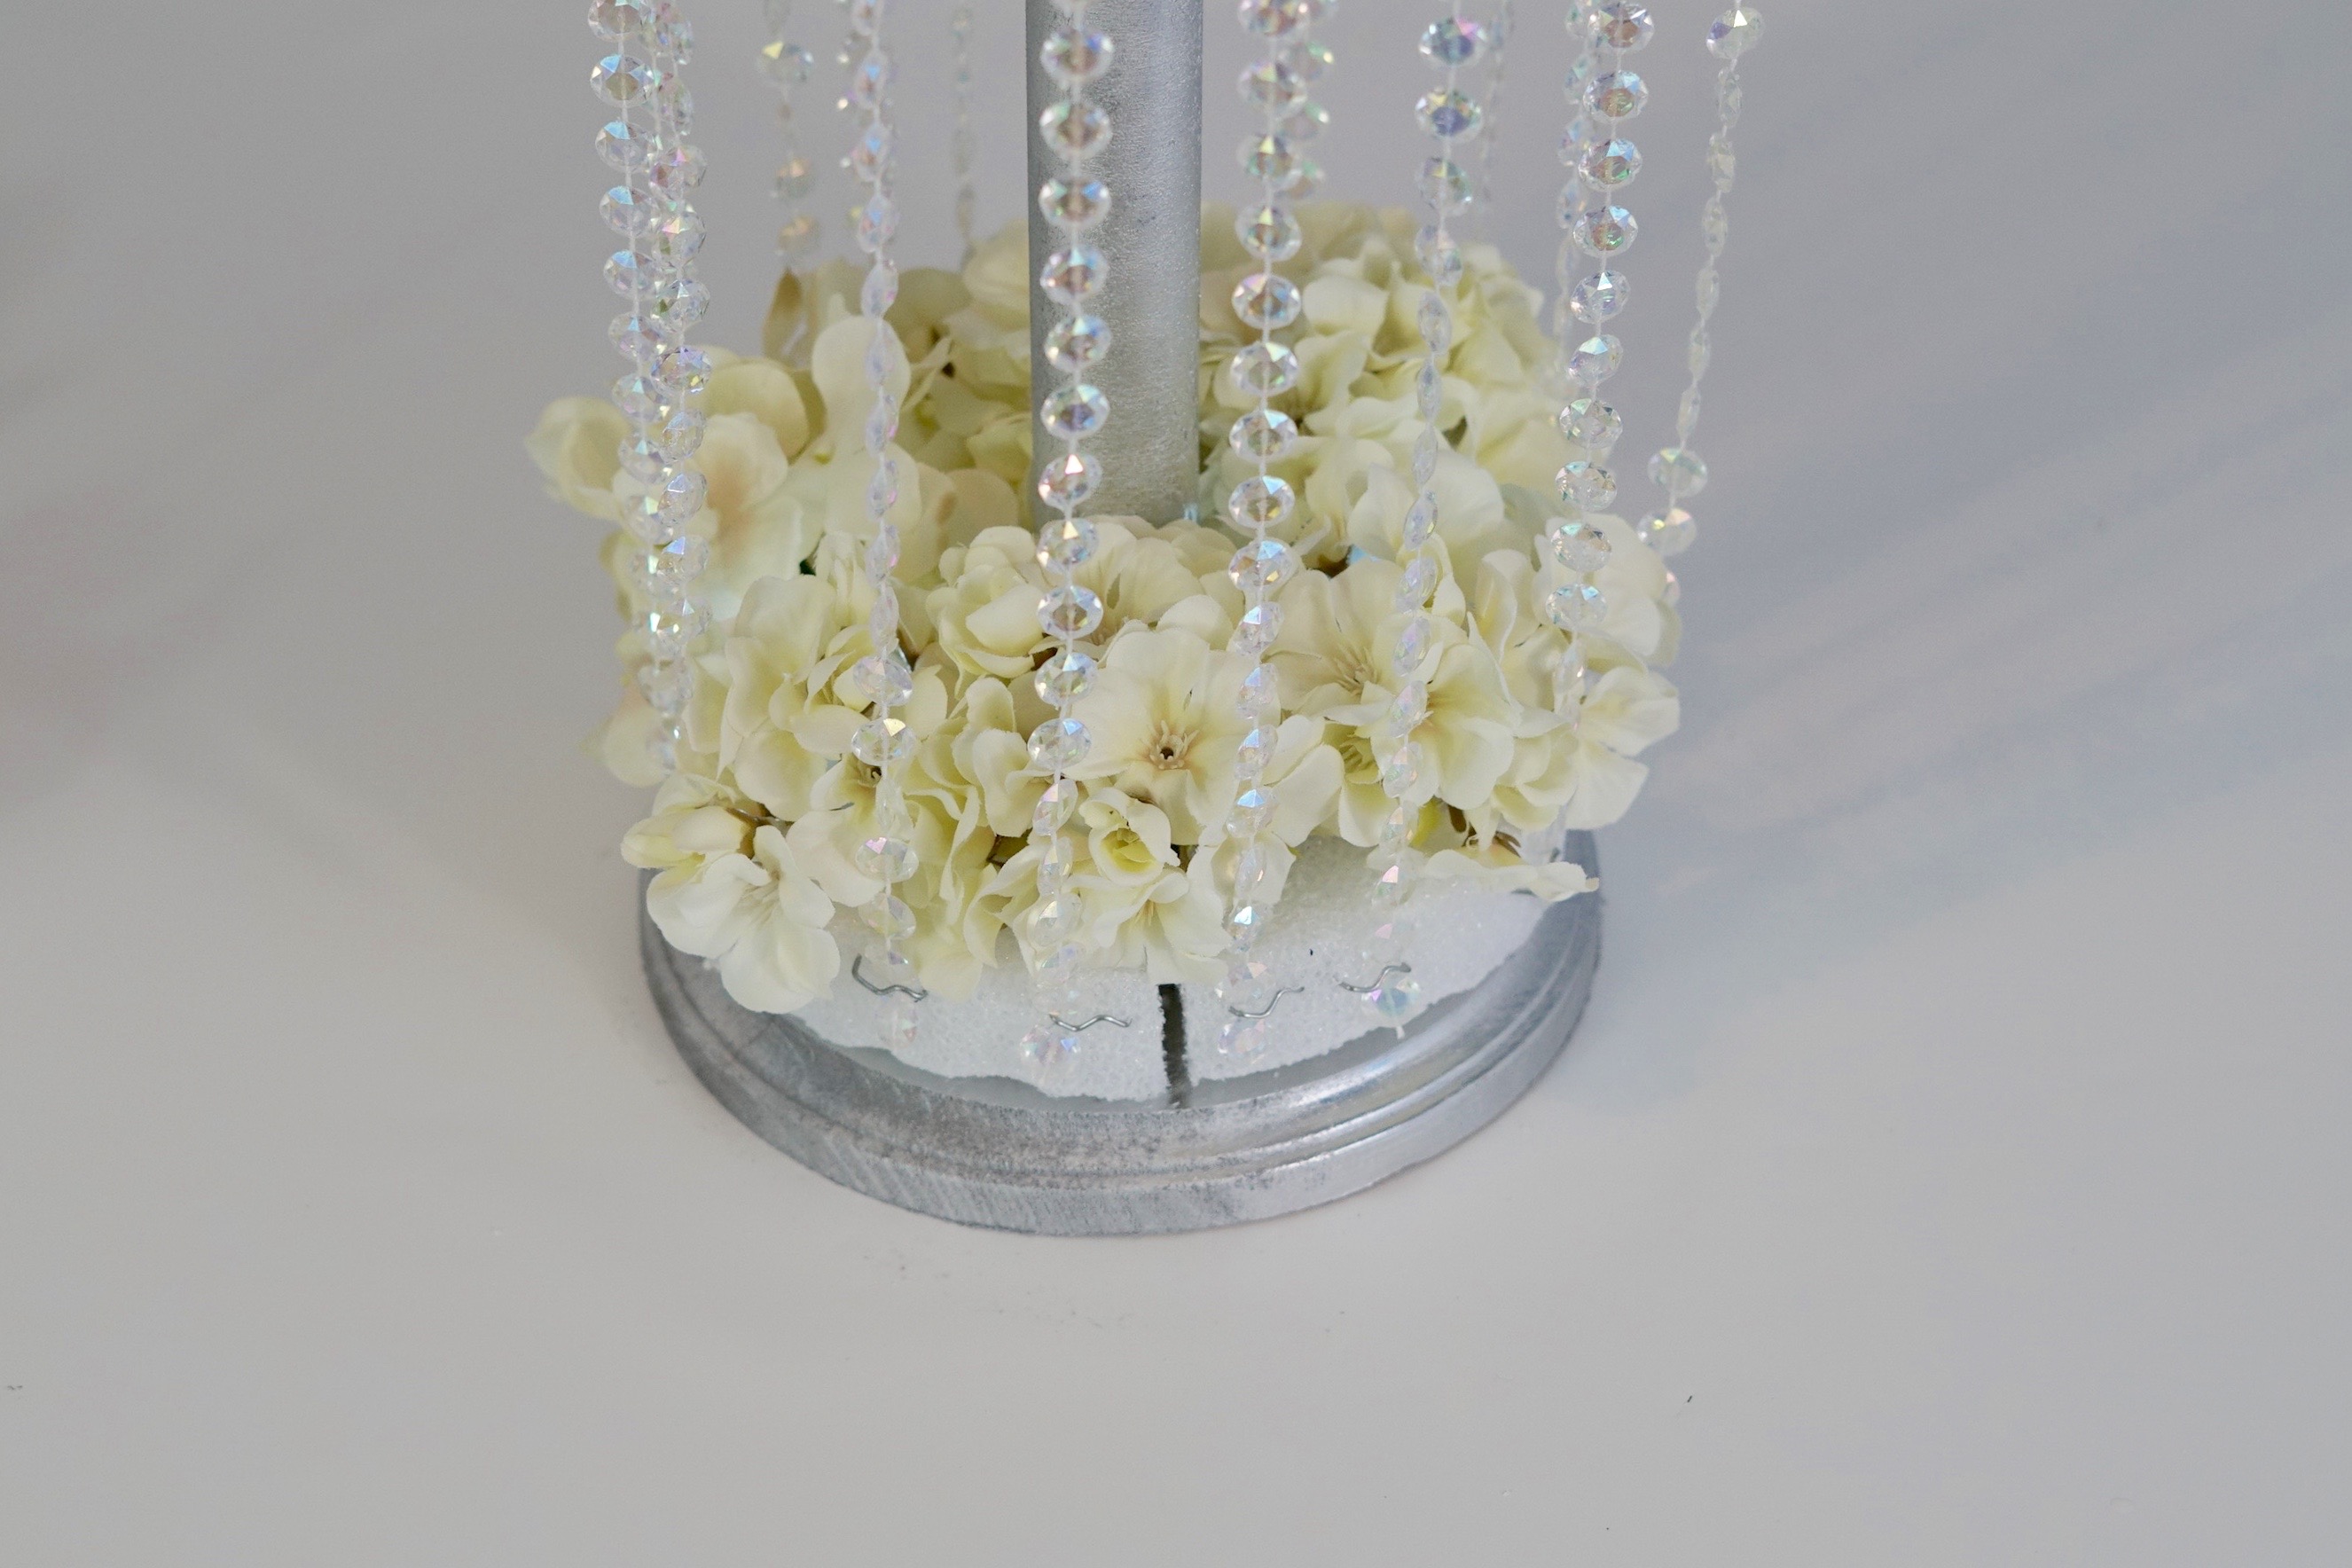
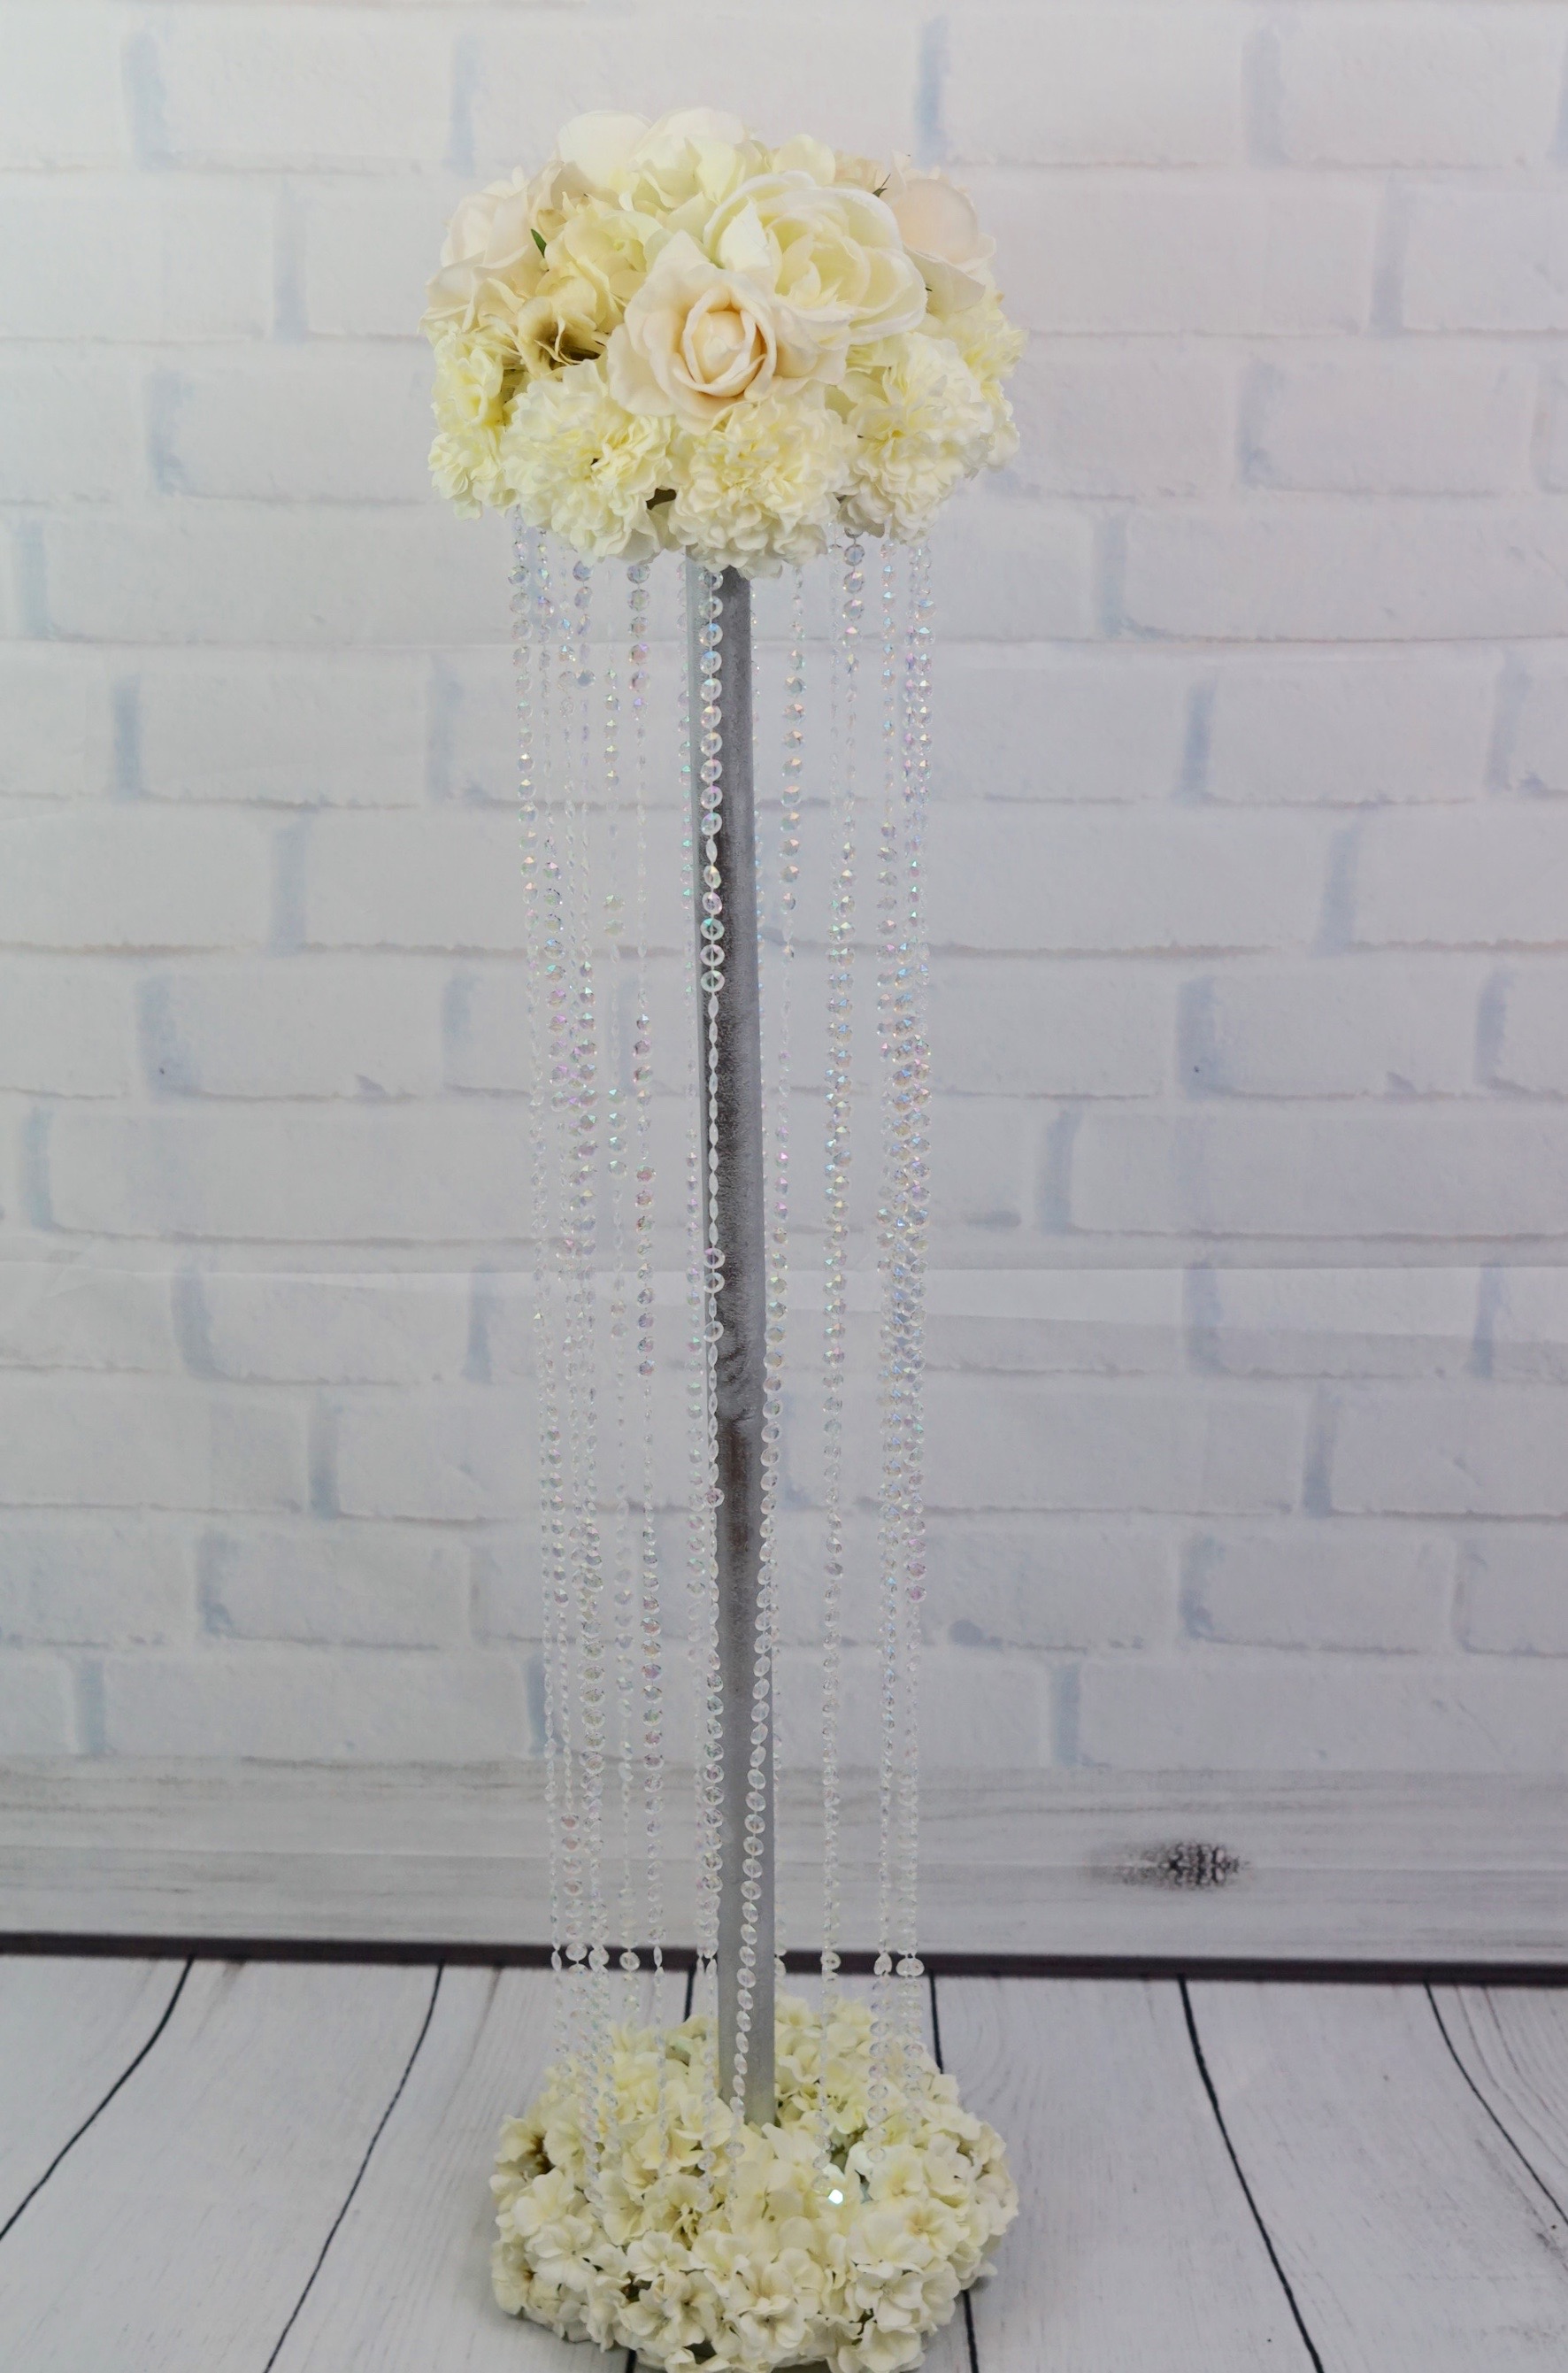
MONEY SAVING TIP: One roll of your gem strand can complete 2 wedding aisle pillars and 1 can of spray paint can cover four wedding aisle pillars!!
THE FINAL STEP!
STEP 7: Put it all together!
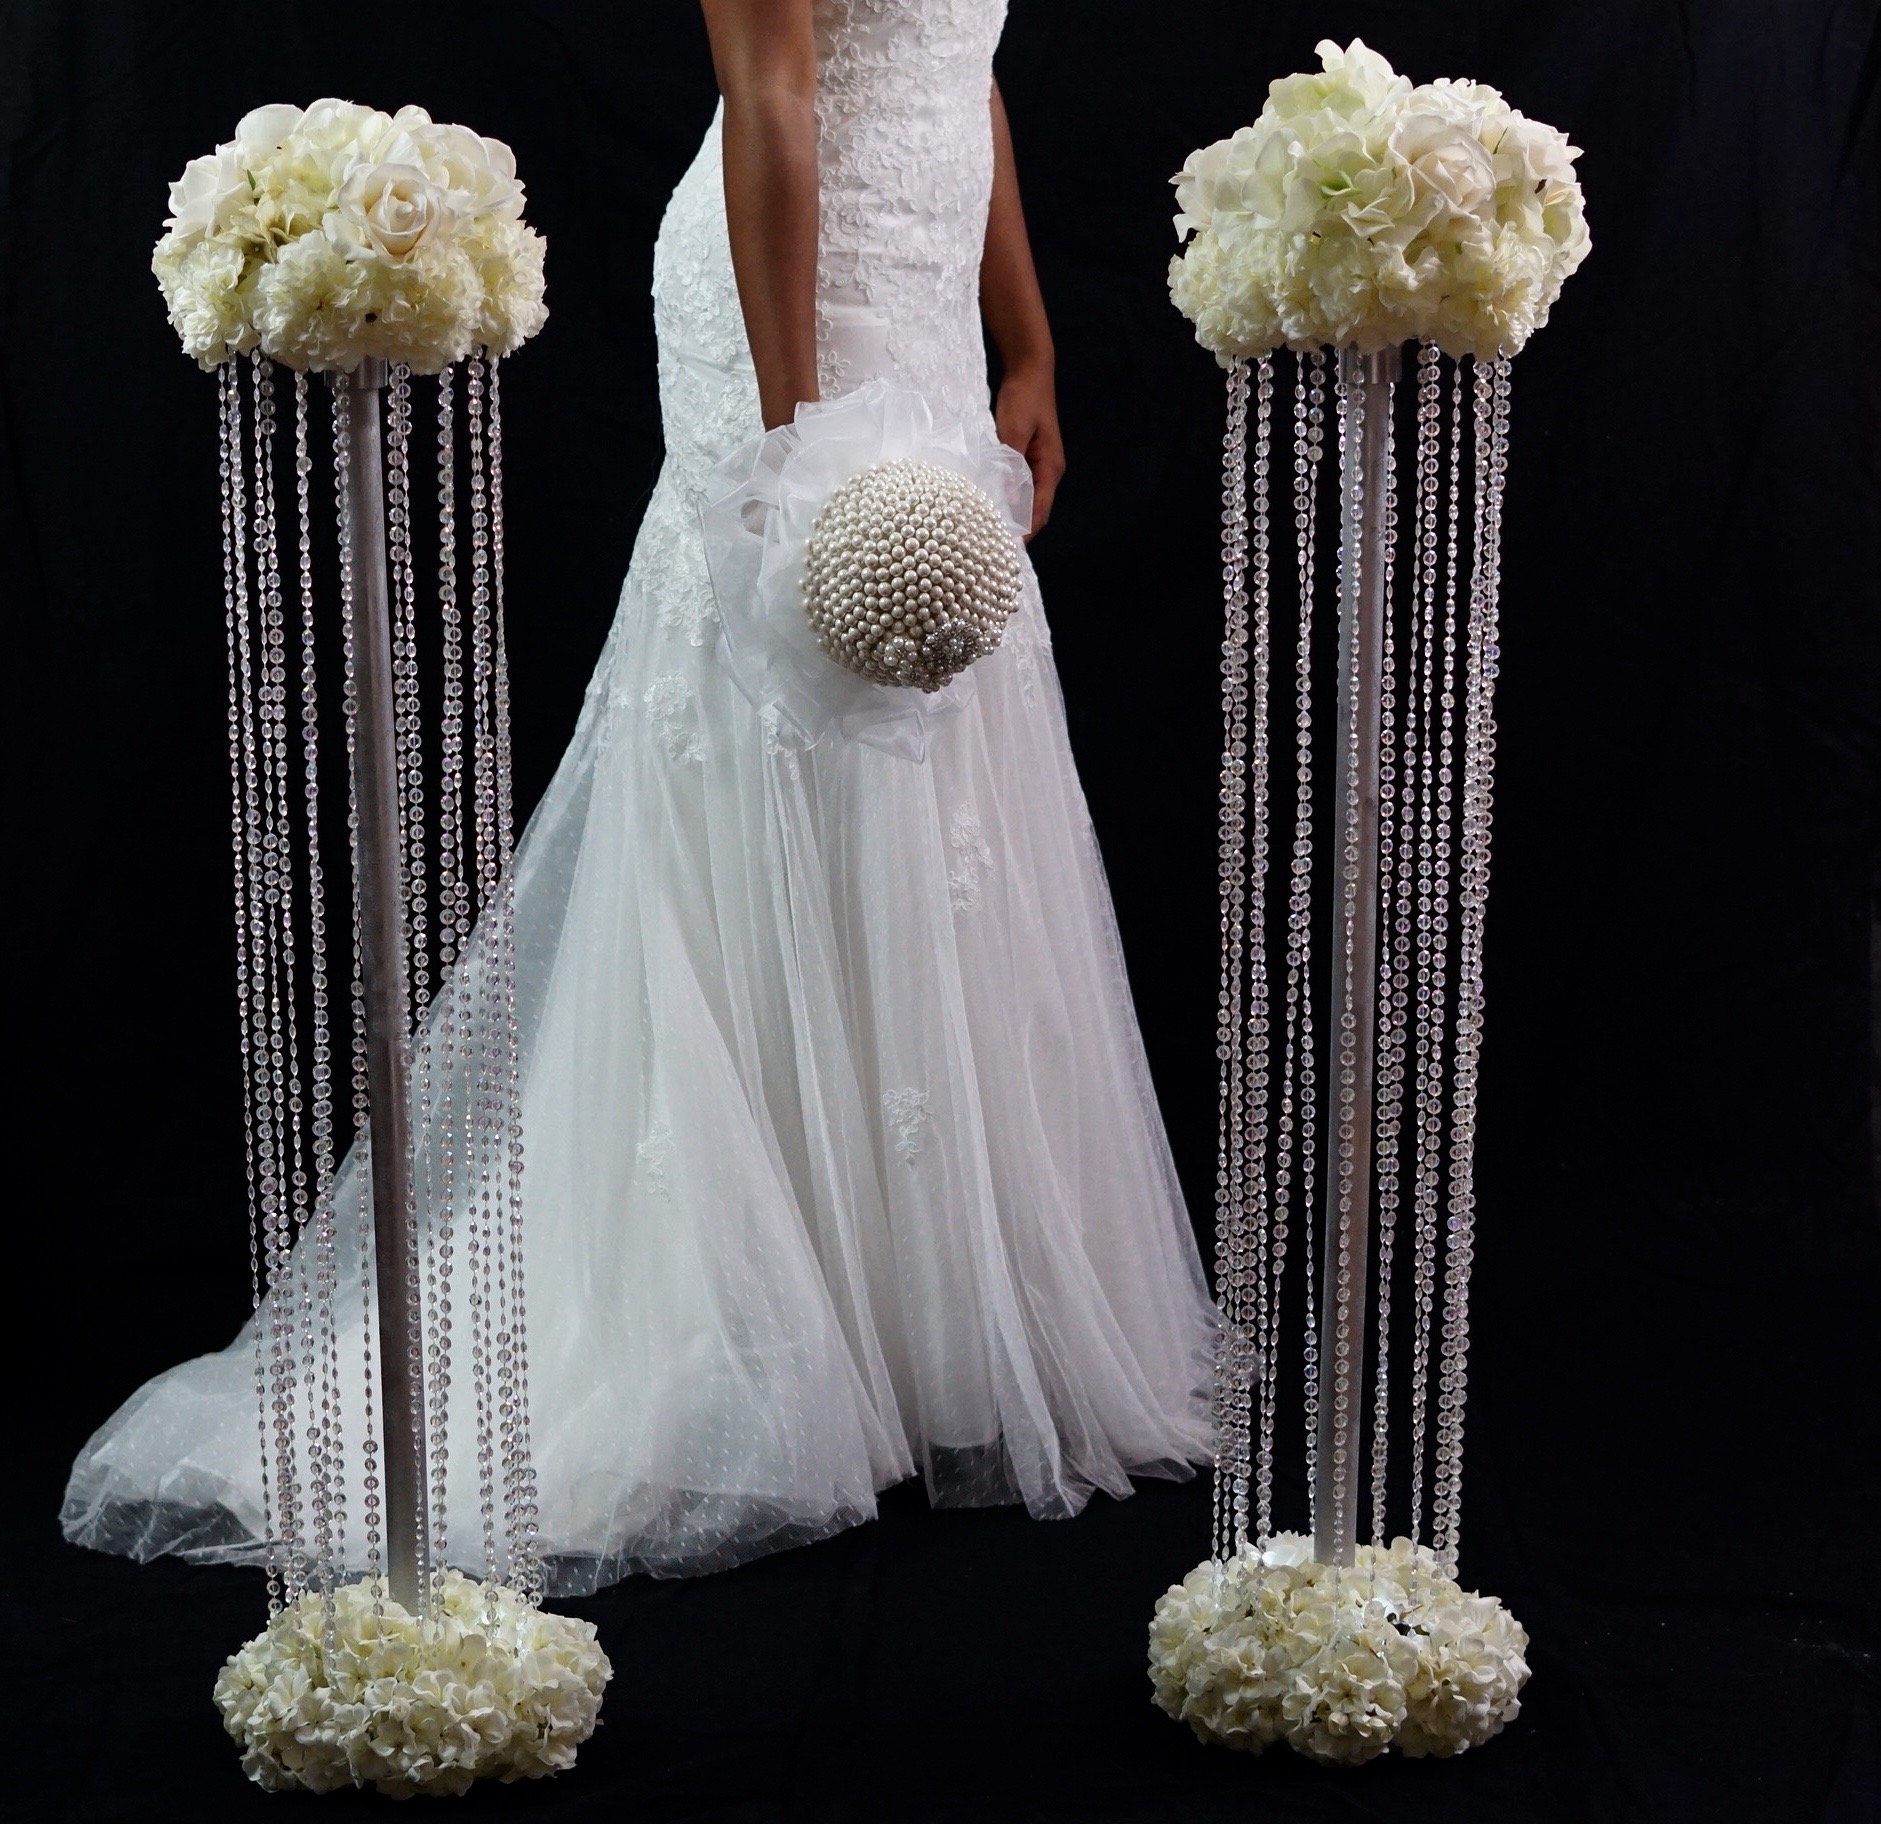
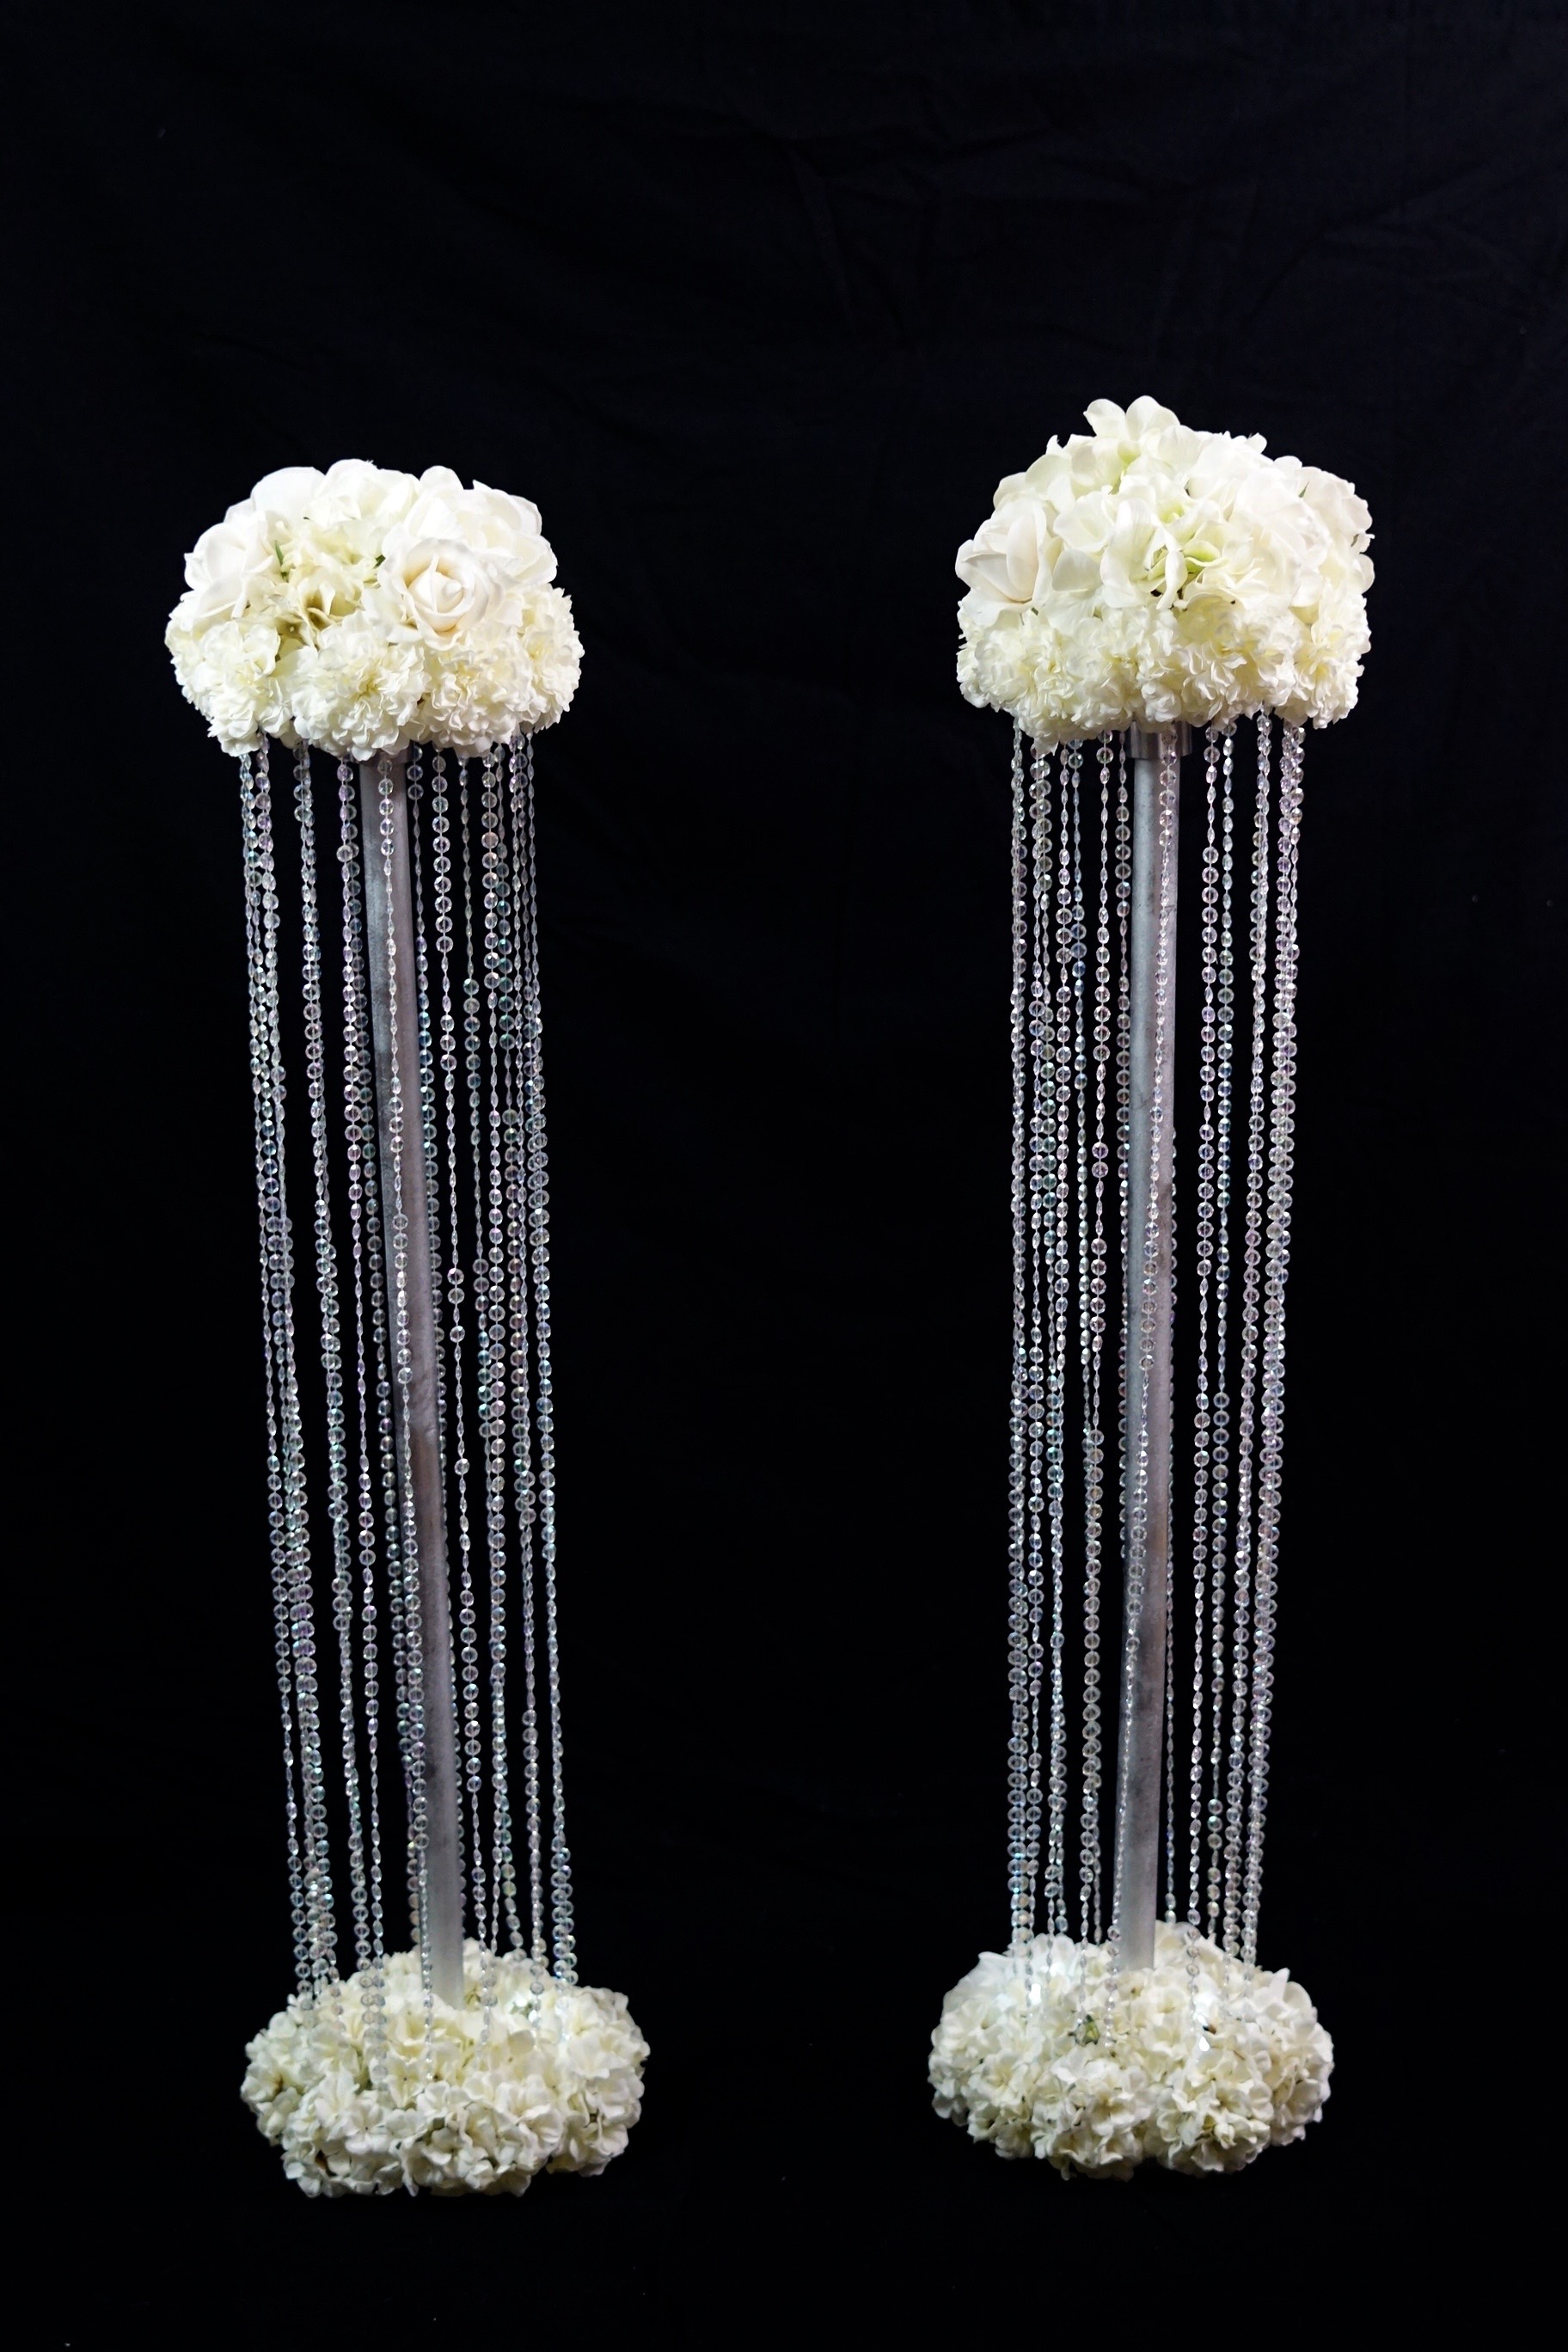
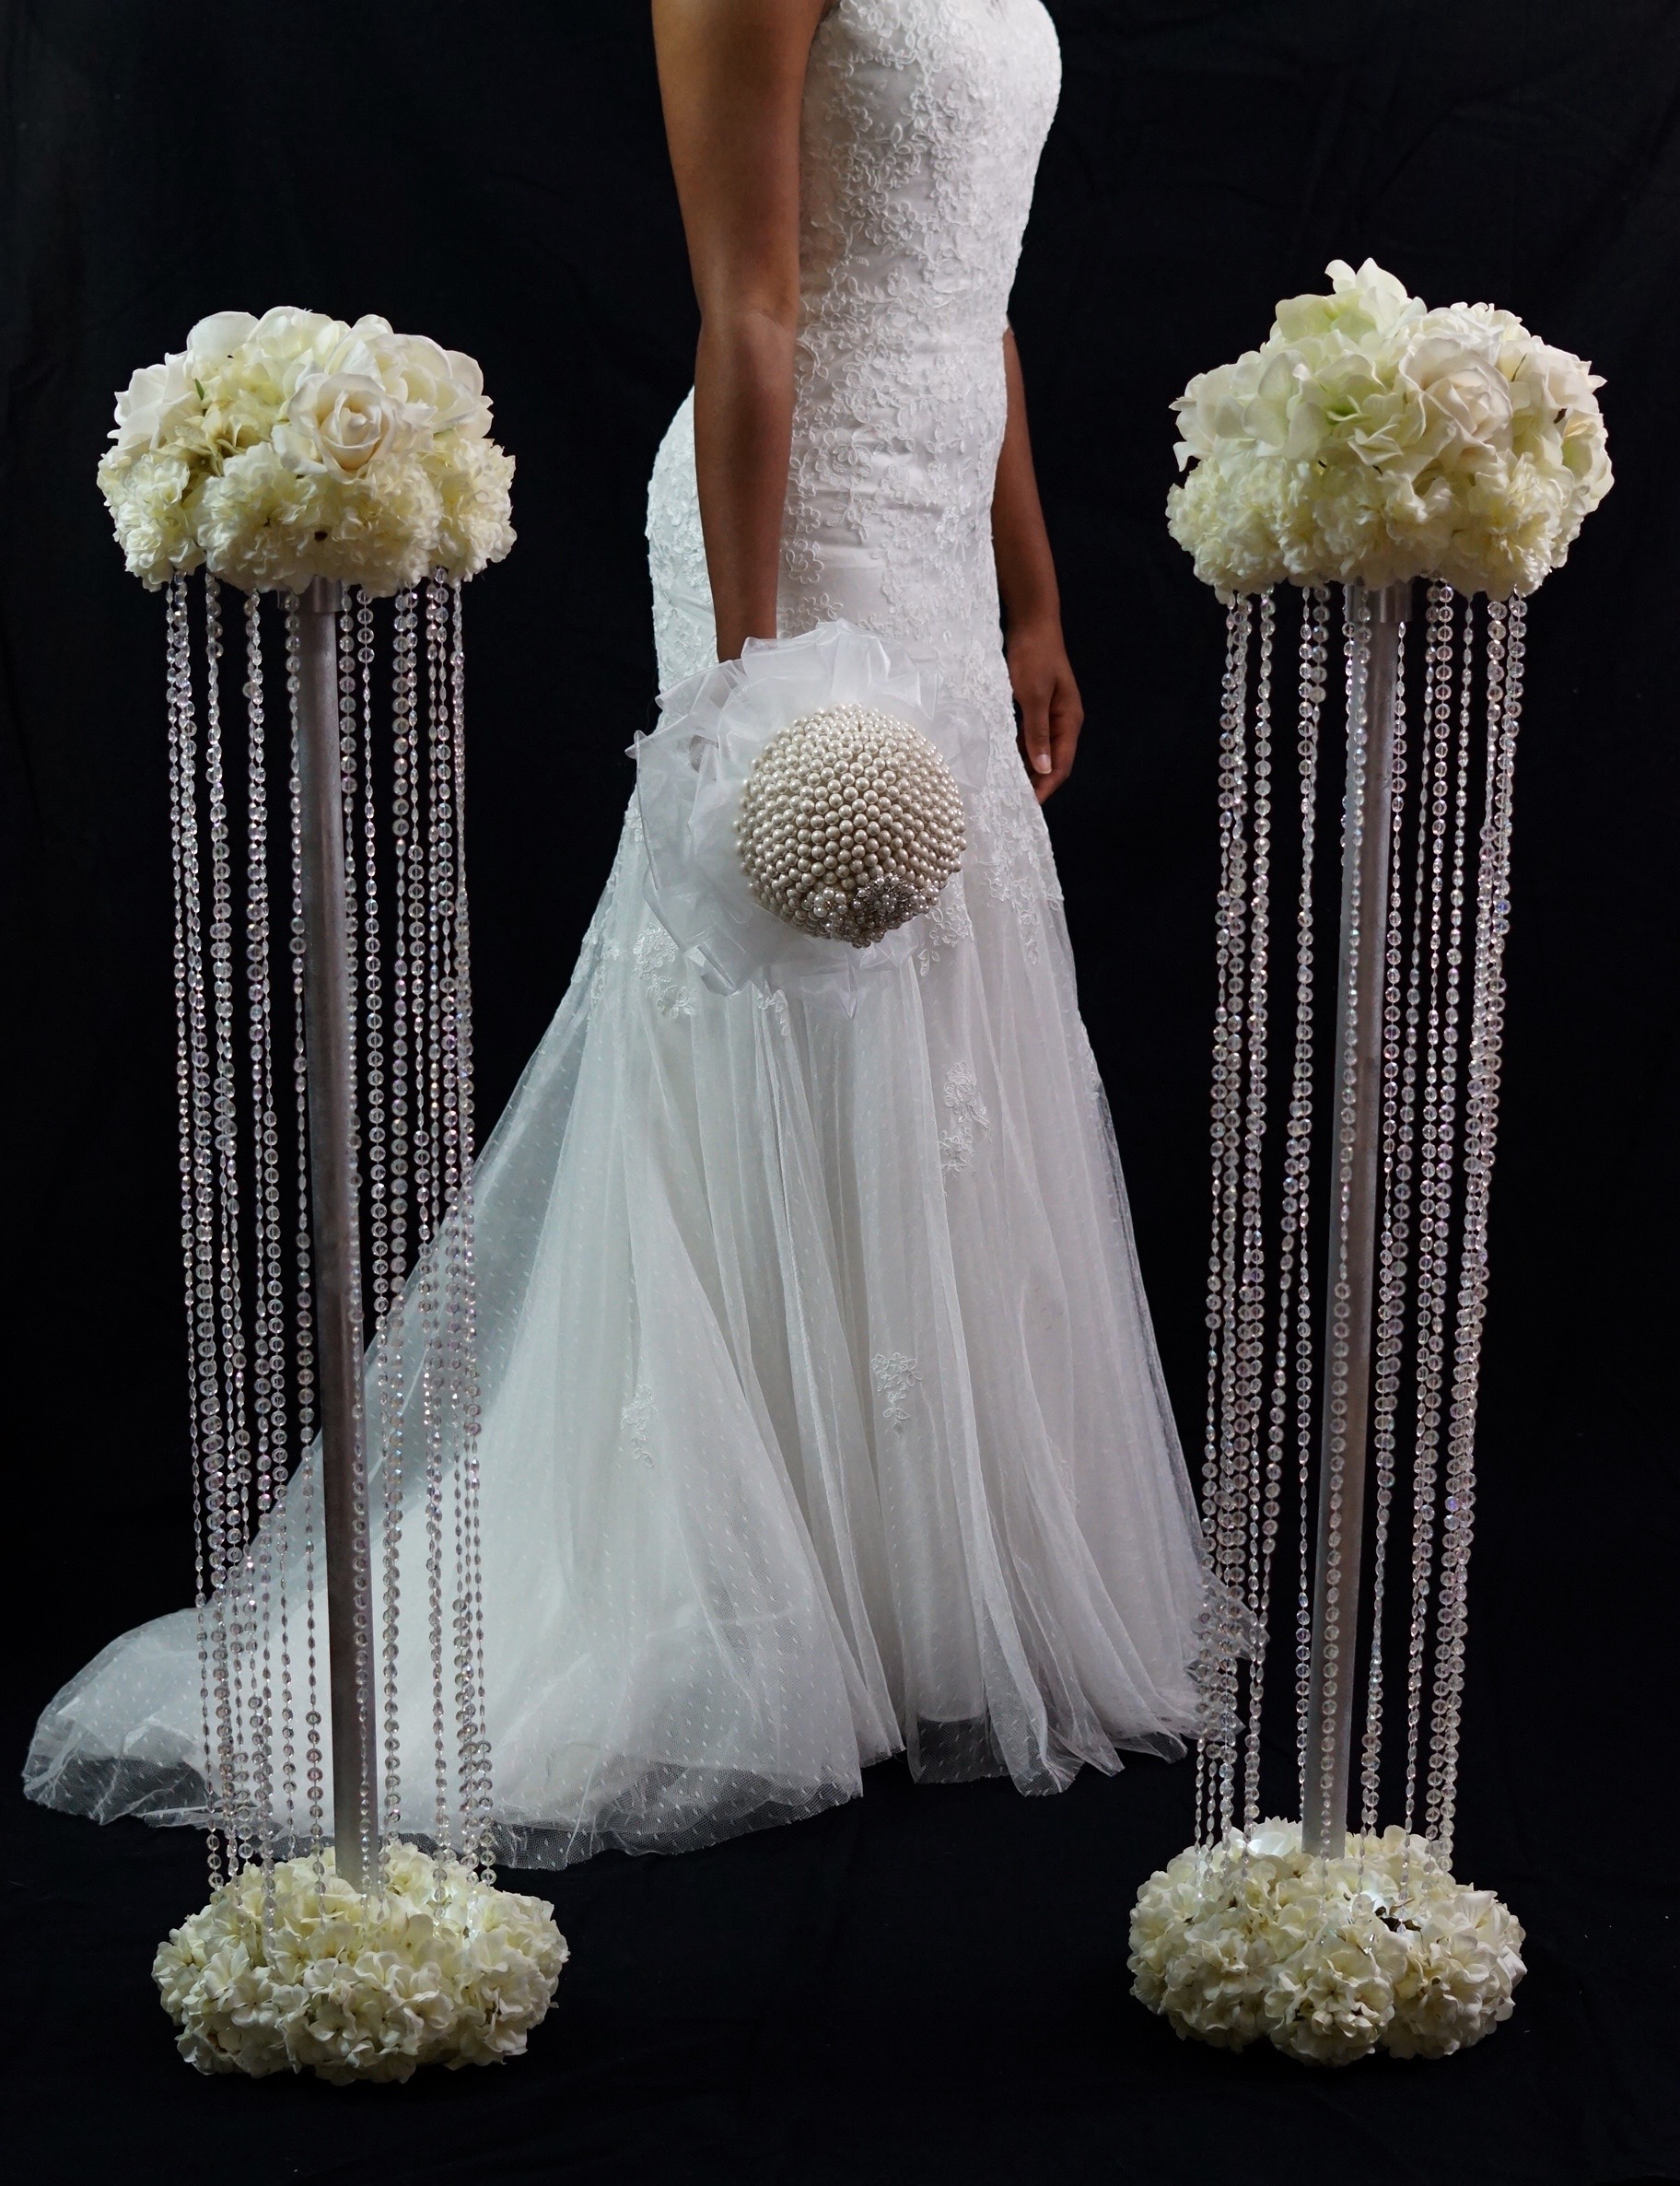
I absolutely love how these beautiful glam wedding aisle pillars turned out! The outcome is amazing and will definitely add that extra special touch to any wedding!
Don’t forget to sign up for Ebates to earn cash back on your online purchases. Planning a wedding is expensive, our goal is to help you stay within your budget and make every penny count. Click here to sign up for Ebates, and RIGHT NOW when you sign up, you will receive a $10 cash welcome bonus when you spend $25.00!
If you like the outcome please subscribe to our Youtube Channel for more DIY Videos and follow us on Facebook and Pinterest.
Need help with an upcoming project? Be sure to send us a project request!
“Remember When Every Penny Counts, Count on MissPlanIt”


