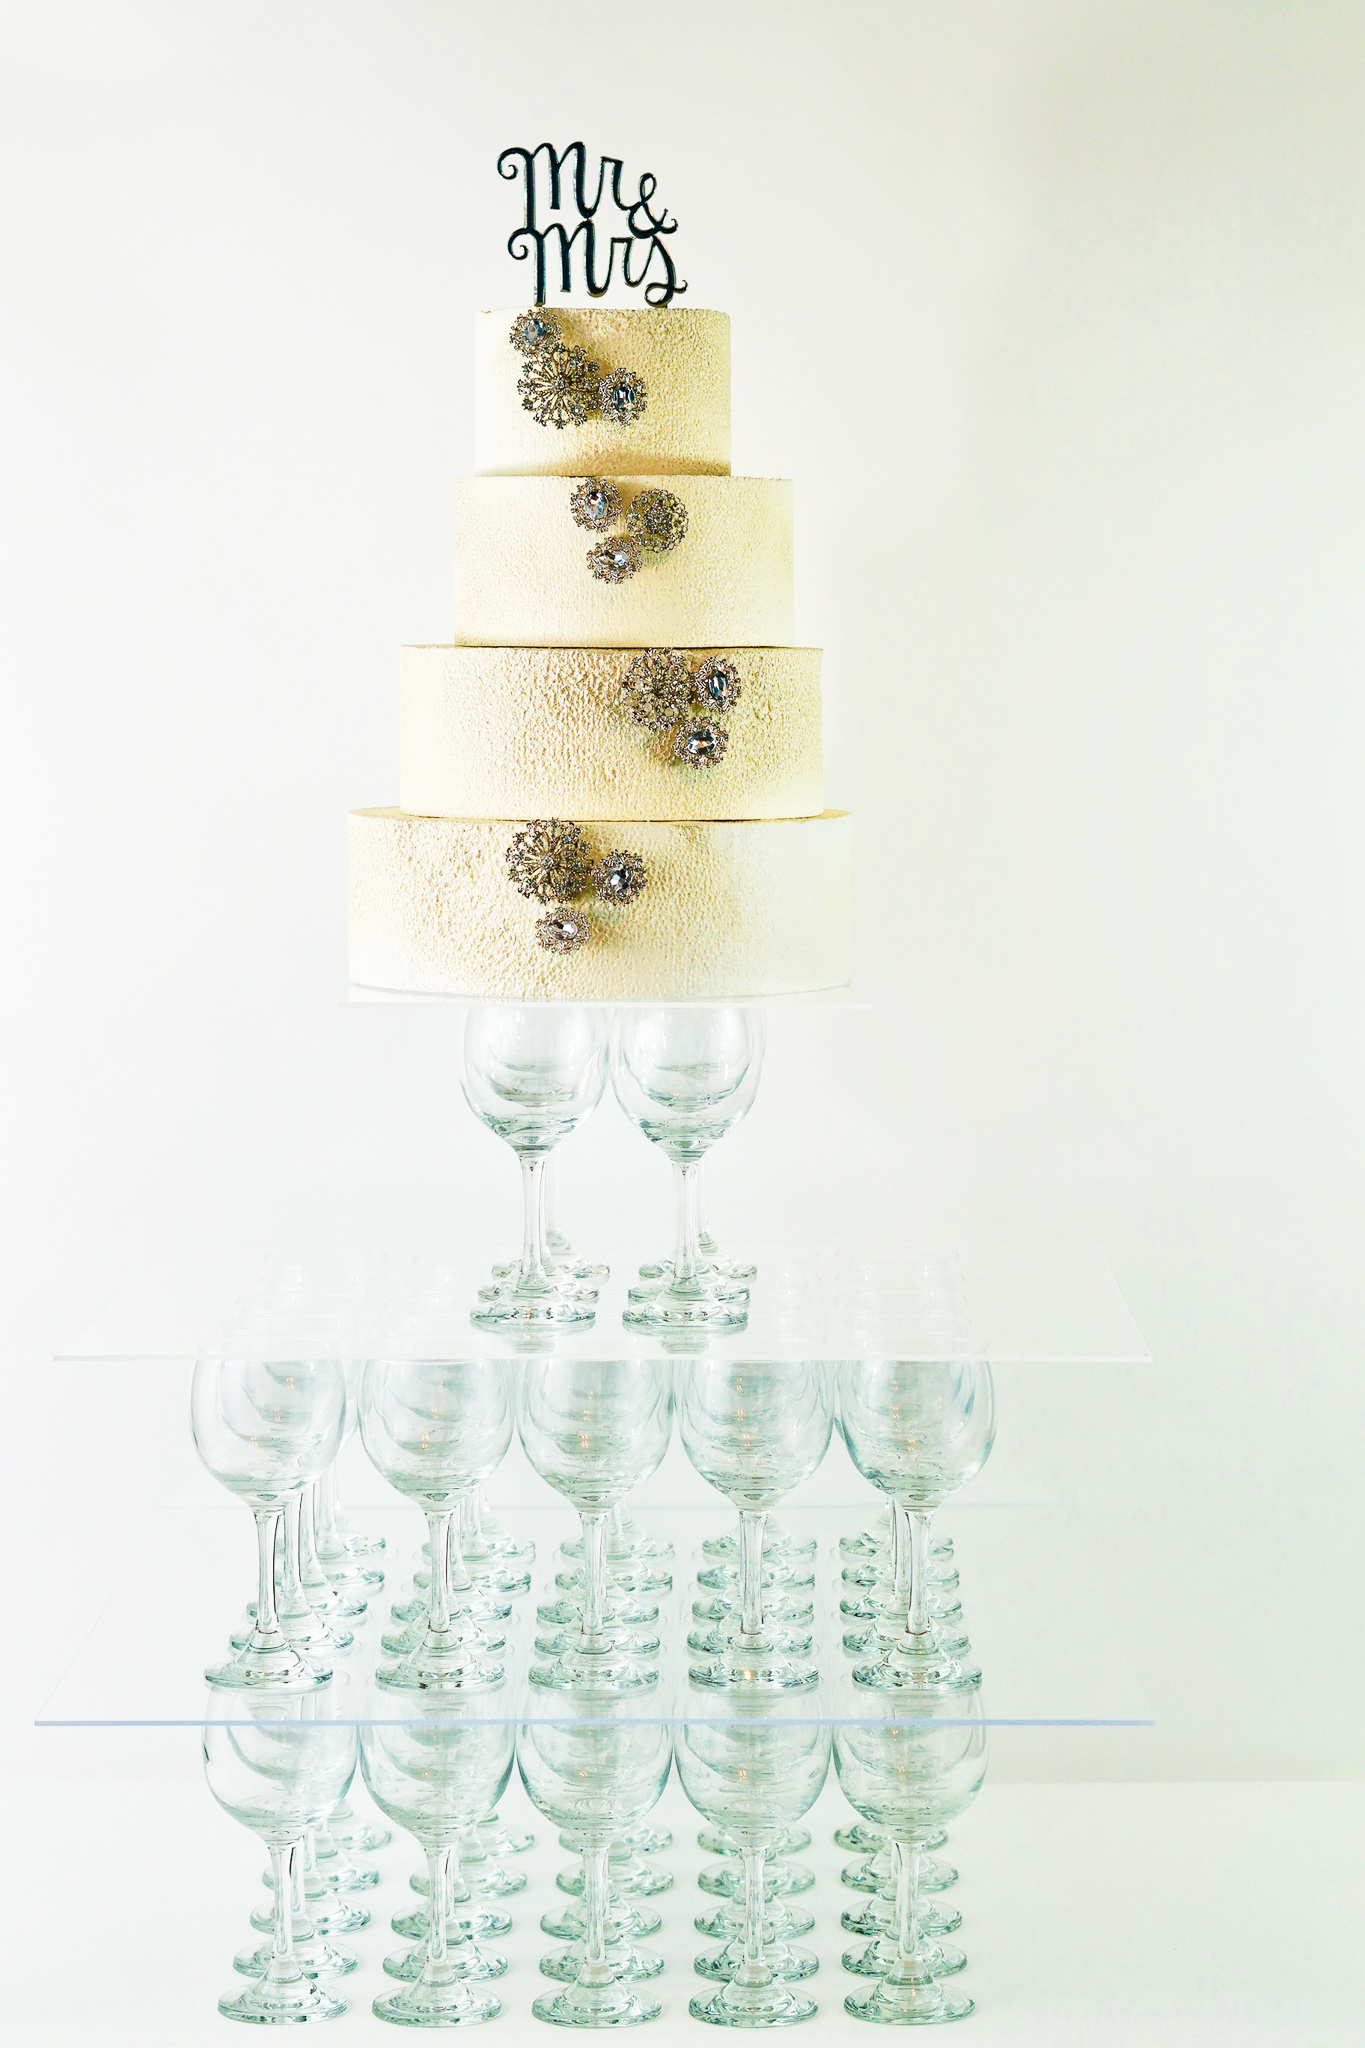
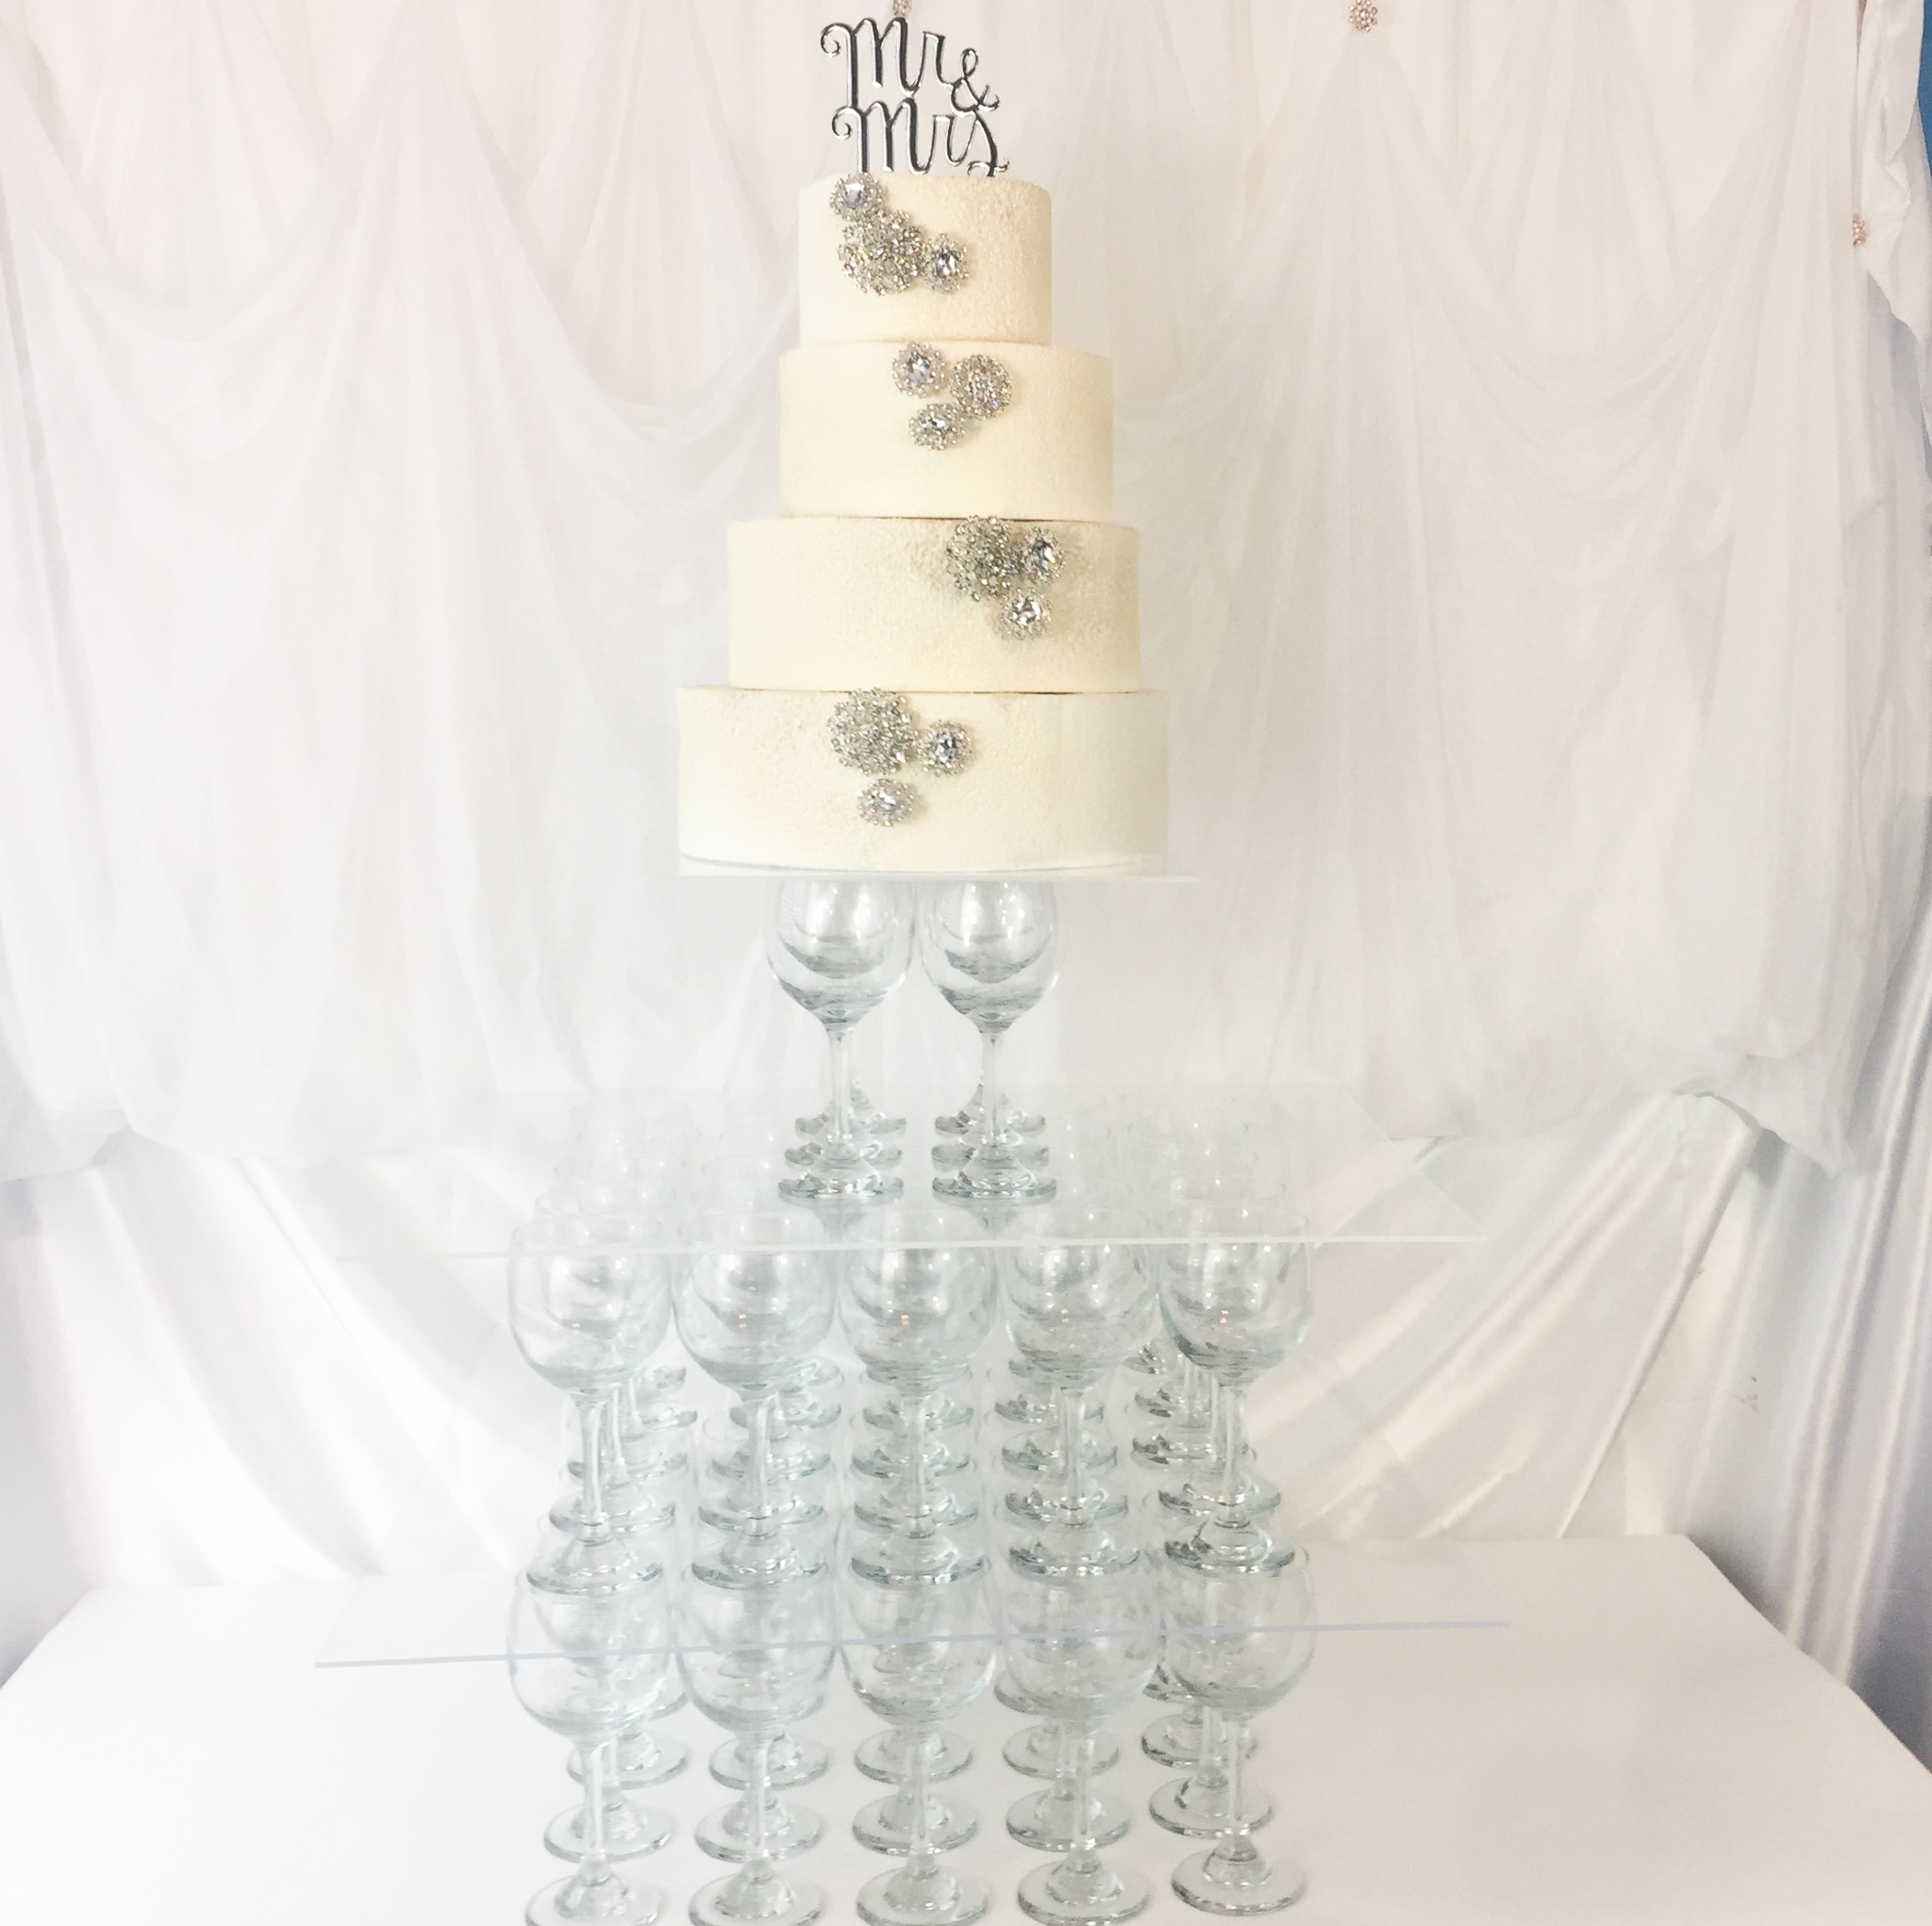
Hightlighting the beauty of your wedding cake is a MUST! But how do you do that? If you are not sure, I have a great DIY Wine Glass Wedding Cake Display Stand idea. In this tutorial, I will show you how to make it in a few simple steps. This project request came from a community member who wanted to create a wedding cake display stand using champagne glasses. However, to save her money and to ensure stability of the stand, I will be using $1 red wine glasses from the Dollar Tree. I used a total of 56 of these glasses. To save you time, I recommend you order them online if you cannot find them in stores. This is so you are not driving to all the Local Dollar trees in your area. Plus they offer free shipping to your local Dollar Tree. All you have to do is pick them up. Saving you so much time and hassle. So let’s get started! For video instructions, please check out the video tutorial below!
SUPPLIES:
Classic Red Wine Glasses, 13 oz-(56 at $1.00 each= $56.00)-
24″ X 24″-Clear Acrylic Plexiglass Sheet – 1/8″ Thick Cast – ($12.99)
18″ X 18″-Acrylic Plexiglass Sheet – 1/8″ Thick Cast – ($11.55)
12″ X 12″- Acrylic Plexiglass Sheet – 1/8″ Thick Cast -($11.90)
E6000 230010 Craft Adhesive, 3.7 Fluid Ounces- ($7.59)
_________________________________________________________________
PROJECT COST *Cost of Featured Project $100.03* (Some supplies cover more than 1 centerpiece) * Prices fluctuate depending on coupon discount amount. *Price based on current sale cost. (taxes not included)
_________________________________________________________________
For written instructions, please continue reading below:
How To Make a Wedding Cake Display Stand Using Wine Glasses
Directions:
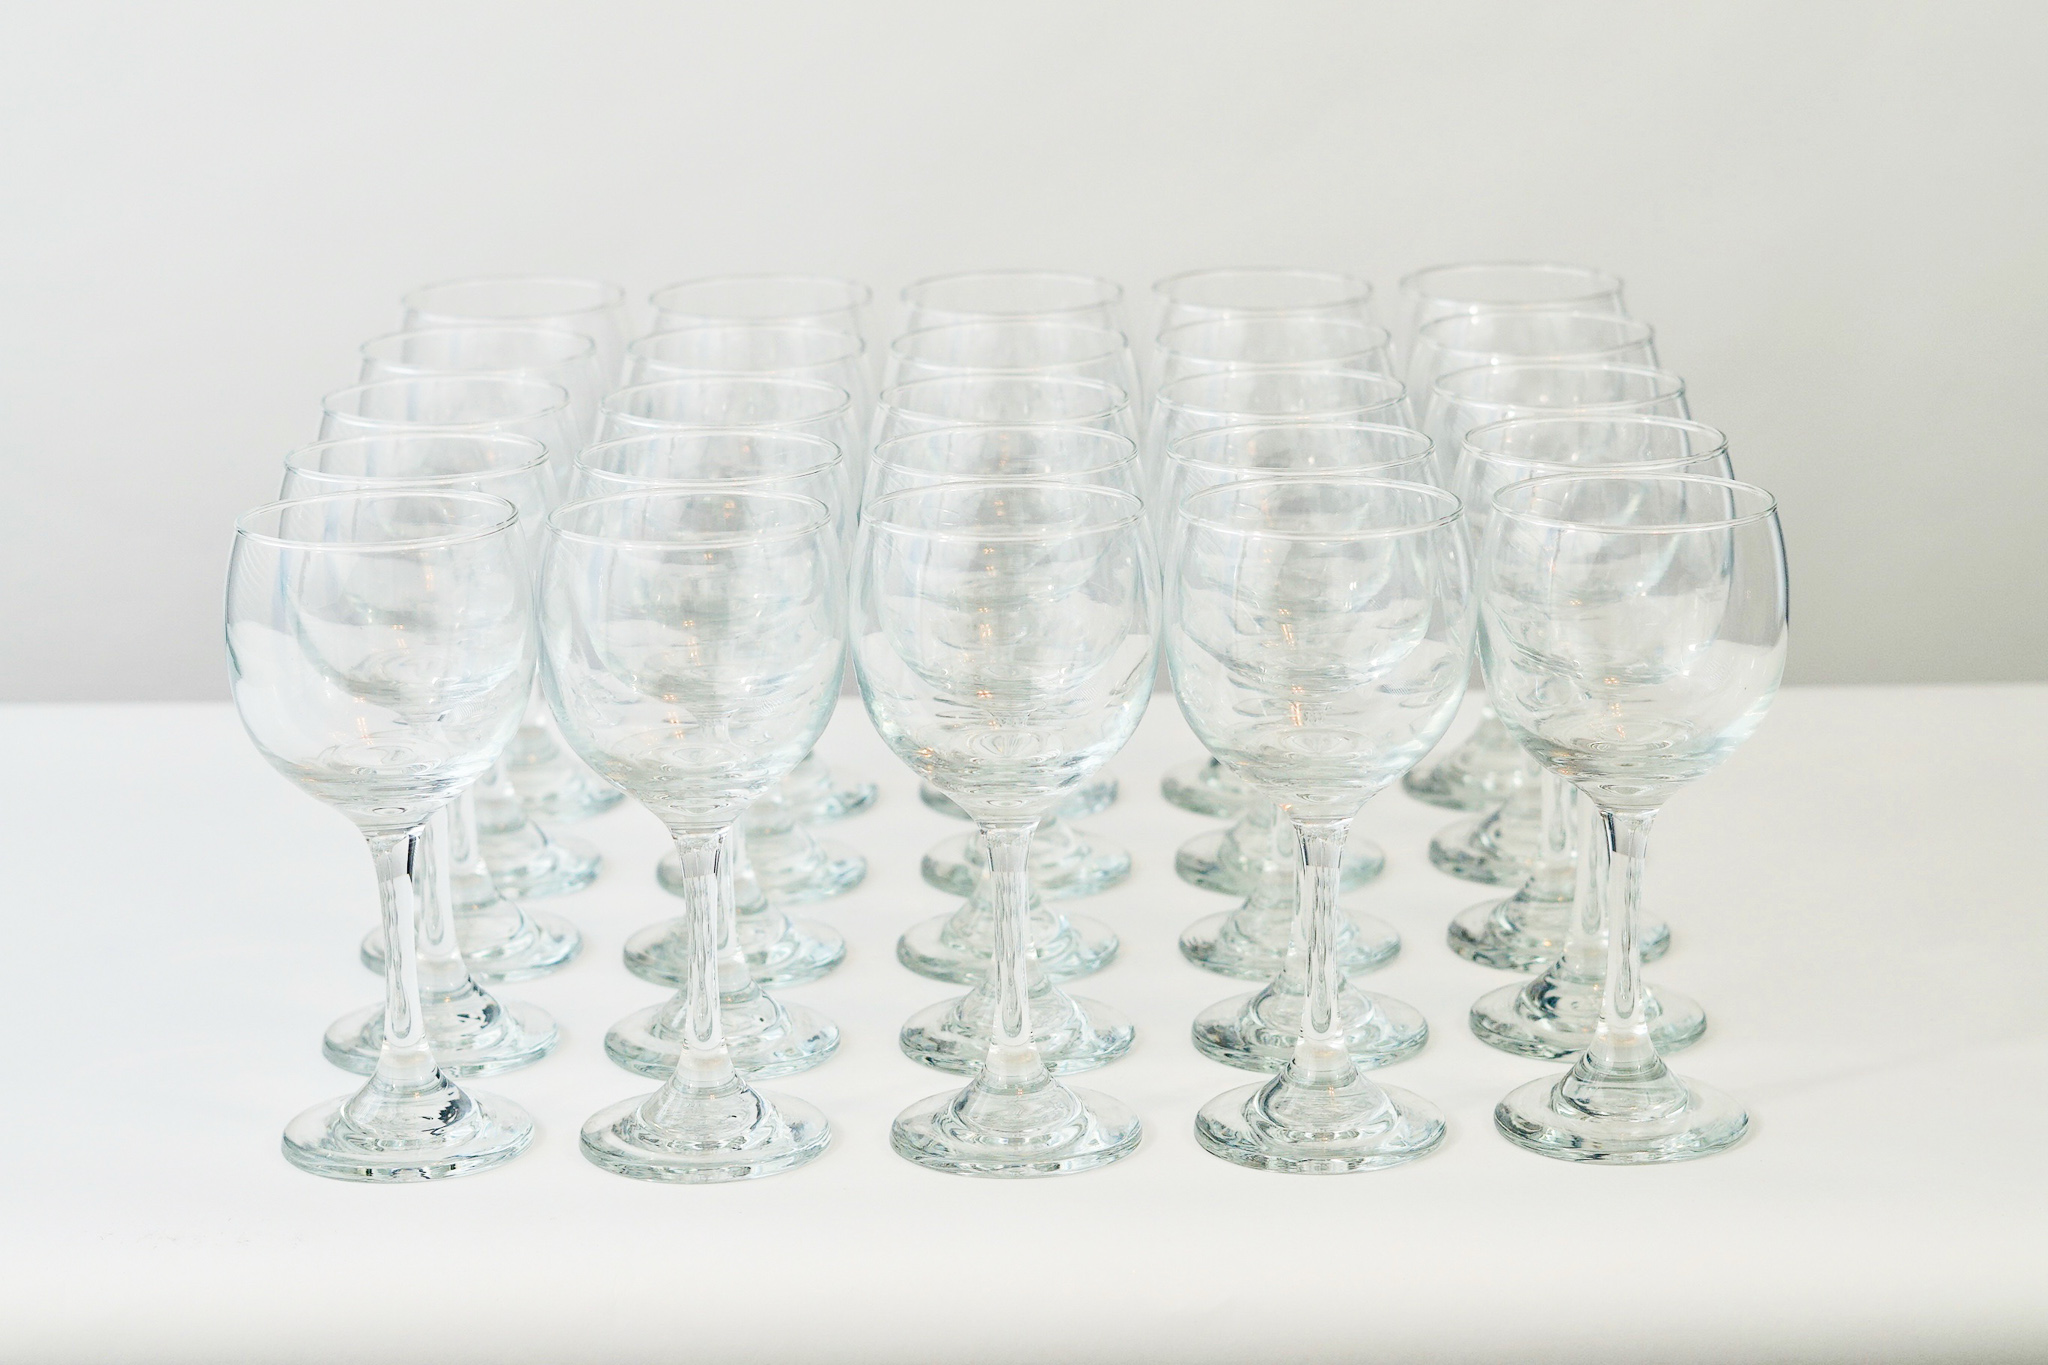
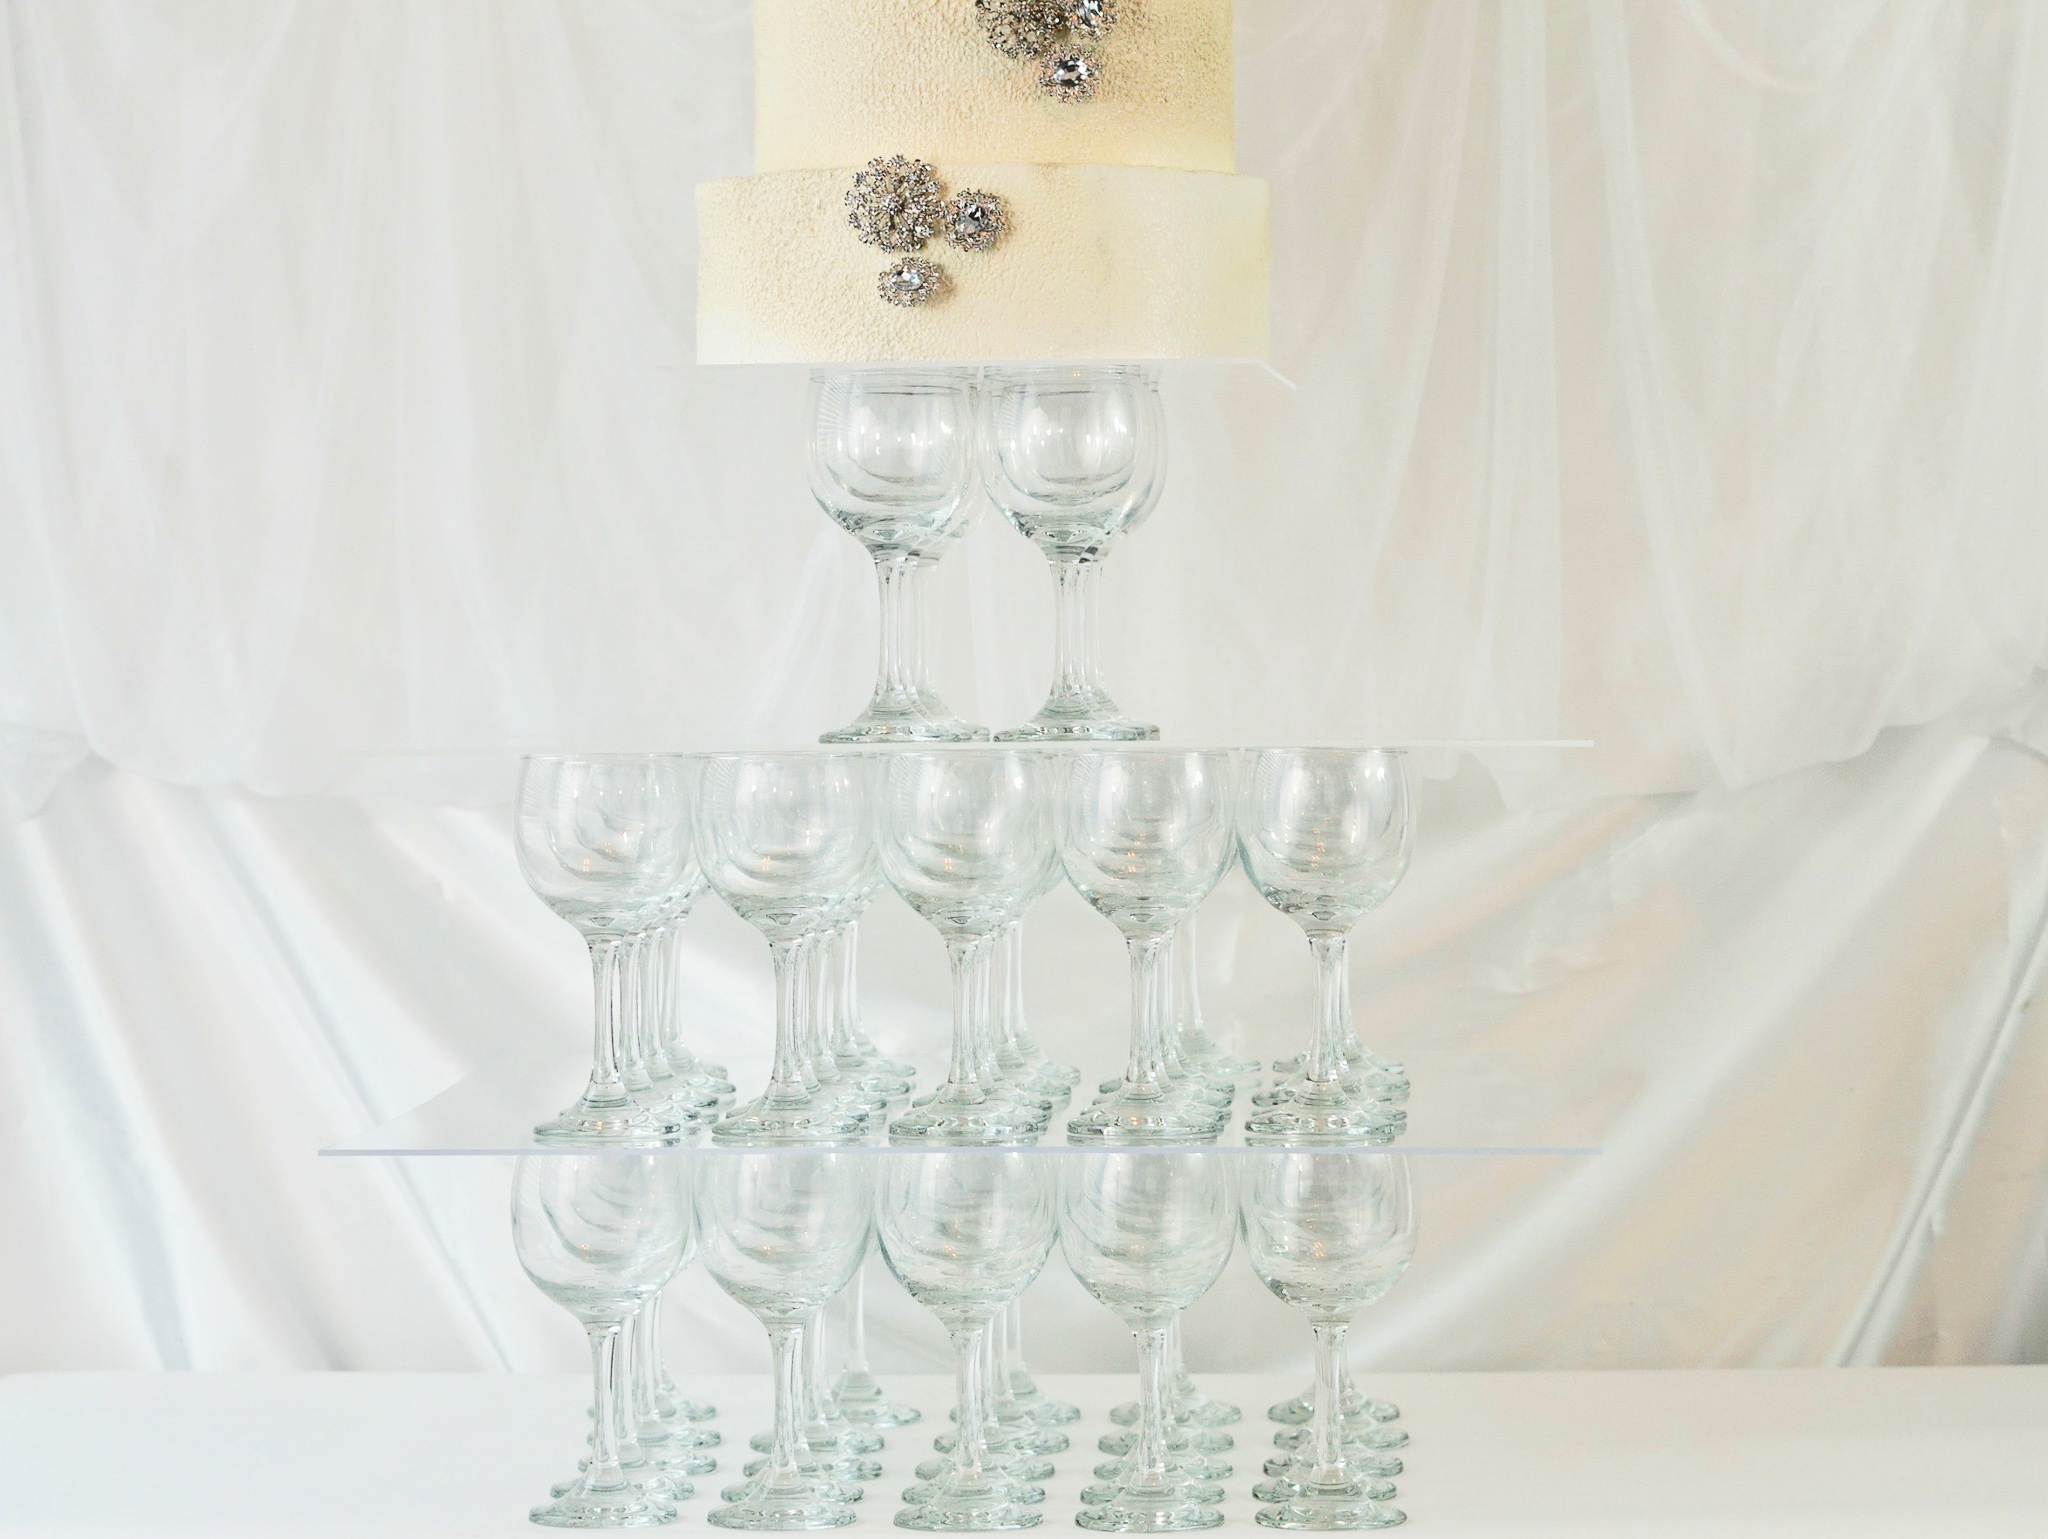
STEP 1: For the bottom row of the wedding cake display stand, line up 5 rows of 5 wine glasses. That is a total of 25 wine glasses. One center row and then 2 rows on each side of the center row. Make sure the sides of the wine glasses are touching each other for more stability.

Create your Second Wine Glass Tier
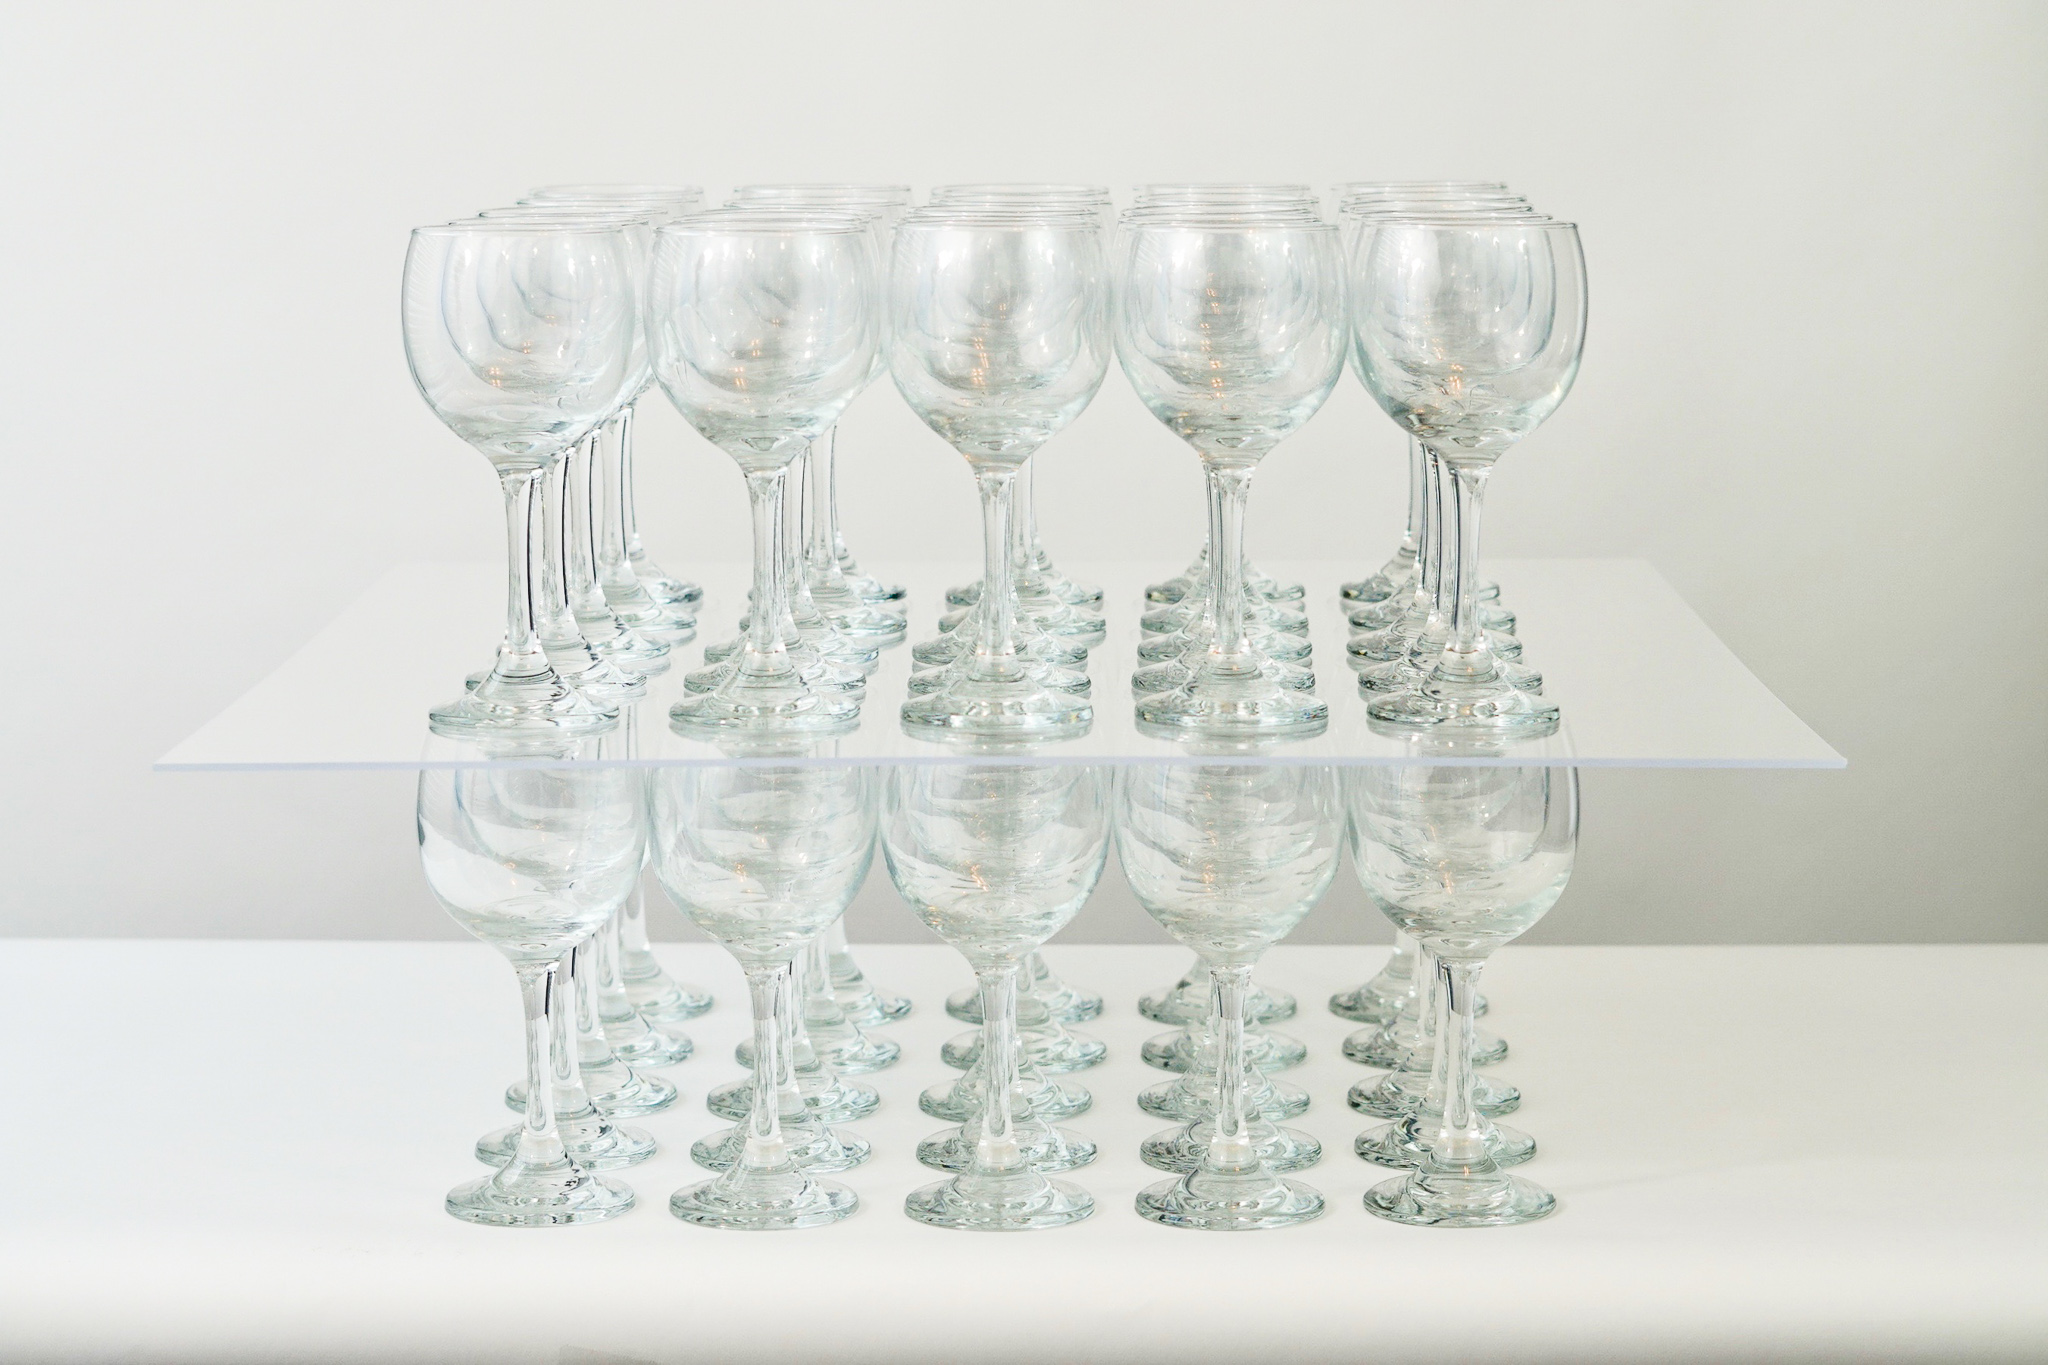
STEP 2: Place 1/8″ thick 24″ X 24″ inch plexi glass on top of the wine glasses from step 1. Next place an additional 5 rows of 5 wine glasses on top of the plexi glass. If you plan on putting your entire wedding cake on the stand, be sure to glue down the center 6 wine glasses. Just the square in the middle to give you extra support. But if you will be using portions of a faux cake, you don’t need to glue down the 6 center wine glasses. If you need to put your entire wedding cake on there, you need to stay under 10 lbs. When putting only parts of the cake on this wedding cake display, you can do up to 5 lbs. It should be fine and not cause a problem with the construction.
Tip: The plexi glass needs to be at least 1/8″ thick. Anything less than that won’t give you the structure you need to hold your wedding cake.
Make the Top Tier
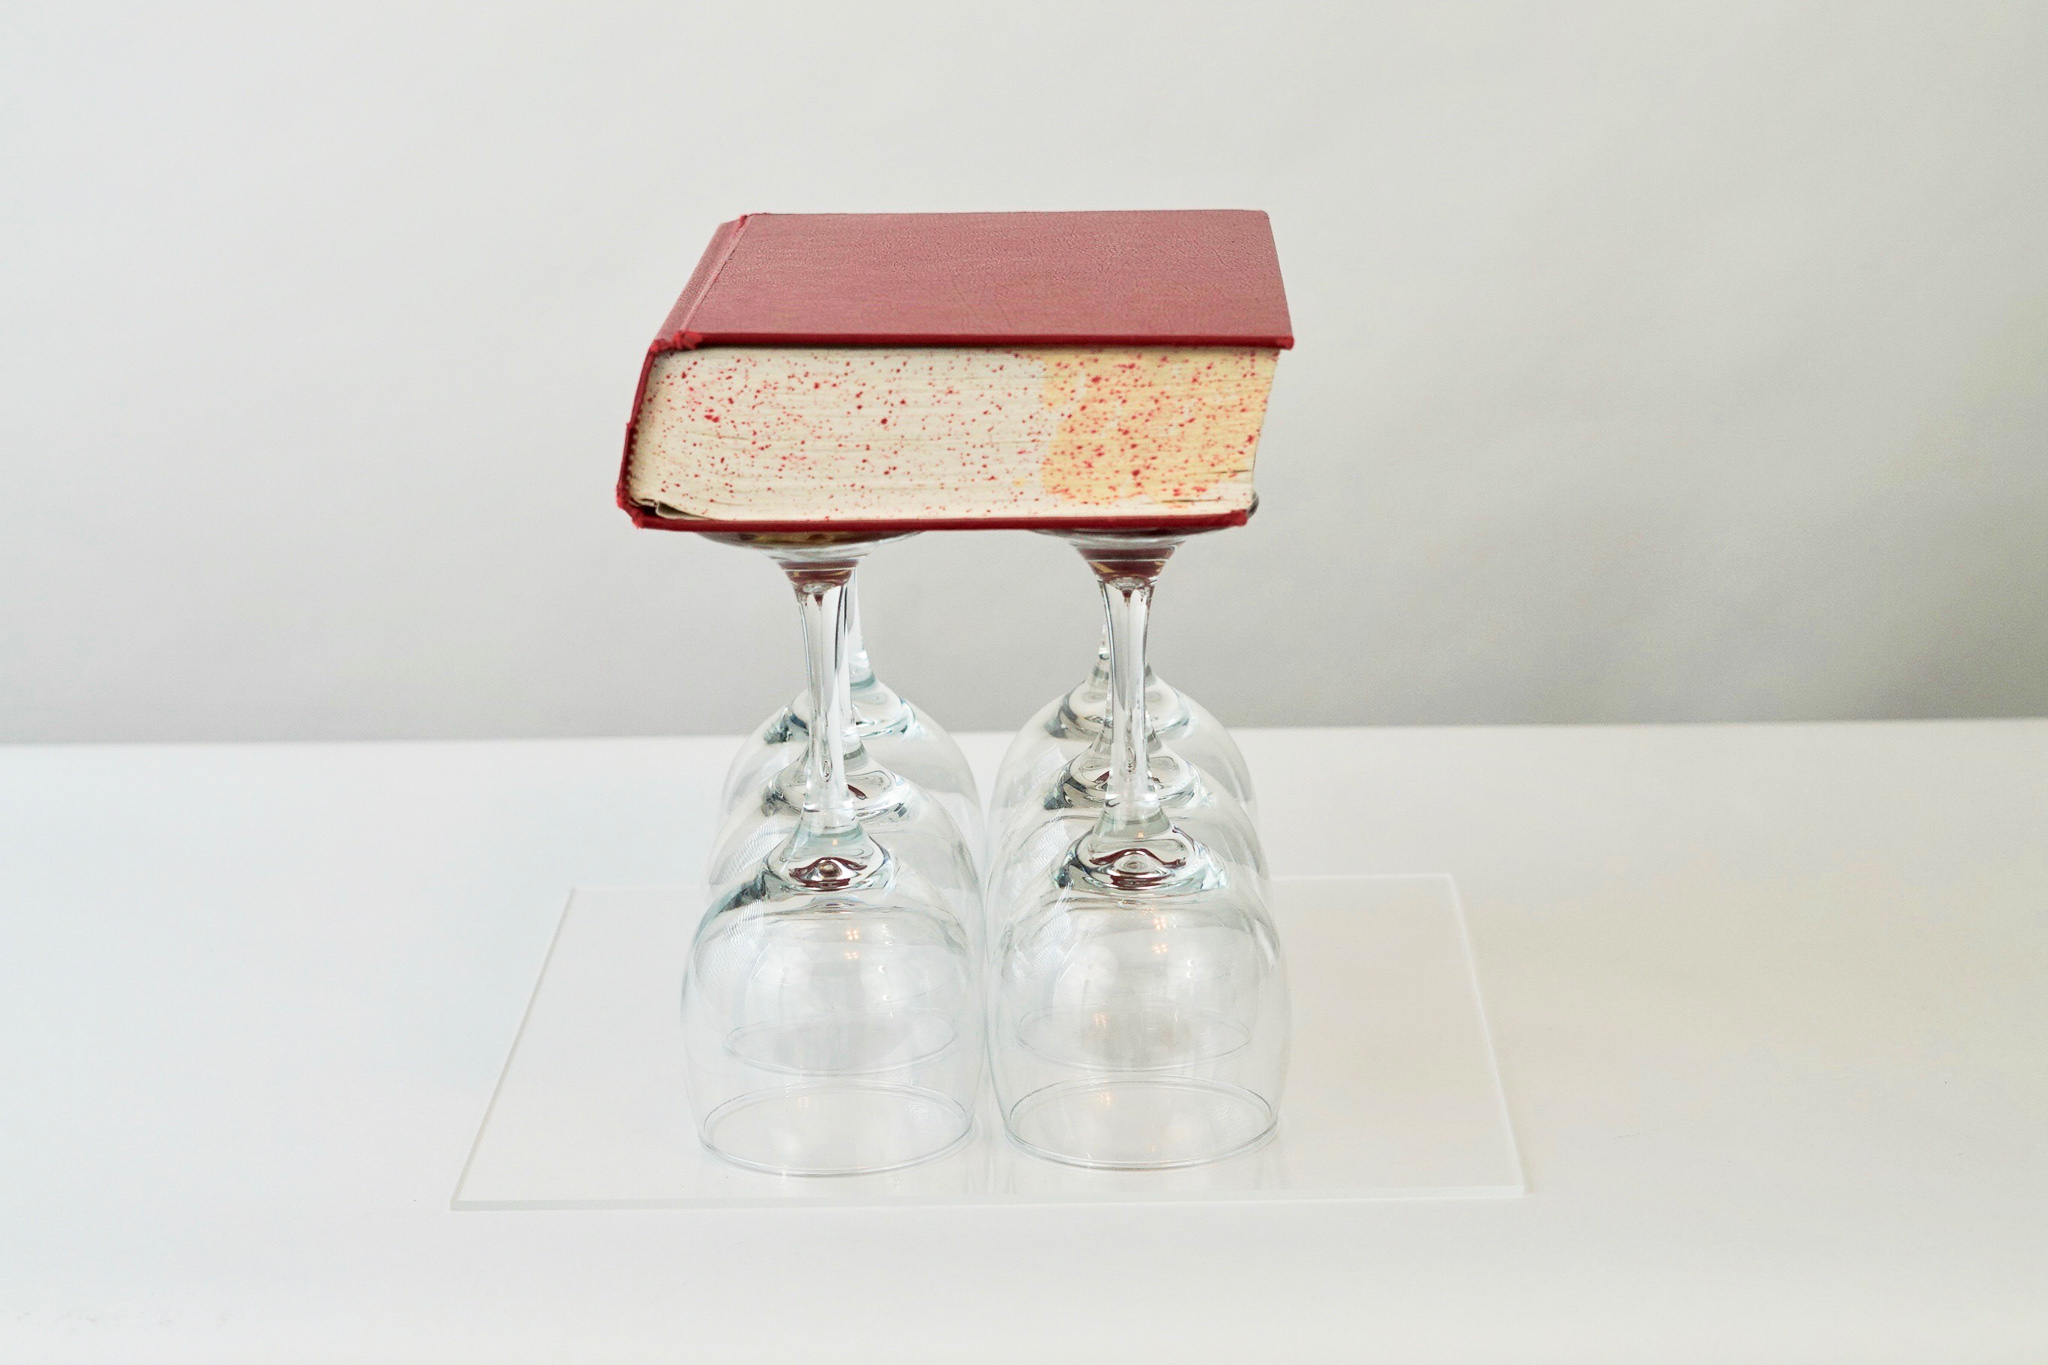
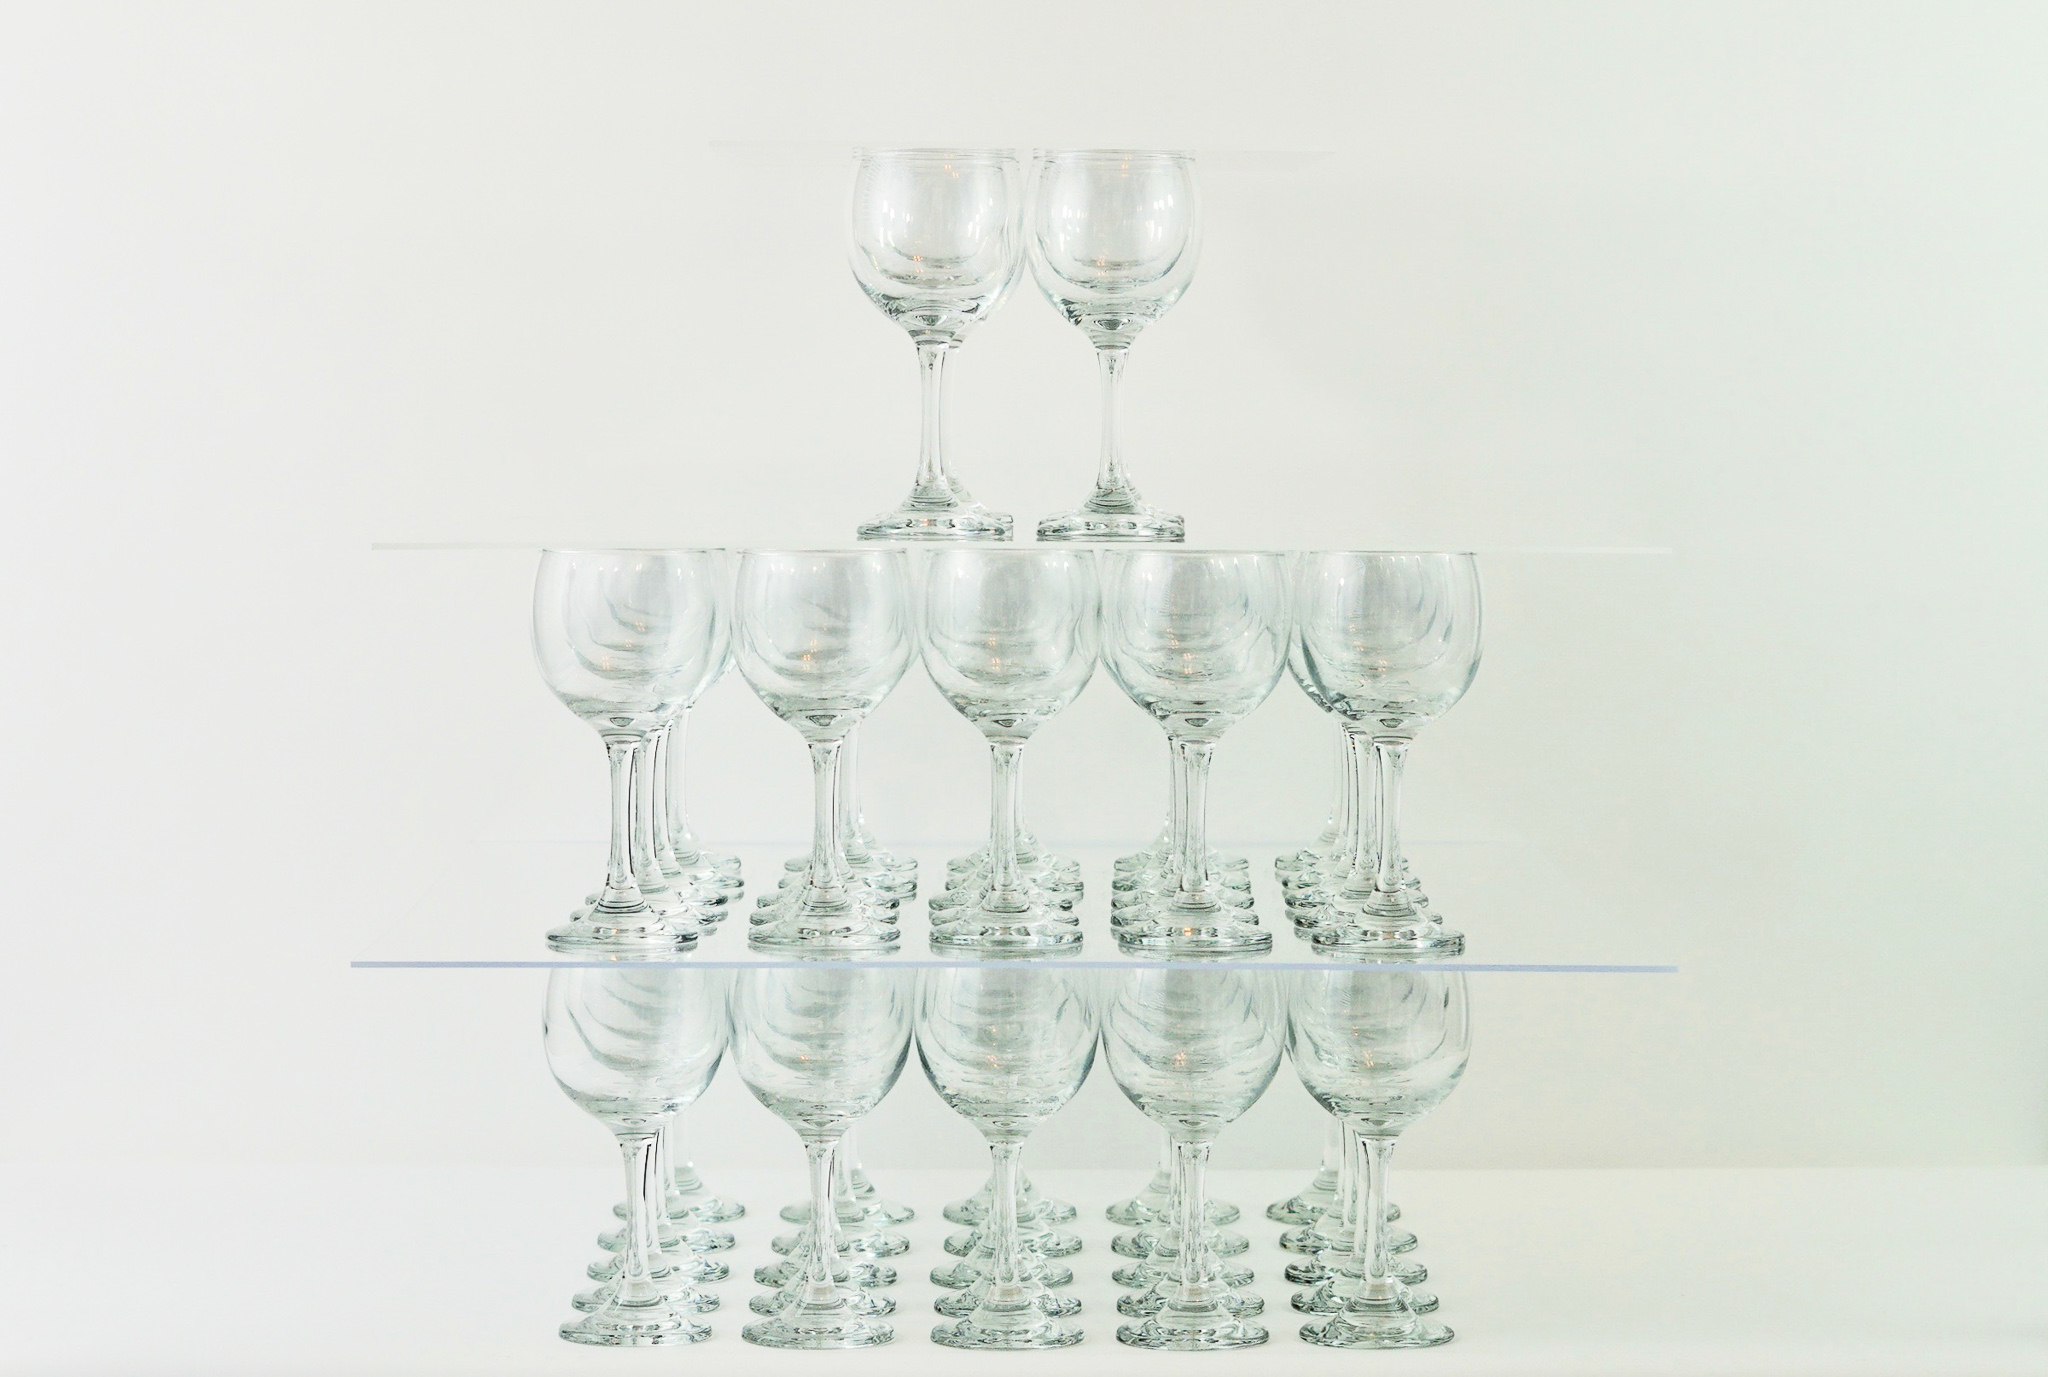
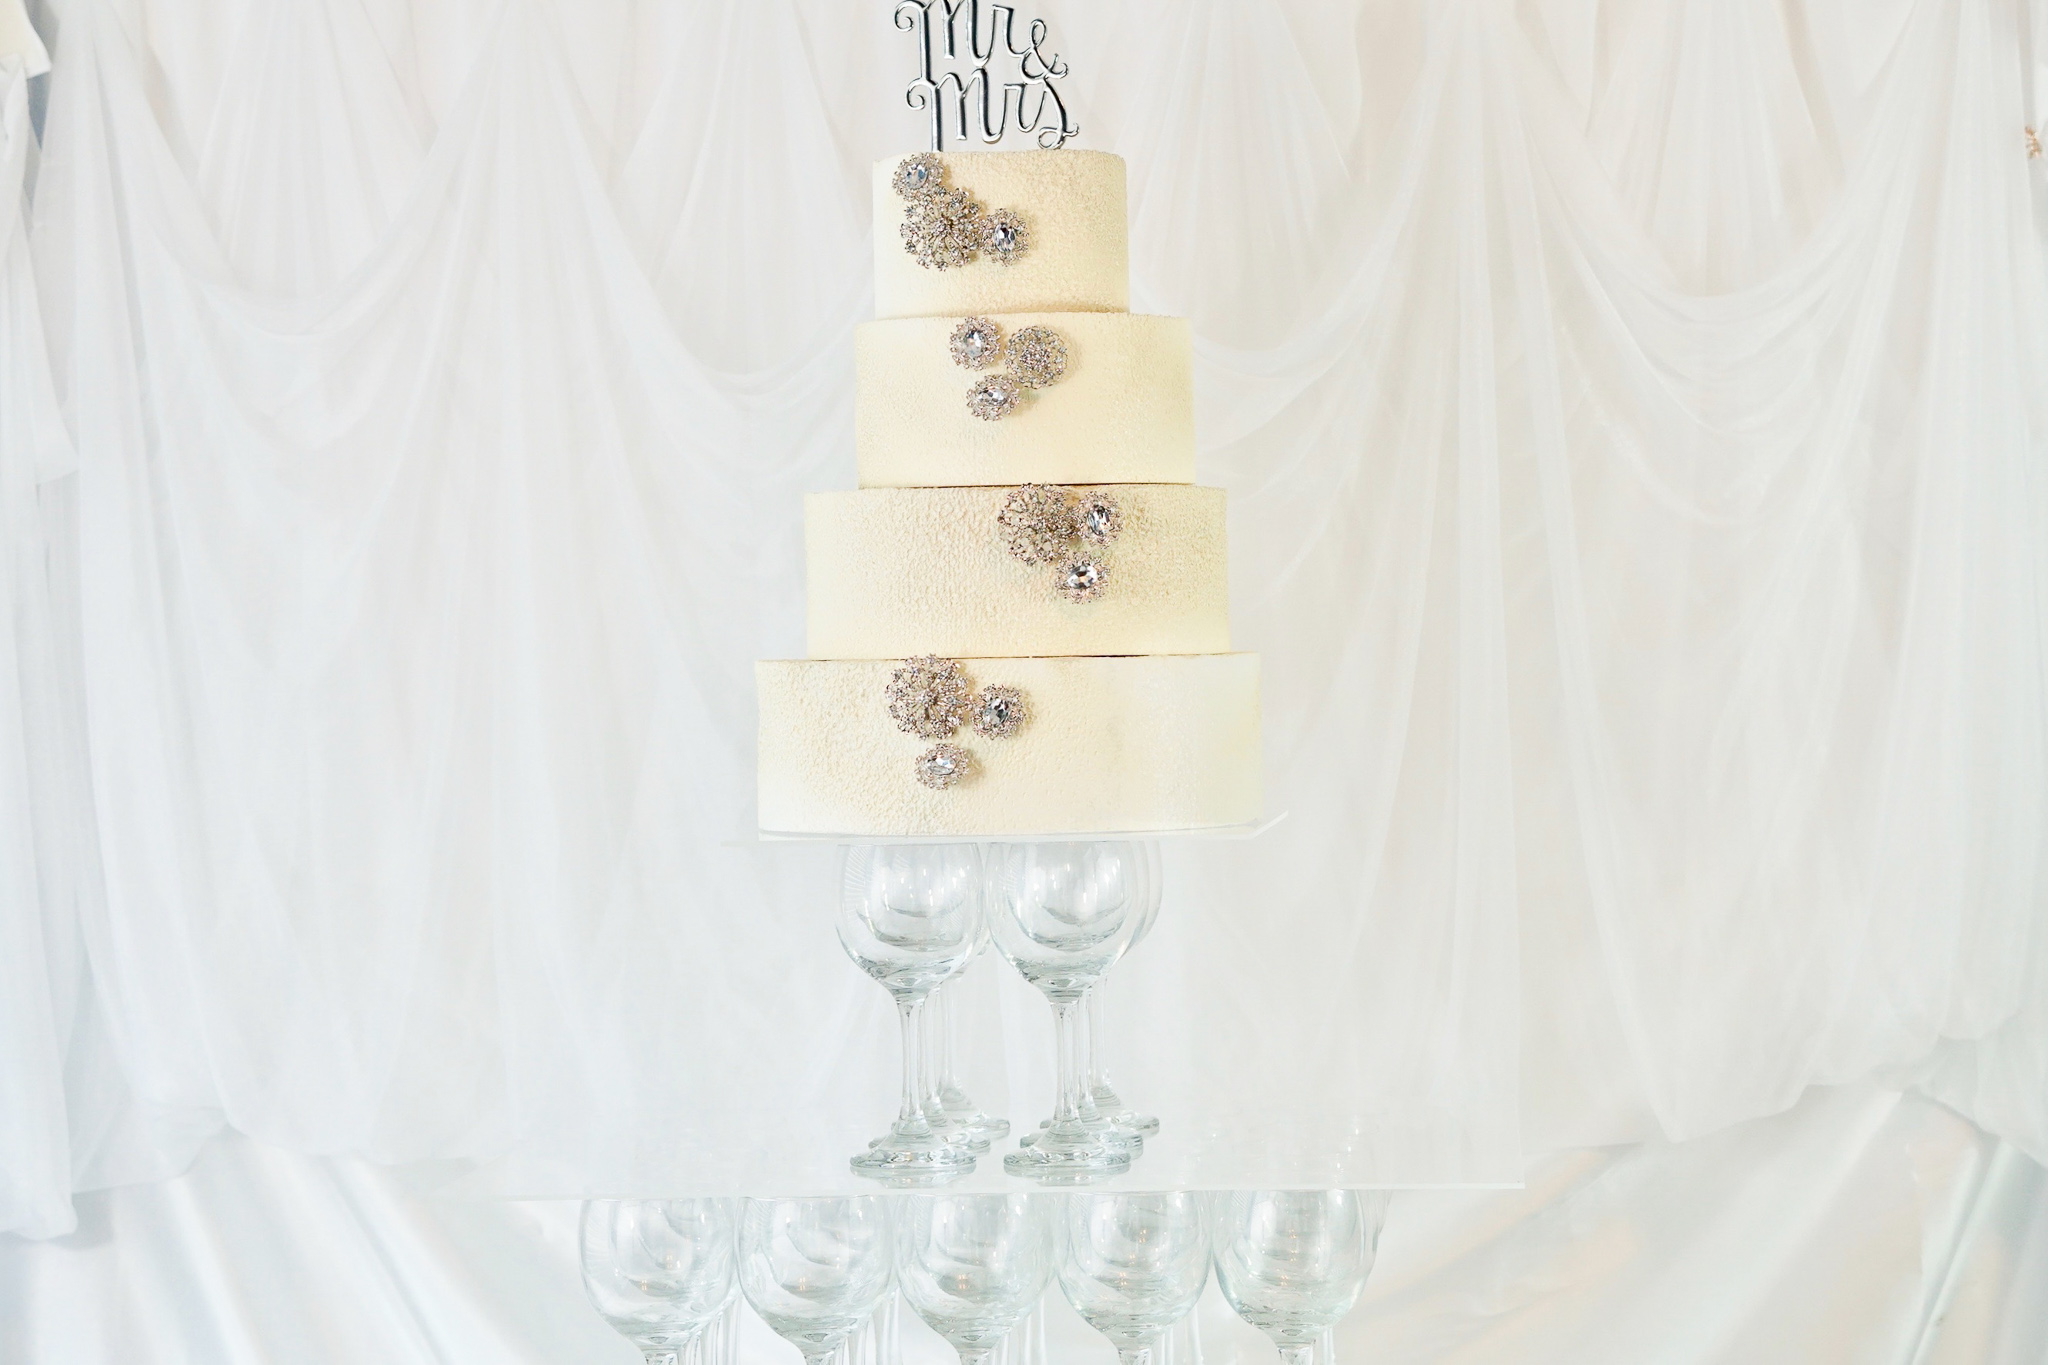
STEP 3: You can keep the tier at 2 tiers of 50 glasses or you can add a smaller tier to the top, which is what I am going to do in this step. To add the third tier, you will need to glue your wine glasses down on the plexiglass glass. First, place 6 wine glasses where you want them on the 1/8 ” thick 12″ X 12″ plexi glass. After you are satisfied with the placement, remove the wine glasses and apply E6000 to the rim of each glass. Next place the wine glasses back on the plexi glass. Once you have all the glasses on the plexi glass, place a book (I used a dictionary) as a weight to the glasses. Allow it to dry for 2 hours, then place the glasses on the top tier. This is very important if you plan on cutting the cake on the stand. You do not want to cut your cake on the stand without having the glasses glued down on the top tier.
Final Tips
The bottom 2 wine glass tiers will need to be done the day of, onsite, but the top tier can be done in advance. Since the top tier plexi glass is 12″ X 12″ the bottom of your wedding cake will not be able to exceed that. My suggestion would be to have the bottom layer of the wedding cake be actual cake, the middle 2 tiers be faux cake and the top tier real cake. If you choose to have some faux parts of the cake, have sheet cake in the back to cut to serve to your guests. This will save you money on your wedding budget and you have some wedding cake left over for your 1st anniversary. Believe me your guests won’t know the difference!
I absolutely love how this DIY wedding cake display stand turned out! The outcome is amazing and definitely gives you an extra special touch to your wedding!
If you like the outcome please subscribe to our Youtube Channel for more DIY Videos and follow us on Facebook and Pinterest.
Need help with an upcoming project? Be sure to send us a project request!
“Remember When Every Penny Counts, Count on MissPlanIt”


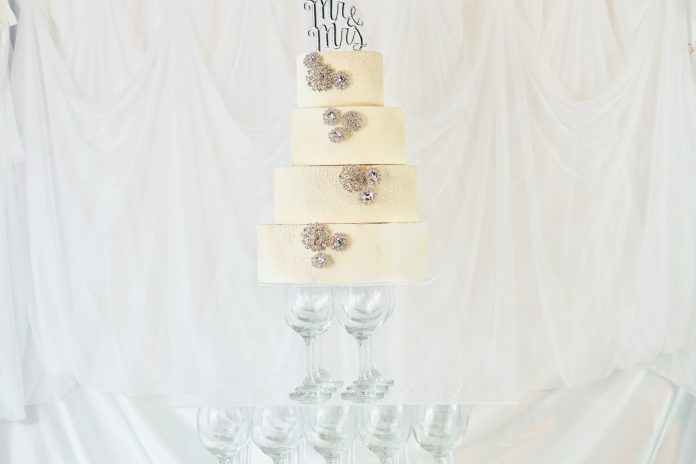
Wow, All I can say is Wow, it turned out better then I even thought! It will definitely be the centre piece of our big day. Thank you so much Missplanit for showing me My vision come to life.
You are so welcome! Please be sure to share pictures with me when you make your own for your big day. I am so glad I could help!